A Bad Day

A Perfect Mitered Dovetail?

Is there such a thing as a bad day in the workshop?  I guess if you gouge yourself with a “pig sticker” or slice yourself with a knife, these could be considered bad days.  This is not what I am talking about here.

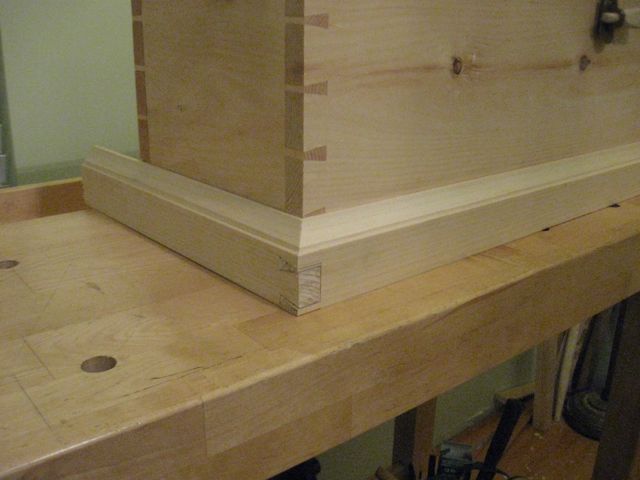
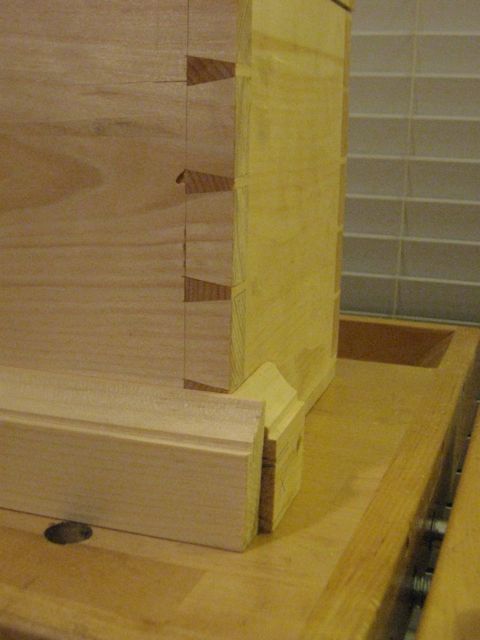
Some days, the good and the bad are not balanced, and you end up with more of one than the other.  Yesterday was definitely one of those days.   It all started out innocently enough.  I’ve not had the opportunity to work in the shop for a few weeks…seemed like forever…but I wanted to continue with the moulding for my Saw Box.  I had completed the shaping of two mouldings with my desired profile, and all I had to do was the mitered dovetails and wrap the bottom of the box – then I would be golden.  As I had done this for the lid sans the molding profile, I felt pretty confident that I could do the same for the bottom skirt.

I proceeded to cut the two pieces of one on my moulded boards, and, because it had a knot in it, I could only use specific lengths.  I had plenty of room for mistakes (or so I thought).  I was going to put the pins on the opposite side of the main carcass (on the skirt this would be the short-end side), so I started laying out the joint of the short piece.  Everything was going well up to the point where I started cutting the pins in the long piece….then I made a rookie mistake.  I did not mark an X on my waste piece and I cut into the pin side of the pin and not the waste side.

I say “rookie mistake” because I did this exact same thing on my first dovetail at Roy Underhill’s Woodwright’s School in May of 2011.  I even kept the miscut corner joint from the class as a “reminder.”  Clearly I needed a refresher.

Ok, lesson learned,  here is a new mantra:  “Always mark your waste … ALWAYS.”  After this mishap I thought:  Well, this is my one “gotcha” today and everything should be ok, right?  Wrong!

I had to cut a little more off than the width of the dovetail joint on the long piece of molding.  I roughly measured the length on the Saw Box to make sure I had enough material and proceeded with my second attempt at the joint.  I was set now as I had just cut the most beautiful, best fitting and square dovetailed miter joint known to man!  I took it over to my Saw Box, put it up against the side, and said to my friend, Bob, jokingly:  “I sure hope it’s long enough.”  It was short by about 3/16 of an inch.  How my heart sank.   This meant that I not only had to redo the dovetail, but I also had to create a whole new moulding piece.

Oh the Sorrow!

Second newbie mistake of the day:  “Measure twice and cut once.”  Wow, I was batting a thousand.  You would think given the way this day was going I would quit there, but no; I had to forge on.  I haven’t had much time to get in the workshop lately, and I had to make the best use of my time.  I decided to at least cut out the material and form my new moulding before quitting for the day.

I had a 2×12 board that had a knot-free edge wide enough for the ~2 inch board I needed for the moulding.  I marked it with my marking gauge and proceeded to cut it out with my trusty old Disston rip saw.  I normally like to cut my pieces a little wide and plane them down to size because my hand ripping is not the most accurate…but it was getting late and I decided to rip close to the line.  At first glance, it looked like I finally did something right, but upon closer inspection I noticed I had angled my saw such that I was within the line on the top but shy on the bottom.

Third and final lesson of the day:  “Do not take shortcuts on clear materials.”  It’s ok to experiment on crappy material to try to improve your technique, but if you are unsure of an operation, do not try it on a nice piece of wood just to save time.

Given all the above,  I think I should have stopped after the second problem and walked away for a while to reflect on what I was doing.   I was also lucky I did not injure myself.  It is hard to walk away, as I really enjoy my woodworking time, and I like to take full advantage when I can.  But the price paid could have been more than just wasted time and material.

This makes me think about the adage:  “A bad day in the workshop is better than a good day in the office,” well maybe not always.

-Aaron


Mitres, Dovetails and Lid

With some trepidation I went headlong into the fabrication of my Saw Box lid.  The challenge came from the the geometry of the corner joint for the lid.  By mounting the top board in a groove in the frame boards, the only way to conceal the groove would be to use a mitre joint.

The big problem with ordinary mitre joints is they are weak and do not offer a lot of glueing area.  This is the reason I chose the mitered dovetail joint.  The mitre hides the groove and the dovetail gives the joint strength.  I have never cut this joint before, I have only seen Roy Underhill cut these on his 2-episode show on the Woodwright’s Shop where he made a Joiner’s Tool Chest and used this type of joint for the same reason as I was going to use it.  My effort was a process of trial and error; my first one was ok, but it had a few extra unnecessary cuts.  Fortunately I foresaw this difficulty and planned ahead with extra long stock, which gave me a couple of tries for each piece.  When it came to cutting the critical second cuts on each board,  I was getting pretty good at it.

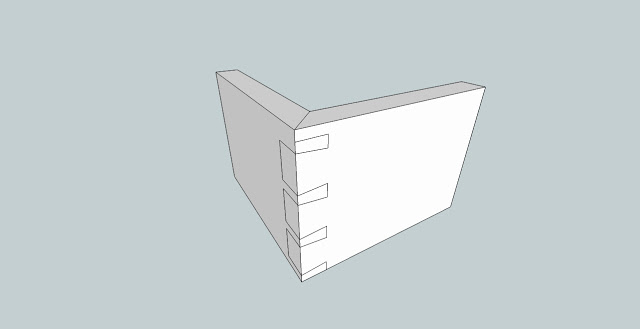
Here is a drawing of a mitered dovetail joint I found on Mike Ogdon’s now defunct blog on dovetail joints.

The mitered portion of my corner joint is a bit wider than shown in the drawing, in proportion to the dovetails  in the frame boards of my lid.

One other design choice that I made for the lid was to orient the tails to show on the front and the pins on the side.  This was done so as the the top board expands it will not “blow out” the dovetails.  I have allowed some expansion room in the top, so this is just a little added insurance.

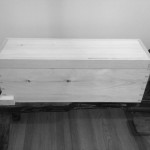
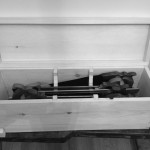
Keep in mind I have not glued this top assembly up yet.  I will not be putting glue in the grooves for the top board,  I will leave it “floating” and I will be gluing only the frame joints. Here are a couple of pictures of the box with the lid on it and opened like it would look with hinges attached.

I have also ordered my butt hinges and handle from Horton Brasses which should be here in a few days.  Next time, I should have a special treat with a video of my first attempts to do molding on mitered dovetails for the skirt.

-Aaron

Tills and Bottoms

This was a very productive week with my Saw Box.  I finished the main carcass of the box; I tuned and fit the dovetails, glued it up and attached the bottom board…twice (more on that later).  I ordered and received my hasp from Lee-Valley tools.  This is a big chunk of brass, and it will look great on my saw box.  I still need to order the hinges and handles from Horton Brasses.

My one setback was that I had to redo the bottom board.  I nailed the old one in place but I did not like the look and fit.  I had rabbited the four sides to fit up in the box.  My Lee-Valley moving fillister plane was set correctly, but I evidently did not tighten the depth- stop adequately.  When I was planing away, I made my second mistake; I did not check the depth with my Starrett 6 inch combination square and I ended up with a 1/2″ deep rabbit, where I had set the depth for 3/8.”  I also set the width of the rabbit too wide, so when I put the bottom board in the box there was about a 1/8″ to 3/16″ gap all the way around the inside bottom.

I have a mantra:  “If I settle for good enough then my skills will never progress.”  I decided to replace the bottom.  This meant that I had to take the old bottom out and remove the cut nails.  I have to say, the cut nails hold very well.  It was quite hard to remove the nails from soft pine.  This is good news, as I have used these for my projects extensively, and I am glad to report that they live up to their reputation. The nippers I acquired, upon the recommendation of the ATC tool list, worked very well to remove them.  I straightened the bent nails and used them again for the new bottom board.  This is in keeping with tradition where nails were so valuable that they were often recycled.

In my previous post I showed pictures of the till before it was completely cut out.  I have now cut it out and it fits nicely in the dados I have put in the side boards before the assembly.

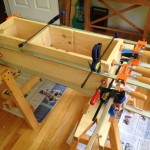
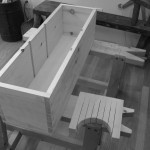
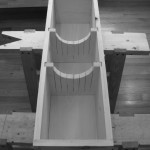
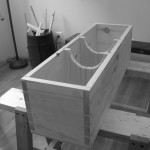
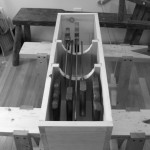
Here are some pics of the Saw Box at this stage.

Have Saws, Will Travel

A few Saturdays ago, I attended the Midwest Tool Collector’s Association (MWTCA) tool meet, and finished acquiring all the tools listed in The Anarchist’s Tool Chest (ATC) book, yea!  I can fit almost all of my tools in my traveling version of the ATC, except my saws.  So I got to thinking that I currently did not have a good way to store or transport my saws.   During the MWTCA tool meet, I saw an old military ammo crate that would have almost done the trick.  I did not buy the crate…because I thought it would be more fun to build my own!

On Sunday, my daughter and I went to the local home center to pick up a 1x10x8 board.  Before I actually started to cut wood,  I needed to prototype the till to make sure it would work for me.  I read in the ATC that Chris Schwarz needed to tinker a bit with his design before committing it to wood, so I fashioned a version from scrap wood, roughly following Chris’s design in the ATC.  The big difference in mine was that I decided to make it for 7 saws instead of 4.  My decision to build a bigger one was based on this reasoning:  If I take it to a class that is not saw-focused, I can just load it with the standard 4 saws:  Rip, Crosscut, Dovetail and Carcass.  If I take it to a saw sharpening class, I can load it up with multiple saws to be worked on.  Plus, at home, it will maximize storage.

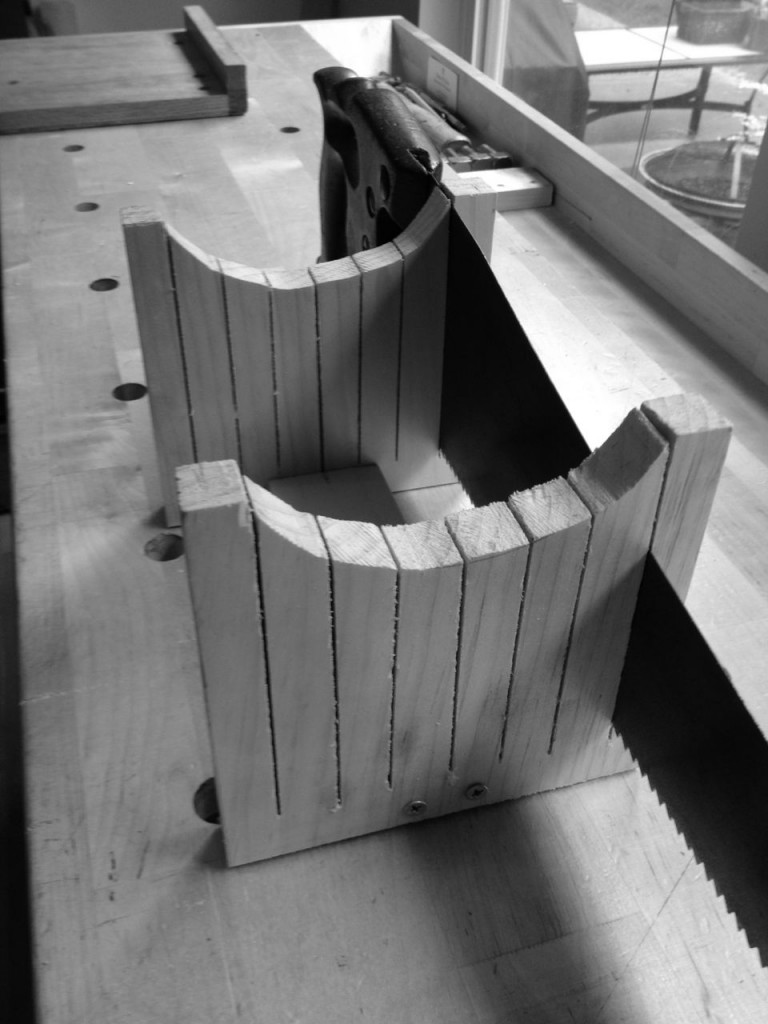
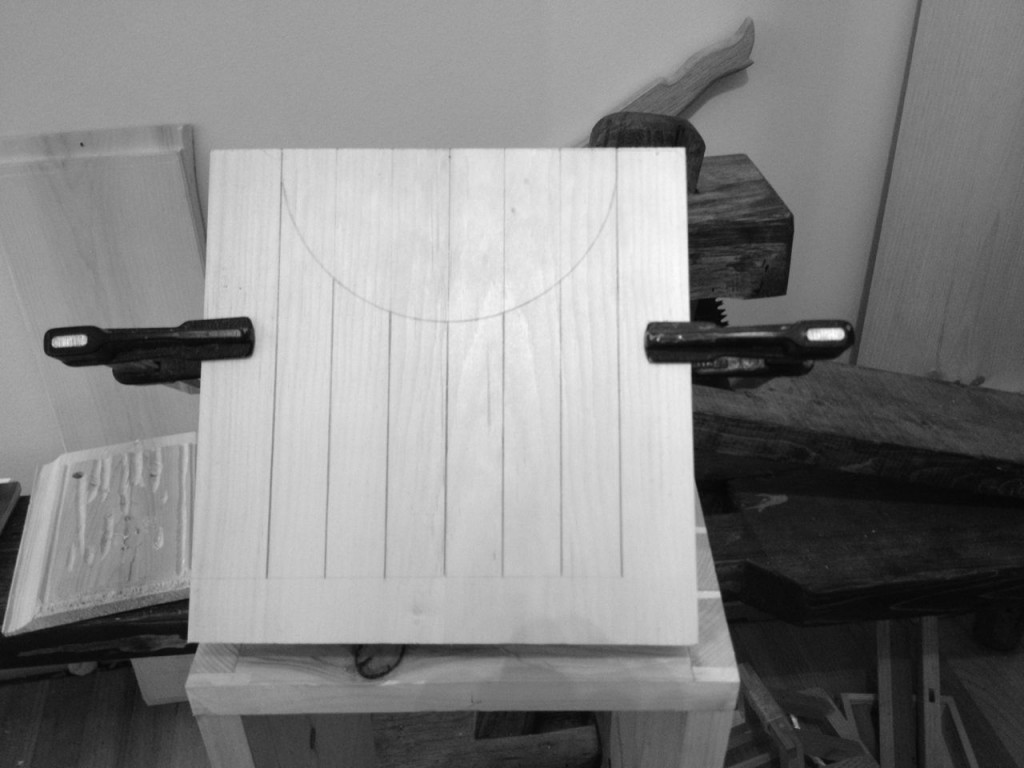
Here is a pic of my prototype saw till.  It is smaller than the actual till, but it was a great proof of concept.

Prototype dimensions are 6″W x 6″H x 3/4″ with 3/4″ saw cuts for the saws and a offset 2 1/2 radius circle. The two till boards are spaced 6 1/4″ apart


After using the prototype till for a while, I designed the box around it, while allowing for some extra room.  I made my production till 8″ wide and 8″ tall and made of pine.  I made my saw cuts 1 3/8″ apart, keeping the saw handles and blades 5/16″ apart at their closest on each side.

So, here is my saw till.  The 3″ radius semi-circle cut in the top, allows the back saws to be level with the panel saws.

Production dimensions are 8″W x 8″H x 3/4″ with 1 3/8″ saw cuts for the saws and a 3 radius circle. The two till boards are spaced 6 1/4″ apart


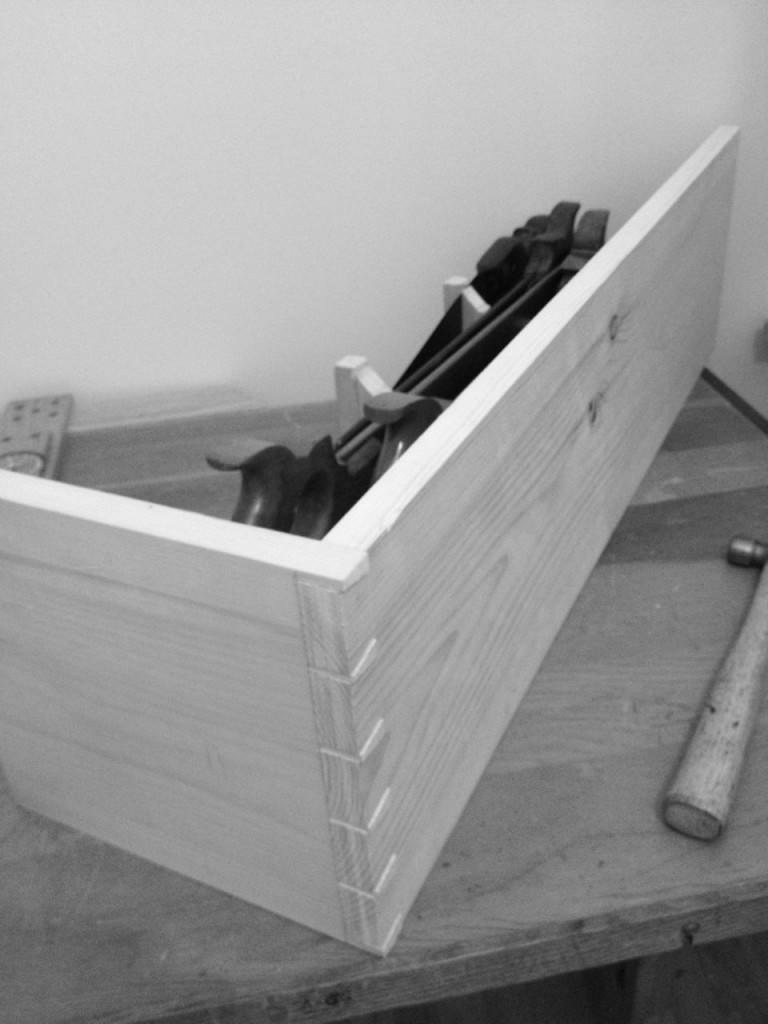
Below is a pic of one of my finished dovetailed corners of the saw box.

Perspective of one finished dovetail corner with prototype till “inside” it

More to come soon …

-Aaron

Tools, Tools, Tools!

On Saturday the 15th of September, my brother, Berry, and I went to the Mid-West Tool Collectors Association annual tool meet here in Raleigh, NC.  This is one of my favorite meets as it is not far from my home, the weather is usually not too hot, and there are tons of tools and experts to tell you all about them.

Here are some of the highlights of this years meet:

  • An Estate sale with a lot of different quality levels of tools and lot of bargains
  • Lots of vendors
  • A talk from a couple of members about the “Antique Roadshow” and “American Pickers”
  • Bar-B-Que otherwise know here in this area as a “Pig Pickin”
  • A tool auction

I love the excitement of the meet and how everyone loves to talk tools.  I learn so much, and like to talk to the “Old Timers.”

Height Adjustable Cast Iron Legs

The real action for me this year was the Estate Sale.  The prices dropped throughout the day, and if your item was not snatched up before it got to your desired price, you could get some pretty good deals.

I purchased several items during the meet (I’ll spare you the detailed list) but the one that has the most potential is:

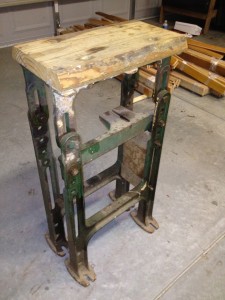
A set of iron workbench legs

I know they don’t look like much now, but when I get them sand-blasted, painted and installed under a marble or stone slab it will be a whole different story 🙂

Now just 362 more days (give or take) until the next meet.

-Aaron


Tool Mod Disaster


It all started when I followed Chris Schwarz’s advice and bought the Glen-Drake Tite-Mark marking gauge.

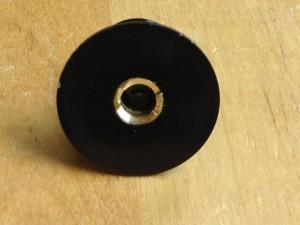
The Tite-Mark gauge has been as useful as Chris described it, and I love this gauge! It is not the problem.  I also have a 90’s version of the Veritas marking gauge from Lee Valley tools[1].  This is a nice gauge also, and I have used it for years without a problem; however, after seeing how useful it was to fully retract the blade into the body of the Tite-Mark gauge, I came up with what seemed to be, a brilliant idea:  I would drill out the body of the Veritas so I could fully retract the cutter in it.  It is brass and easy to work … right?

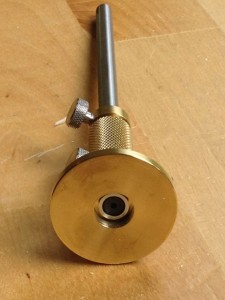
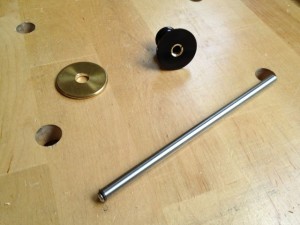
I  proceeded to secure this gauge in my wood clamp and started drilling away.  So far so good.  I was making good headway, and then disaster.  The body fell away, leaving only the face of the tool in the clamp.  Apparently,  this was NOT one solid piece of brass. It is made of a solid brass faceplate, with a cylinder turned on it that is inserted into the mystery metal body.  Now I only have one functional gauge again.  Oh the sadness,  I now have a base comprised of two pieces where there was once one.

Actually three pieces, but the base should be one

Determined to fix this, I planned to finish drilling into the black base about 2mm further, drill and tap 2 screws through the faceplate and into the base, and secure with two brass metal screws.  This should be sufficient to rejoin the two parts and I will have achieved my initial goal, albeit with a little extra work.

My plan was to drill screw holes and tap them to fix the faceplate to the base.  After careful examination, I noticed the base was not very thick and the screws would not be very deep, and therefore weaker.  What I decided to do, was finish drilling down to the needed depth in the base, and then glue the faceplate to the base after I finished.

Things never go as planned.  As I started drilling, the remainder of the brass tube came out and got stuck on the drill bit.  After extricating the small brass ring from the drill bit, I noticed a small rubber grommet coming out of the hole.  This grommet provides friction for the rod and helps set the depth more accurately, so I had to make sure to get this grommet fixed back into place.

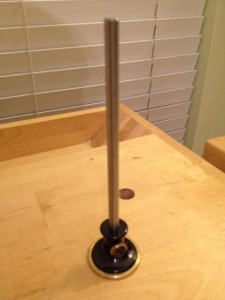
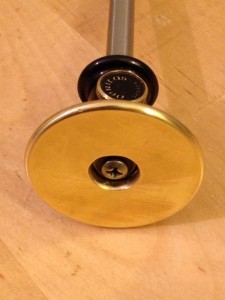
I decided to file this small ring flat on the drilled side and slide it back into place to hold the rubber grommet in place. After mixing up some epoxy, I glued the faceplate back on the base and now it is a fully functioning gauge with a retractable cutter.  Yea!

[1] The current Veritas gauges now have the retractable cutter.

-Aaron

New Workshop

Here is my new workshop.  It is glorious!  I now have tons of room, great light, and a comfortable environment to work in.  The white oak floor is so much better on my back than the concrete in my garage.  As this is in my house, my family visits more frequently and gets more involved.  I would like to thank my wife for suggesting this; she knows this was the right choice every time she sees the joy on my face while I am working here.

As with any workshop, this is a work in progress, and there are some additional things to do.  I was getting antsy and needed to do some woodworking, so I moved most all my tools in and started doing work.  At some point I will be adding molding around the floor.  I am still undecided whether to sand the floor.  It is not entirely flush across the different rows, but it is already finished and this would save me the expense.  It is quite slippery and this could present some issues going forward.  I will have to use it for a while to decide what course I will take.  Now to get a vintage working pedestal fan…

-Aaron

Time to Cure

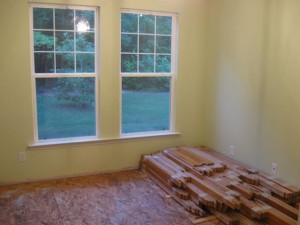
This weekend was very busy.  I am about a week behind my original schedule, as I just finished installing the subfloor (actually I still have a few cement screws to put in).  I would like to thank my brother, Berry, for helping me with this difficult job.  We had a very lively discussion on the best orientation of the subfloor panels, but somehow we managed to get them installed.

My wife, Beth, and I  painted the workshop last weekend, and I really like the color we chose,  “Endive,” a Martha Stewart color from Home Depot in Behr single coat paint, which really lives up to its description; it only took one gallon to paint my whole workshop.  The paint has light green and yellow tints, and changes color throughout the day.  This will go well with the white oak flooring and my darker green tool chest, and keep the space a warm, welcoming and wonderful environment to hone my craft.

I also finished installing my new light fixture, but I will show this when I complete the space since there’s a good story to go with it…

I moved the flooring into the workshop to acclimate to the conditions in the house.  I needed to get this done by Sunday because I had a medical procedure scheduled on Monday, so the wood will acclimate while I heal.  The wood and I should be good to go at about the same time.

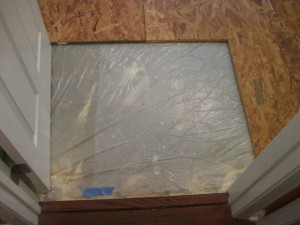
The above picture shows the transition from my existing floor to the workshop floor level.  This will keep the overall 1 1/2″ height increase from occurring right at the threshold.  I will be putting a floating panel into this space, which I will make from the flooring, and I will make the transition molding pieces from the excess flooring as well.

I have decided to leave the existing finish on the recycled flooring as it will save time and money.  It already has character, not to mention it is also the color we wanted, aged oak.  Now we wait for me to heal and the floor to acclimate.  We both should be ready in about 2 weeks.

– Aaron Henderson

Good Wood

New "used" flooring


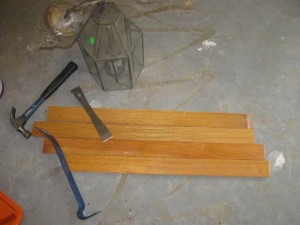
I just bought some recycled white oak flooring for my workshop.  It is solid 3/4″ x 2 1/2″ from our local Habitat for Humanity store here in Raleigh.  I paid $1.50 / square foot,  this is very straight grain premium grade flooring on the cheap.  Best of all, no additional trees were cut to give me a comfortable and beautiful floor.  I plan on sanding the old finish off, putting a light stain and then applying a single coat of poly to raise the grain to make the floor a bit less slippery.  This treatment is like the one Chris Schwarz mentions in his ATC book regarding his shop floor.

You’ll also notice the carriage lantern in the picture.  This has great patina and will give my Olde Tool Workshop a more vintage feel. My only concern with this fixture is the amount of light that it will give off because it will limit its usefulness after I loose my natural light.  As a remedy, I can always add supplemental lighting later if needed.

So far I am on track for getting this shop finished.   I will be laying the sub-floor tomorrow and letting the oak flooring acclimate to the space all next week.

– Aaron Henderson

A Clean Slate

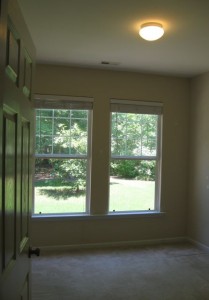
I finally emptied my old office this weekend.  This is the space for my new “traditional” workshop.  Now that it is cleared out, I am on schedule for painting the walls and installing the new flooring.  If I can find a deal on some nice maple flooring, I will use that, otherwise oak is my second choice.

My next steps are:

  1. Rip out old carpet and padding
  2. Paint
  3. Prep concrete for subfloor
  4. Install vapor barrier
  5. Install subfloor (Hopefully to be completed by the end memorial day weekend)
  6. Purchase flooring
  7. After a week of acclimating, install flooring
  8. Finish floor
  9. Move in

I know this is not really a woodworking project per se, but it will allow me to be more productive and by being in the house, more inviting.  I know my cat will like it.  He loves to roll in wood shavings and then track them all through the house.  My wife does not like this, but we tolerate it, as it is a small price to pay to have a happy cat.

My next project after getting my shop situated will be to make a “proper” workbench.  This, of course, will be chronicled here for your amusement.

– Aaron Henderson