Author Archives: OldeToolWorkshop

“A Marriage of Convenience”

Stanley Number 3 Type 5 as it was when purchased

Up until now, this blog has almost exclusively focused on tools either made in the golden era of woodworking or new tools based on tools from that period. Well, today’s blog will be covering something a bit more modern—something new from the 21st century: 3D printing (I know there was 3D printing in the 20th century, but it was only in this century that it became available to home enthusiasts).

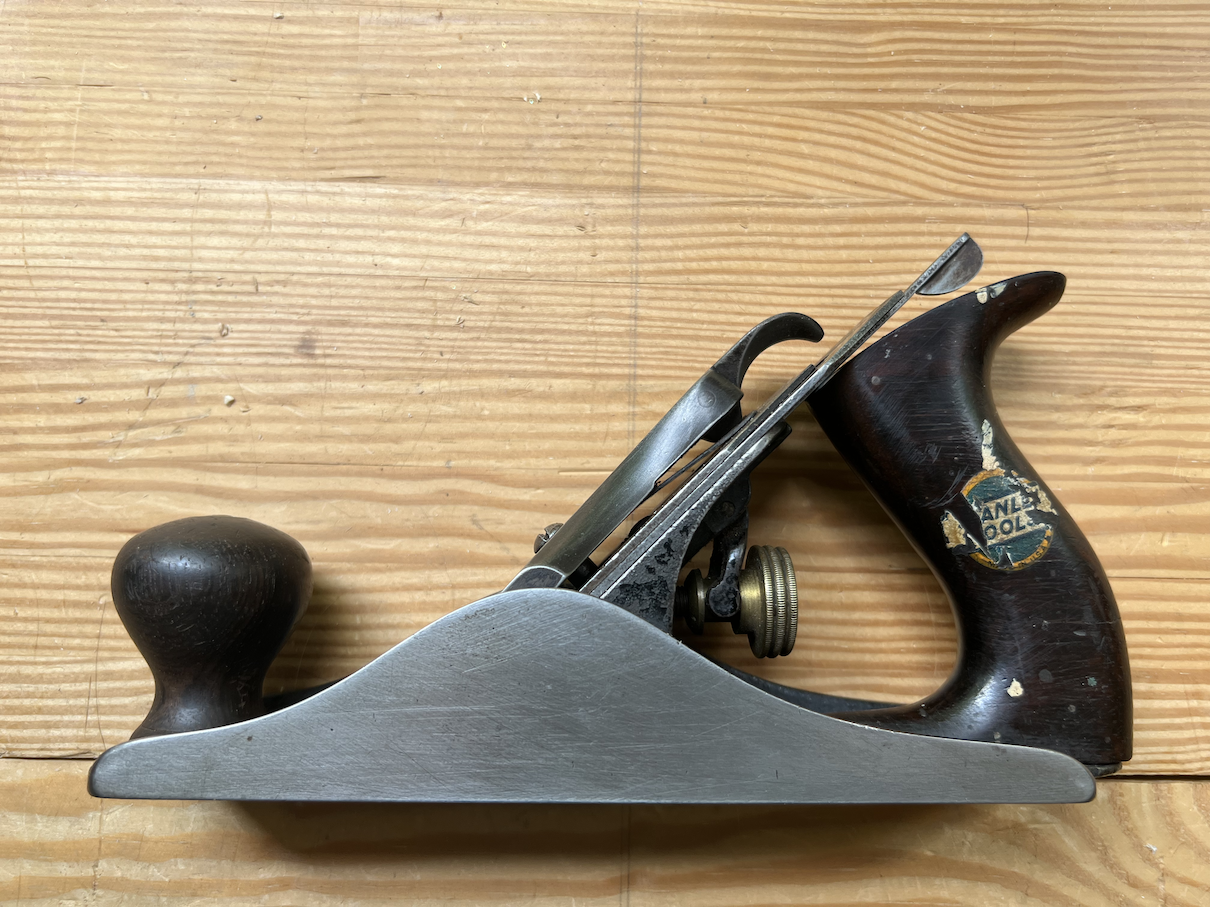
The story begins like a lot of my tool stories: a trip to the local tool monger’s shop owned by Ed Lebetkin. He offered me a deal on a very nice Stanley No. 3 type 5 that I could not pass up. He said I might have to put some effort into getting it into working order. I did not hesitate and I said to Ed, “Take my money.”

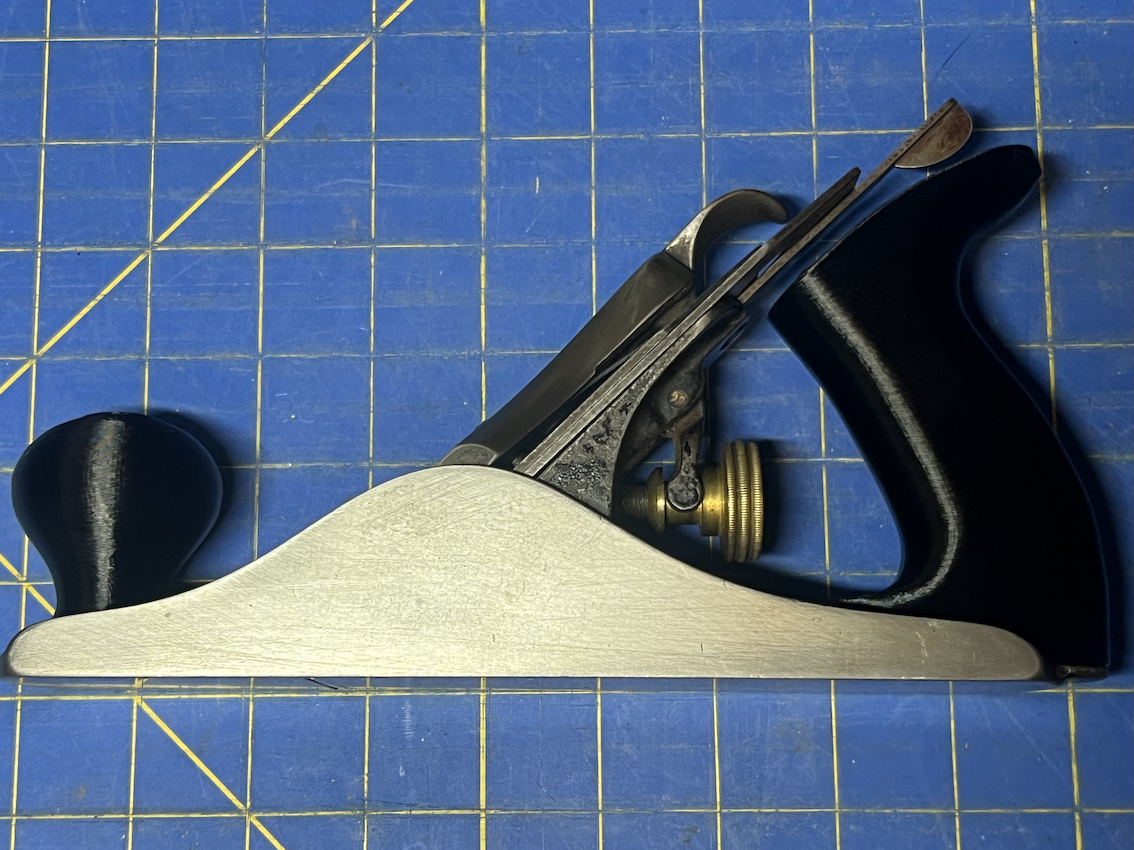
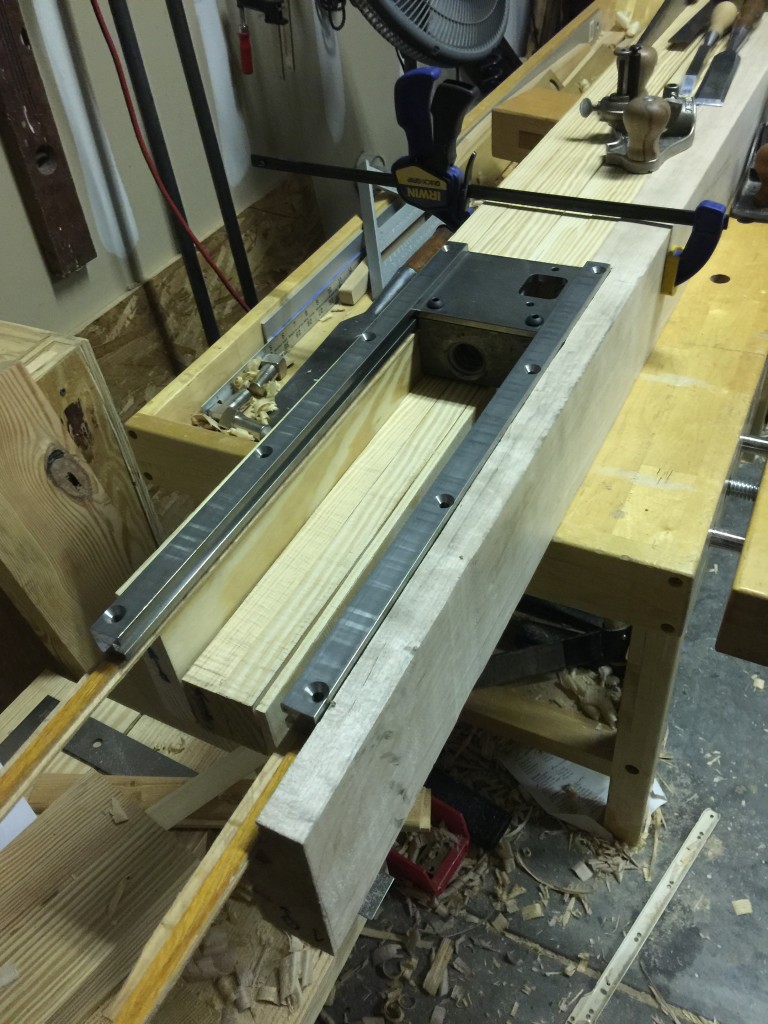
After getting it home and having a chance to look it over, I did find the issue Ed was talking about. The lateral adjuster scraped on the tote even when the frog was moved as far forward as it could go. Also, in this position, it was not possible to let the blade out without moving the edge too far past the chip breaker, making the plane unusable.

I thought about the issue for a while and the possible fixes that I could do. The actual problem was that the original tote had probably been broken and replaced with a newer No. 3 or No. 4 tote from the sweetheart era. I could tell it was from that era as it still had remnants of the Stanley decal, and it had an hourglass brass nut. The solutions were to 1) buy an old tote and hardware from eBay or another supplier, 2) shape the current handle to fit the plane (not really an option, as I dislike disfiguring any part of an old tool), or 3) buy just the hardware and make my own tote.

As I call myself a woodworker, I chose option 3. The next choice was where to get my hardware. As I have been watching a lot of videos about Stanley planes and hardware, I found the “Just Plane Fun” YouTube channel. Michael Jenks runs that channel and also sells plane parts. I contacted Michael through the Facebook group, and we worked out a fair price, and the part was in my hands two days later.

Next, what wood species should I use? Early Stanleys used Rosewood and Cocobolo. Those woods are exotic and expensive if you can get them at all. What about domestic hardwoods, like Cherry, Apple, or even Maple? Readers of this blog know how much I love Lie-Nielsen tools, and they use Cherry on their totes and knobs. Well, stay tuned. As I write this, the wood for this project will be here today, and I will let you know in the next blog post what I chose and why.

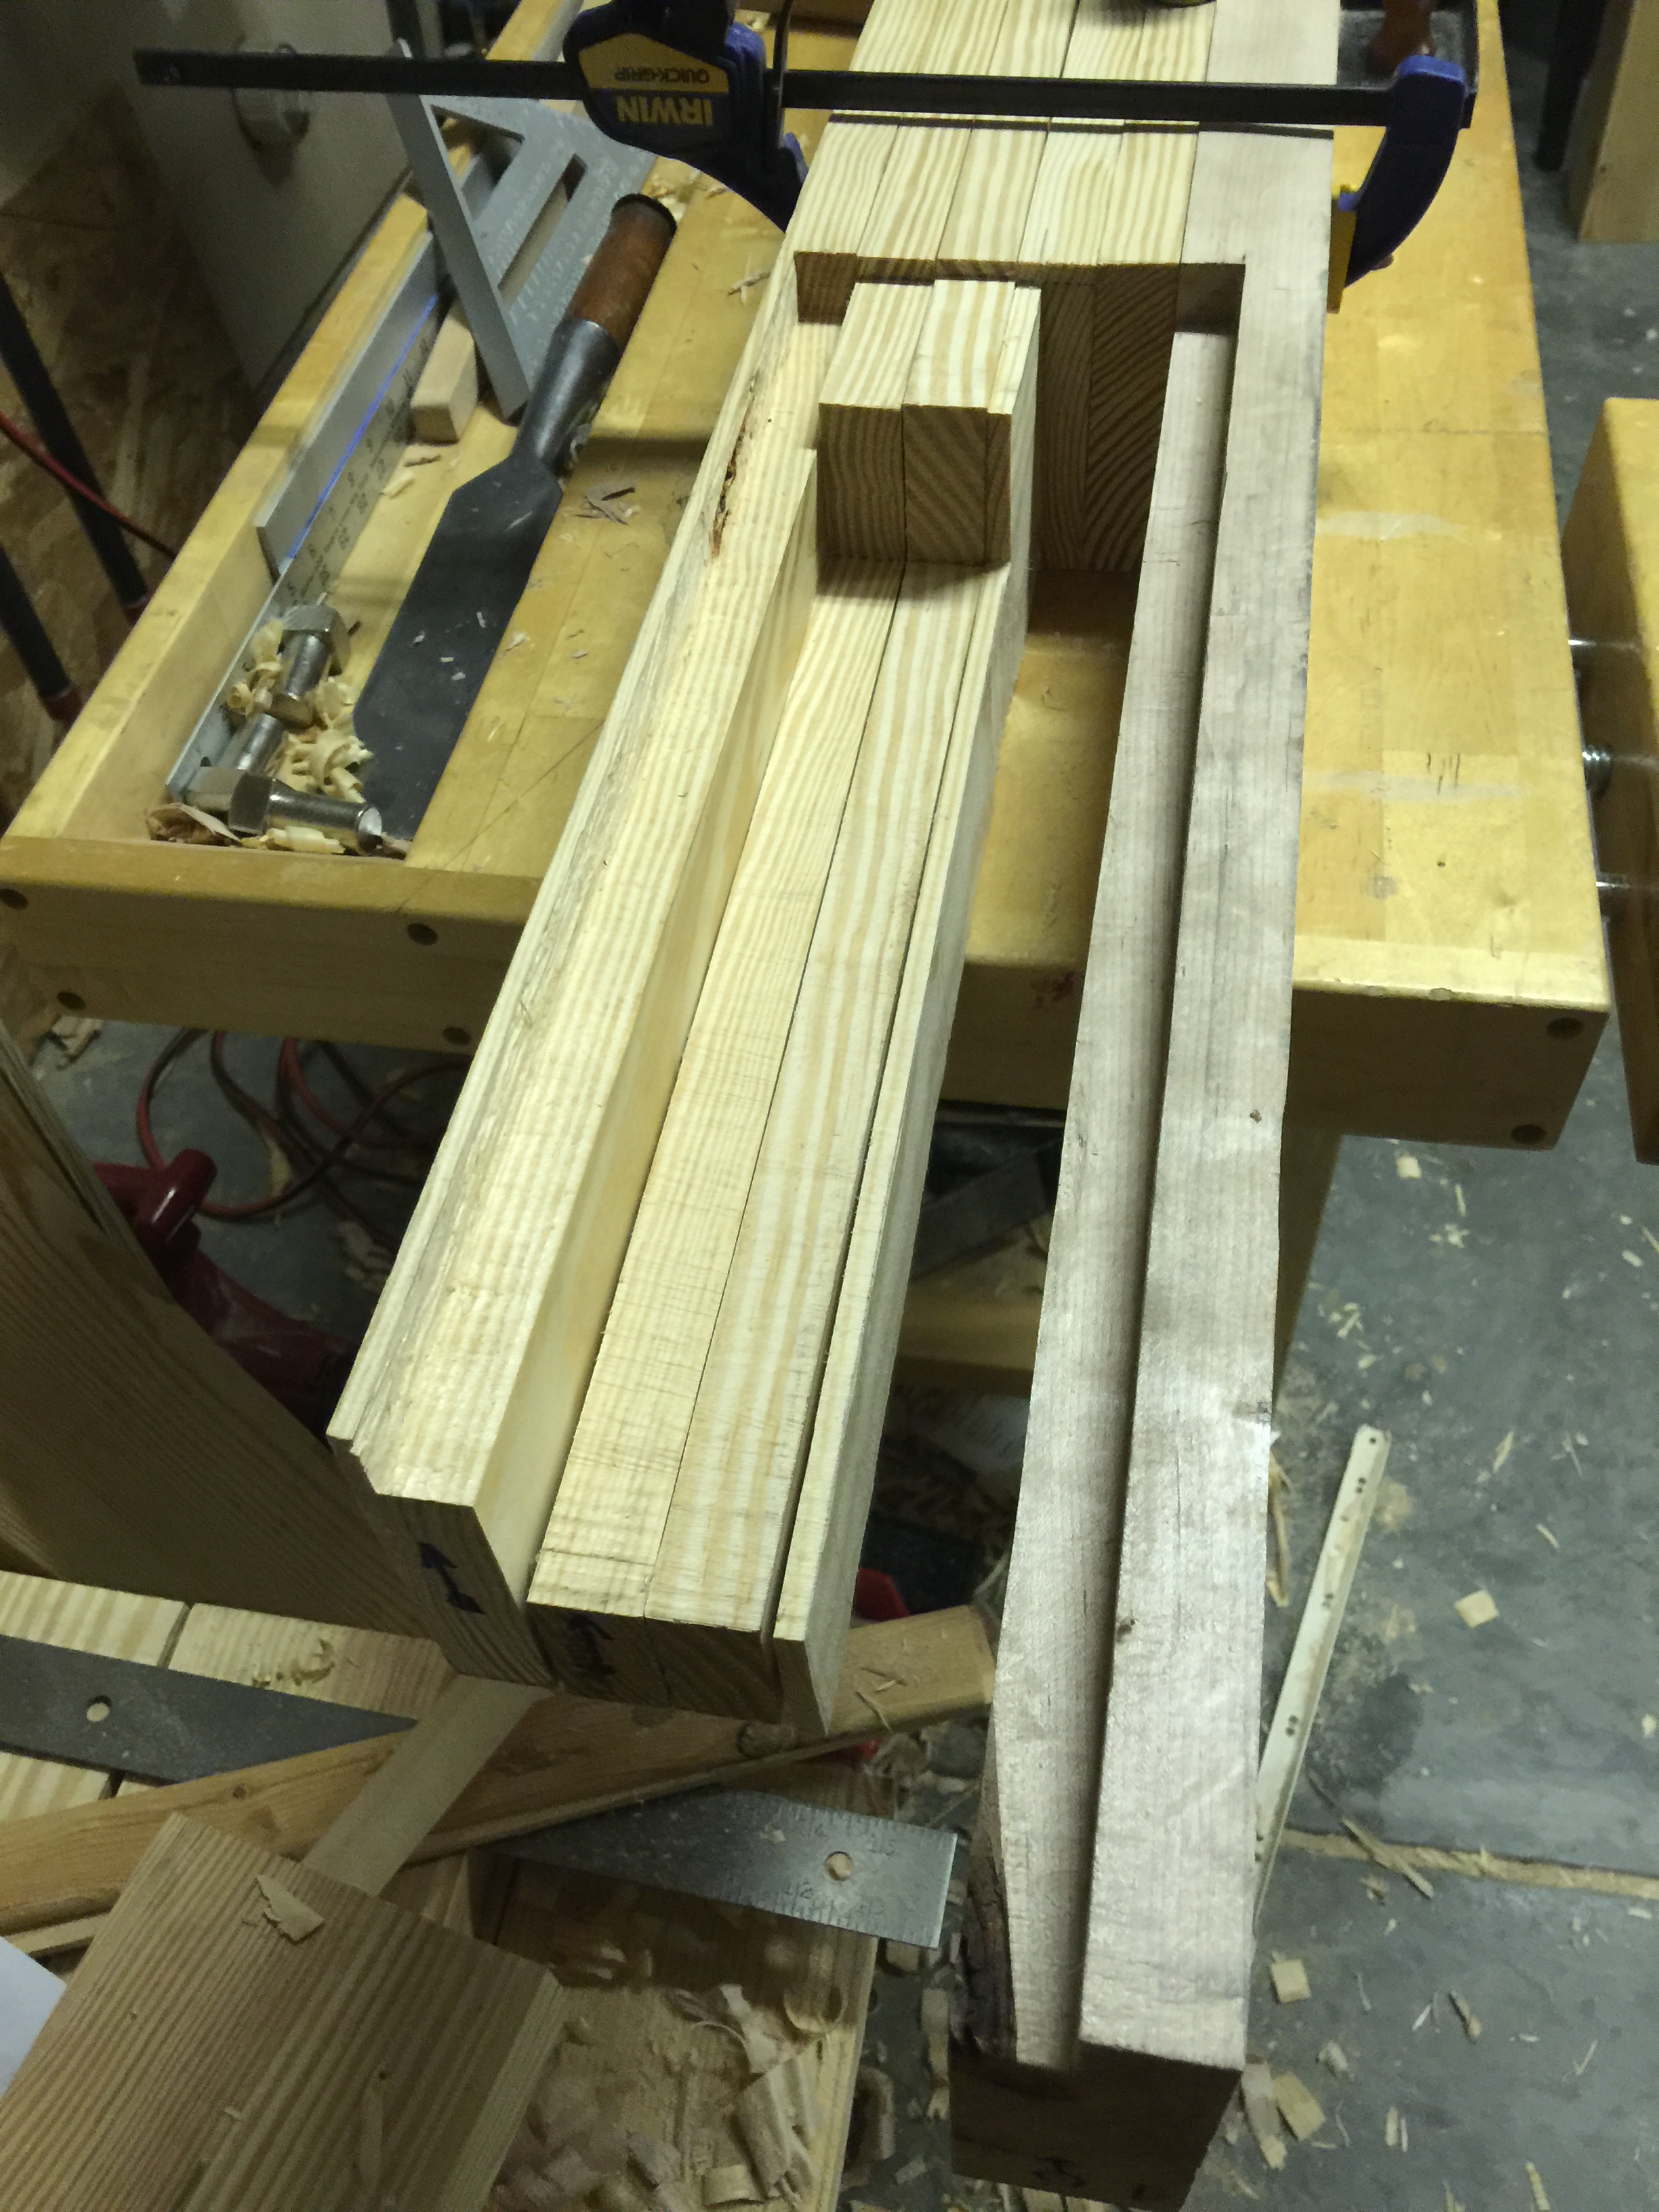
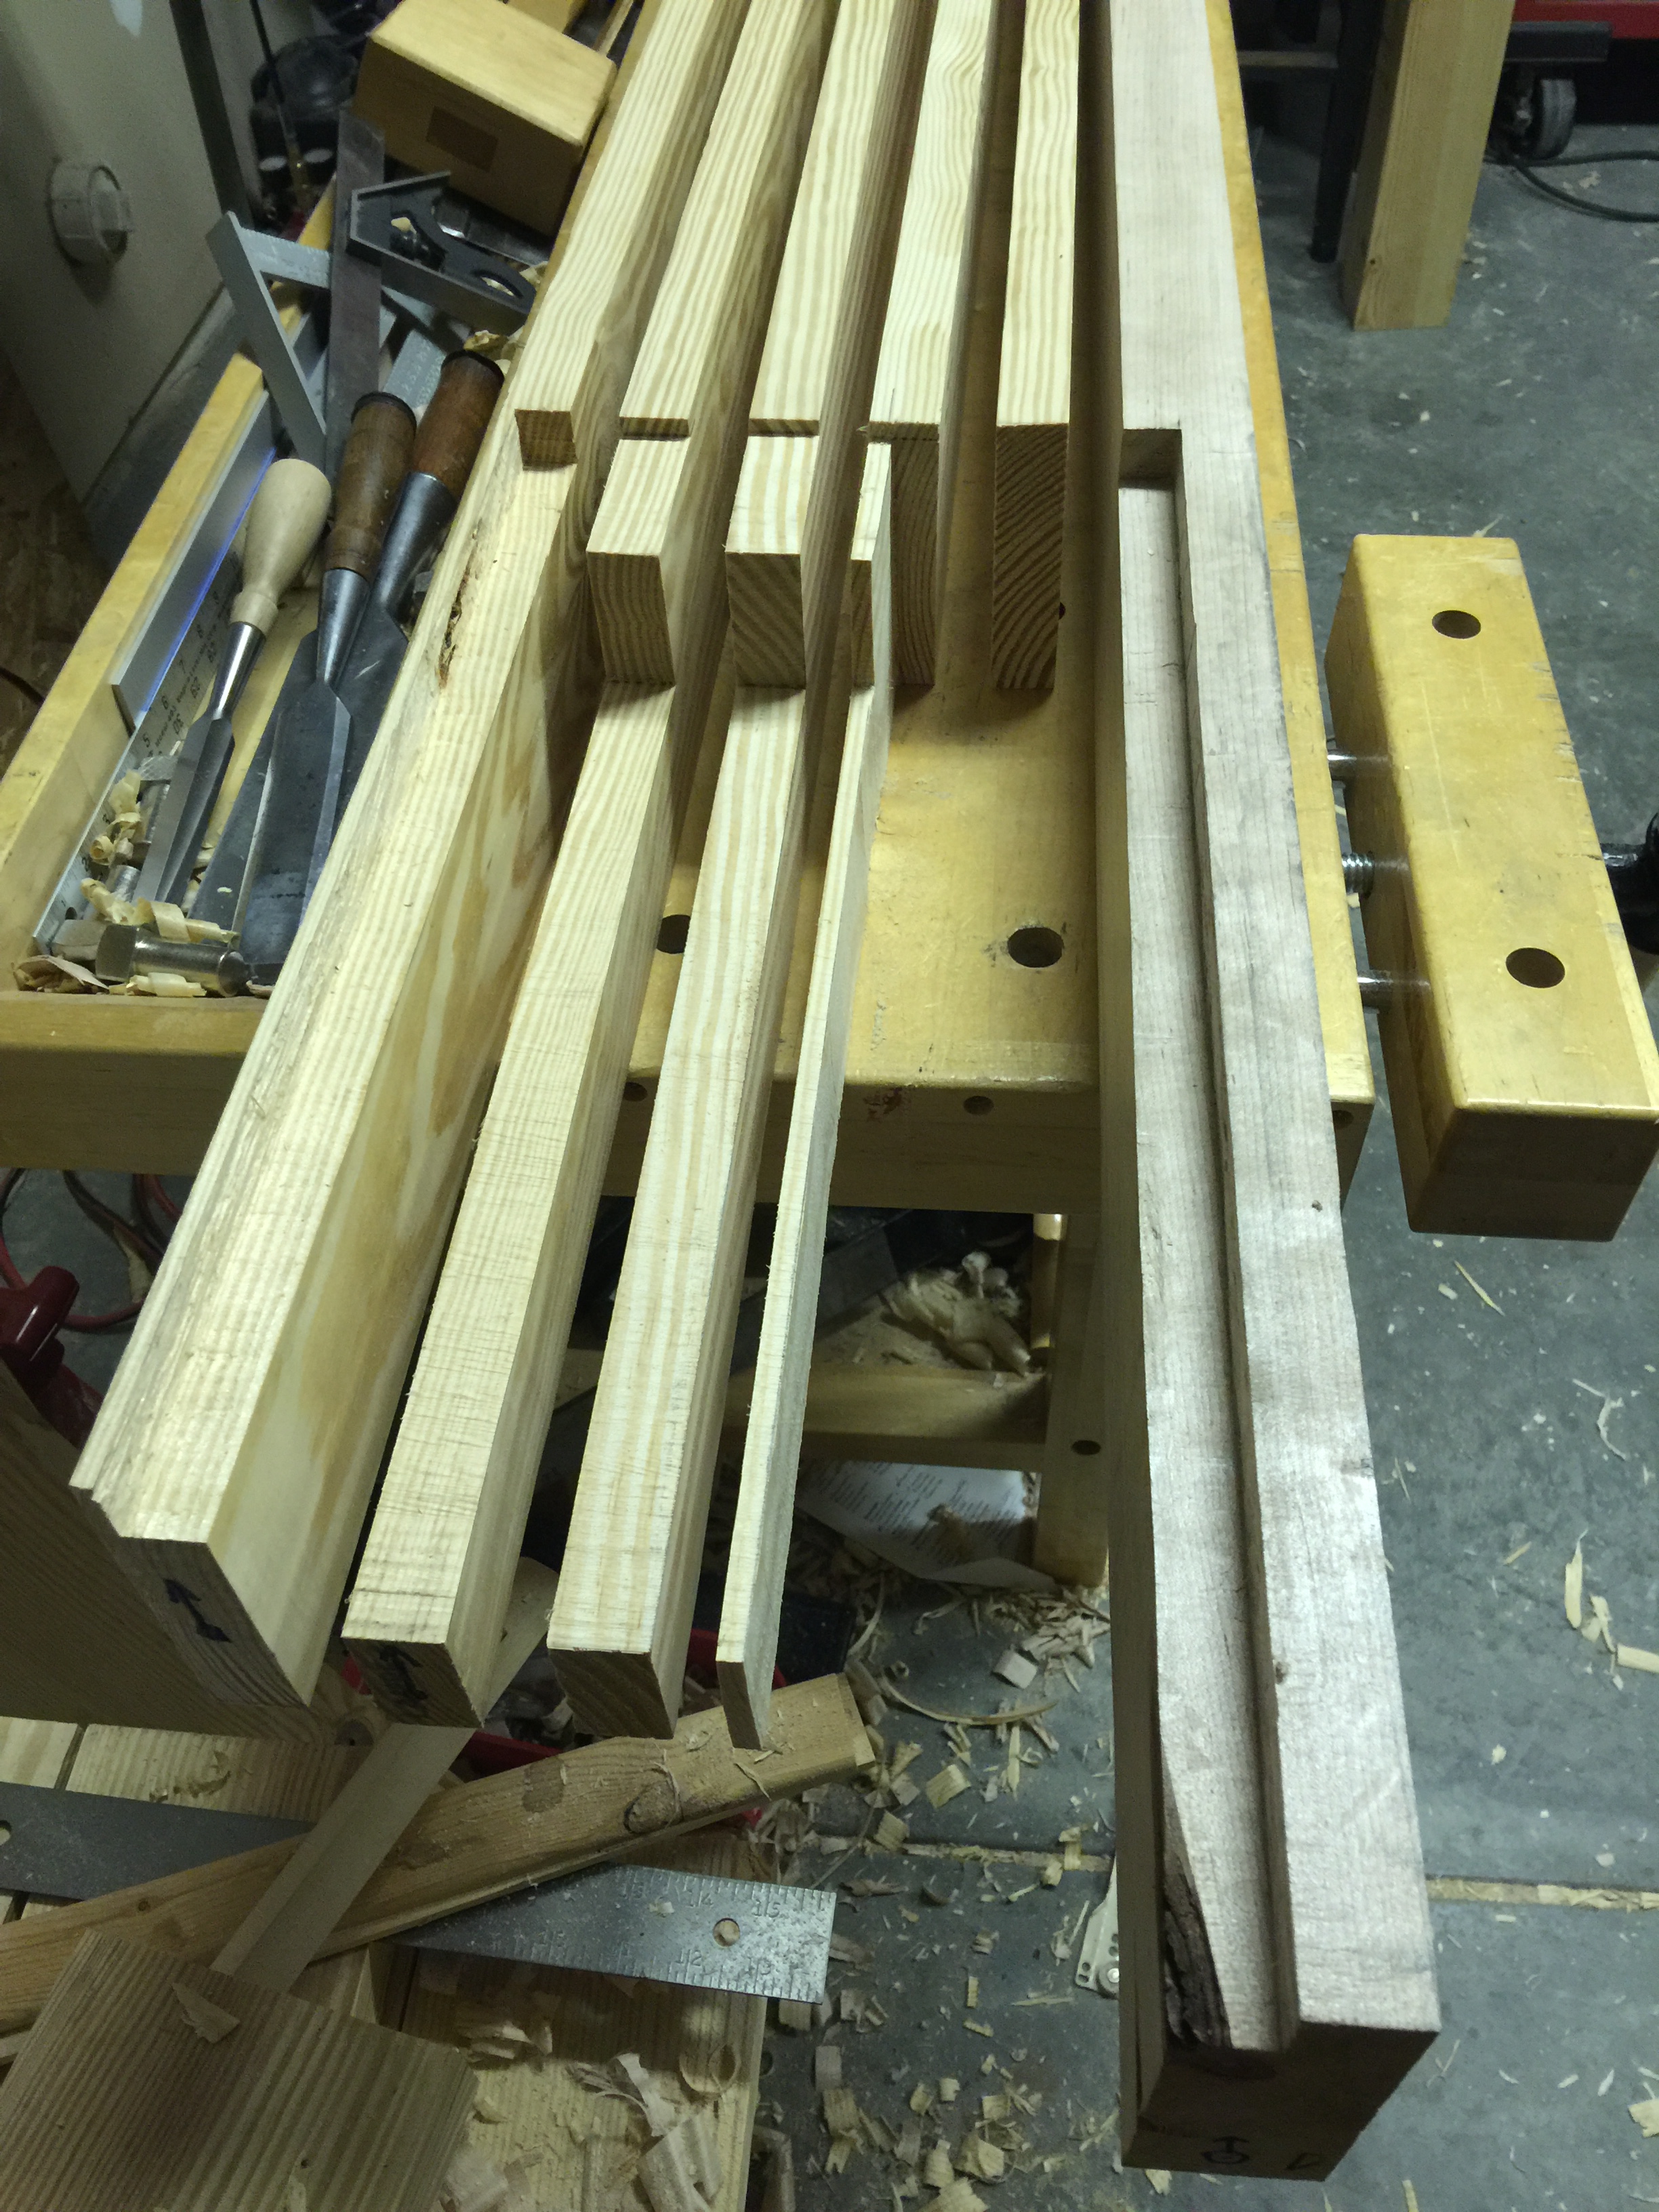
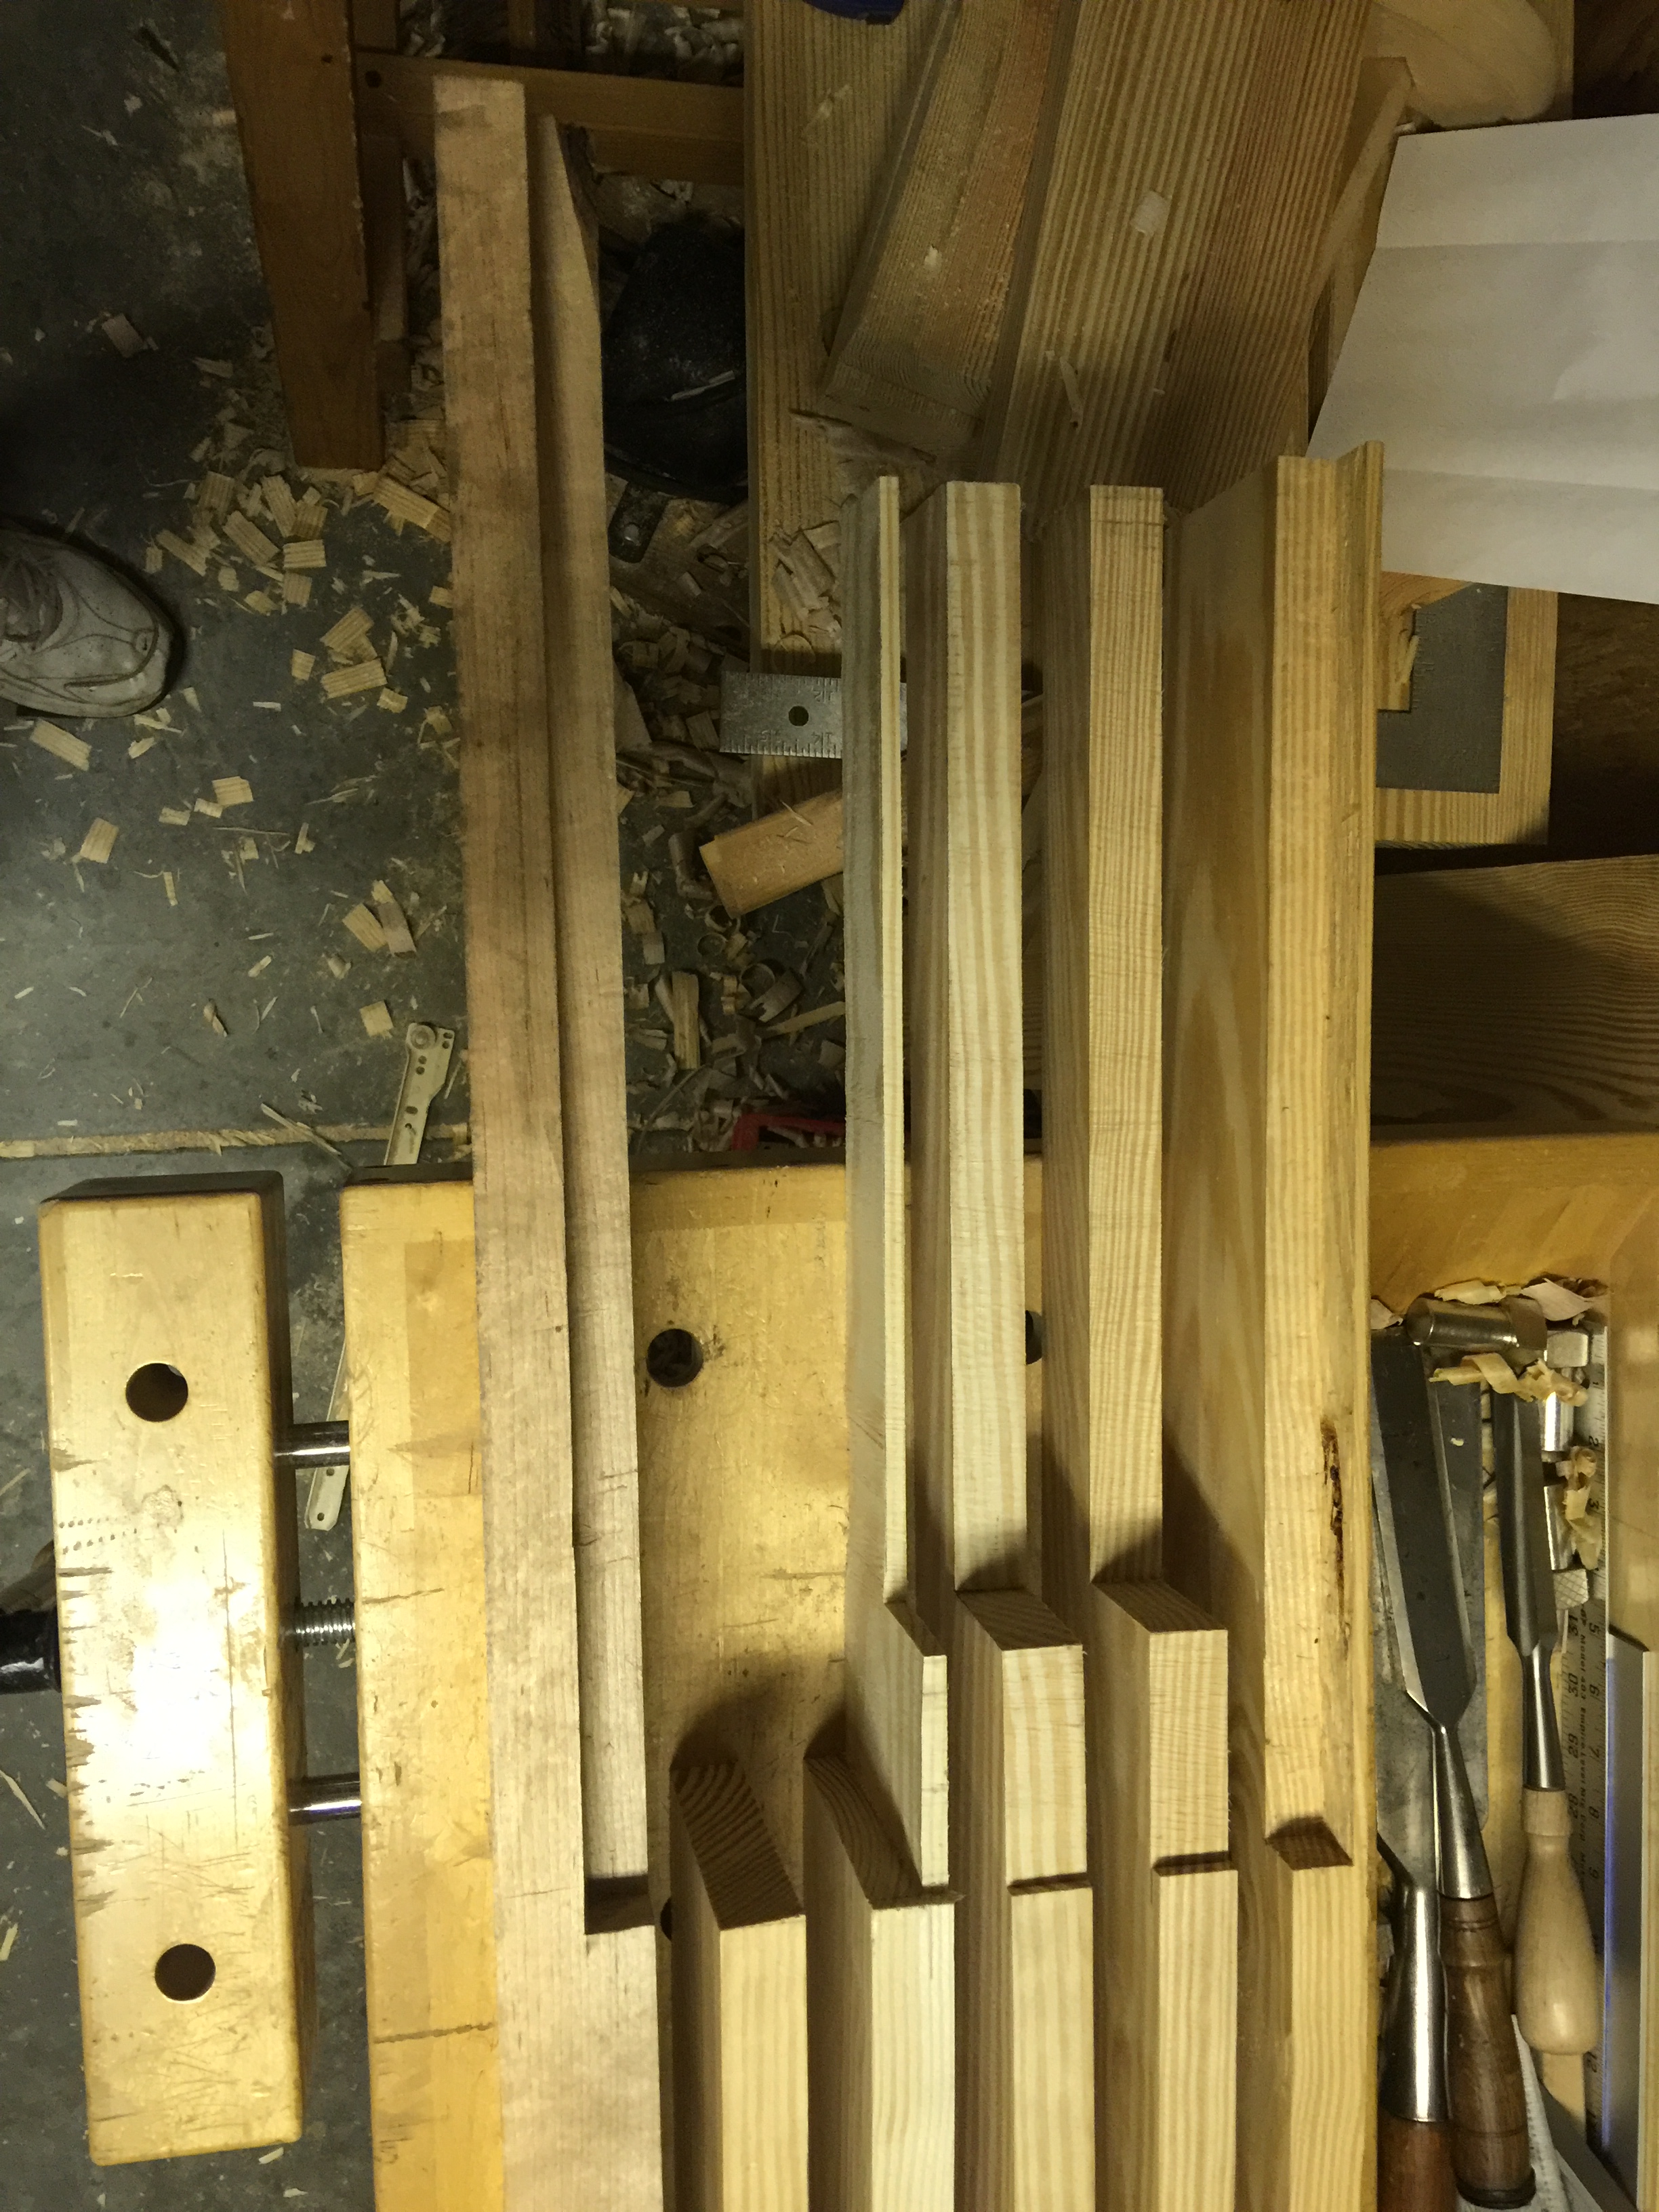
So now, with the hardware and wood species sorted, how was I going to make the tote? I have repaired totes before, and I have made some pretty nice saw handles as well. But I did not even know what shape to make the tote in. I do have a Stanley No. 3, but it has the newer larger handle, so I couldn’t use it as a pattern. So I did what I always do: I went online and found some plans from Lee Valley for number 3/4 totes, but I was no closer to an actual pattern.

As a bit of backstory, I have learned how to use 3D modeling software (Onshape) over the last year and have gotten pretty good at fabricating parts I need for my electronics shop and around the house. So I decided to load the pattern I downloaded and make a 3D model of the larger handle. I then modified it to fit the smaller size on my actual plane. This is where the the Marriage of Convenience of comes in. By marrying 3D printing with old school woodworking, I can do a better job fixing up my new old plane.

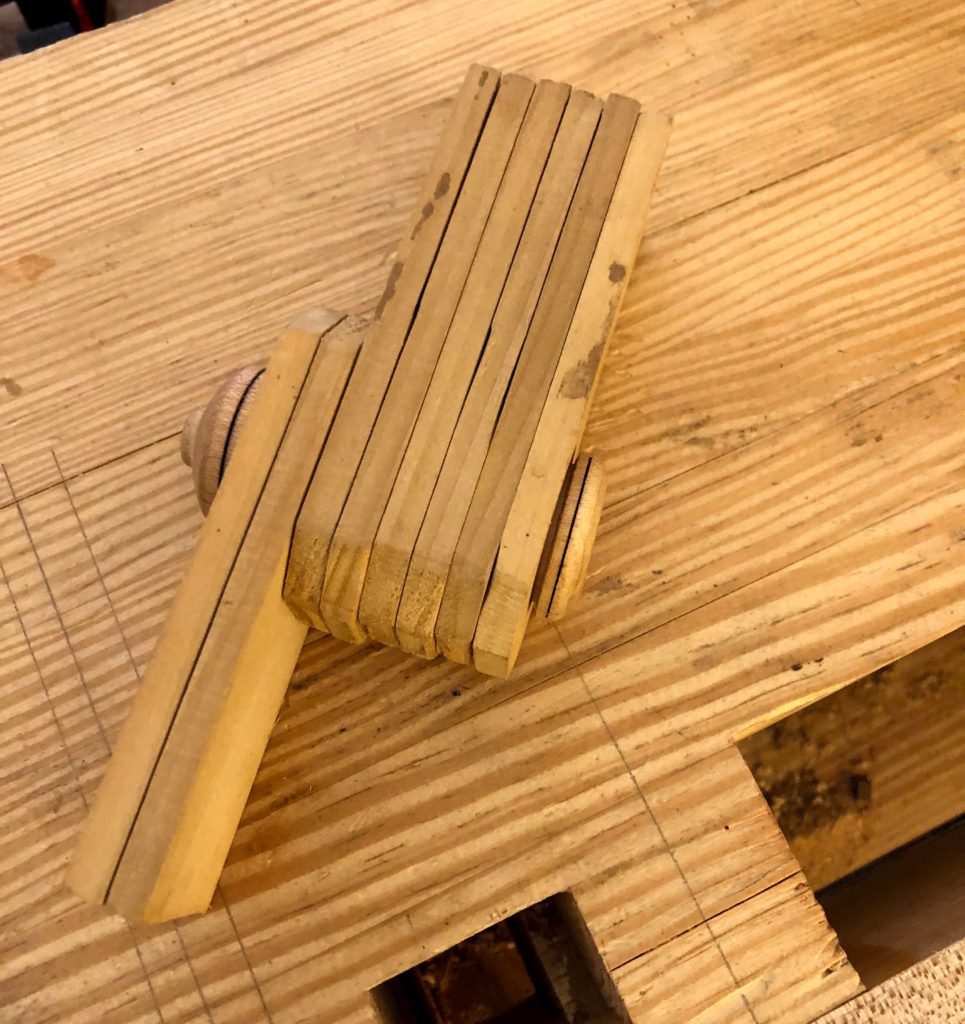
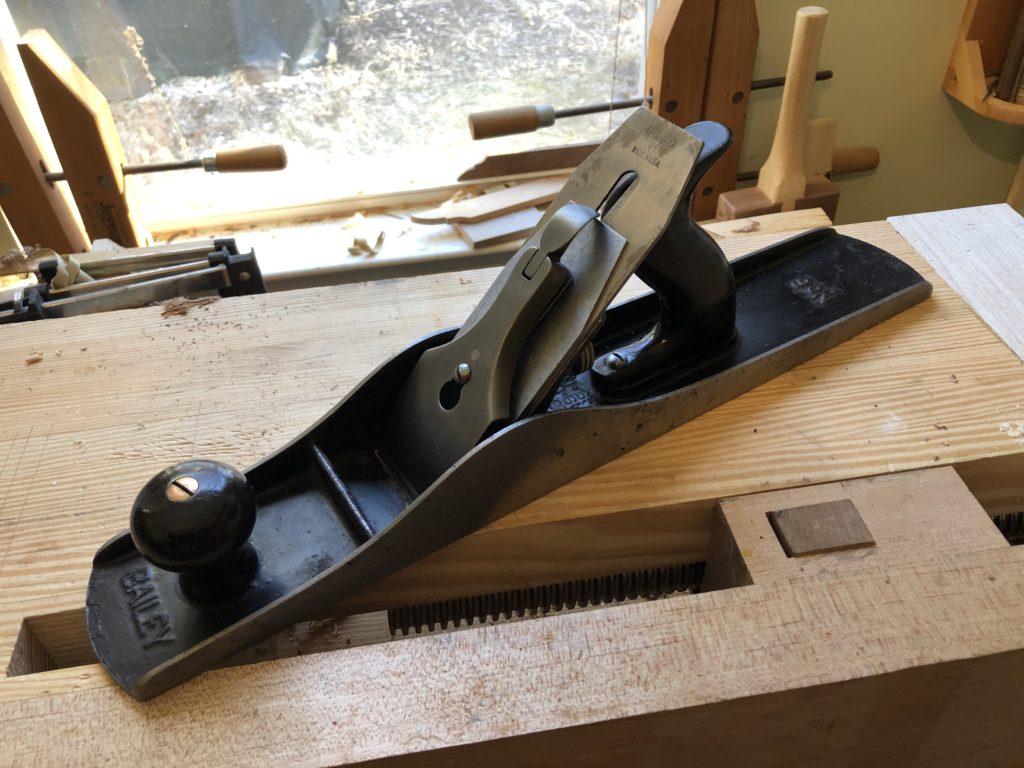
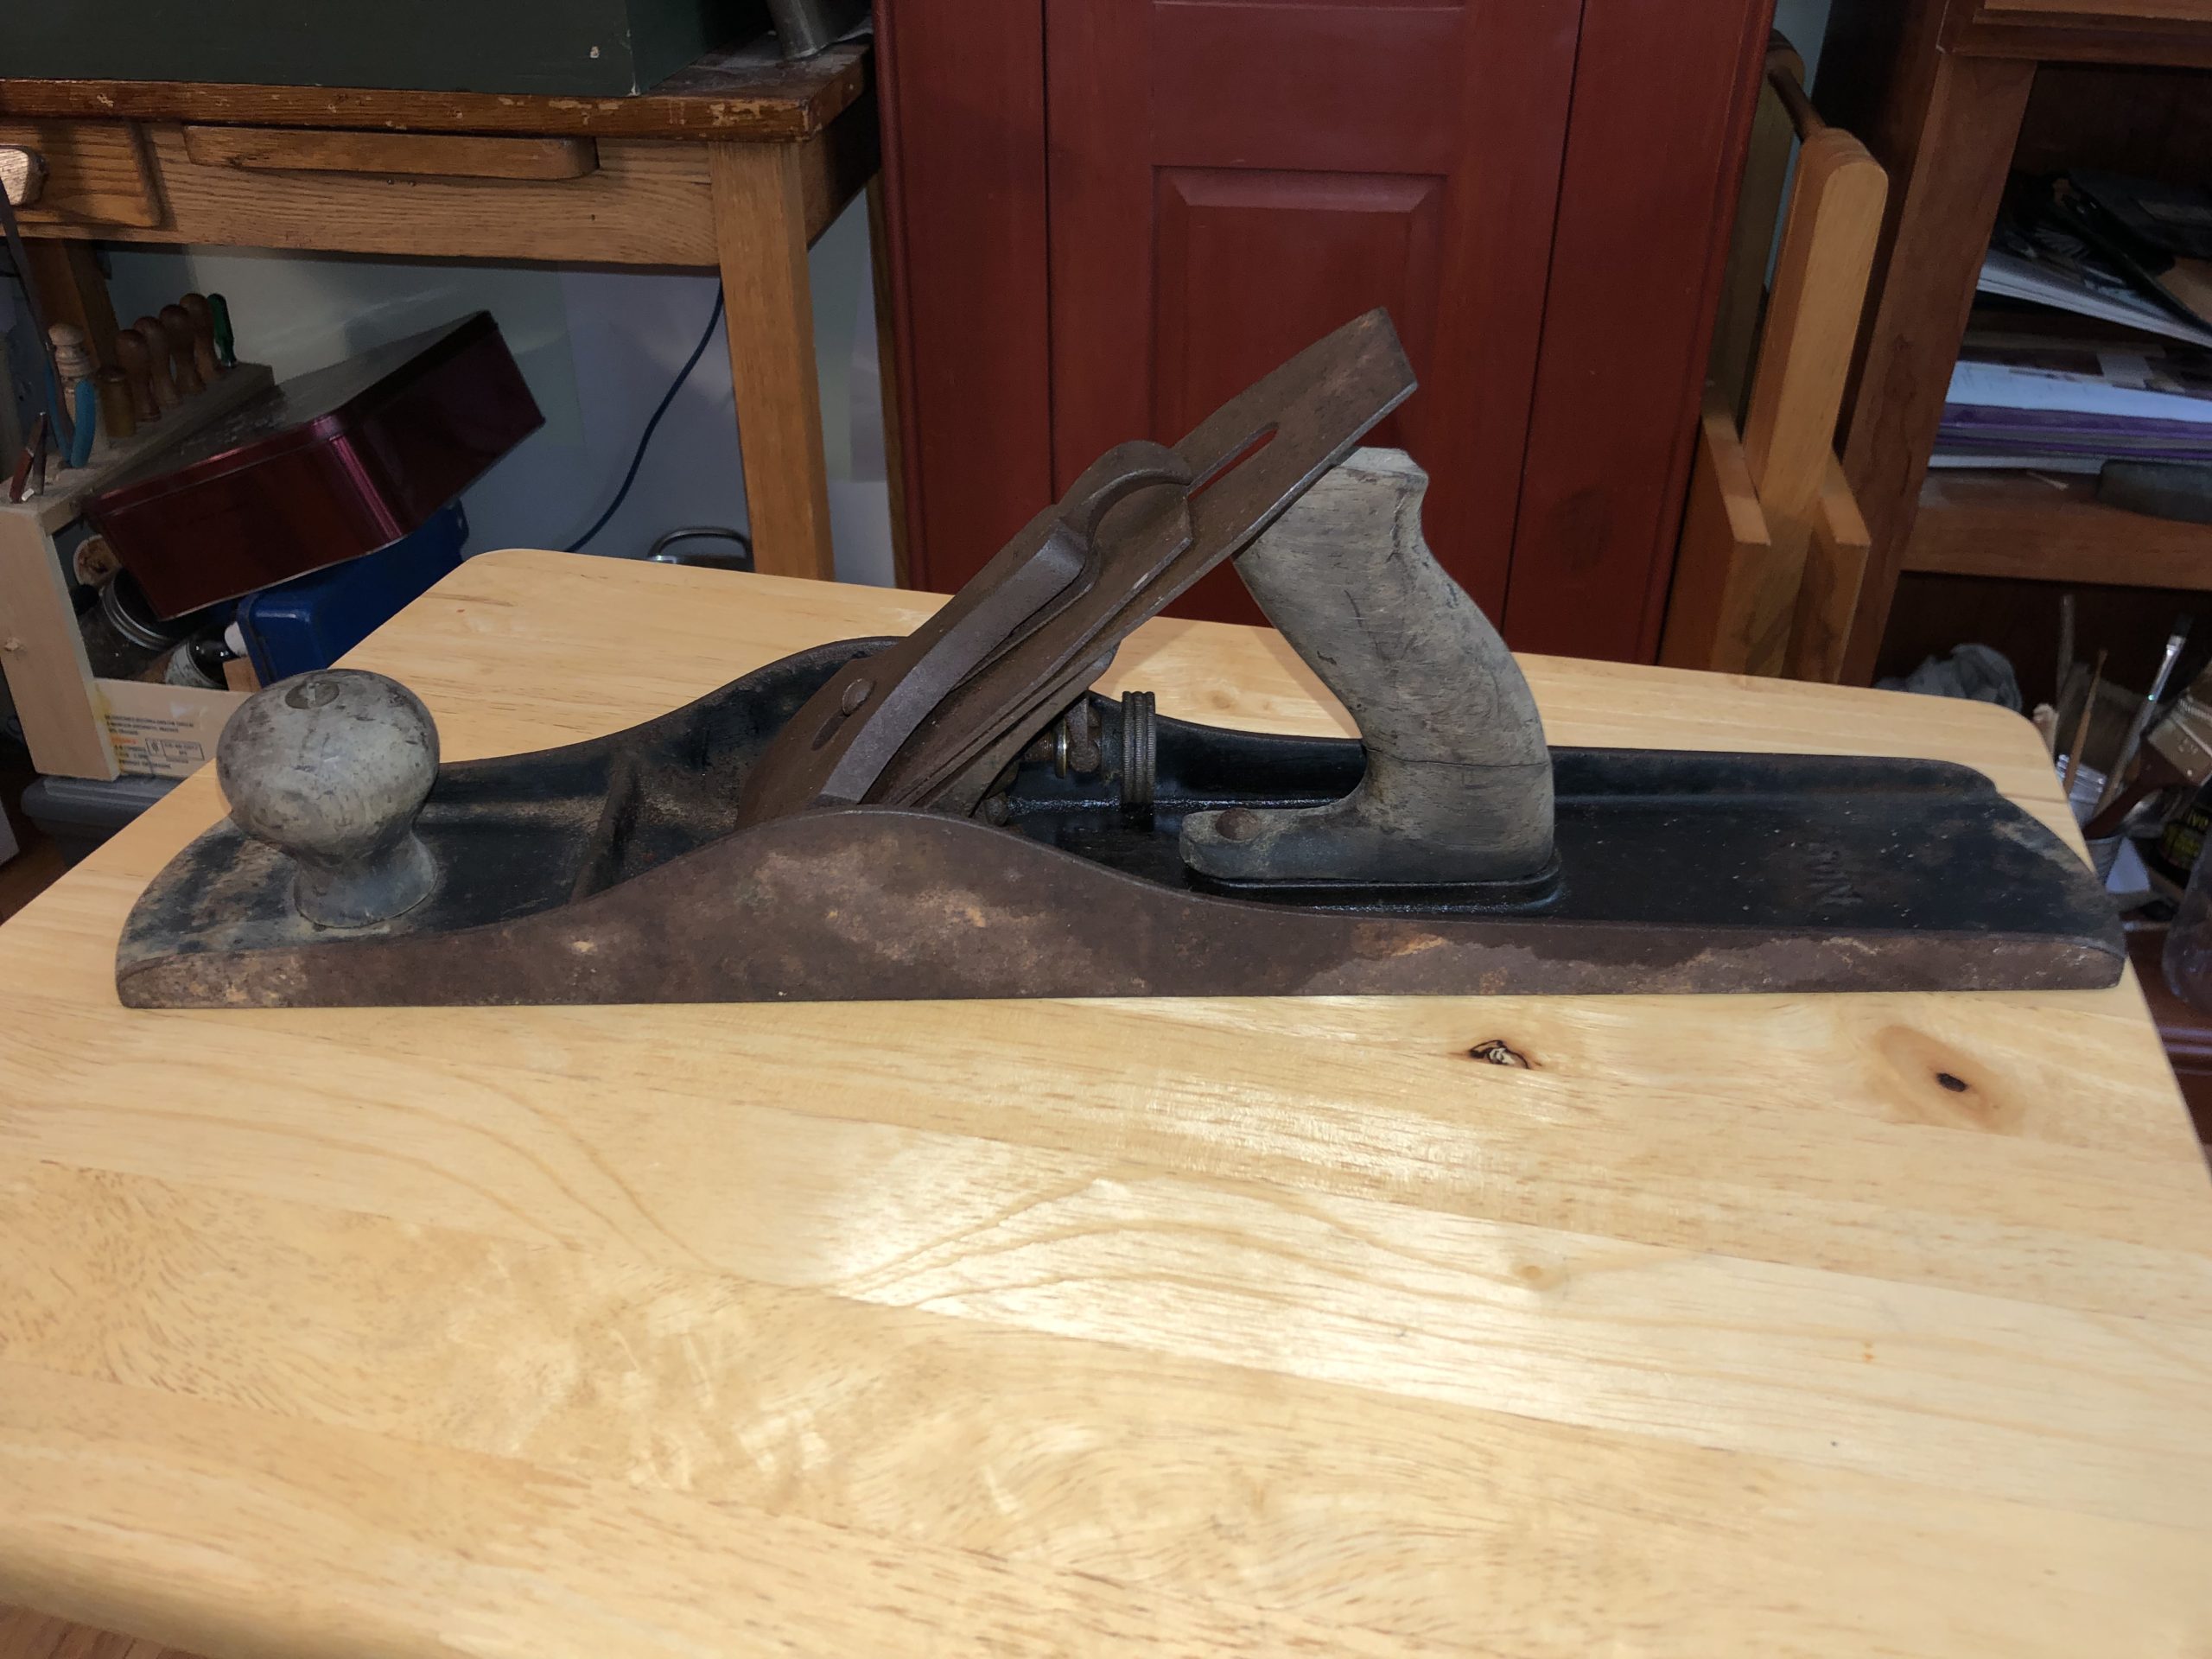
After 3 prototype 3D prints, I had my model close enough to be able to cut out and drill my test tote. That is where I am currently. My next step is to cut out my test tote and do a test fit. Then I will make a complete test tote of some wood I have on hand to make sure I can do the final tote. Also, while I was at it, I made a model of the knob as well. So here is a picture of the plane with the 3D printed prototype tote and knob. As I do not like plastic handles on my woodworking tools, these are of course only plastic (PLA) prototypes and not what will end up on the plane.

Stanley Number 3 Type 5 fitted with PLA test Tote and Knob

Be sure to tune in for part two of this story as I make the test tote.
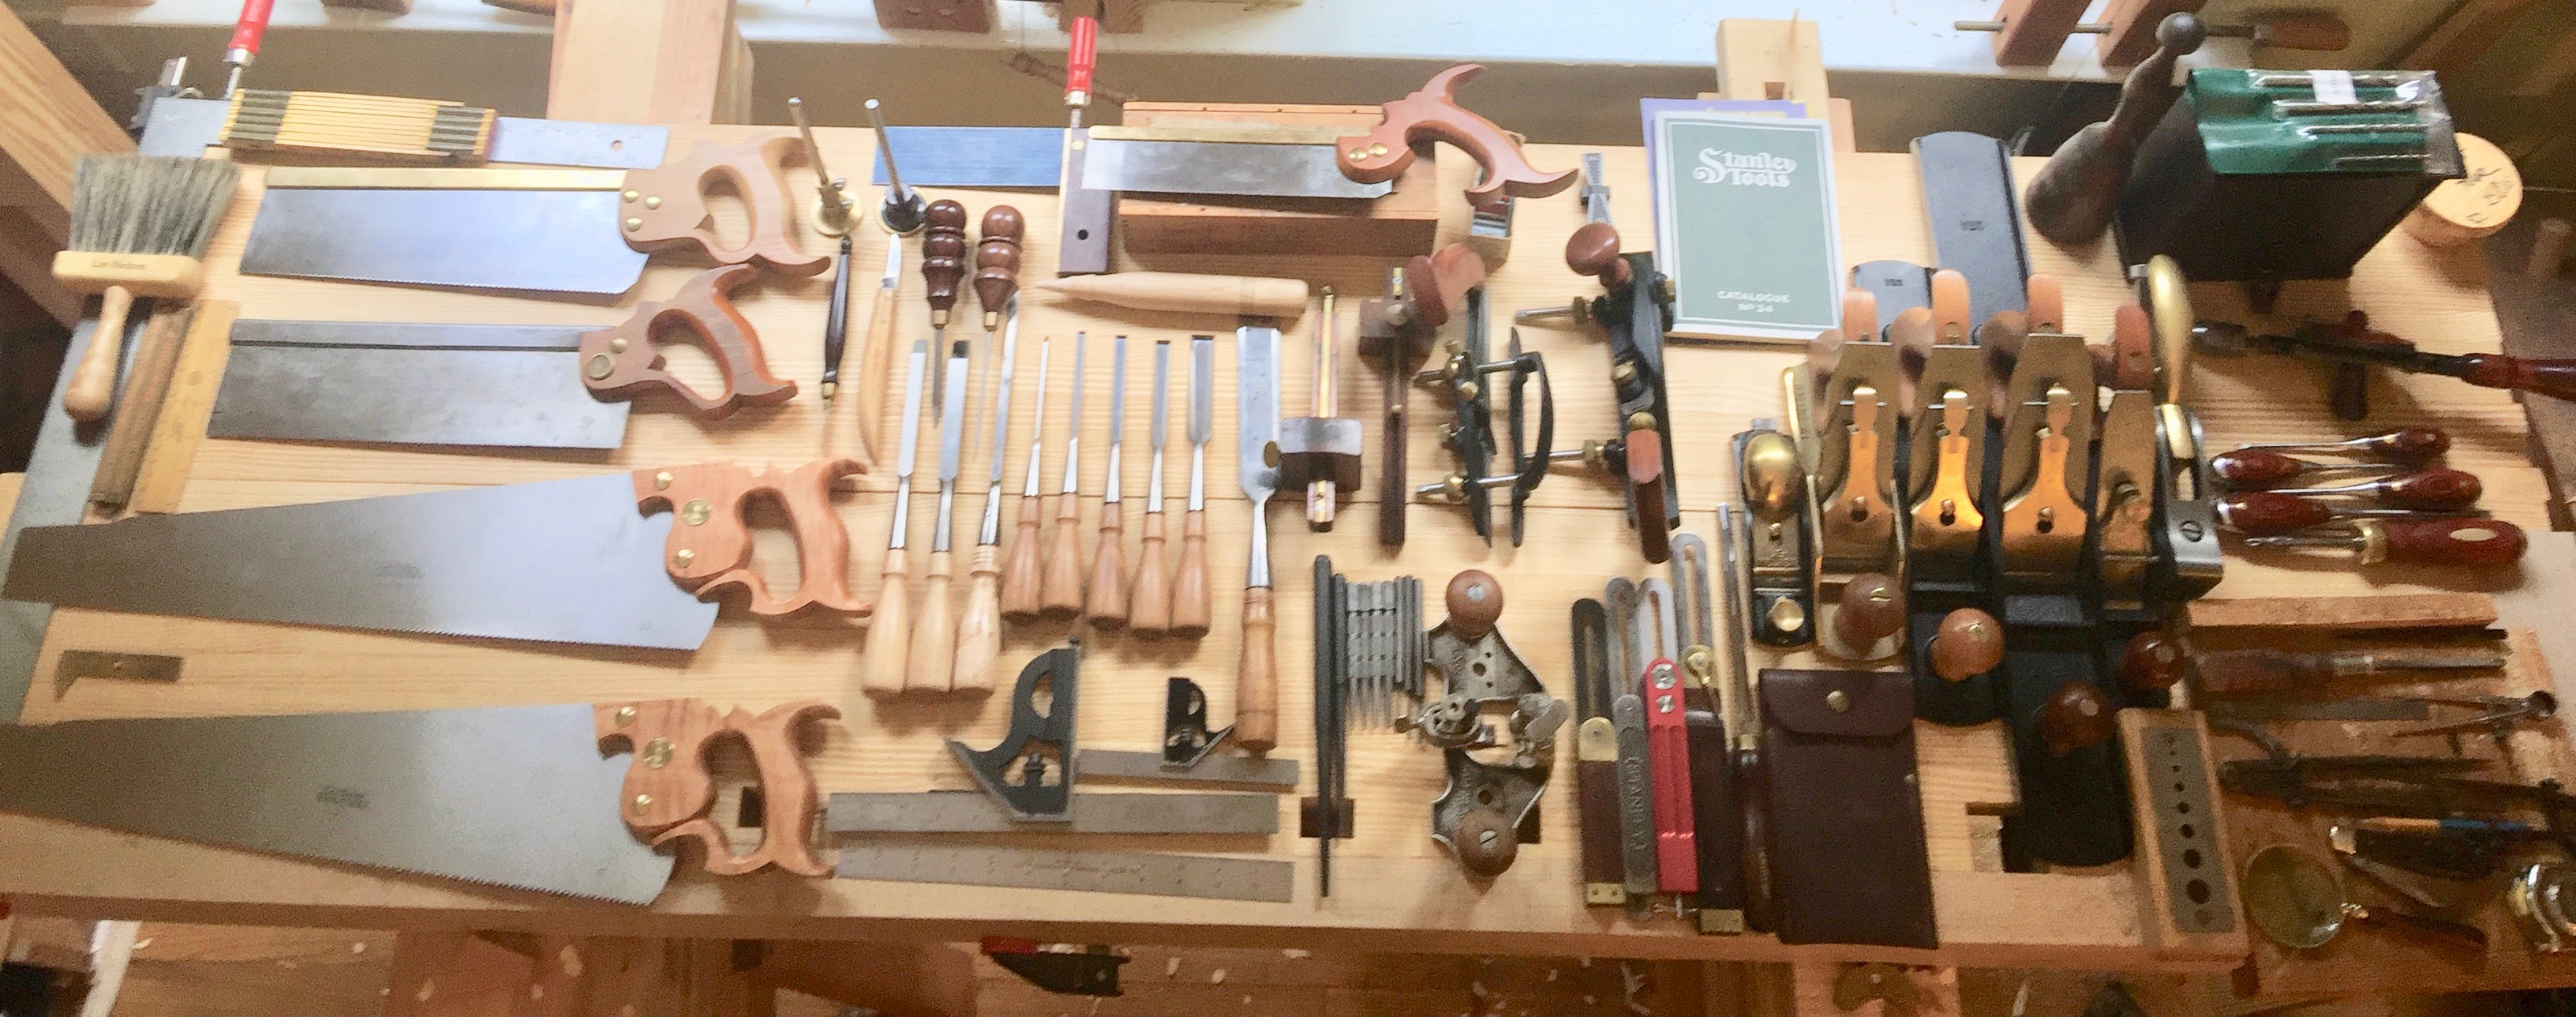
Wonderful World of Vises and Their Vices

My old bench had a vise that would rack, so I cut out several pieces of 4″ X 1 1/2″ x 1/4″ popular that I had lying around and drilled a 3/4″ hole (you may have to sand the holes or the dowel little bit to get the pieces to rotate easily) in all of them and inserted a 3/4″ dowel with 2 scrap turned end pieces screwed and glued and presto a variable anti-rack block, It can go from 1/” to 2″. This is not an original idea, I have seen wooden versions of similar rack stops on the internet and there is a plastic version of this in a Lee Valley catalog. It’s just really easy to make and works great!

Here it is in action with the 1/2″ selection or 1/4″ + 1/4″
Another Shot

Peace

Tools, Tools, Tools

Stanley No. 6 Type 11 Fore Plane

Yes folks, I’m talking Hand Tools. Hand Tools are one of my favorite topics. If you live in the South East like I do, then you are privileged to have some wonderful tool resources to draw on to add metal pieces of industrial art to add to your toolbox.

There are several places I search for these treasures of yesteryear. Two of my favorites are Craigslist and Marketplace. Sometimes they advertise rusty stuff other people just pass over, with patience, a keen eye and if you really look closely you can find some great deals.

Yard Sales are another place to find some really nice deals. People are generally unaware of the value of their old tools collecting dust in their garages. Also, most people are willing to negotiate price, so haggling is part of the fun.

Flea Markets, I love Flea Markets! But beware, dealers often know the eBay price of most of their items and have them priced pretty high. Look for the non-dealers and people that have boxes of rusty tools under the tables, that is where you’ll find a lot of great tool deals. That being said, if a dealer has a tool that you cannot find after lots of searching and it’s a reasonable price, it’s ok to pull the trigger and buy it. No guilt trip here.

Estate Sales, Estate sales are awesome and dangerous as you can get caught up and buy lots of stuff you don’t need. Go check out some near you and you will be rewarded by some really nice tools sometimes, and not have to pay lots of cash for them.

Thrift Shops are a good place to find tools. I found the plane pictured above at my local Habitat ReStore for $15. Yes, $15 although it was covered in rust and needed more work that I have ever had to do to any plane to get it in the pictured condition. Now, it’s a very nice tool and a valued addition to my tool inventory. Click here to see a picture of it before I cleaned it up.

The places I have mentioned up to now are really great and you can add lots of tools to your tool box from these sources without breaking the bank. As you get more experience and start to know what to look for in old tools, you’ll start seeing tools you may already have or do not use or need. That’s ok, because you can go ahead a buy them if they are a good deal, then resale them on eBay (tools sell really well on eBay) to help pay for you hobby, vocation, avocation or tool addiction. Keep in mind some of these tools may need some work if you plan to use them yourself, but a little effort will be rewarded by a lifetime of faithful service by these vintage beauties. I find that in getting them ready for use, you also learn a lot more about them and enhance your understanding and experience. I also consider it fun to see them emerge from the rust to become wonderful tools.

MWTCA or Mid West Tool Collectors Association. If you want to see a lot of tools, go to a local MWTCA tool meet. They have lots of vendors and regular tool owners selling (and buying) tools. You can learn a lot about tools from these vendors and the prices are usually pretty reasonable. They sometimes have estate sales at the tools meets and you can get some real bargains at those.

Last but not by any stretch least is Ed’s Tool Store over Roy Underhill’s Woodwright’s School in Pittsboro NC. A better collection of reasonably priced vintage hand tools will not be found anywhere in the South East. Do yourself a favor and Email Ed Lebetkin to find out when he is open and plan a trip to Pittsboro to see this store. You can thank me later.

Now that you have a full set of tools, go ahead and make yourself a tool box https://lostartpress.com/products/the-anarchists-tool-chest I can’t recommend this book enough. Chris Schwarz is an excellent writer and your whole concept of Hand Tools will be reset after reading this book. Just buy it! Get both the Hardbound and the PDF version if you can afford it. If not, At least get the Hardbound edition.

What tools do you need to start woodworking? Look here at a PDF I wrote to get a list of the tools I consider to be first in any beginners tool box.

May your shavings be thin and your joy abundant

-Aaron

Tool Chest Dump

Full Dutch Tool Chest Dump

It’s that time of year when the weather gets cooler and a young man’s thoughts turn to tools. Yes that’s right tools. I have been thinking a lot about tools lately.  But wait, you might say as you read this and possibly know how old I am, Aaron, your not a young man! Well everything has perspective and in the woodworking world, I am considered a young man 🙂  Any who, I have been thinking about tools for a few reasons;
1) I had a dear friend pass away not long ago and I have been helping his widow get the most value out of them by selling locally, online and at a recent vintage tool sale. (this is still ongoing and is likely going to take a few months to finish)
2) I have a very small shop, so I am very choosy about what tools go in there, so I have to sell tools all the time to keep from becoming a tool hoarder and being crushed by a falling stack of wooden planes or being sliced to death by improperly stored panel saws.
3) My dear long suffering wife has had to put up with my “hobbies” (too many to name here, it is a looooong list) and the attendant mess that comes along with said hobbies. I need to reorganize so that means optimizing the space I take up ( this is currently 2 complete rooms and part of our bedroom and part of our living room :-/ .)

This brings me to to the topic of todays blog. “Tool Chest Dump

After a few years of using the Dutch Tools Chest, I love it even more today than when I finished it. It has stood the test of time and keeps my beloved tools safe and secure from dust and the ravages of the shop environment.  While usable I have not actually finished it. In my enthusiasm and need for the storage at the time, after paining it, I promptly loaded it with tools and and it has been there working every day but not yet complete. That changes now. That means I have to dump out the contents (read carefully place the contents on my bench) to proceed with the project below.

I have been mulling over the finishing touches and some upgrades and adding some features to my Dutch Tools Chest . I have never trimmed off the bolts that hold my handles and this makes me nervous when I moving my No. 4 in and out as it could damage the tote handle.  I would also like to install a holster for my nice block plane. I have added some additional tools to the chest and I would like to find or create a better solutions for them, namely some mortising chisels and a 1 1/4″ Firmer chisel. All the other tools have a “home” and are quite happy there.

First the block plane holster

Chris Schwarz put this one in his chest and I am going to do the same thing in mine. My block plane is very nice and I don’t need it knocking around the chest, but instead safe and sound in it’s own home. I have some scrap leather and it should not be an issue to create a holster.

Handle bolts

These are a bit trickier. I do not have a Dremel tool and cutting them with a hack saw is not ideal as there are 8 of them and I dislike using a hack saw. I believe I will use my grinder to grind down 1 bolt to see if that works. I need to remove about 3/16″ from each bolt and I can quench them in water to keep them from loosing their temper.  After shortening the bolts, I will recess the inside bolt holes to make the nuts more flush and then nail some light 1-2 lb. leather to cover it.

Additional Chisel Storage

I’ll have to get back to you later on this one. This chest is pretty packed as it is and I will really have to get creative. It can be done but it will take some soaking time to come up with a usable and practical solution.

The Dutch Tools Chest after 4 Years Use

The chest is in amazing shape. It has been rock solid and has survived a couple of trips to the Woodwright’s School. One aspect I love is the breadboard top. It was made to allow for the seasonal expansion and contraction of the large poplar board that makes up the bulk of the top. You can see in the winter that it contracts about 3/32″ and the side rail protrudes while the poplar board contracts and then in the summer (when I made the chest) it comes right back to flush. Wood movement in action boys and girls is a cool thing as long as you plan for it 🙂

-Aaron

P.S. If you have any questions about the tools listed in the top picture or anything else in this blog, just click the “CONTACT US” link in the menu and I will be glad to help you out.

Finished finishing

As promised, here is the finished cabinet. This was a fun and quick project to do and it was so needed in my shop. It was quick because milk paint dries crazy fast and the top coat is only paste wax.

“Happy Shavings”
-Aaron

Click HERE for my YouTube video of this project.

Cabinet Refinishing Project


Cabinet Before Painting

Sometimes a project just screams “You must complete me now!”. Well, that is what my latest project was saying to me. I was lucky and picked up a nice pine standing cabinet from Freecycle.org a while back and it looked like it only had one coat of polyurethane on it and the cabinet looked to be 15 or 20 years old. I knew it wold make a great addition to my shop as a paint and adhesives storage cabinet.


J.E. Moser’s Milk Paint


I removed all the hardware and sanded it with 280 grit sandpaper. My plan was to use Lexington Green milk paint from J.E. Moser’s as this is one of my favorite colors. But when I checked I only had enough for a small project. I did have quite a bit of the Salem Red.

Fortunately whoever originally finished this piece did not put many coats so the sanding went pretty smoothly. There were some dings and I had to set a few finish nails, but nothing major.


Cabinet with one coat of milk paint

I have to say, I am really starting to love milk paint. It is non-toxic, has no fumes, dries quickly, water soluble and it looks great.  Here is a good site with lots of information about milk paint if you have never used it before. The first and second coats do not usually look very good, but the third and fourth are really nice. This piece was an exception, It took the milk paint like it had been waiting for it. This piece has been an absolute pleasure to paint! New wood sometimes resists milk paint especially if it still has some moisture in it, but this cabinet is very dry and been really fun to paint. 

After I finish the painting, I will take some brown grocery bag and crumple it up and really give it a good buffing. this will burnish the surface and get it ready for the paste wax top coat.

Check back tomorrow to see how it turned out 🙂

Shop Cat helping paint dry

“Happy Shavings”
-Aaron

P.S. If you have not seen my YouTube channel click => Here to check it out or click on the YouTube link on the sidebar.

Roubo Workbench – update 4 – Roubo to the Rescue

You know the the saying, “Everything old is new again?” As you may or may not know, I have been in the process of building my workbench for over a year now and I have been struggling with the benchtop glue-up as I have fewer clamps than I would like and my boards for the top were slightly bowed.  Well, after getting my copy of “Roubo on Furniture” from Lost Art Press a few months ago, something I saw in the plates, specifically plate 18 had my subconscious mind working. Specifically the “straightener” that Roubo talks about for edge gluing boards in figure 19 of that plate.

roubo_straightener

Suddenly a few weeks ago, It came to me, I could use straighteners to face join my benchtop boards and solve several problems at once. First and foremost, it would solve my clamping issue as 2x4s are cheap and would be sufficient for the task. Second, it will help straighten the bow out of my boards as gravity will do most of the work. Also, as a side benefit the top will be mostly flattened up against the upright boards called “twins” (some flattening work is always needed after glue-up).

I need to slightly modify the design to accommodate the wider face of the boards, so I would need to make wider wedges to ensure pressure is applied to the full width of the boards being clamped. The benchtops I am gluing up are only 11 inches in width so the twins do not need to be very long, in my case I am using 24 inch long boards. I am also going to apply paste wax to the twins inner surface to keep the glue squeeze out from sticking to them.

Below is my test setup with some narrower wedges, but sighting down the boards, they look very straight and no bow at all. I have looked for examples of this procedure for face gluing boards and I could not find any.

IMG_5951

Thanks to Andre Roubo and Lost Art Press, I am back in the workbench building business and hopefully in a couple of weeks I will have a fully functional and beautiful workbench (not like the pathetic one seen in the background).

Peace,
-Aaron

Hand Tools, Power Tools or a Combination

My Way of Working Wood

There are currently 3 camps in the woodworking community on which types of tools to use in woodworking,

  • Traditional Non-Power Tools only
  • Modern Power Tools (with some limited non-power hand tool usage)
  • A mixture Traditional and Power Tools

Traditional Non-Power Tools Only

Let’s address the “Traditional Non-Power Tools only” category first as it was the first method used by woodworkers for millennia before power tools were introduced in the late 19th and early 20th centuries. Through innovation and experience, hand tools were developed to the point of near perfection by the time power tools came on to the scene. In all categories for tools to work wood, there were specific tools and processes to shape and manipulate wood. Some of these processes and techniques were preserved in written works by Moxen and Roubo and others. Some have been lost to the ages.

Thanks to the efforts of numerous historical societies, Roy Underhill, and Chris Schwarz at “Lost Art Press”, some of these lost techniques have been resurrected or rediscovered allowing woodworkers everywhere to learn these techniques in order to make more historically accurate and more importantly, better built projects based on this knowledge. Roy and Chris are my modern woodworking heroes and have helped make me a better woodworker.  I have had the good fortune to take classes with them in person and glean from them some of this knowledge. This category is gaining more converts every day thanks to the efforts of these men and others in this community who are teaching and sharing their knowledge through the internet and in person in classes and workshops across the world.

As late as 10 years ago in 2000’s there was only a few tool manufacturers who made high quality (as compared to tools make in the apex of hand tool use in the late 19th century). Now we are seeing a new market for these tools and more companies are arising to fill this need. The motivation for companies to produce these tools is linked to this growing community of woodworkers that demand a) High quality durable new tools and b) For them to be made domestically e.g. Made in the USA. One such company is Lie-Nielsen in Warren Maine. Their commitment to quality is second to none. In today’s economy these tools are very expensive, but they will last you a lifetime of dependable usage.

Modern Power Tools

Next, we have the power tool usage category. This is the category that has emerged and evolved over the 20th and 21st century and is used in most all manufacturing and the majority of the amateur and hobbyist woodworking community today. As a young man growing up here in North Carolina, this was the woodworking world I have known from childhood and the one that most frustrated me. First as a child, I remember my dad and also my grandfather using these tools and smelling freshly cut wood and loving that smell.

As a child, I could not operate these dangerous machines, but later as a young man, using hand power tools, I built items that were less than optimal because I had no formal training other than high school shop class where I learned how to use a lathe and how to draw which would come in handy later. The internet had not yet been invented, so YouTube was years away.

There was one thing working in my, and other workers favor, it was the “New Yankee Workshop” with Norm Abram. This show taught me some important techniques and that amazing things could be built if you had all the right tools and a large shop to use them in, but these tools were expensive and generally out of my price range to buy at the time.

Frustrated, in 1997, I decided to sign up for a woodworking class at the North Carolina State University Crafts Center. This was a shop intro class where I would learn the basics of all the major woodworking shop equipment such as the table saw, band saw, power joiner, lathe, disk sander and planer. I also learned how to grind a bevel on a chisel, I built several projects and gained a lot of experience and appreciation using these tools. There was always something about power tools I didn’t like, they scared me, even today I have a healthy respect for how quickly they can hurt you. After that class, I collected various power tools for use in my shop. Currently I have a very nice contractor’s table saw, a vintage Rockwell band saw, a bench drill press and a vintage Craftsman scroll saw and various hand power tools.

Admittedly power tools take less skill to do basic operations and they speed up some jobs quite considerably. One of my sayings is “modern materials need modern tools to work them.” For example, try using a hand saw on a piece of plywood, it will work, but it won’t be pretty.

A mixture Traditional and Power Tools

This brings me to the mix of Traditional and Power Tools. For me, this is the best of both worlds. You can breakdown stock quickly with the power tools and then craft the wood with the pleasure that is hand tools and keep the tool marks and techniques that any woodworker from the early 19th century would recognize. I keep my power tools and hand tools separated (with the exception of the lathe, which I keep my hand tool shop) as the power tools create too much dust and noise, they can not be used in my shop which is inside my house.

Cutting Hand tools rule no. 1 – They must be sharp. This was the first and most important lesson when I took a dovetail class at Roy’s Woodwright’s School in Pittsboro, NC. I didn’t know what a sharp tool was until I took this class. Sharpening your hand tools is a gateway skill that will dramatically and irrevocably improve your ability to work with hand tools.

Unless you are working at a historical preservation site like Williamsburg, or some other similar historical site (or if you are commissioned with a hand tool only order), using only hand tools is not necessary. The way I look at it, power tools do the work of an apprentice and as I do not have an apprentice, the power tools will suffice. I do make exceptions to this in a couple of cases. 1) I use only hand tools when I make a “special” project that I want to be completely done by hand and 2) For modern type projects using modern materials (Like plywood), I will use modern methods and tools.

I do not see the two camps as being mutually exclusive, I happily live in both worlds and I believe my projects have benefited by using both hand and power tools. But given my preference, I will always gravitate to traditional hand tools. I feel a bond to all those woodworkers from the past that used these same techniques and know that we all share the same experience of the unique feel, smells and sounds while we shape wood to our will.

Peace,
-Aaron

Roubo Workbench – update 3 – Tail Vise Puzzle

2015-11-21 10.27.00

Tail Vise Rails resting on the bottom of the bench top for a test fitting

At long last,  I am back working on my workbench.  There was a brief delay because life happens.  For reasons I won’t bore you with (cat fostering), I was unable to work in my garage for the past 2 weeks and I was not able to make any workbench progress.  Fortunately,  I am back in business and I made a major step forward yesterday.  I finished the cavity for the tail vise to be installed in.  I have the pictures showing the “finished” cavity below.  Suffice it to say,  I am glad to get that part completed so I can get on with the rest of  the workbench.  As you can see in the photos, I have not glued the boards together for the front part of my bench.   I will probably do this tomorrow.  Then I can start gluing the remainder of the boards together  to finish assembling the top.  Right now the exact dimensions of the cavity is not important.  I will need to finish the top surface of the workbench before making any precision cuts to mount the tail vise.  In the following pictures you will see the boards clamped together and then expanded to show how each one is individually cut to form the whole. I did purchase some soft maple to attach to the front of the bench because it will get the most abuse from clamping and other activities,  so I decided to make it out of maple.  Also, it will be dovetailed into the side maple piece which the tail vise will be attached.

-Aaron


2015-11-21 10.27.42

Clamped without the Tail Vise Rails

2015-11-21 10.29.04

Expanded to show each board

2015-11-21 10.29.12