
Well, it has been too long since my last blog post. I have had a lot of things going on and have not had a lot of shop time, but that dry spell has ended, and I finally got some time to work on my Spring Pole Lathe (SPL). Earlier, I completed the short vertical side, but I did not blog that, so this will cover all my SPL efforts to date.
I am making my SPL out of Southern Yellow Pine (SYP). First, I would like to discuss the condition in which you find SYP. This stuff comes very heavy with moisture from the the home center, Home Depot, in this case. The only good board that I found was really dirty. After I cut it up to rough size, I had to plane it to get the top dirty layer off. I did not want to use my good vintage jack plane for this, as I did not want to dull it, so I used my crappy late-model Stanley #5 jack plane (I made it somewhat better by replacing the plastic front knob and the tote – thanks, Ed!). I used my scrub plane on surfaces that had a lot of material to remove, or were really dirty…I love my scrub plane, it saves me so much work.
After planning the stock, I squared and trued it. Then, it was time to start laying out the short vertical. As you can see on the plan here, (http://www.woodturnersofthevirginias.org/wova_documents/treadle_lathe/spring_pole_lathe.gif) the mortise and tenon are split, and this was a challenge. I just plunged ahead and drilled 1/2″ holes and chopped out the rest with my new Lie-Nielson 1/2″ mortising chisel. This chisel is definitely a much nicer chisel than my old one I bought from Lee-Valley on sale for a set of 6 Narex. The LN chisel cost more than the whole set of the Narex but it’s worth it. Another example of “don’t cheap out on tools, you’ll just waste your money.”
One note about the feet of the SPL. I find it very difficult to cut out long straight runs where the saw cannot start the cut, like under the foot in the hollow section. So I drilled out the curve with a 1″ drill bit and used a keyhole saw to bring the cut around to the straight section. I went far enough to fit my panel ripsaw in the slot, and proceeded to cut the rest of the way to the far end. This worked great, and this is how I will do this operation from now on.
The ogee curves on the the feet presented me with a challenge. Should I saw them out, chisel them, or what? I decided to do both. First, I saw cut a tangent that intersected both high points. Then, I cut out a “V” in the valley of the ogee curve. This got me close enough to use the chisel to chop away even more; being careful not to go too deep, and always chiseling downhill to the grain. Then, I followed the chiseling with my rasps; first the course rasp to remove the most material, and then, the fine rasp to clean up after the coarse. This left a really nice finish, and will require only minor sanding.
I repeated the same process for the tall side, and then it was time to put the ogees on the shoulders and cut out the upper portion on the tall side. I used a compass to draw 1/2″ arcs of the small ogees on the shoulders, and for the top of the short side, I used 3/4″ arcs. I then marked out the taper on the upper portion, and cut both sides with my rip saw.
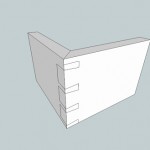
Next, came the two bed rails and the the bottom stretcher. I trued them up and cut all three pieces to the the same length. I then aligned all ends, and marked them all at the same time for the tenon locations, with a framing square. This ensured consistent spacing on all three tenons, and the uprights are parallel. I cut out the tenons on the bed rails, and the stretcher rail, and then started on the mortises.
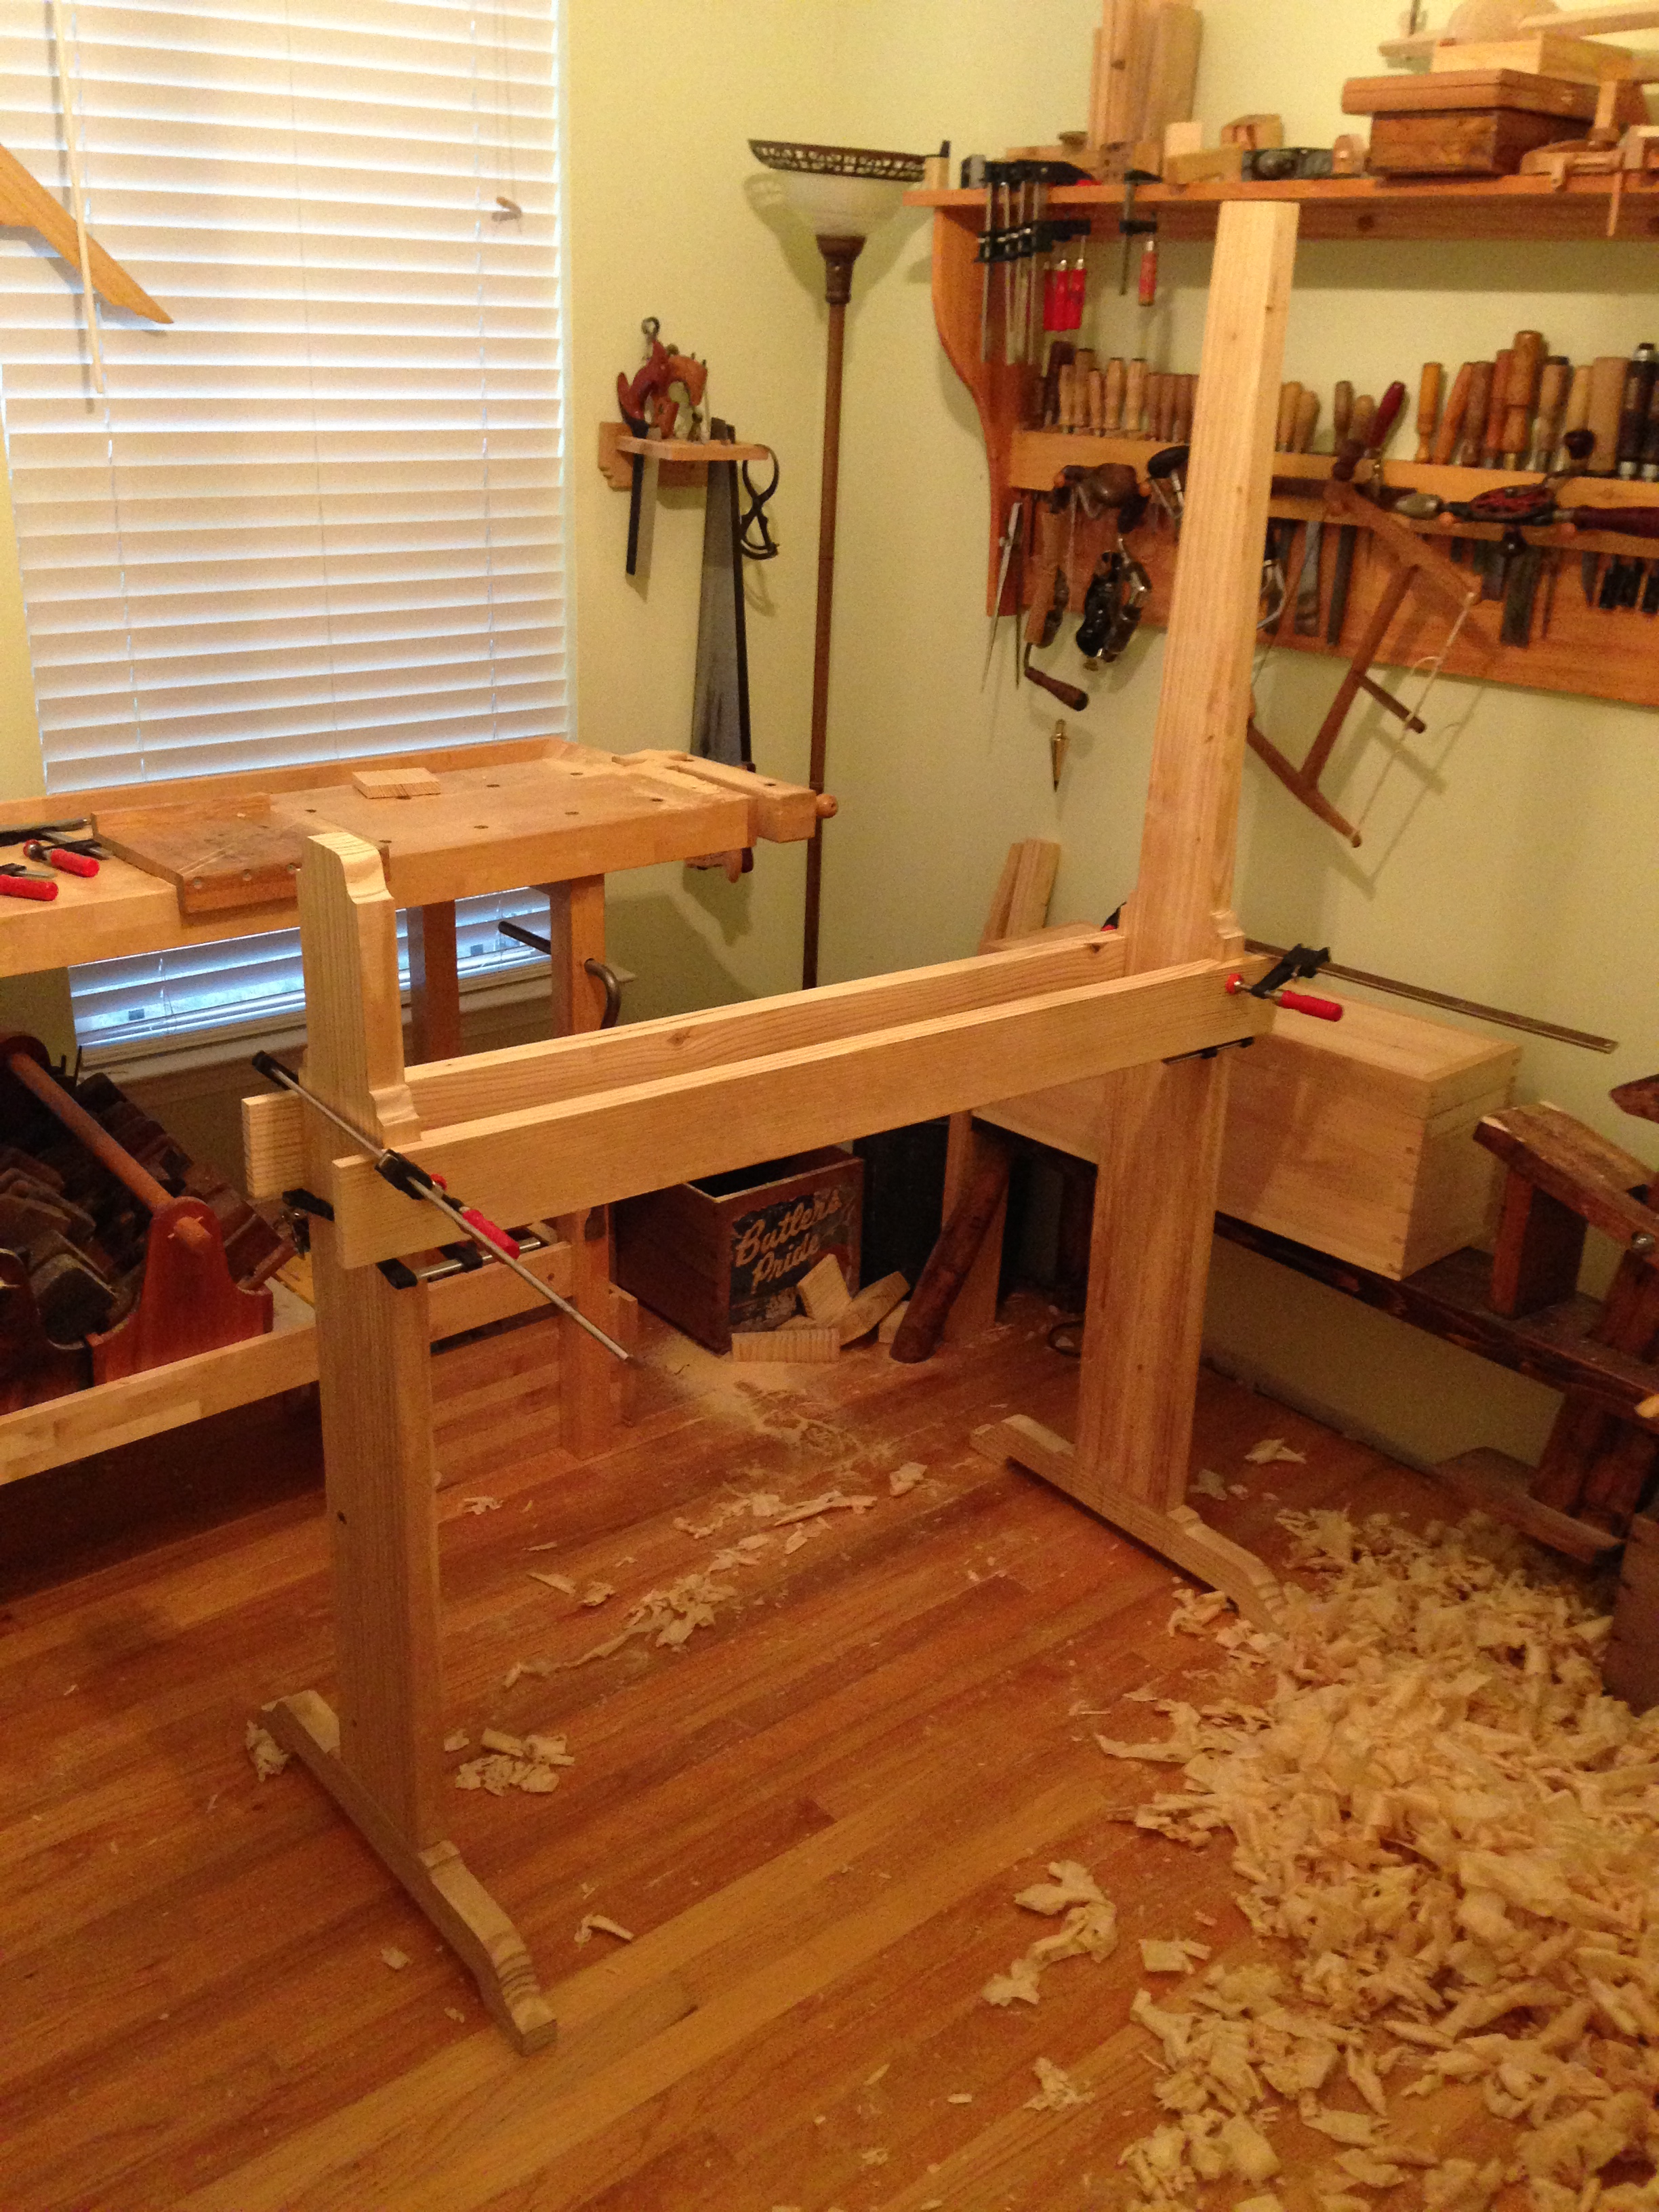
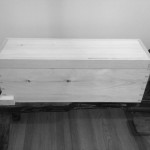
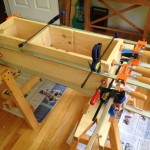
Side view getting an idea of the bed rail fit
For the bed rails, it is important to have them planed to the same height. The bed rails have to be level to allow the tail stock to slide freely and not bind. Likewise, the inside faces need to be planed flat to each other.
Before putting the mortises in, I trued the uprights. After cleaning and ensuring both upright-end’s mortise and tenons were tuned, and a good fit to the feet, I used a block plane to shave off the high-side foot, until the upright showed level and square to the floor.
To mark the mortise locations, I used a 3″ spacer between the bed rails, and clamped a support stick on the upright to support the rails while they were being marked on the uprights. I was very careful in setting this up as to ensure the bed would be level, and consistent, in width along its length. I really took my time to ensure this step was done precisely.
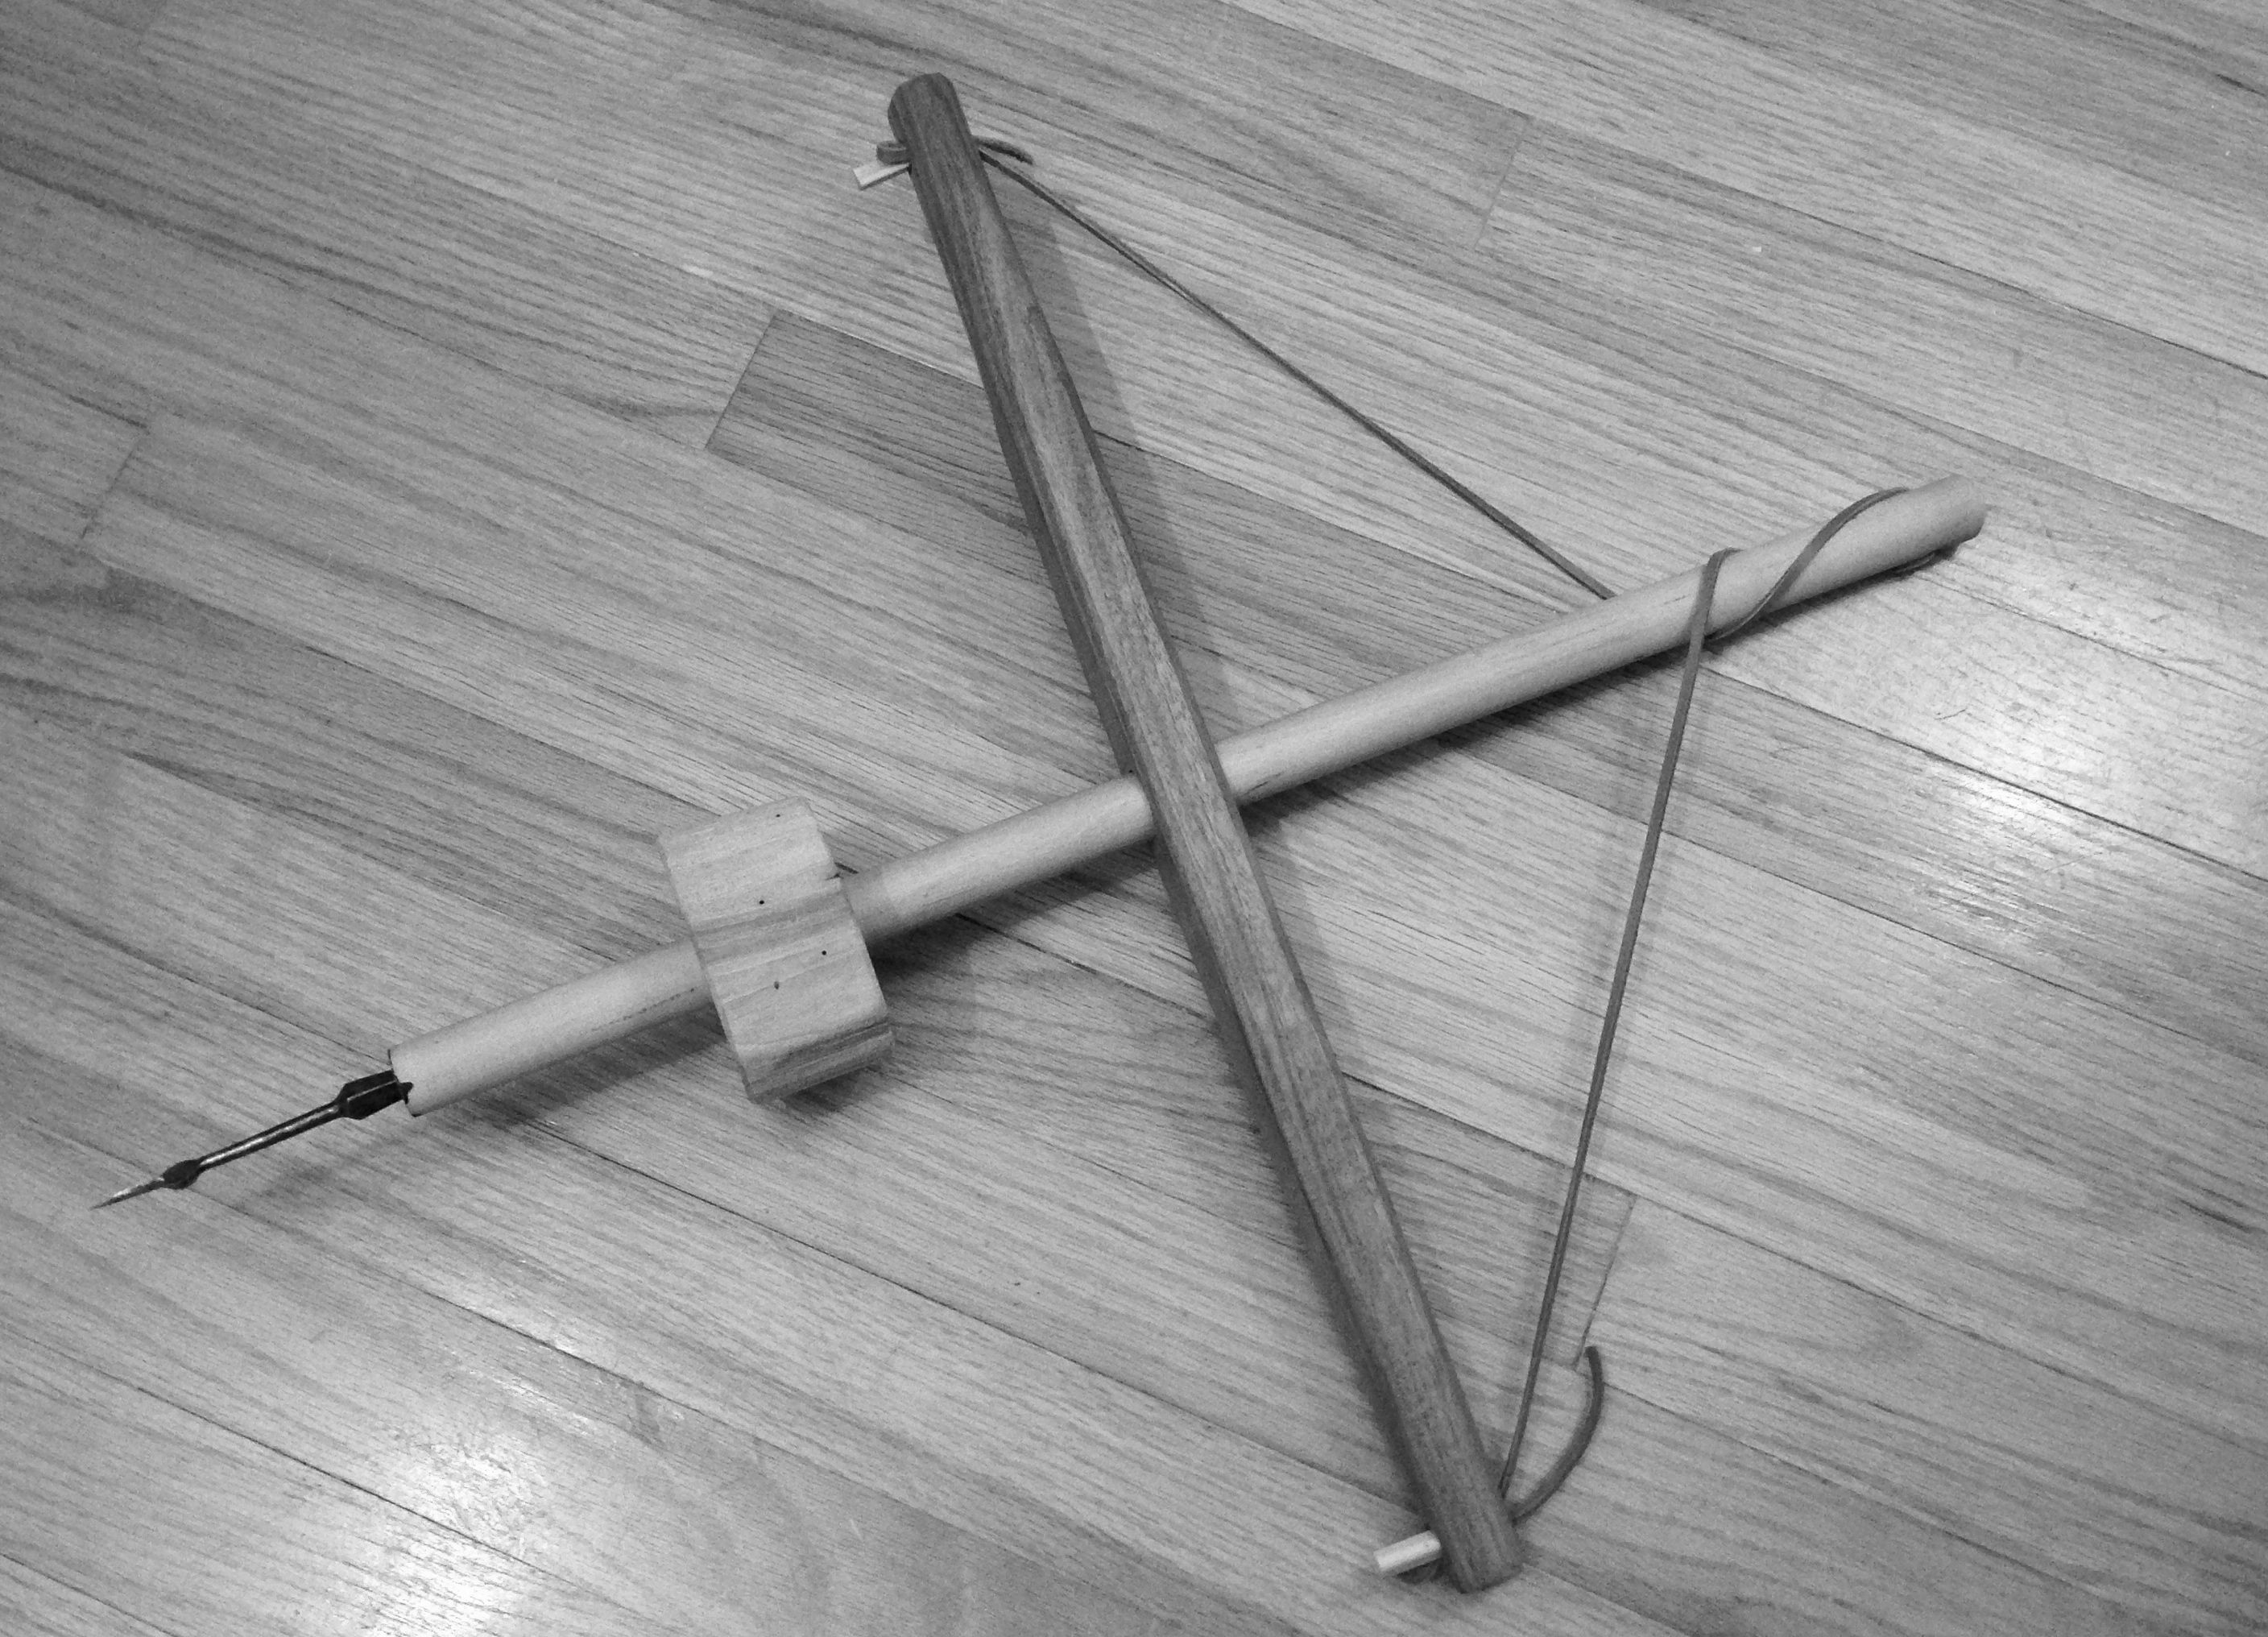
Round or square wedges? Well, Roy used round so that is what I chose.
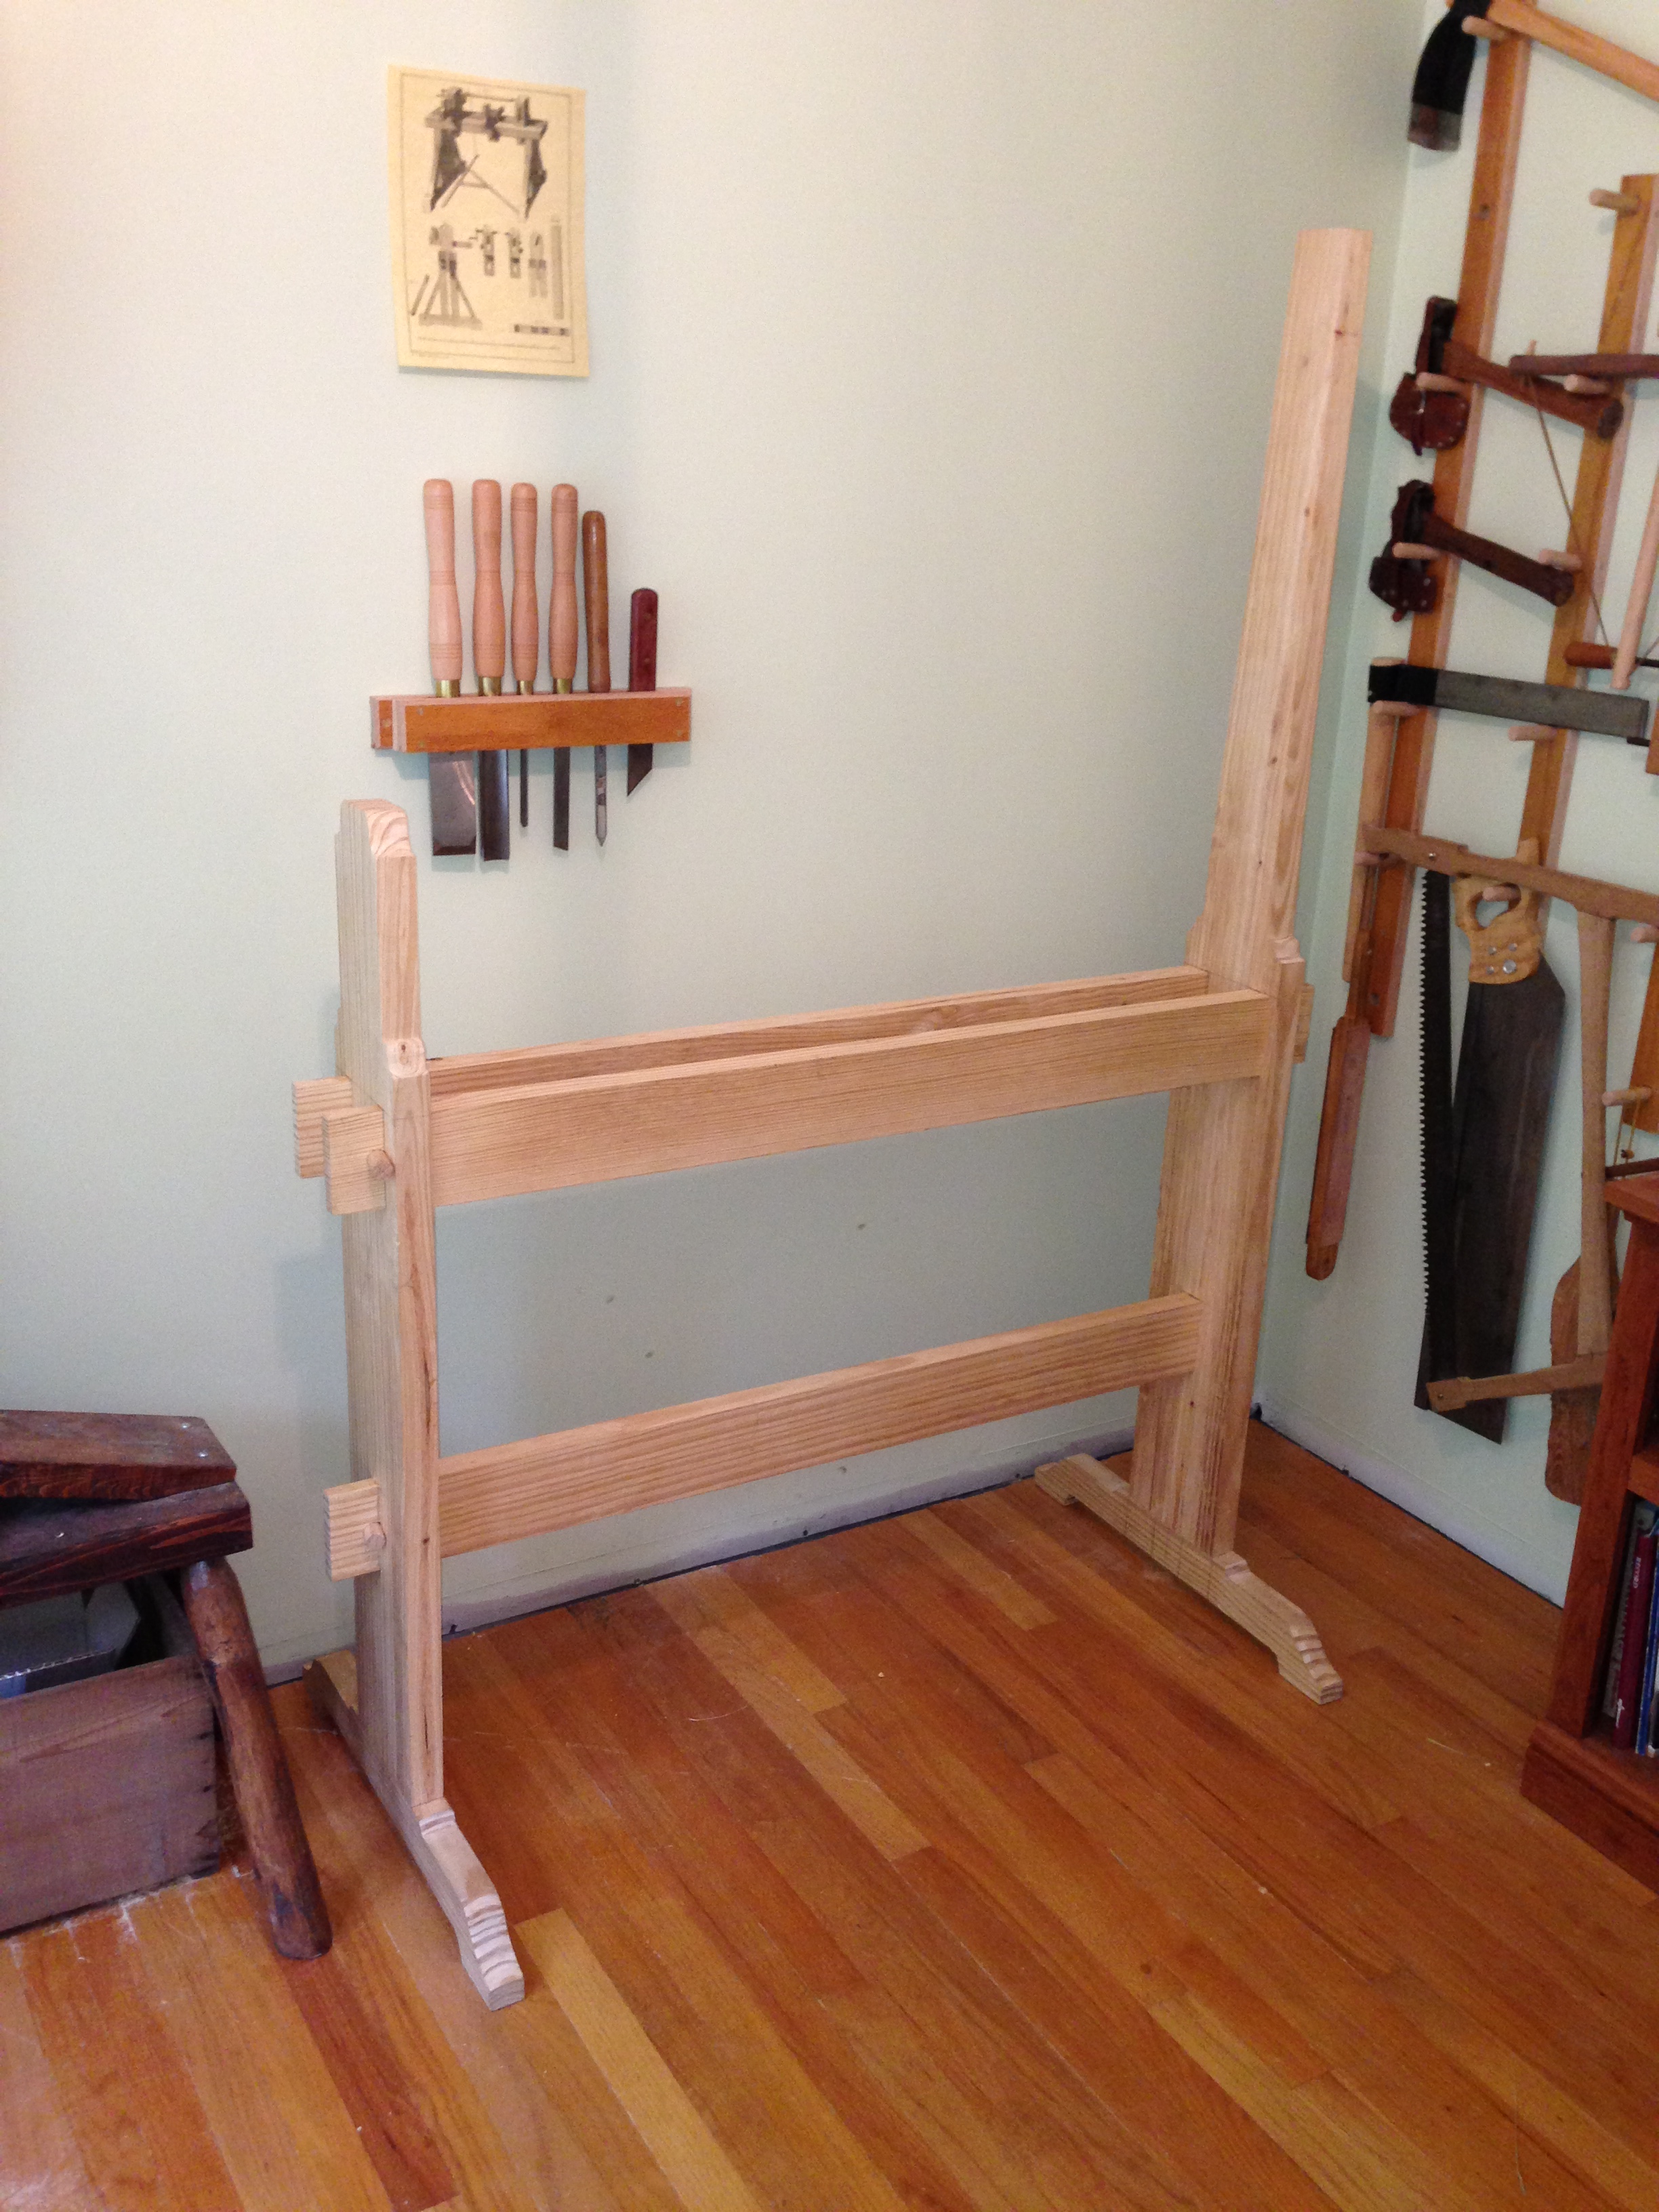
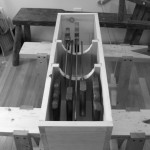
Side view
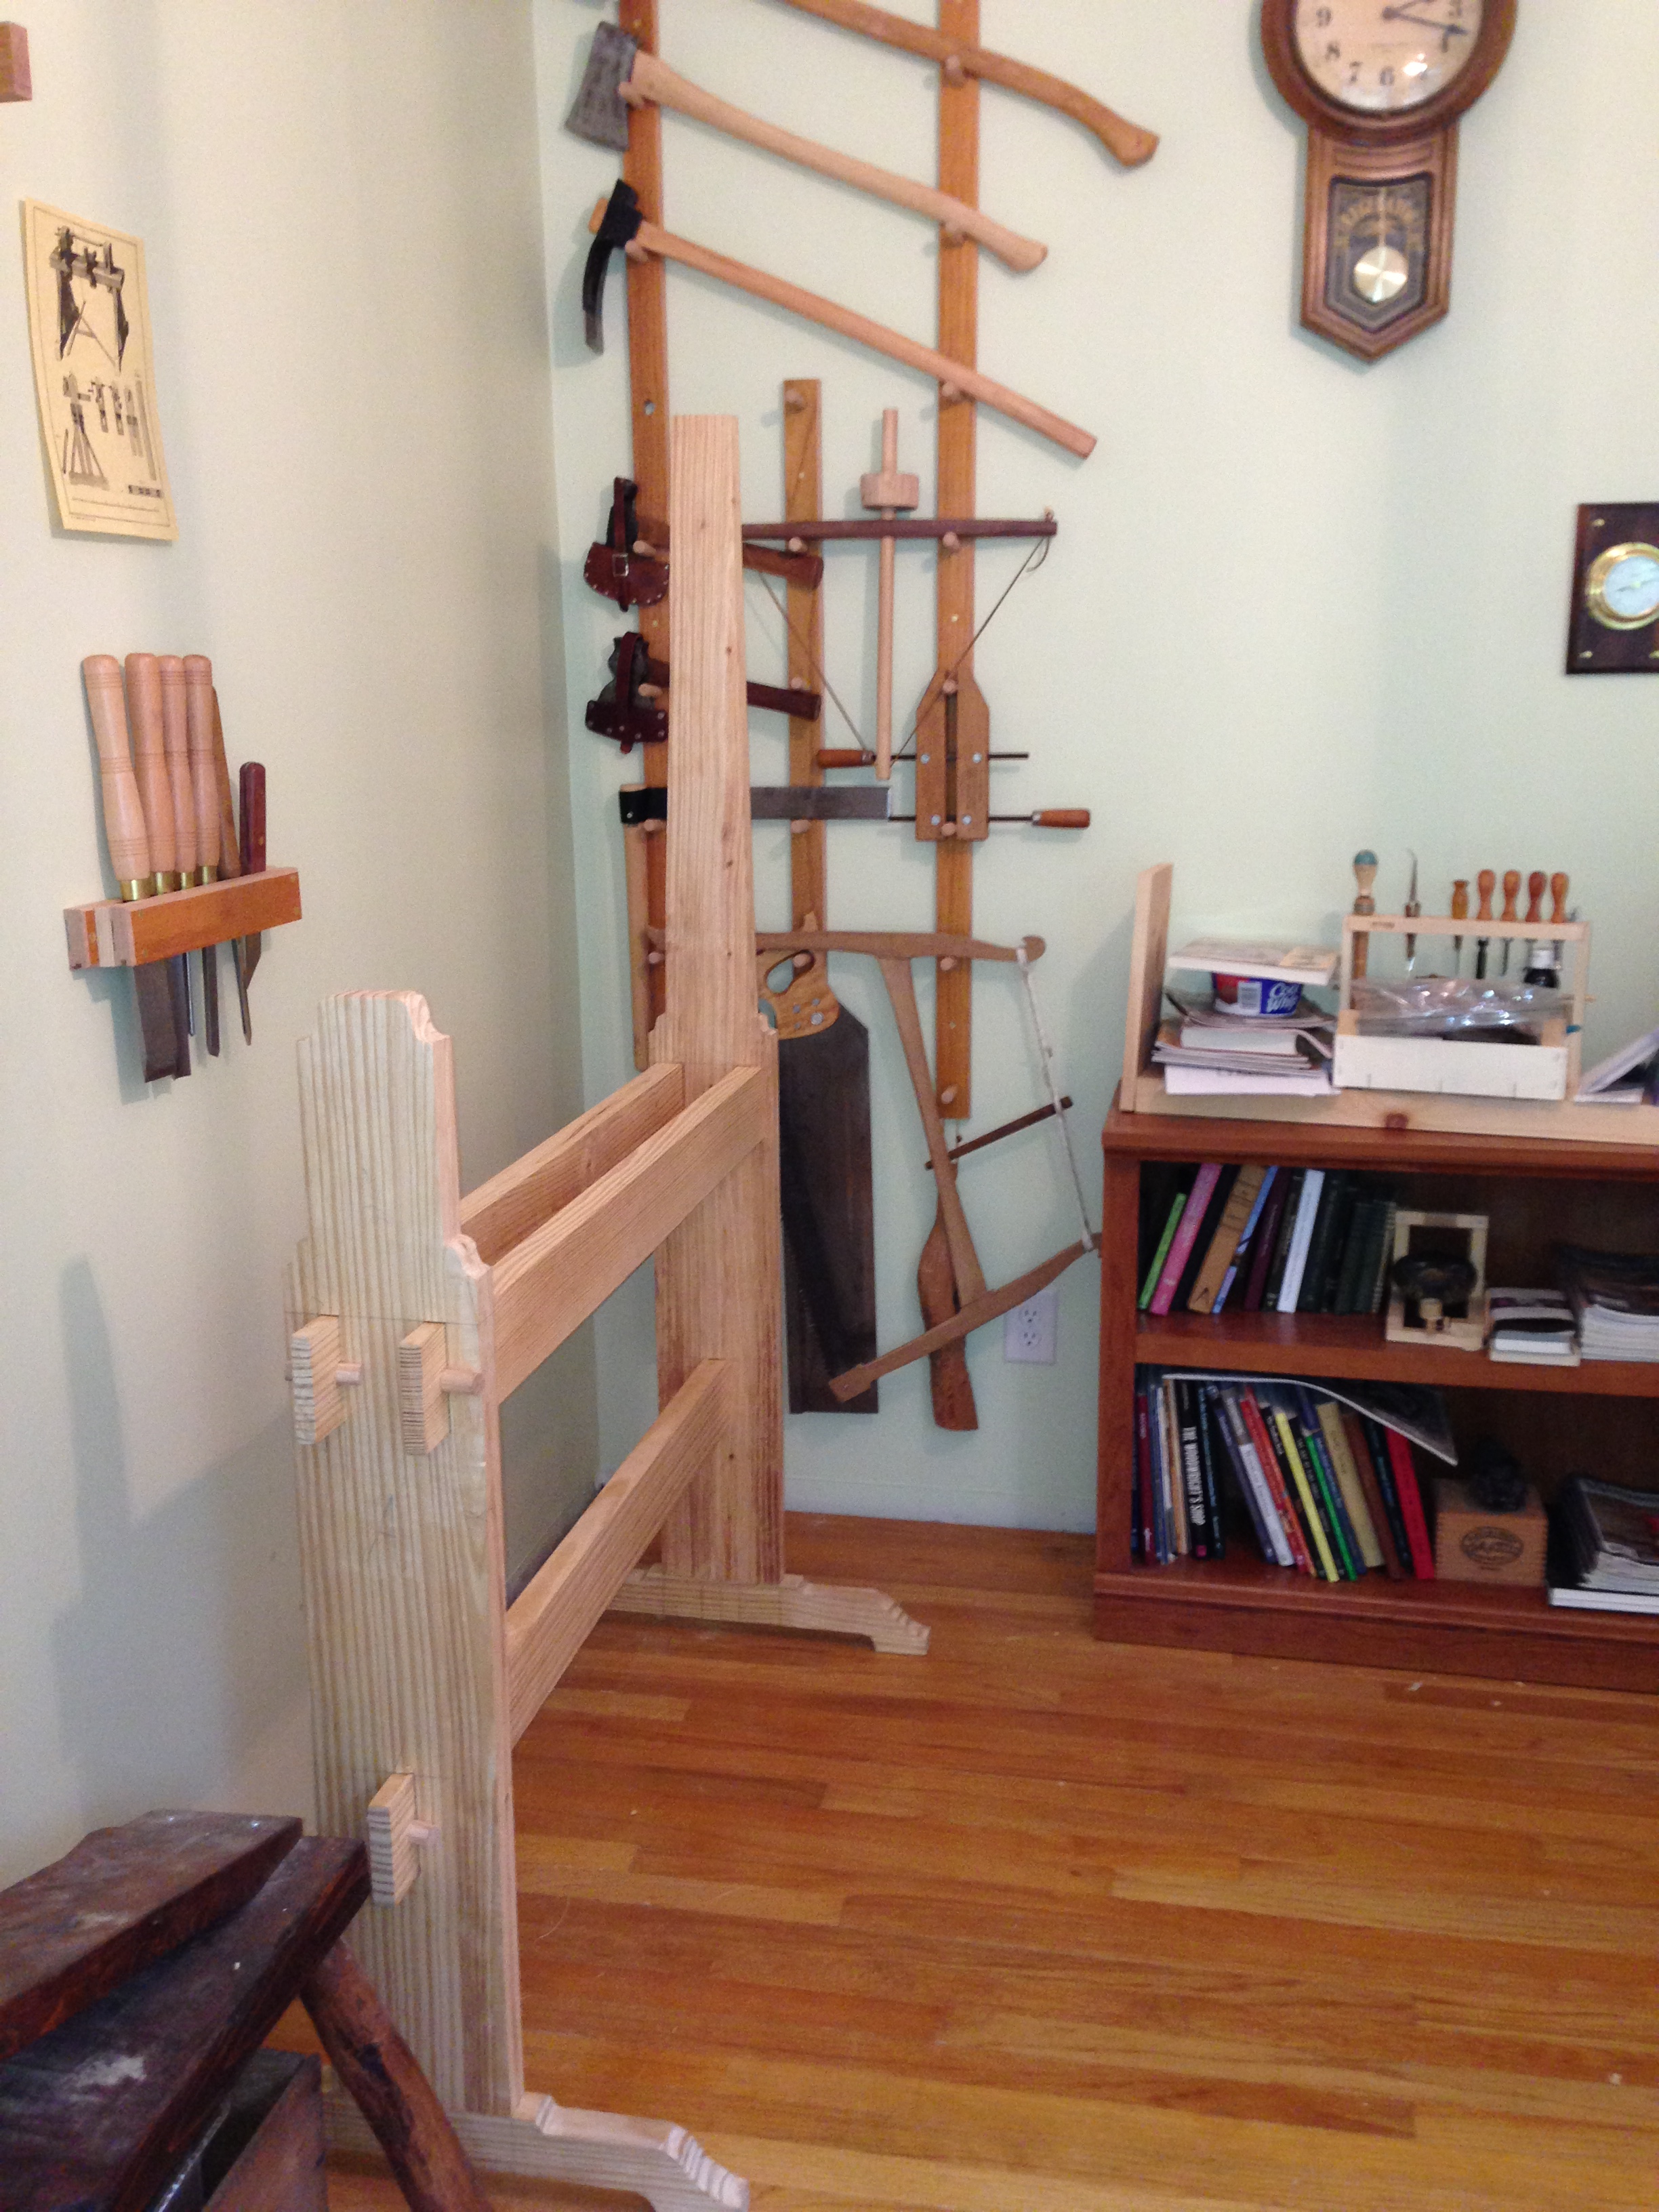
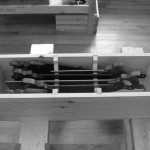
Beauty shot – end view
Next Entry: I will cut the slot and holes for the poles and finish the tail stock and rocker-arm assembly, and maybe the tool rest.
-Aaron


