Monthly Archives: October 2012

Mitres, Dovetails and Lid

With some trepidation I went headlong into the fabrication of my Saw Box lid.  The challenge came from the the geometry of the corner joint for the lid.  By mounting the top board in a groove in the frame boards, the only way to conceal the groove would be to use a mitre joint.

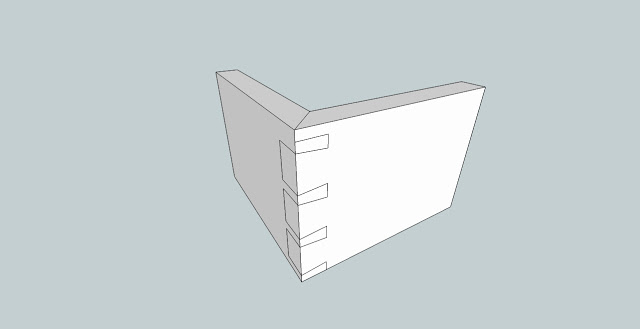
The big problem with ordinary mitre joints is they are weak and do not offer a lot of glueing area.  This is the reason I chose the mitered dovetail joint.  The mitre hides the groove and the dovetail gives the joint strength.  I have never cut this joint before, I have only seen Roy Underhill cut these on his 2-episode show on the Woodwright’s Shop where he made a Joiner’s Tool Chest and used this type of joint for the same reason as I was going to use it.  My effort was a process of trial and error; my first one was ok, but it had a few extra unnecessary cuts.  Fortunately I foresaw this difficulty and planned ahead with extra long stock, which gave me a couple of tries for each piece.  When it came to cutting the critical second cuts on each board,  I was getting pretty good at it.

Here is a drawing of a mitered dovetail joint I found on Mike Ogdon’s now defunct blog on dovetail joints.

The mitered portion of my corner joint is a bit wider than shown in the drawing, in proportion to the dovetails  in the frame boards of my lid.

One other design choice that I made for the lid was to orient the tails to show on the front and the pins on the side.  This was done so as the the top board expands it will not “blow out” the dovetails.  I have allowed some expansion room in the top, so this is just a little added insurance.

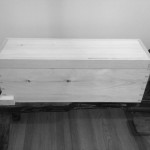
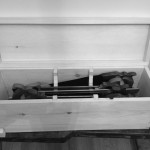
Keep in mind I have not glued this top assembly up yet.  I will not be putting glue in the grooves for the top board,  I will leave it “floating” and I will be gluing only the frame joints. Here are a couple of pictures of the box with the lid on it and opened like it would look with hinges attached.

I have also ordered my butt hinges and handle from Horton Brasses which should be here in a few days.  Next time, I should have a special treat with a video of my first attempts to do molding on mitered dovetails for the skirt.

-Aaron

Tills and Bottoms

This was a very productive week with my Saw Box.  I finished the main carcass of the box; I tuned and fit the dovetails, glued it up and attached the bottom board…twice (more on that later).  I ordered and received my hasp from Lee-Valley tools.  This is a big chunk of brass, and it will look great on my saw box.  I still need to order the hinges and handles from Horton Brasses.

My one setback was that I had to redo the bottom board.  I nailed the old one in place but I did not like the look and fit.  I had rabbited the four sides to fit up in the box.  My Lee-Valley moving fillister plane was set correctly, but I evidently did not tighten the depth- stop adequately.  When I was planing away, I made my second mistake; I did not check the depth with my Starrett 6 inch combination square and I ended up with a 1/2″ deep rabbit, where I had set the depth for 3/8.”  I also set the width of the rabbit too wide, so when I put the bottom board in the box there was about a 1/8″ to 3/16″ gap all the way around the inside bottom.

I have a mantra:  “If I settle for good enough then my skills will never progress.”  I decided to replace the bottom.  This meant that I had to take the old bottom out and remove the cut nails.  I have to say, the cut nails hold very well.  It was quite hard to remove the nails from soft pine.  This is good news, as I have used these for my projects extensively, and I am glad to report that they live up to their reputation. The nippers I acquired, upon the recommendation of the ATC tool list, worked very well to remove them.  I straightened the bent nails and used them again for the new bottom board.  This is in keeping with tradition where nails were so valuable that they were often recycled.

In my previous post I showed pictures of the till before it was completely cut out.  I have now cut it out and it fits nicely in the dados I have put in the side boards before the assembly.

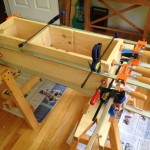
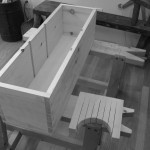
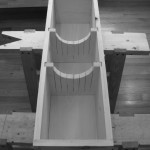
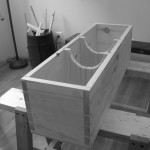
Here are some pics of the Saw Box at this stage.

Have Saws, Will Travel

A few Saturdays ago, I attended the Midwest Tool Collector’s Association (MWTCA) tool meet, and finished acquiring all the tools listed in The Anarchist’s Tool Chest (ATC) book, yea!  I can fit almost all of my tools in my traveling version of the ATC, except my saws.  So I got to thinking that I currently did not have a good way to store or transport my saws.   During the MWTCA tool meet, I saw an old military ammo crate that would have almost done the trick.  I did not buy the crate…because I thought it would be more fun to build my own!

On Sunday, my daughter and I went to the local home center to pick up a 1x10x8 board.  Before I actually started to cut wood,  I needed to prototype the till to make sure it would work for me.  I read in the ATC that Chris Schwarz needed to tinker a bit with his design before committing it to wood, so I fashioned a version from scrap wood, roughly following Chris’s design in the ATC.  The big difference in mine was that I decided to make it for 7 saws instead of 4.  My decision to build a bigger one was based on this reasoning:  If I take it to a class that is not saw-focused, I can just load it with the standard 4 saws:  Rip, Crosscut, Dovetail and Carcass.  If I take it to a saw sharpening class, I can load it up with multiple saws to be worked on.  Plus, at home, it will maximize storage.

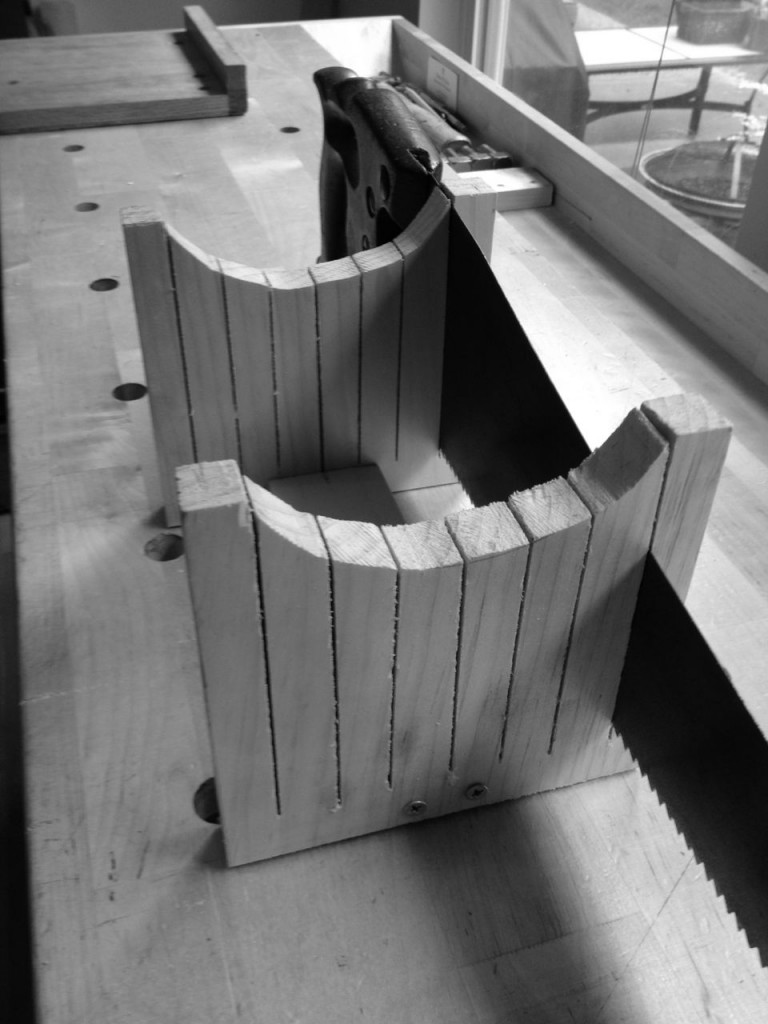
Here is a pic of my prototype saw till.  It is smaller than the actual till, but it was a great proof of concept.

Prototype dimensions are 6″W x 6″H x 3/4″ with 3/4″ saw cuts for the saws and a offset 2 1/2 radius circle. The two till boards are spaced 6 1/4″ apart


After using the prototype till for a while, I designed the box around it, while allowing for some extra room.  I made my production till 8″ wide and 8″ tall and made of pine.  I made my saw cuts 1 3/8″ apart, keeping the saw handles and blades 5/16″ apart at their closest on each side.

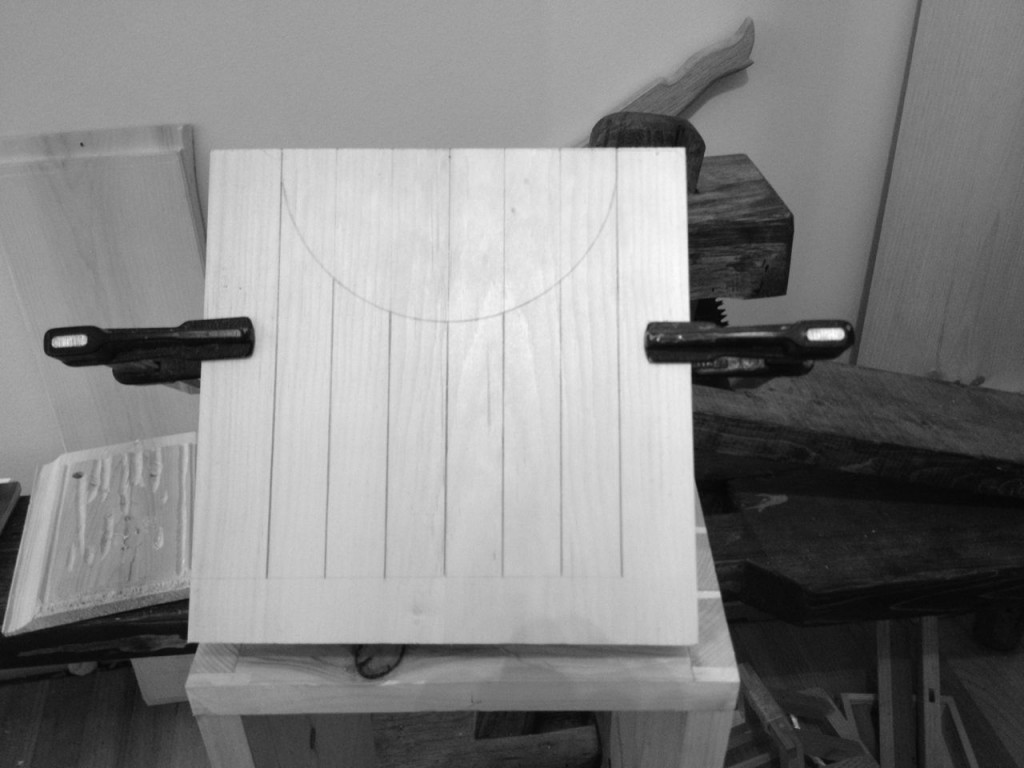
So, here is my saw till.  The 3″ radius semi-circle cut in the top, allows the back saws to be level with the panel saws.

Production dimensions are 8″W x 8″H x 3/4″ with 1 3/8″ saw cuts for the saws and a 3 radius circle. The two till boards are spaced 6 1/4″ apart


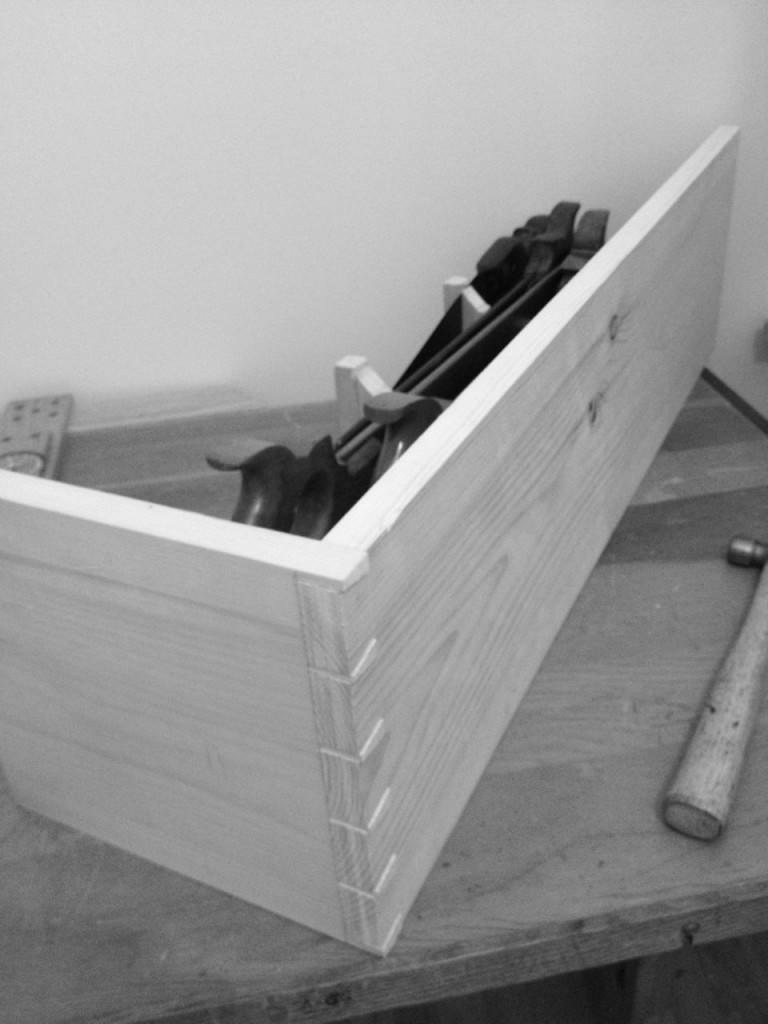
Below is a pic of one of my finished dovetailed corners of the saw box.

Perspective of one finished dovetail corner with prototype till “inside” it

More to come soon …

-Aaron