Drill Humor, barely …
Do you know how they make small drill bits?
A little bit at a time.
Ok, now that we have the boring drill humor out of the way, we can proceed with the blog. I’ll be showing you my drills and drill bits. I have been through 3 electric drills in the time I have been using my hand drills. To be fair, one of the electric drills was used while I was doing some electrical contracting work. But the fact remains, electric drills are not as robust as hand drills and I love using the beautiful old drills from Millers Falls.
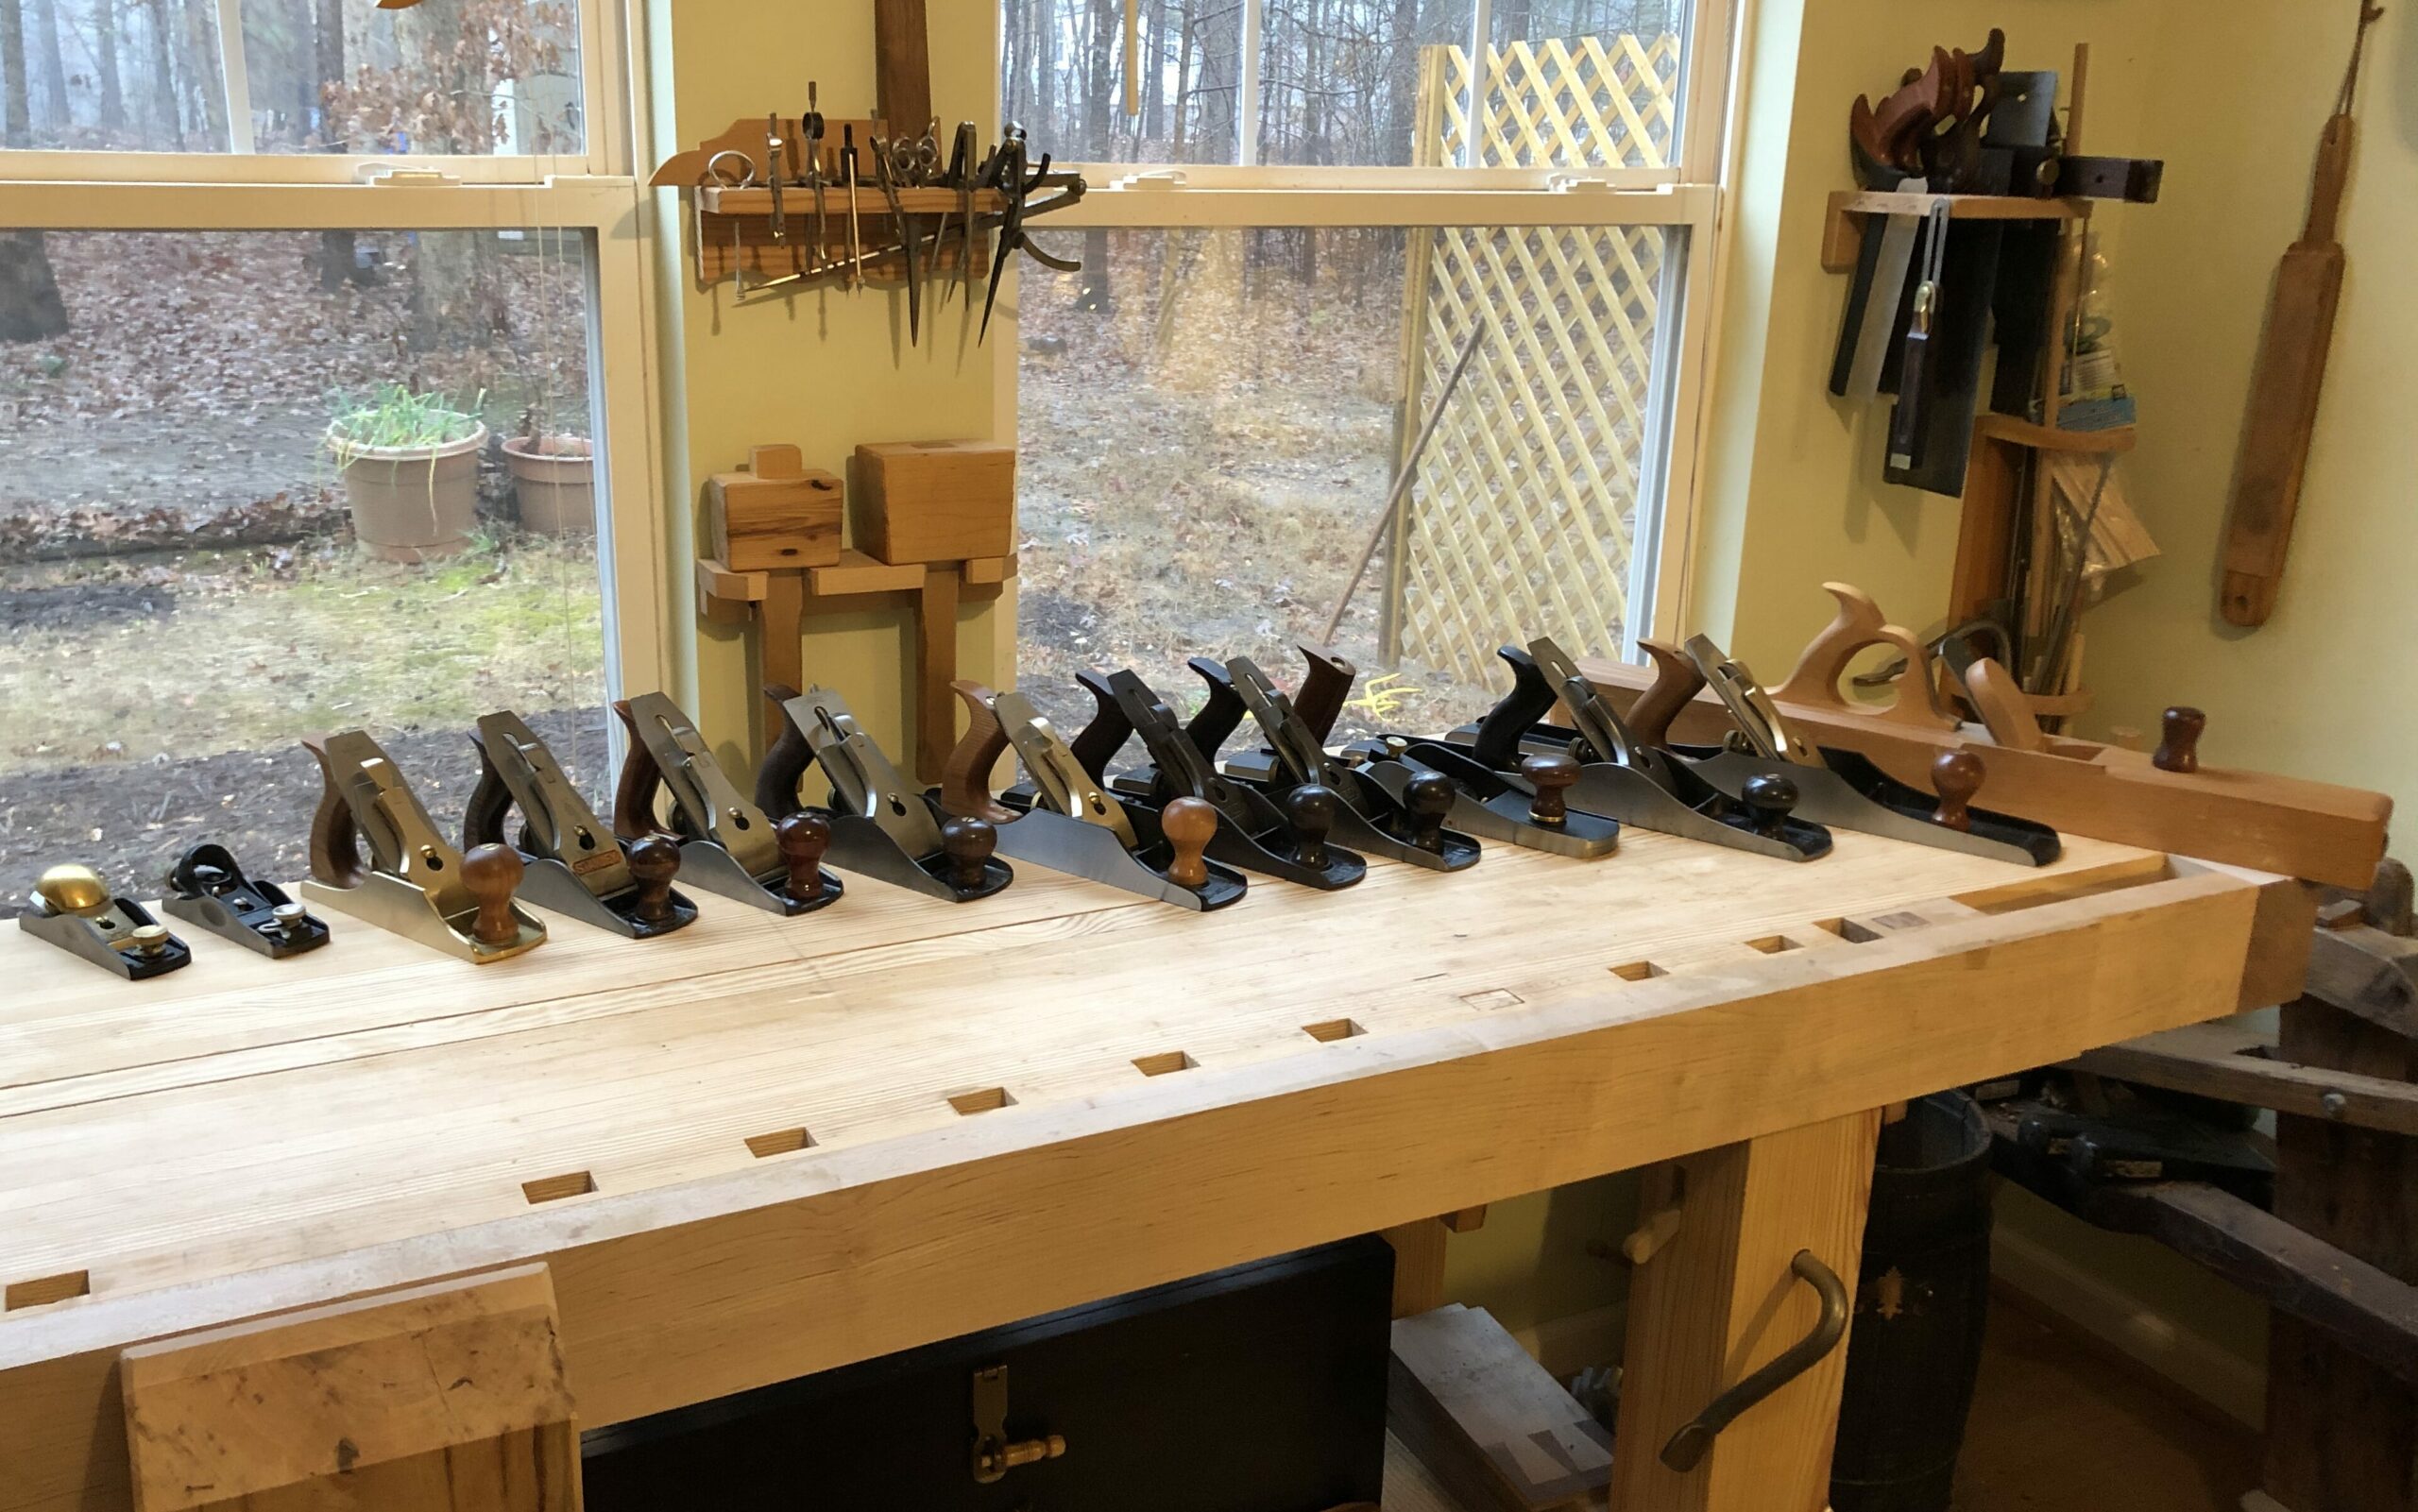
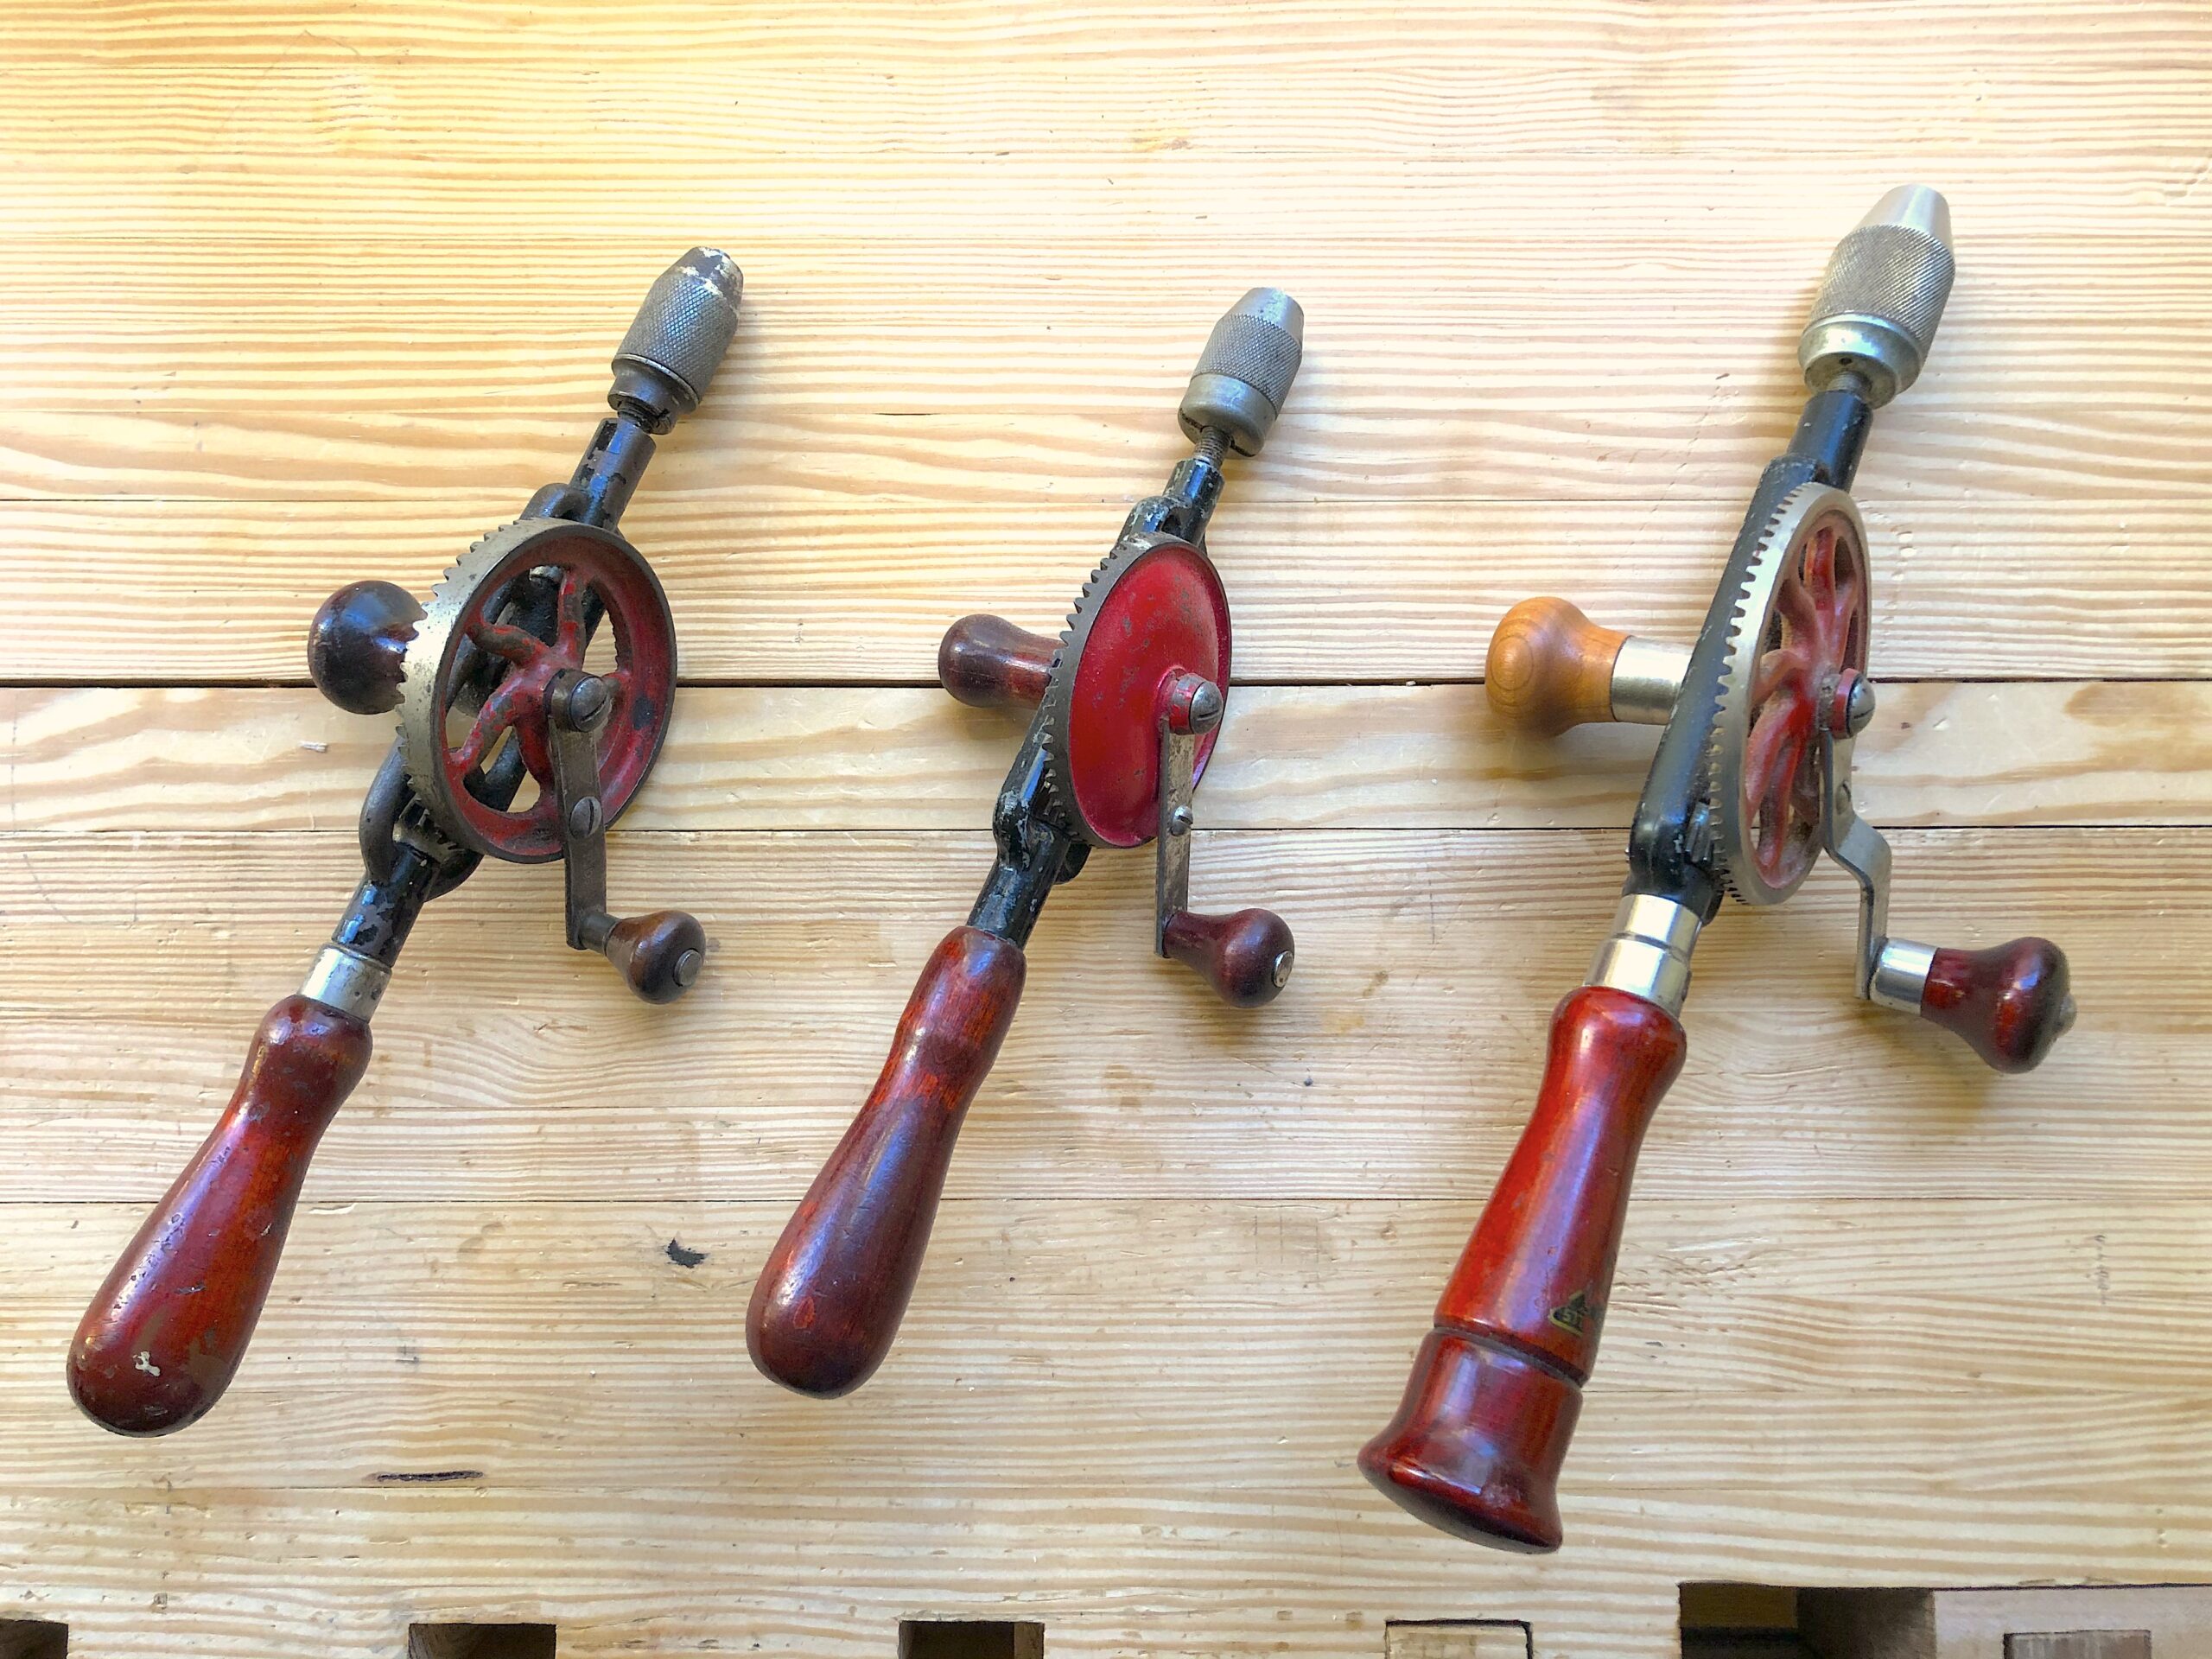
The drills pictured above are drills I have collected over the years through yard sales, CraigsList, tool meets, etc. I have upgraded over that time to the set you see above. The Millers Falls No. 05 is the drill I keep in my tool chest as it is small but very robust. The No. 77 and No. 2A are kept on my wall next to my bench ready for action. I made a side handle out of Maple for my No. 2A as it was missing one and I had an extra ferrel I was not using that was perfect for the job.
The “eggbeater” drills and braces are plentiful and usually not very expensive (but I have noticed the prices creeping up recently). They do not require batteries and they just keep working. If you buy one of these vintage drills from a dealer, make sure you can return it if you have any issues. Here are some things to look for before buying one of these vintage tools: Make sure they have all their teeth on the gears and have smooth action. On the eggbeater drills, three gears is better that two. They do require lubricating oil occasionally, and should rotate freely without any effort when checking the action without a bit. Check that the chuck jaws move in and out smoothly. Put a bit in it to see if it rotates straight. A wondering bit is a deal breaker as the threaded shaft (in eggbeater drills) is bent and that is an expert fix, unless you have spare parts.
You normally use the 4-sided shank bits in braces and smooth shank bits in the eggbeater drills. You can use the smooth shank bits in braces, but beware of slippage as your brace chuck design may not grip the bit as tightly.
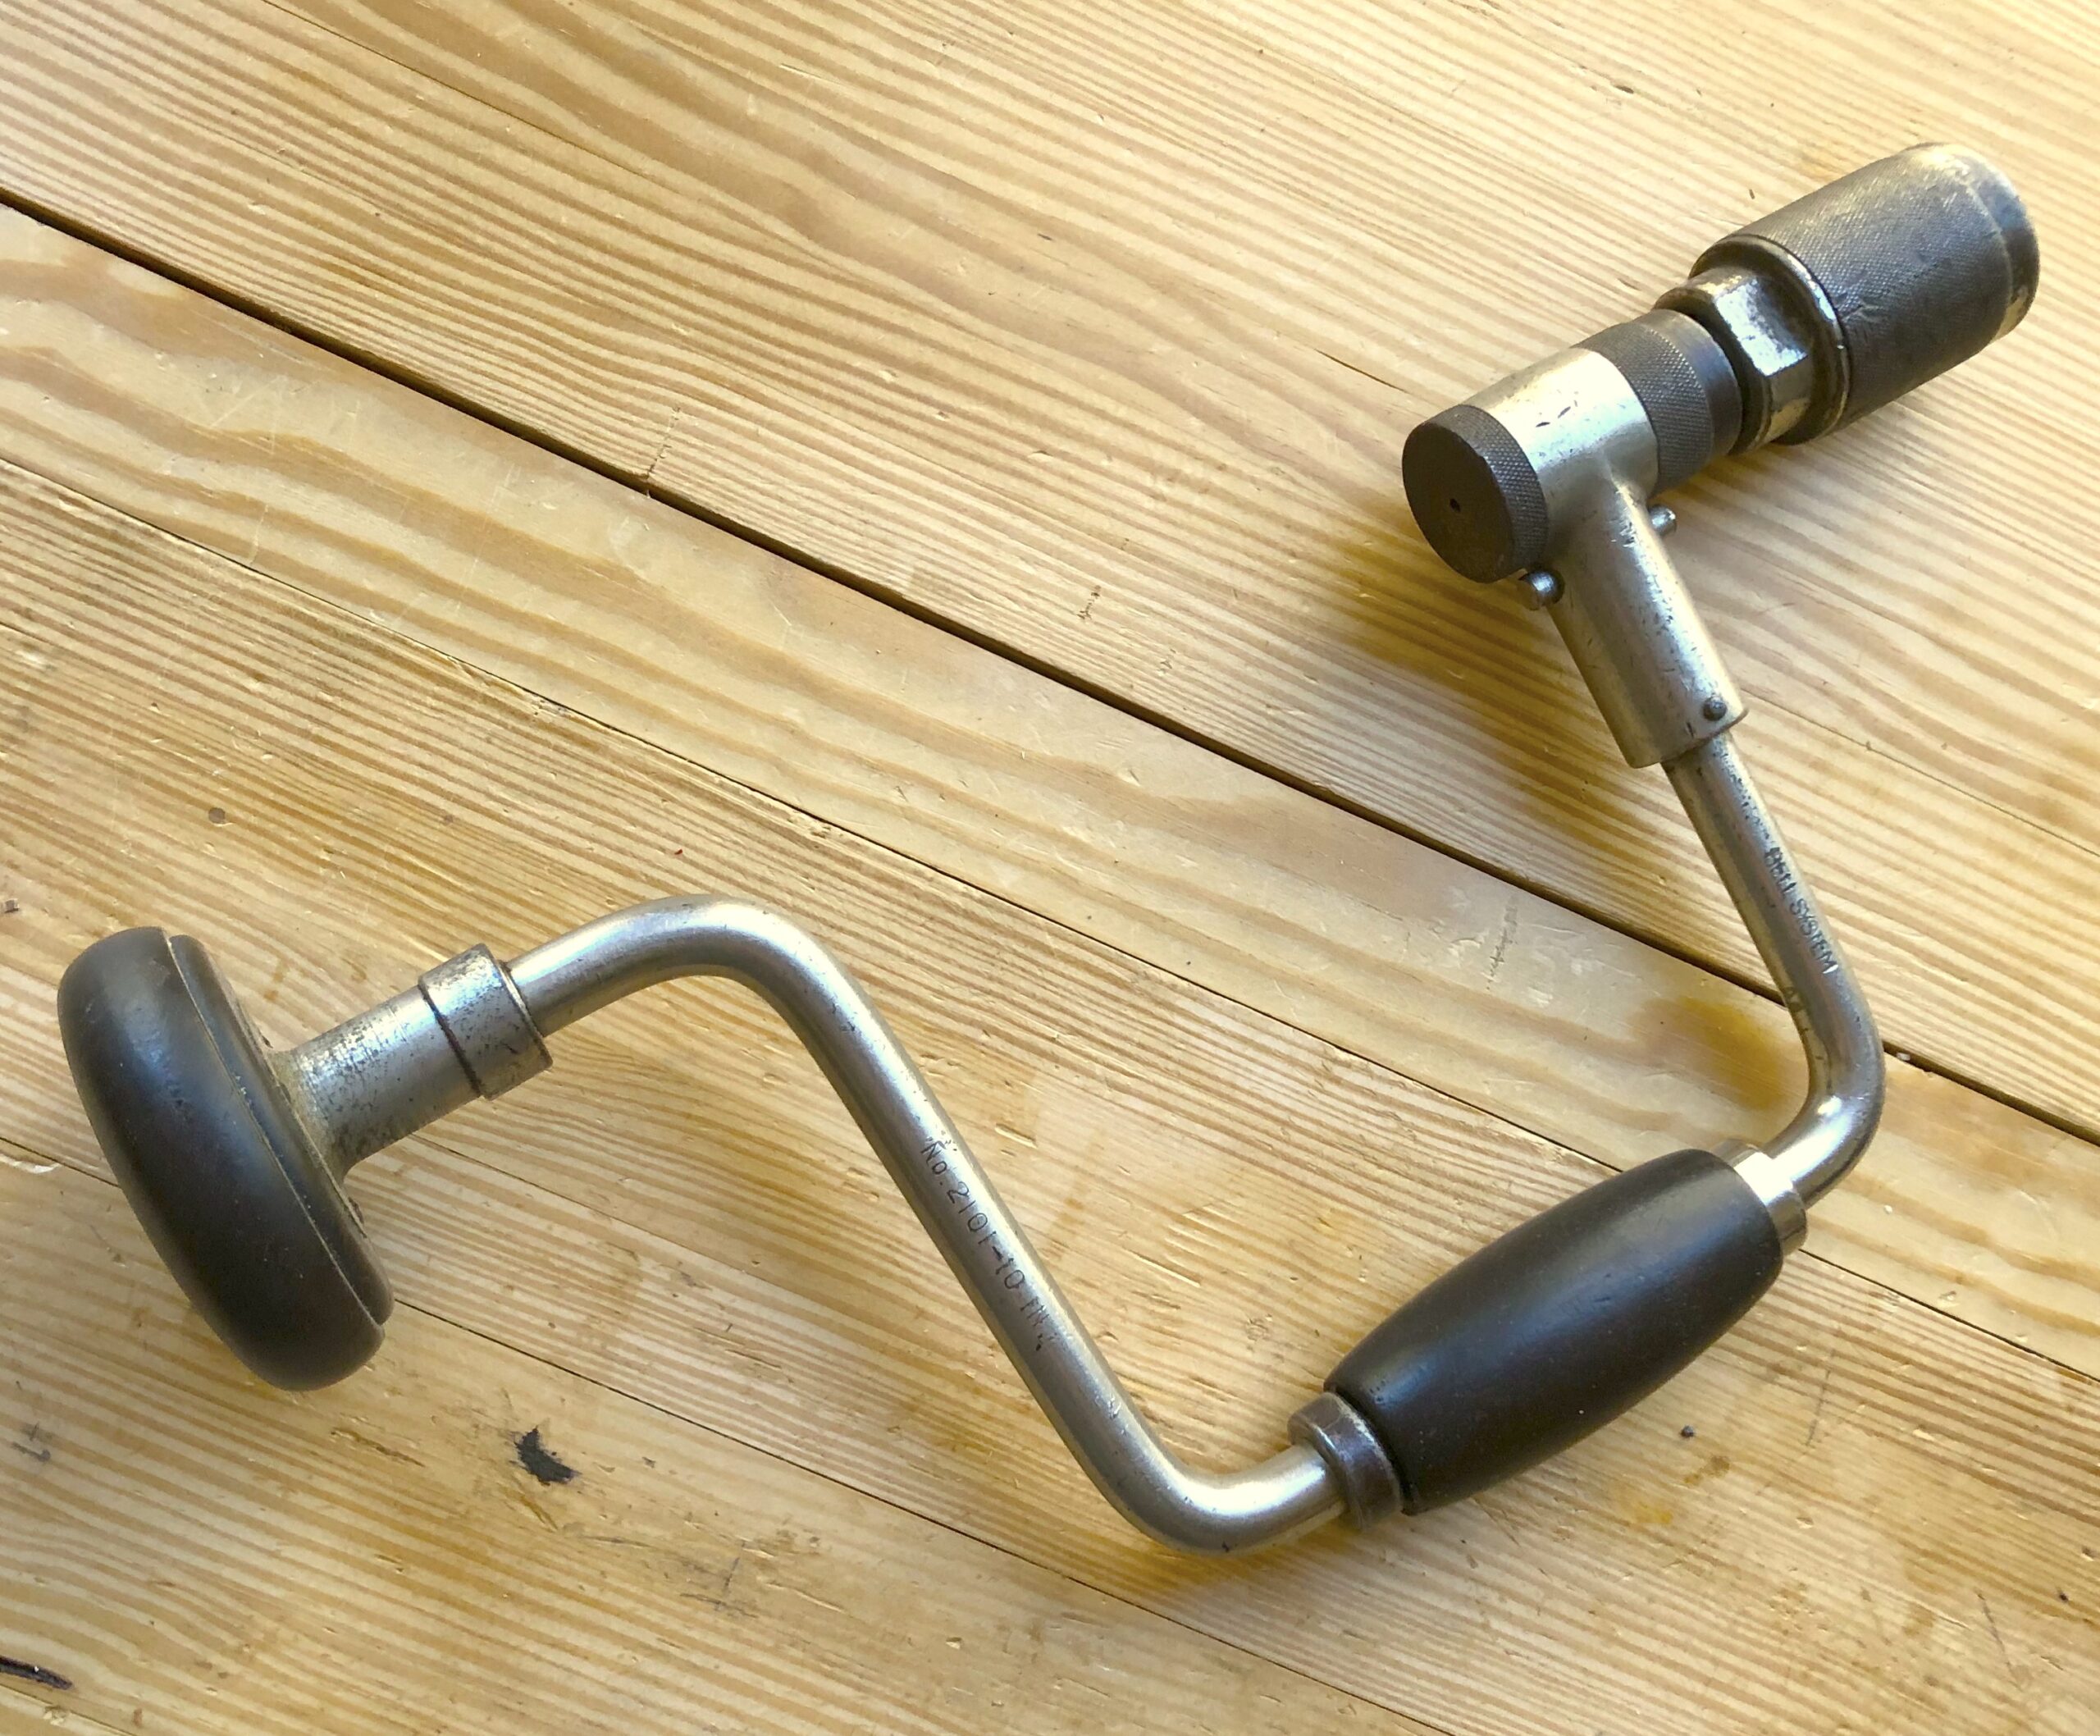
Drilling is a skill that does take time and practice to get right. There are techniques that allow you to drill a specific angle or square to the wood. One technique for braces is the ring method. With this method you can put a ring on an auger bit to see if you are level or not. Check out this post from 2011 from LumberJocks on how to do this.
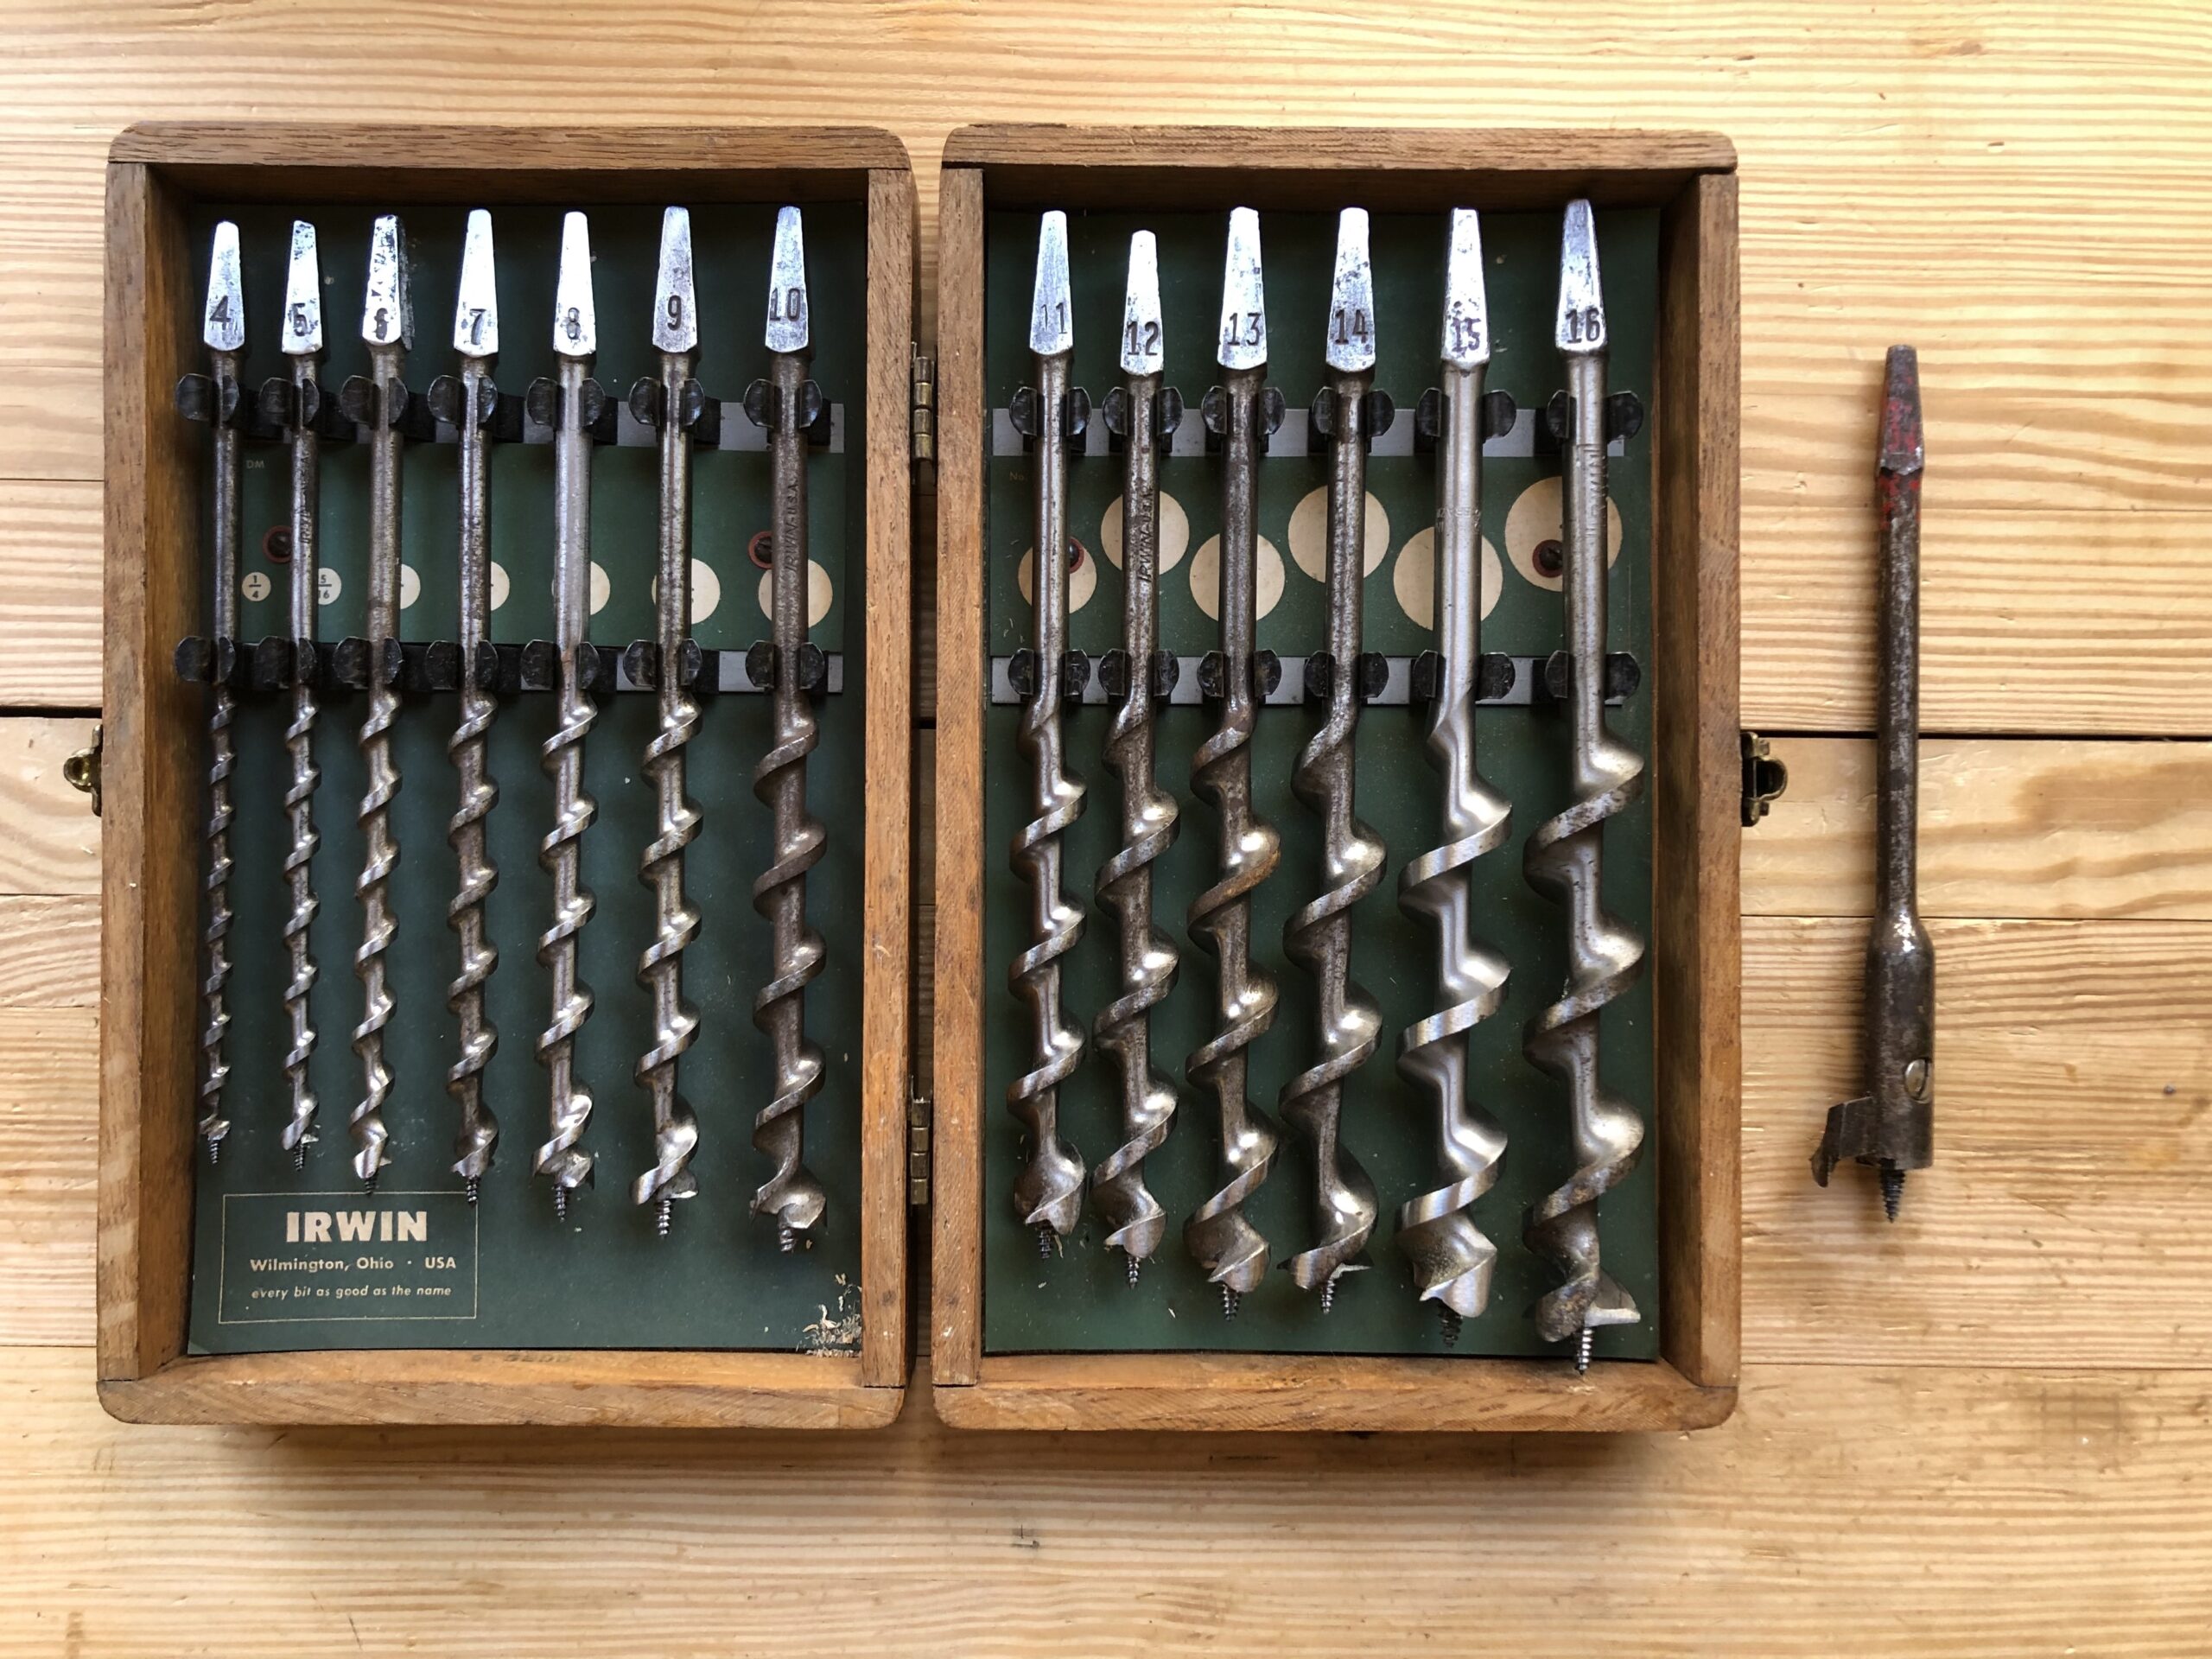
This set is an Irwin design. I bought these off of CraigsList for $60. There are also Jenkins bits on the market and they also work well with braces. I do not have a preference of the set types, I just happened on this set. The lead screw on the set above is a course design used for softer woods. I may still purchase a smaller set with fine lead screws for hardwood work.
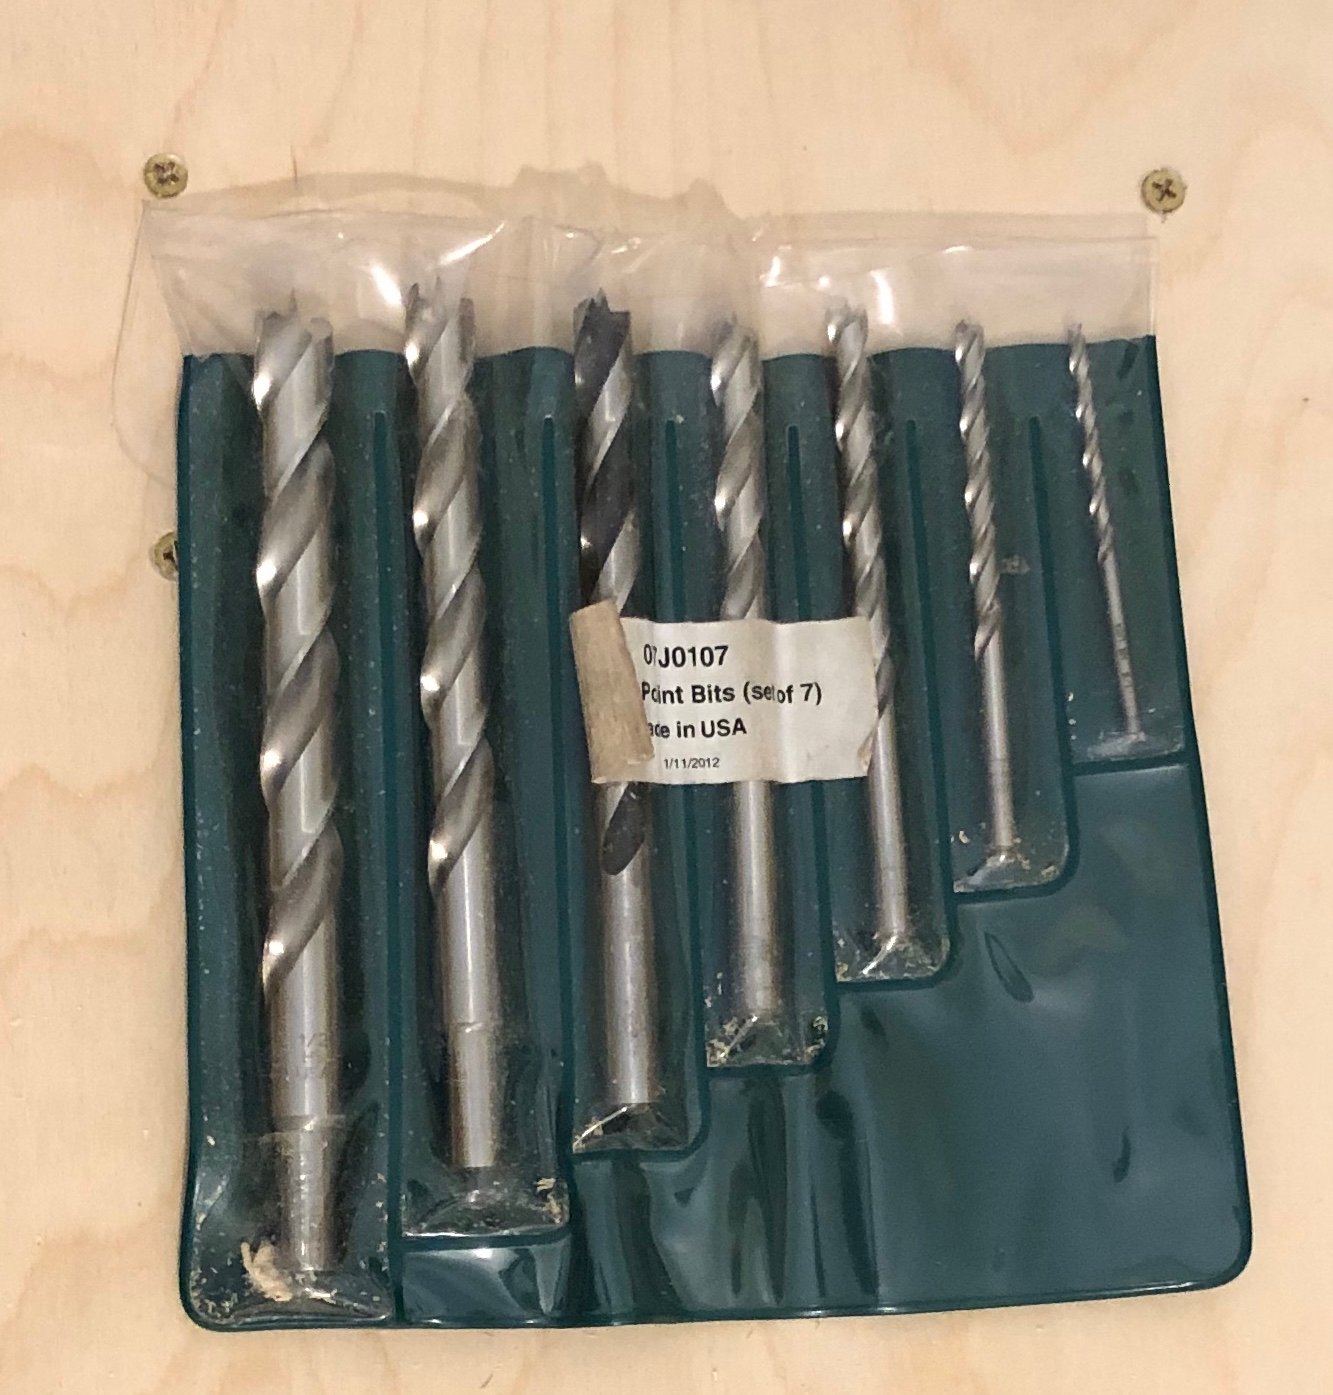
Modern Brad Point Bit Set from Lee Valley 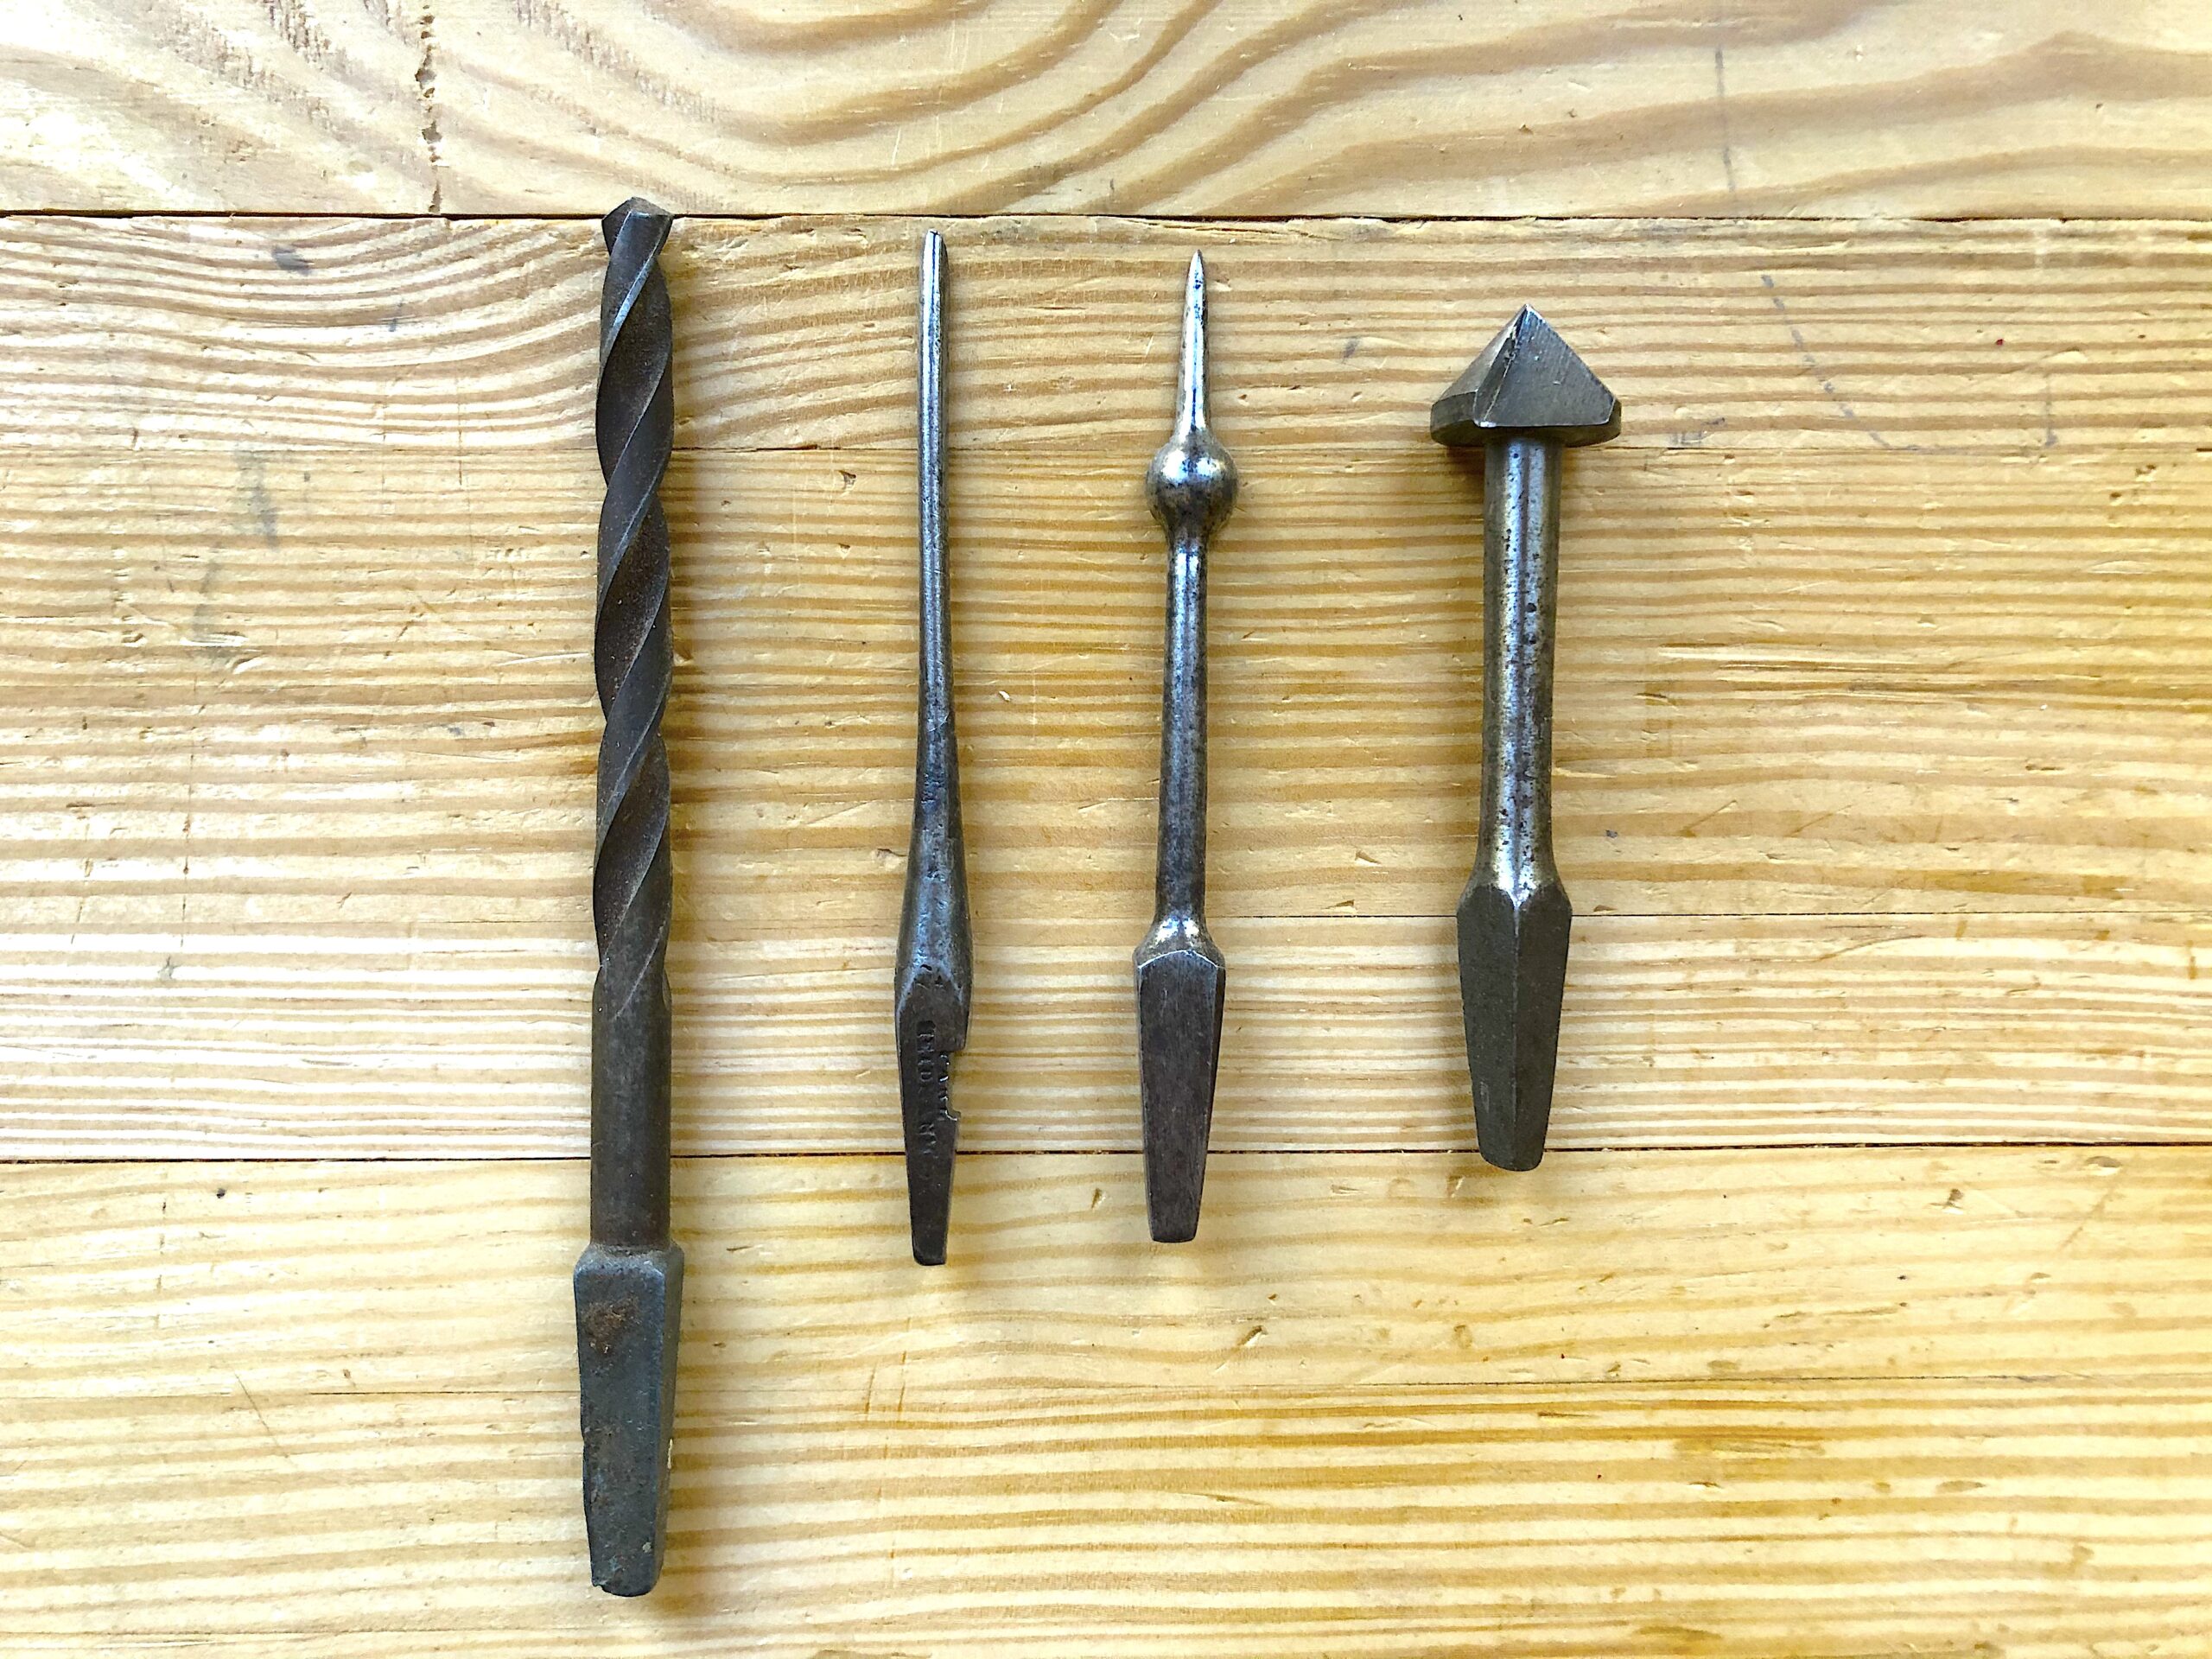
Som Vintage Bits 1/4″, 1/8″ Spoon Bit, Countersink Bit and Chamfering bit
I consider Brad-Point bits essential to my woodworking. I purchased this set from Lee-Valley in 2012. It is a very good quality high-speed steel set. One note on these bits: If you use them in a drill press, make sure to line up the exit hole with the bit. You do not want these brad-points hitting the metal of you drill press bed.
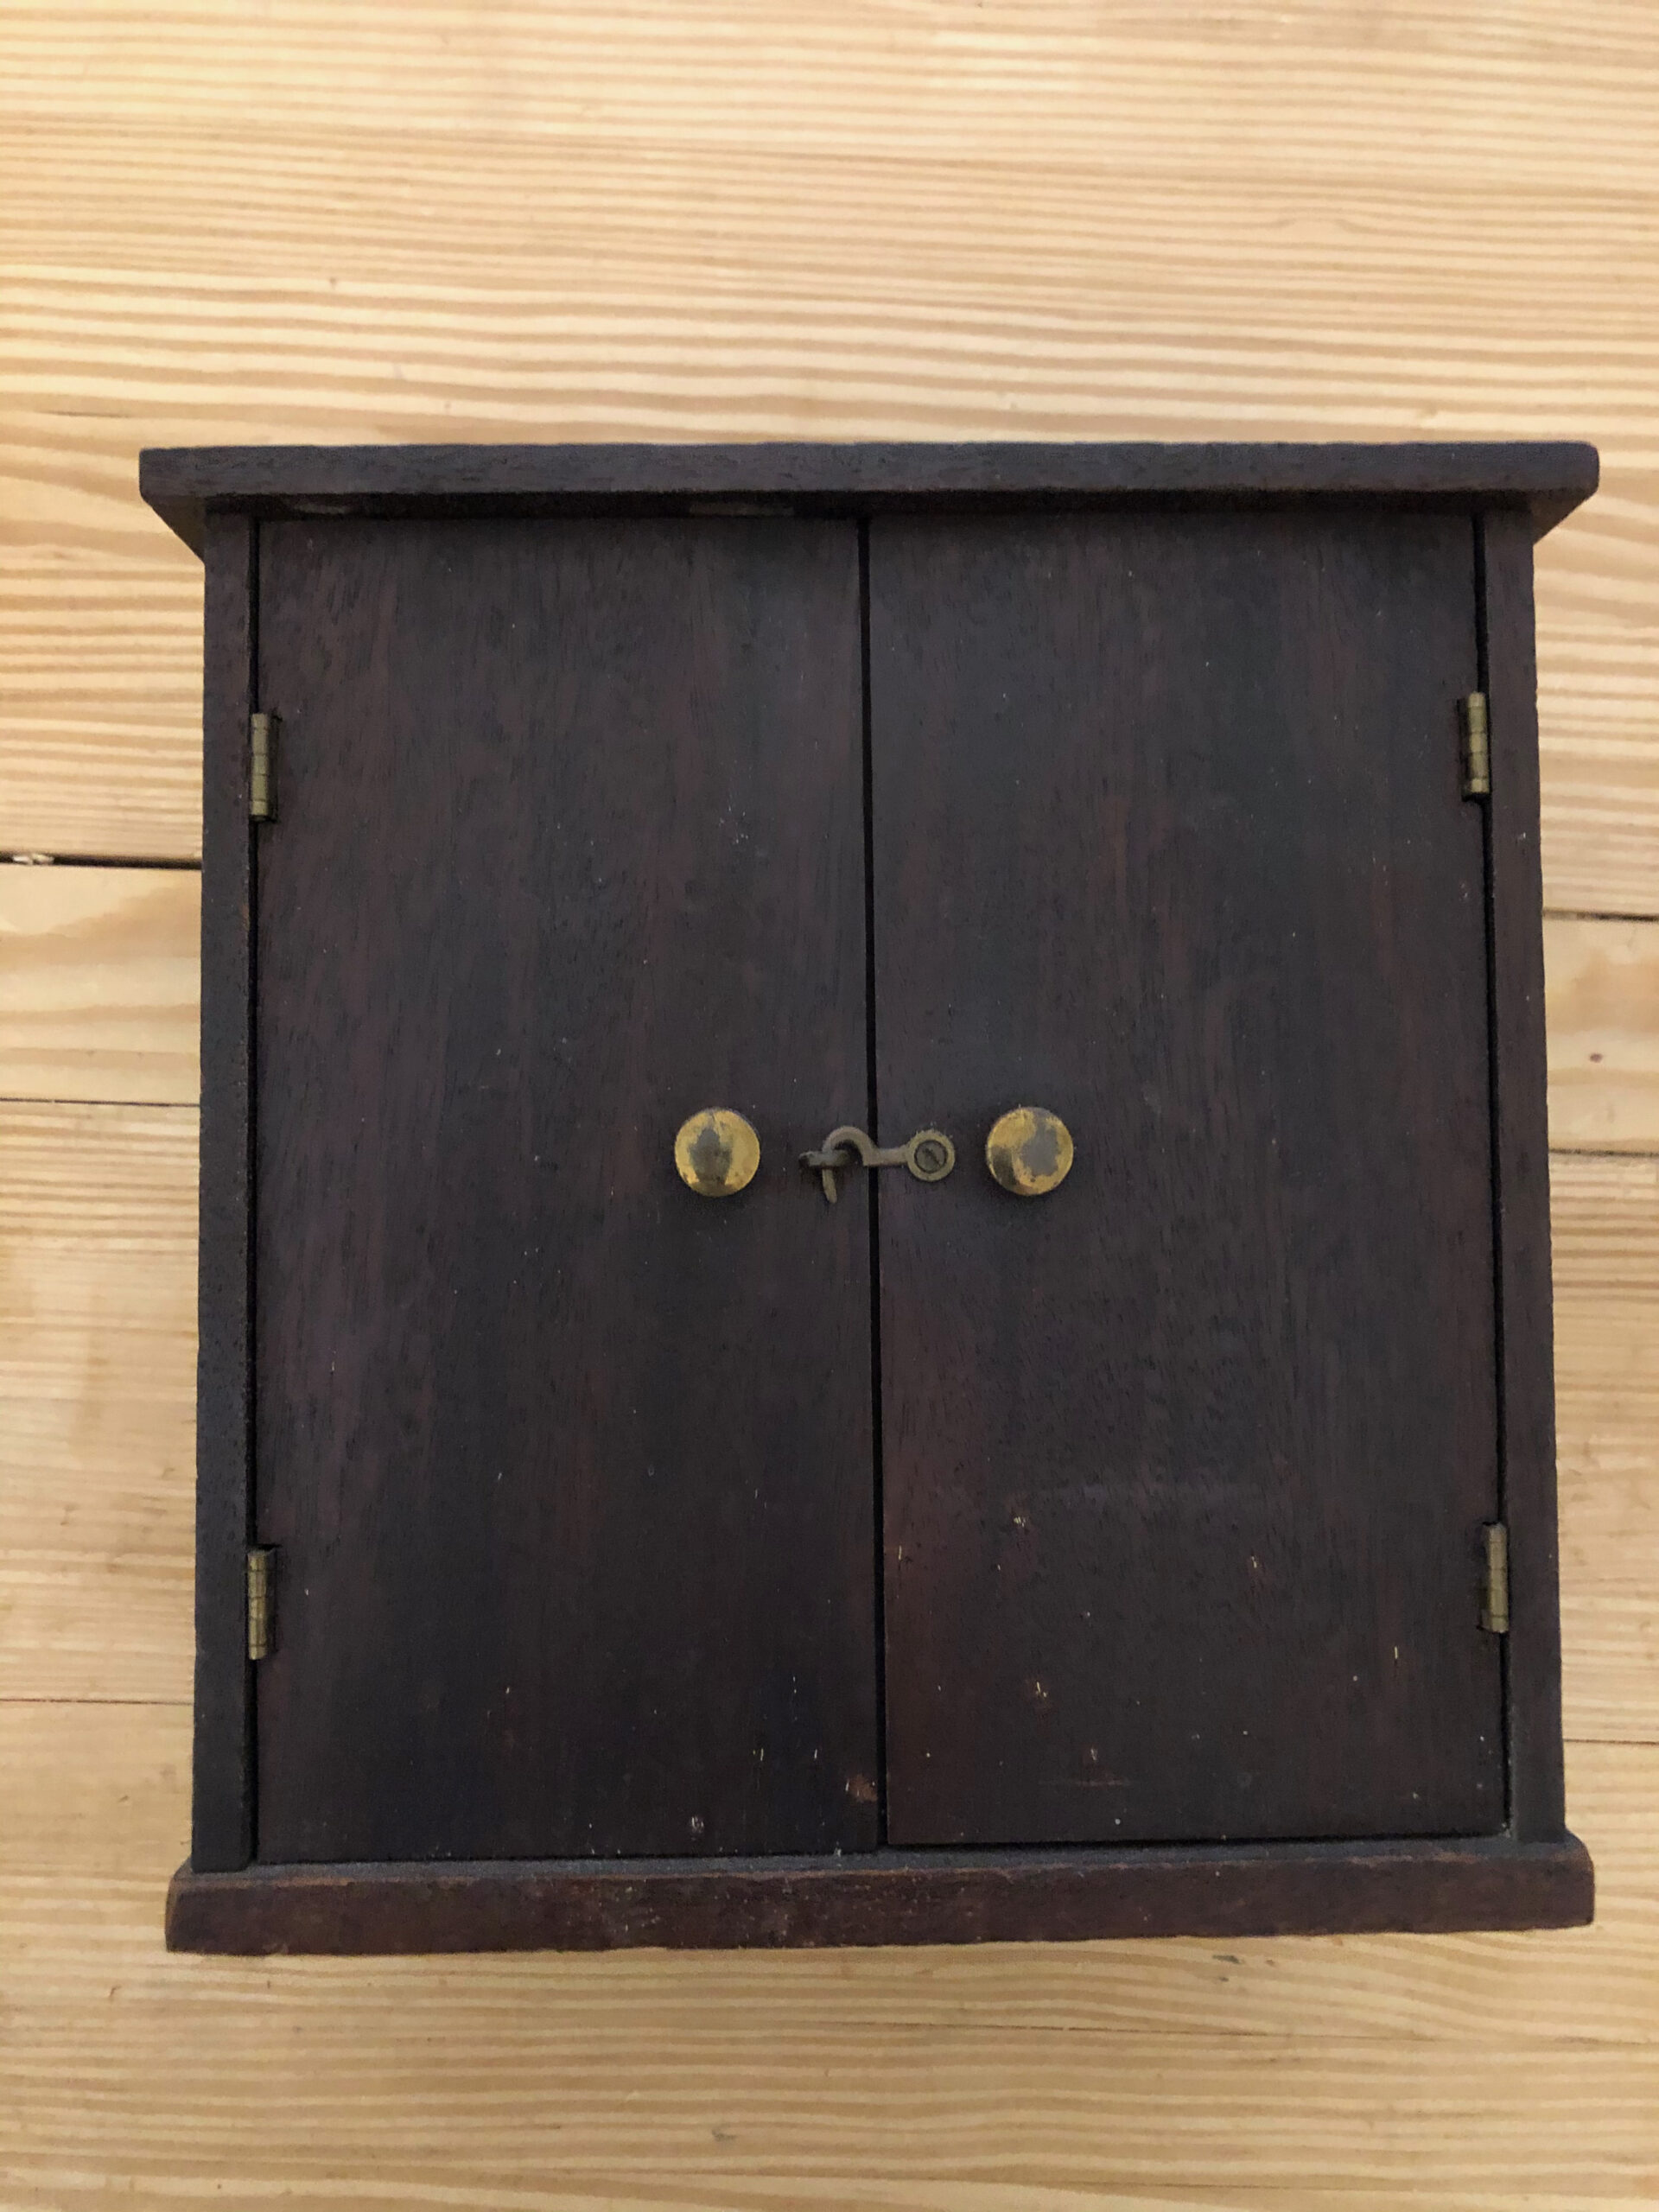
Vintage Case for Bit Set 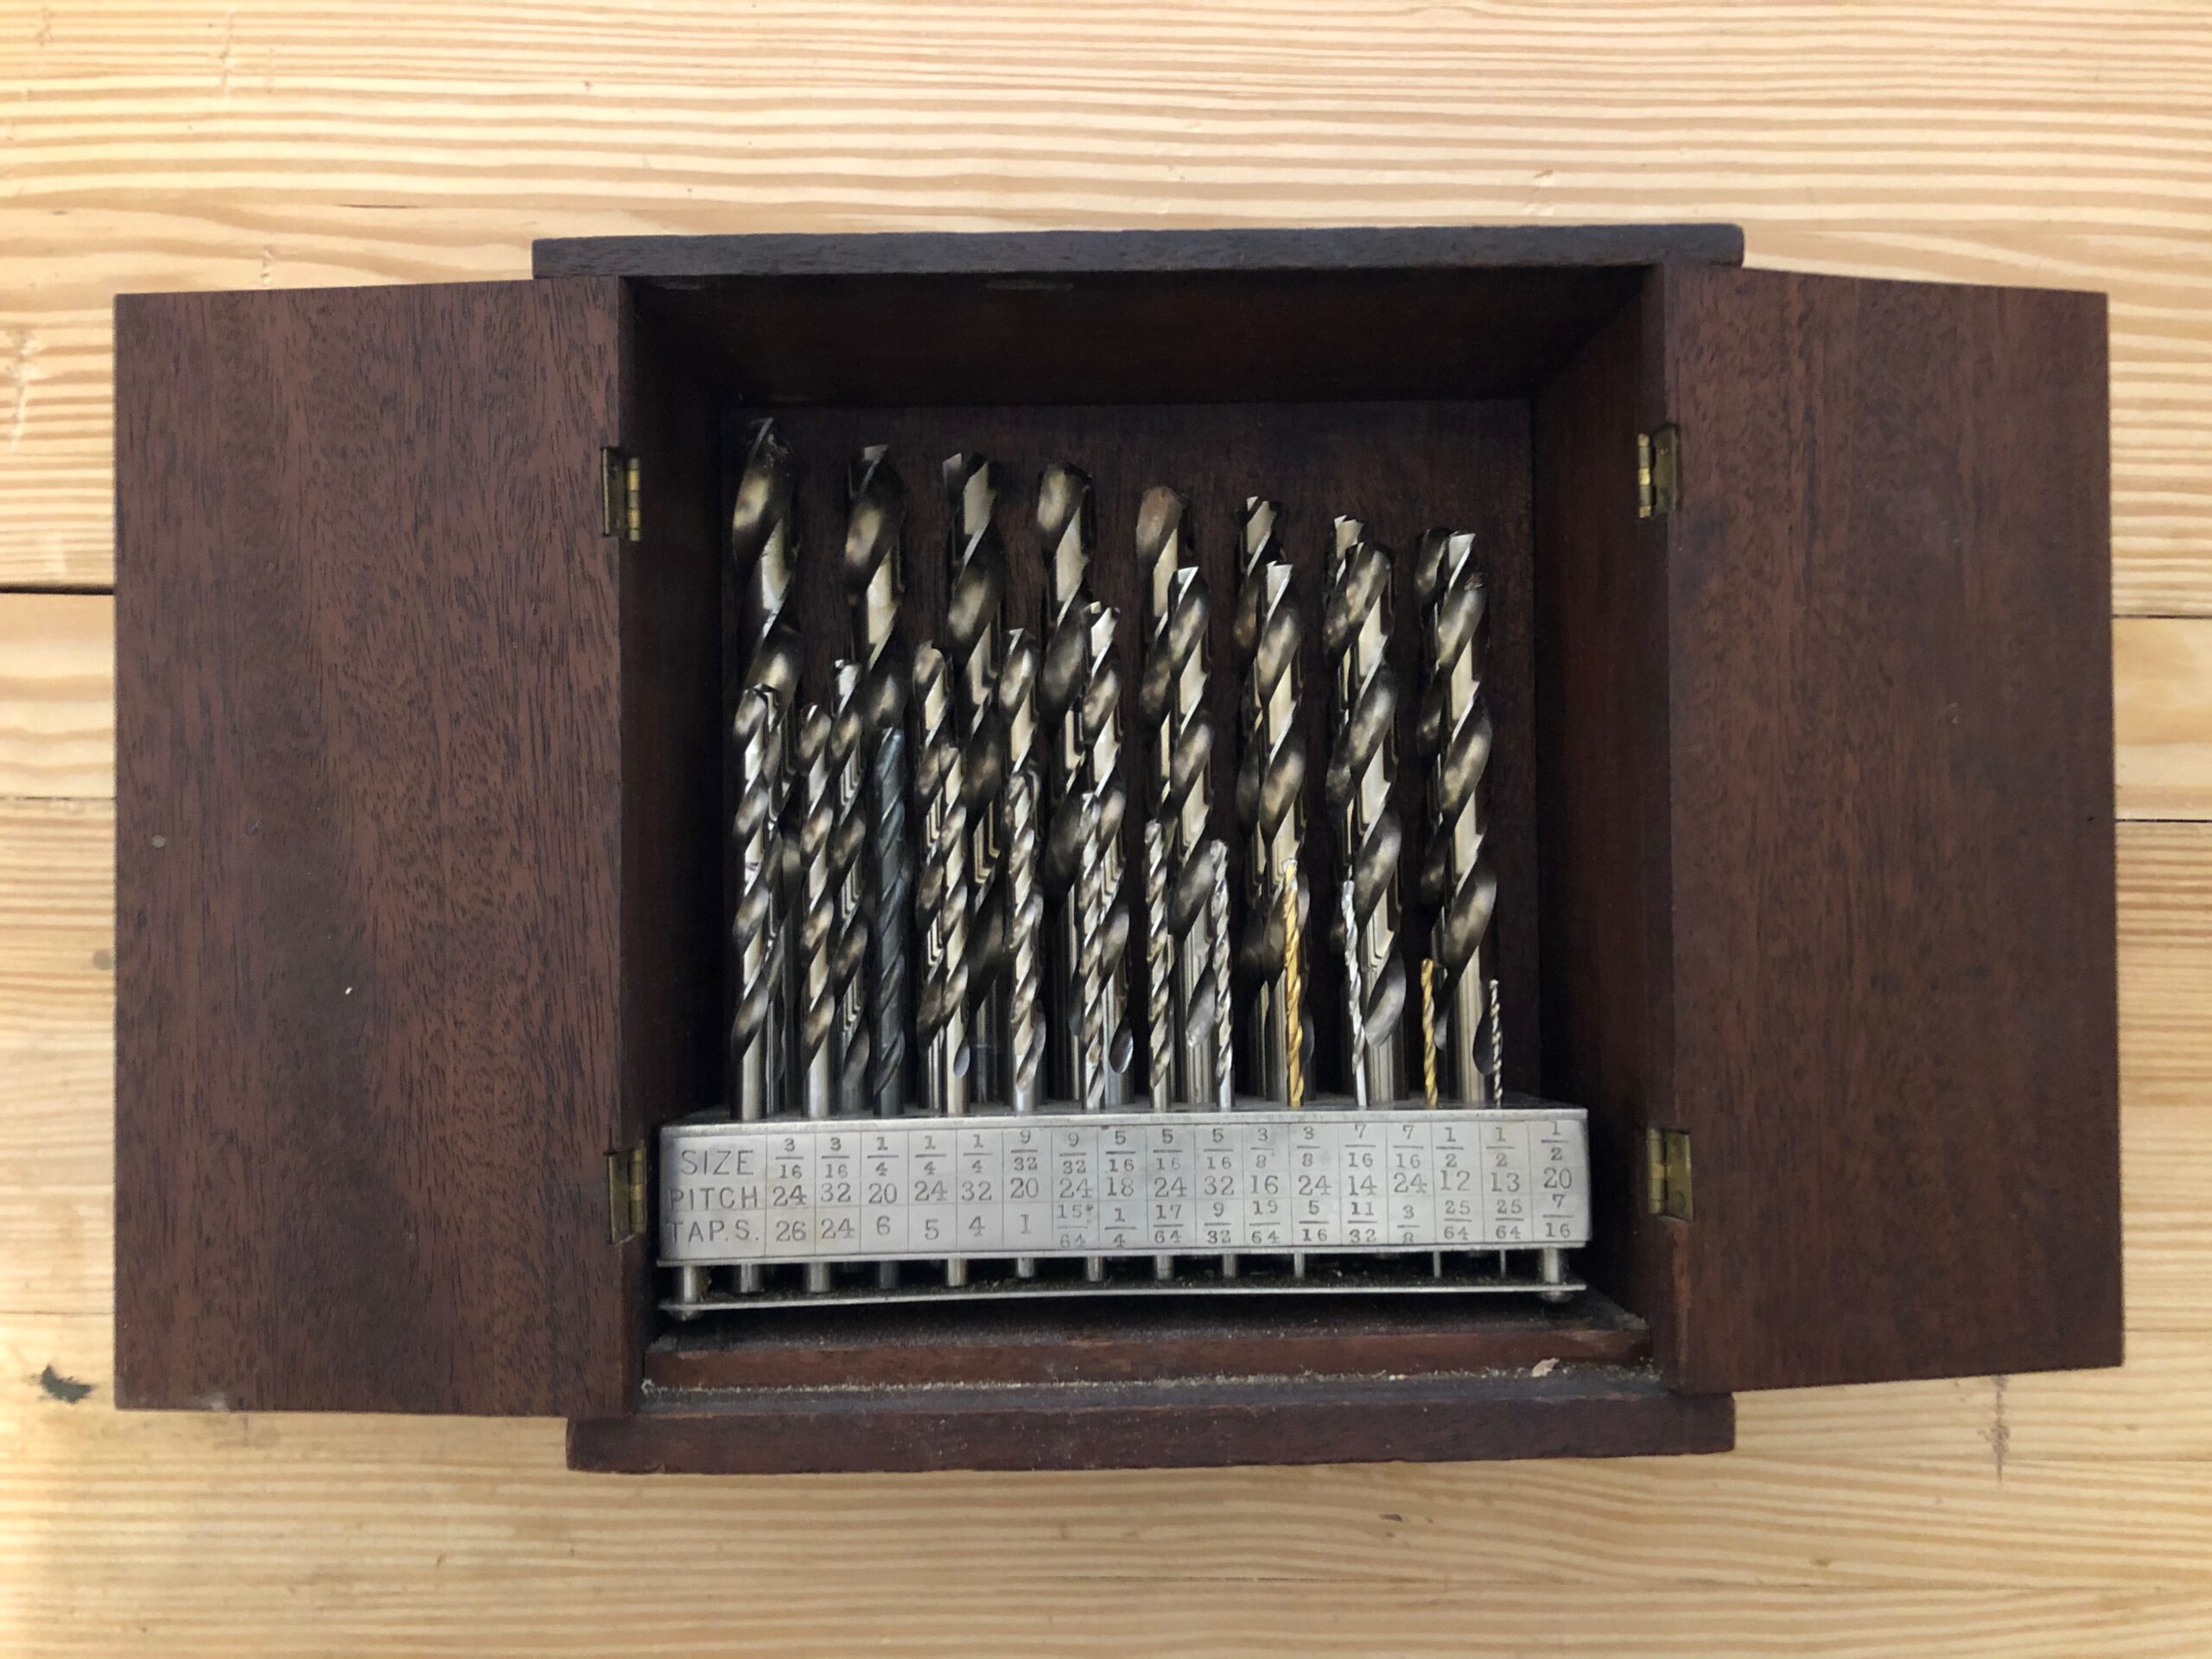
Vintage Case for Bit Set
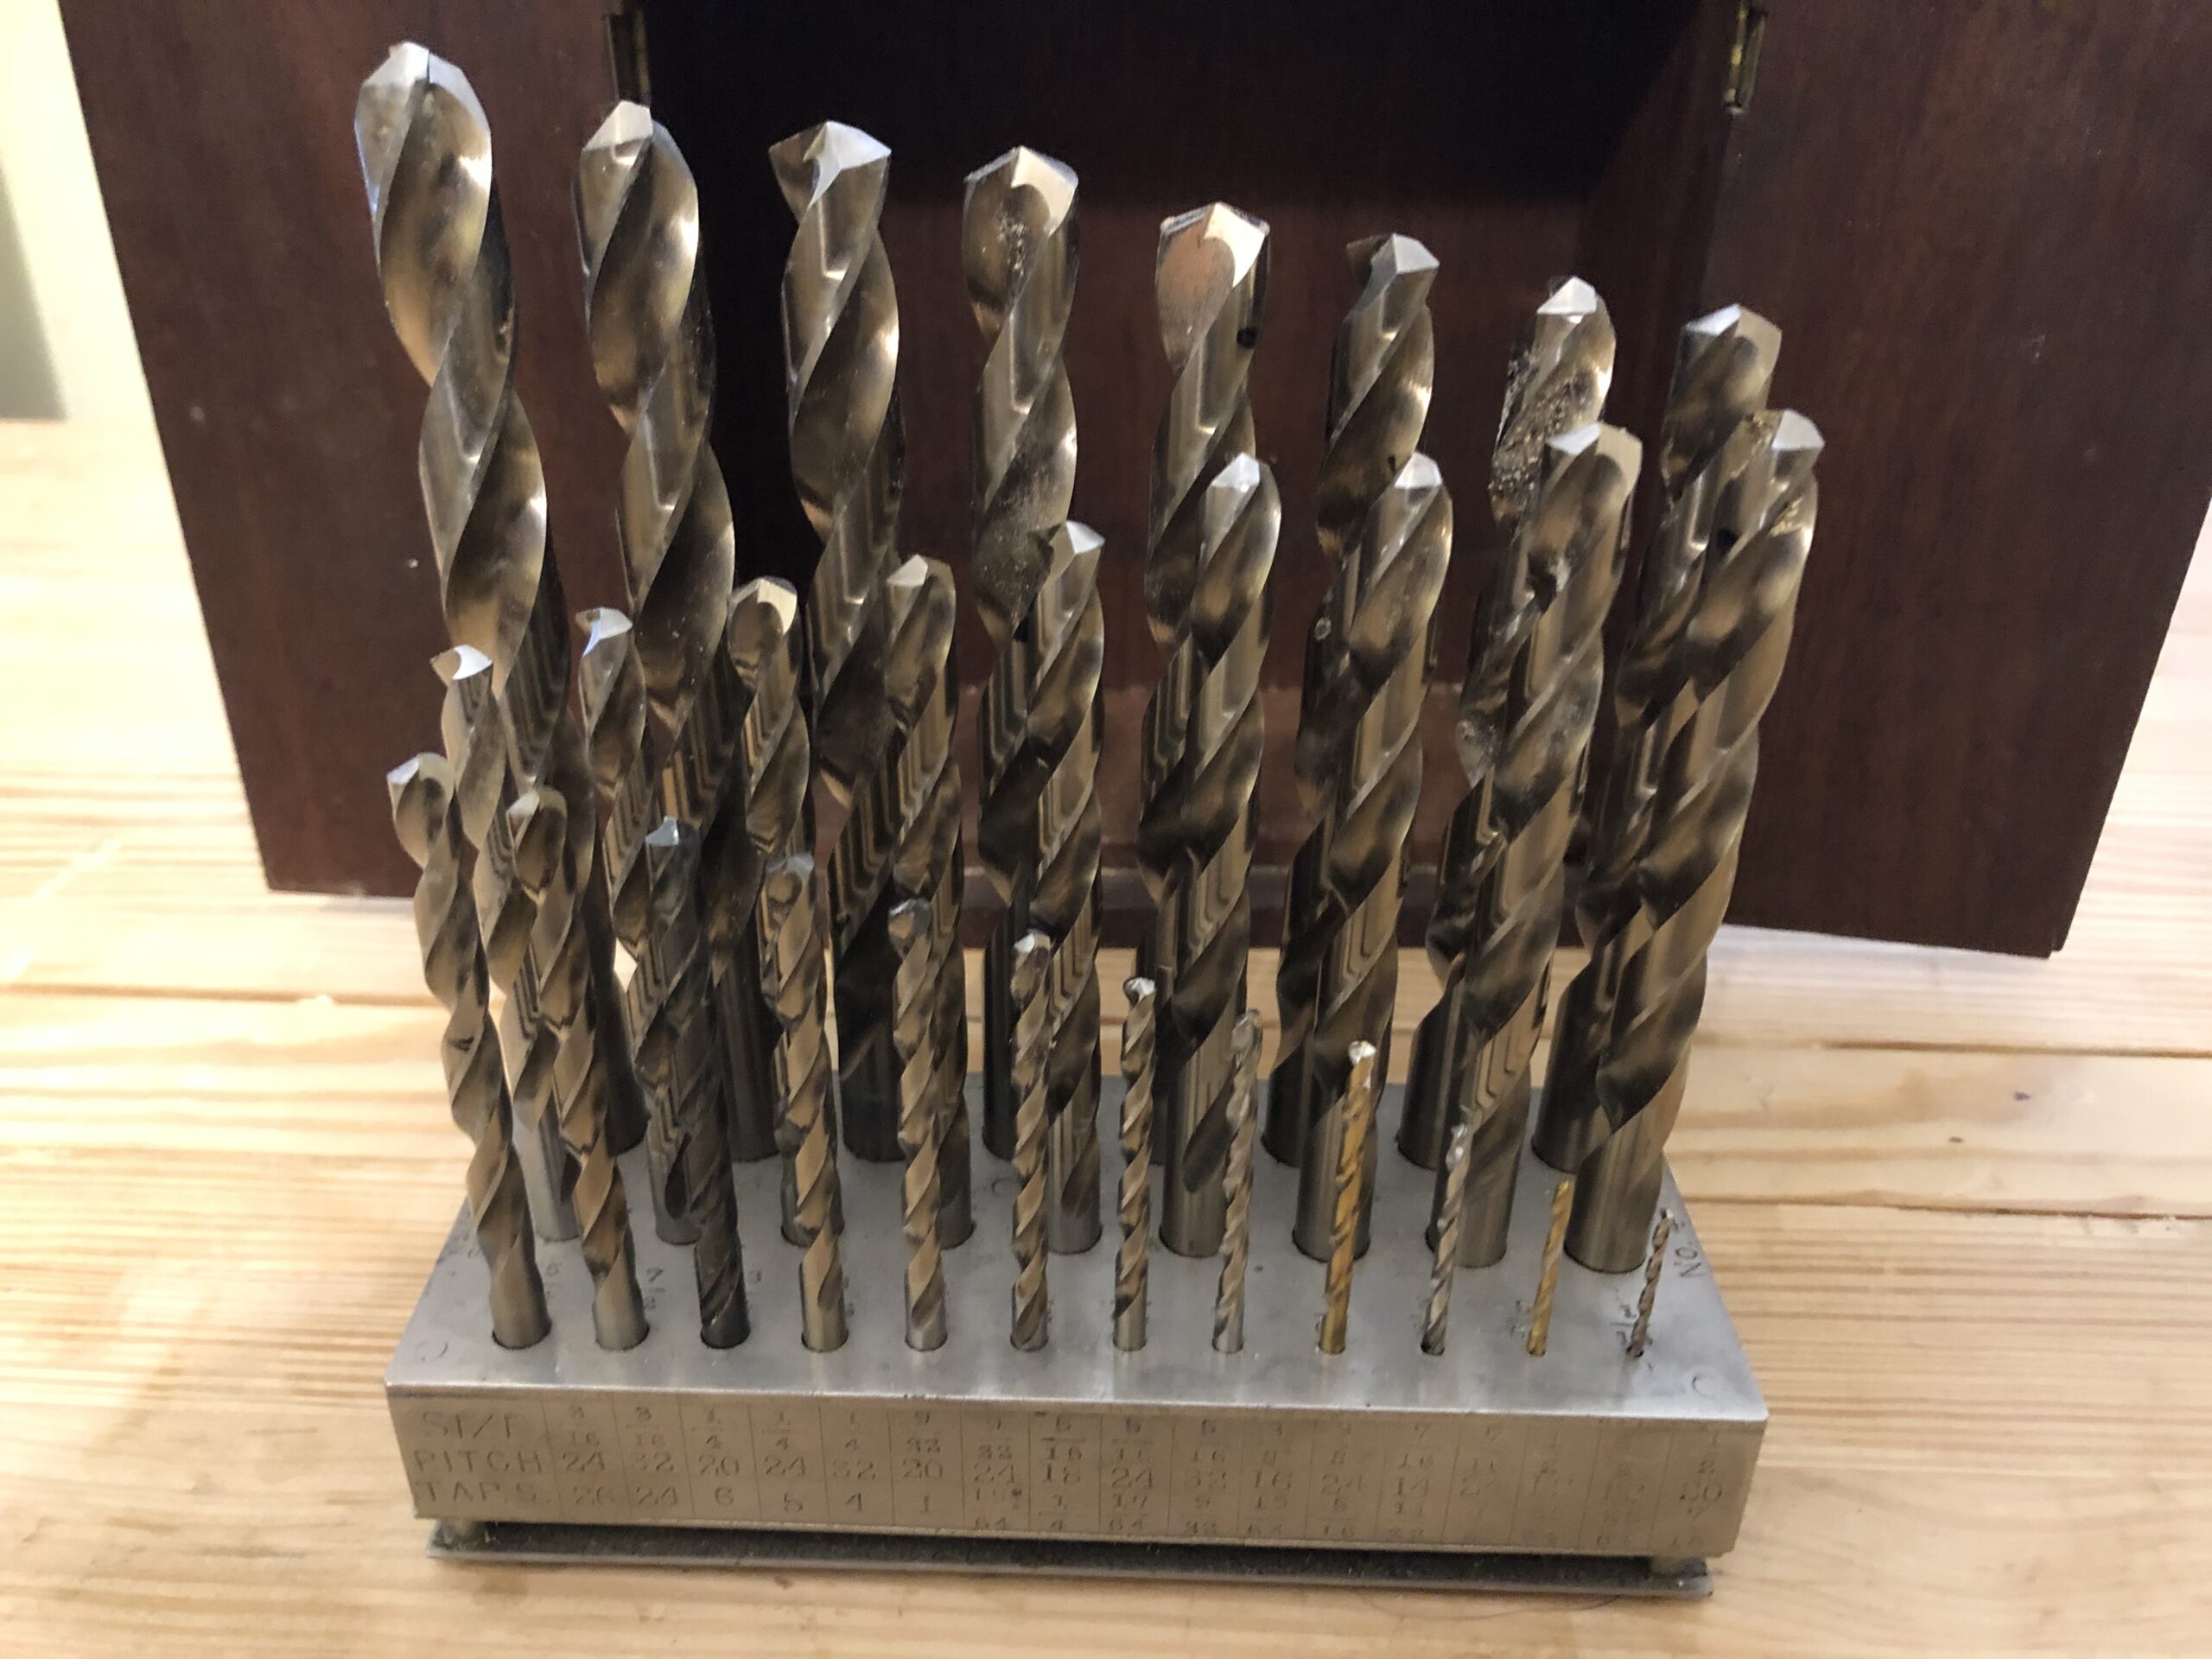
Some people don’t use twist bits on fine woodworking projects. I use them in areas that do not need to be pretty as they can and do chew up the wood. You can mitigate this a little bit by placing a sacrificial backer board clamped on the back to reduce the exit tear-out. They can also be used in metal on very slow speeds. I got the set pictured above at a MWTCA meet in Sept 2015.
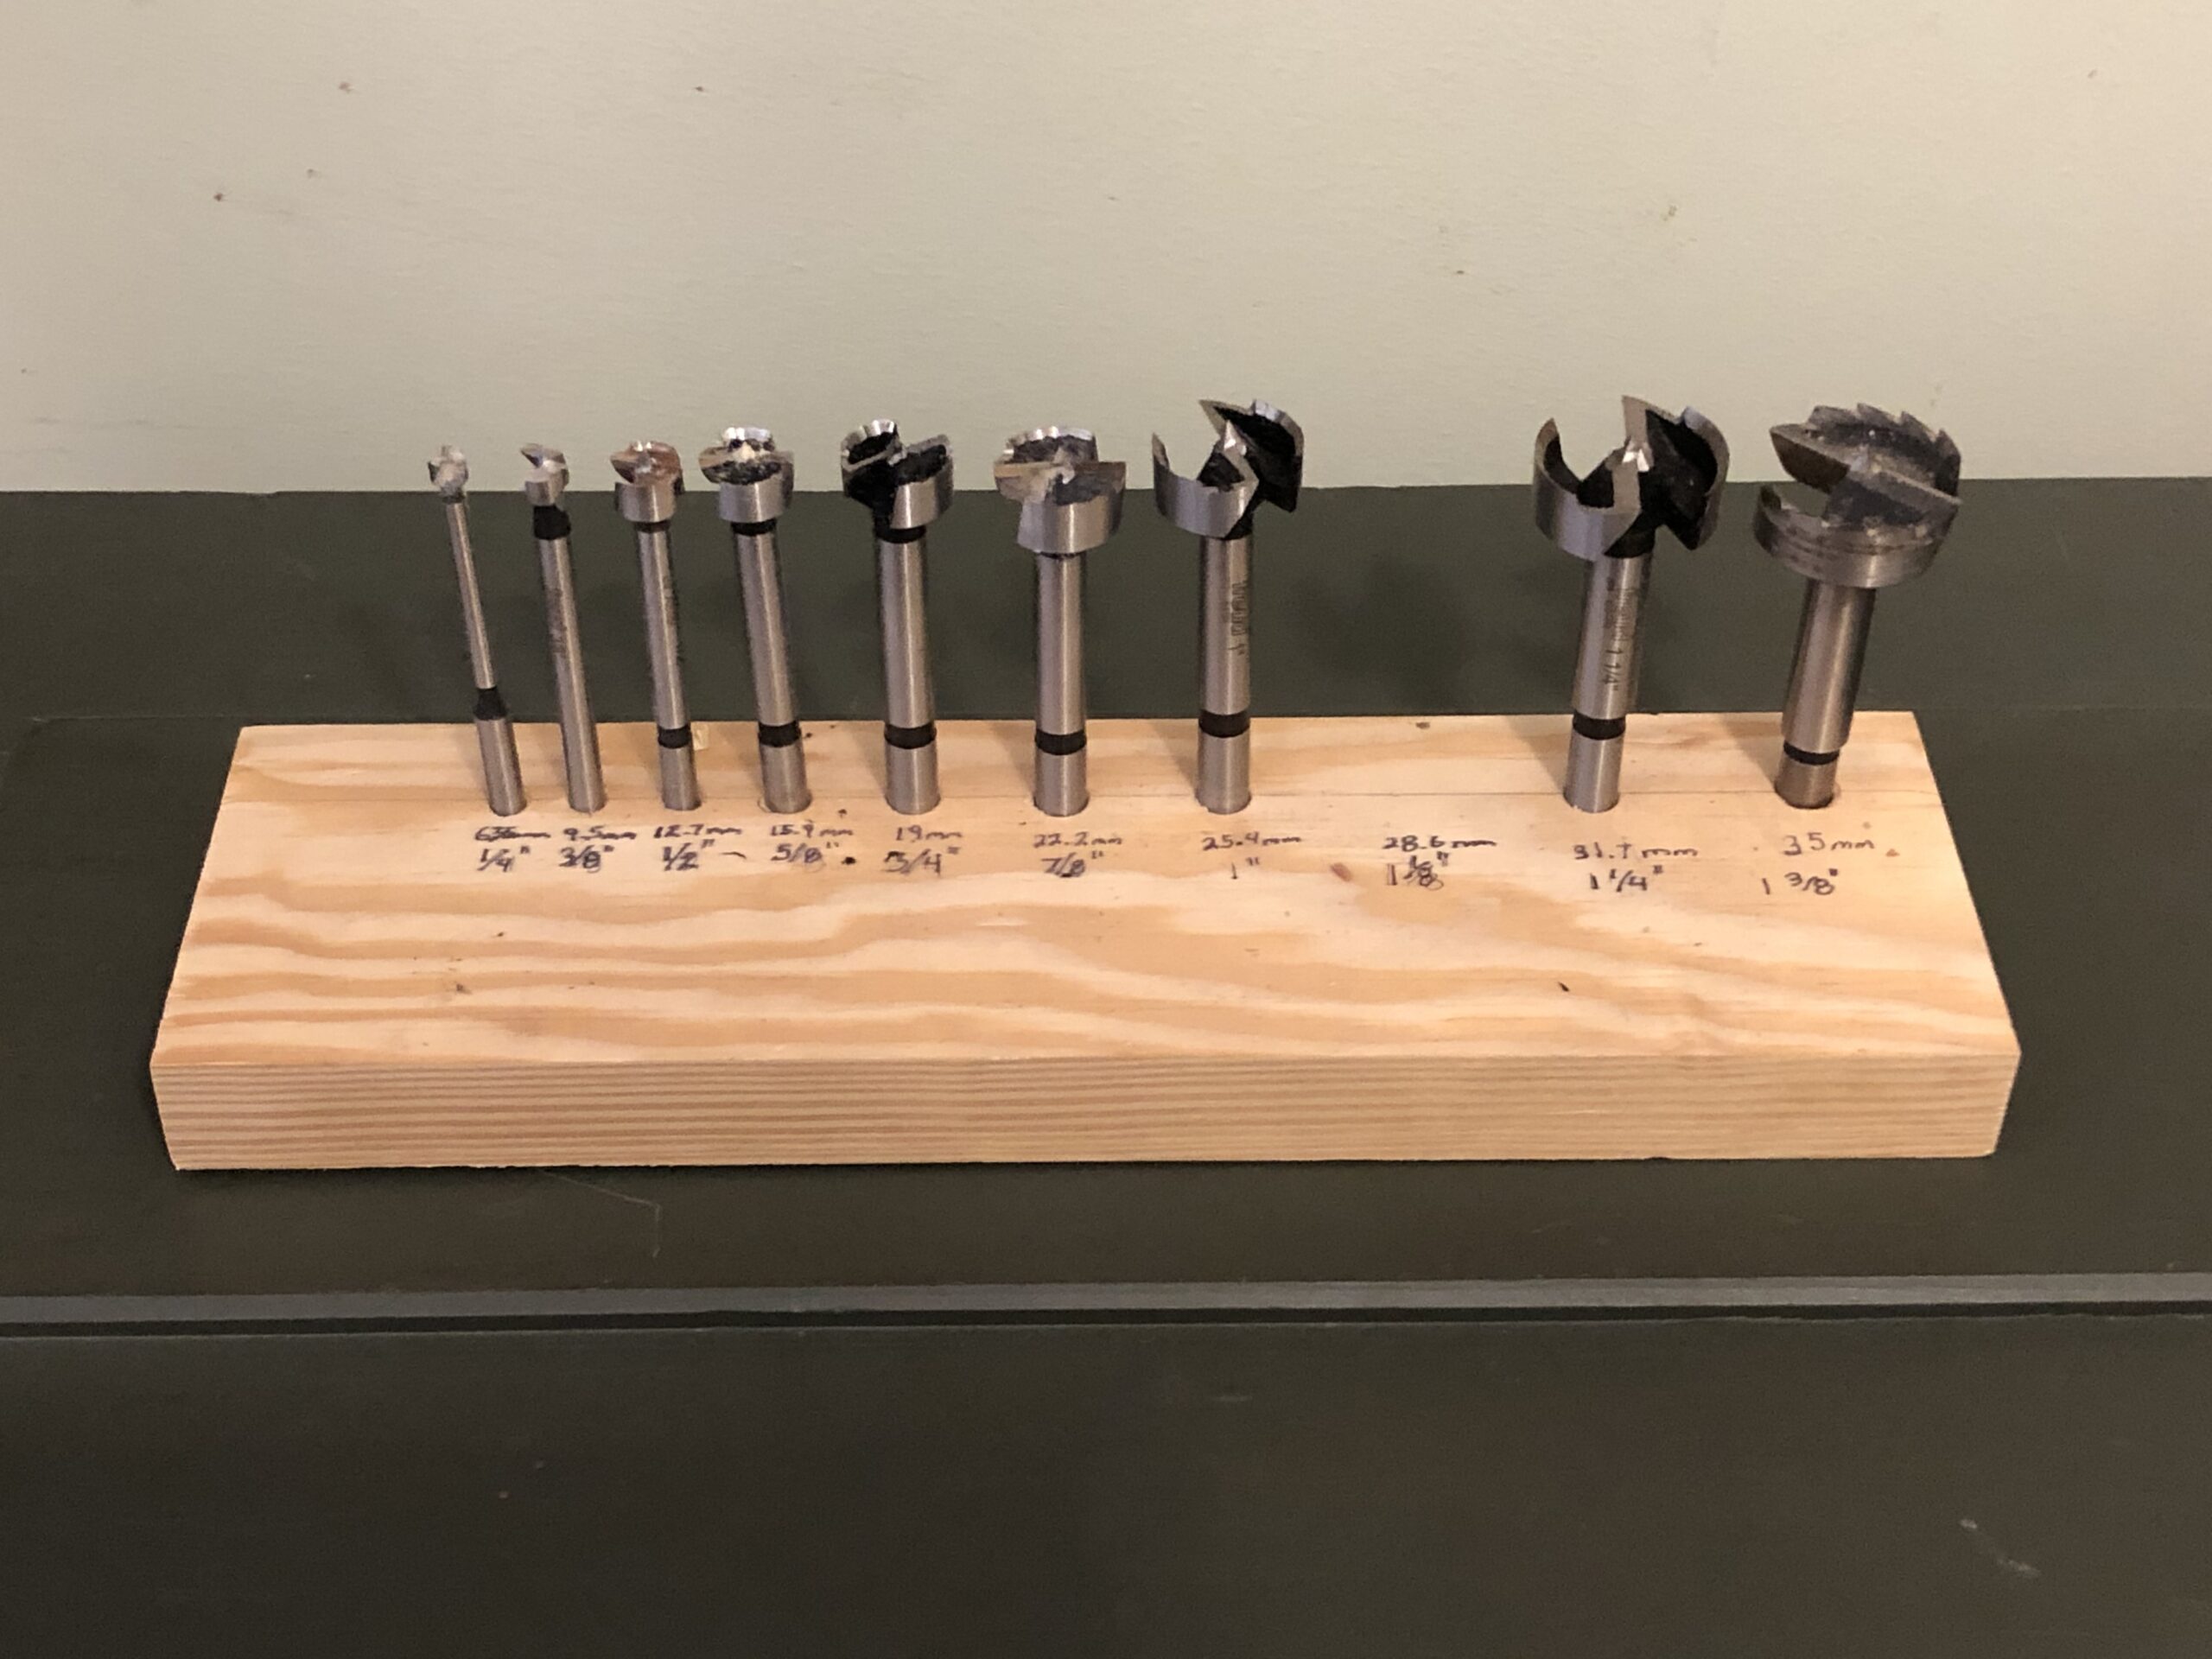
The forsener bit set above is a recent purchase from 2020. I love these bits for clearing out a ton of waste very quickly. I only use these with power tools as the require a lot of torque. They a great for boring smooth-walled holes and nice flat-bottom holes. They do not usually tear up the top surface like other bits can.
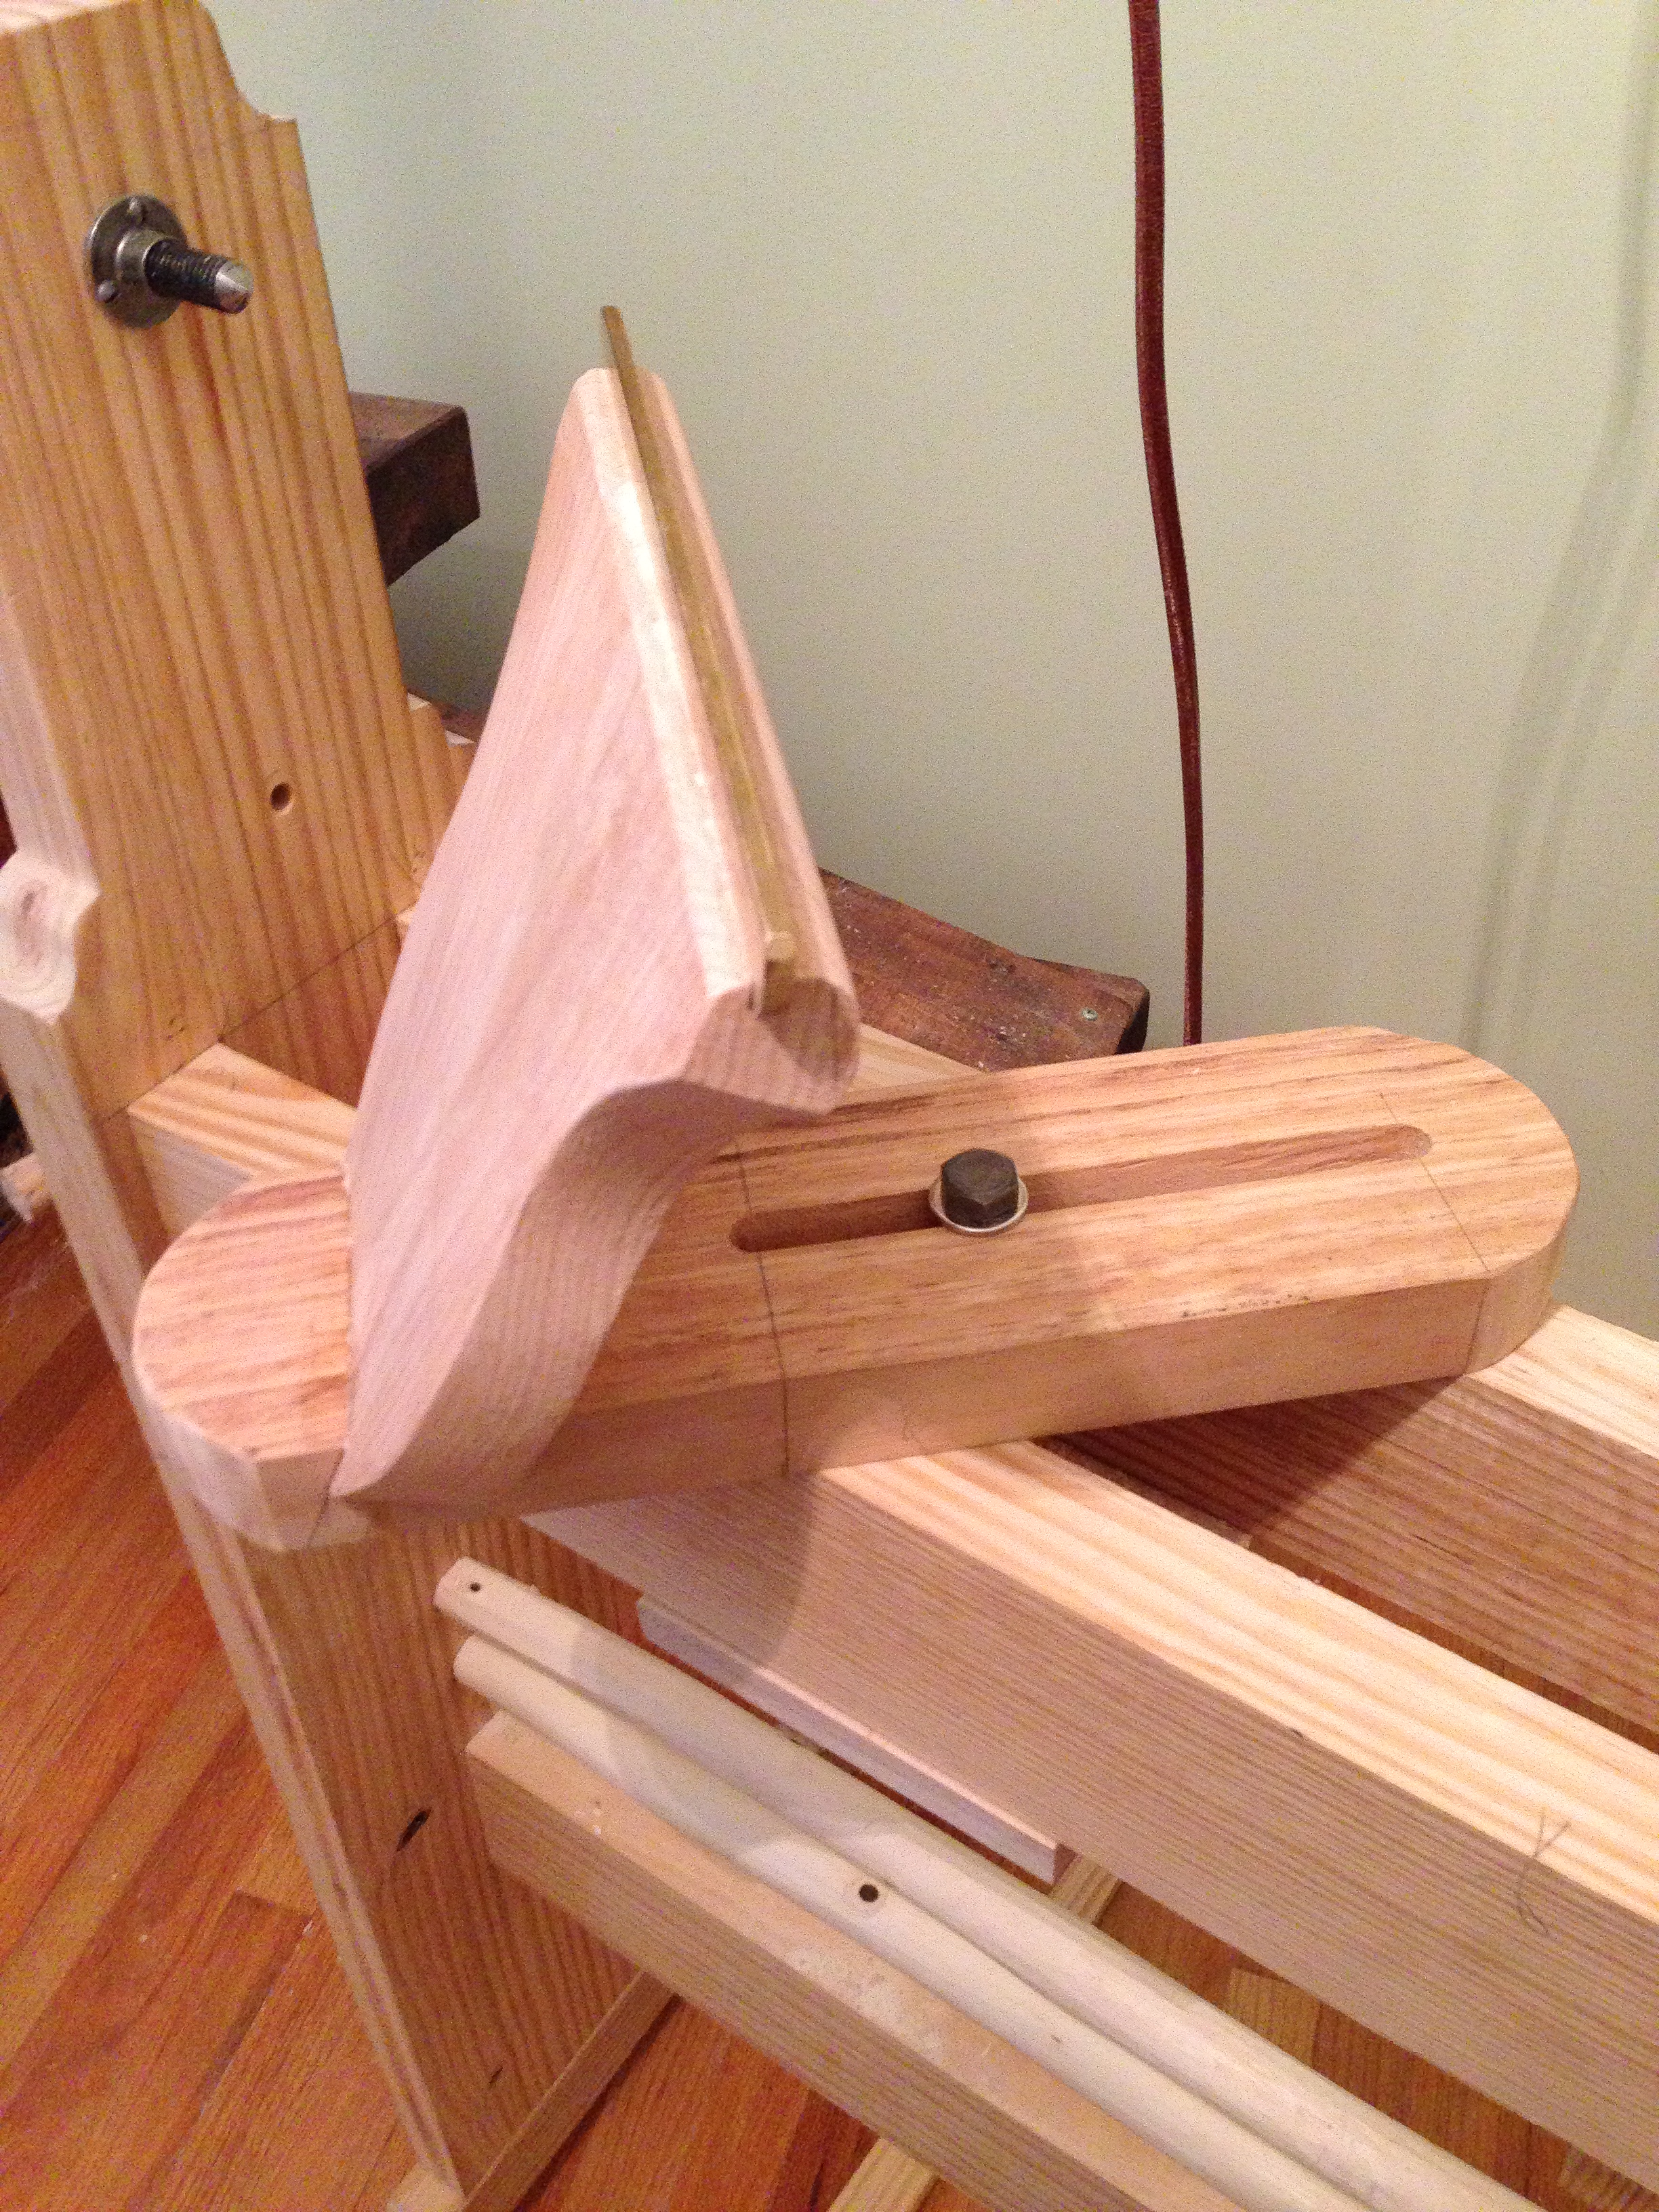
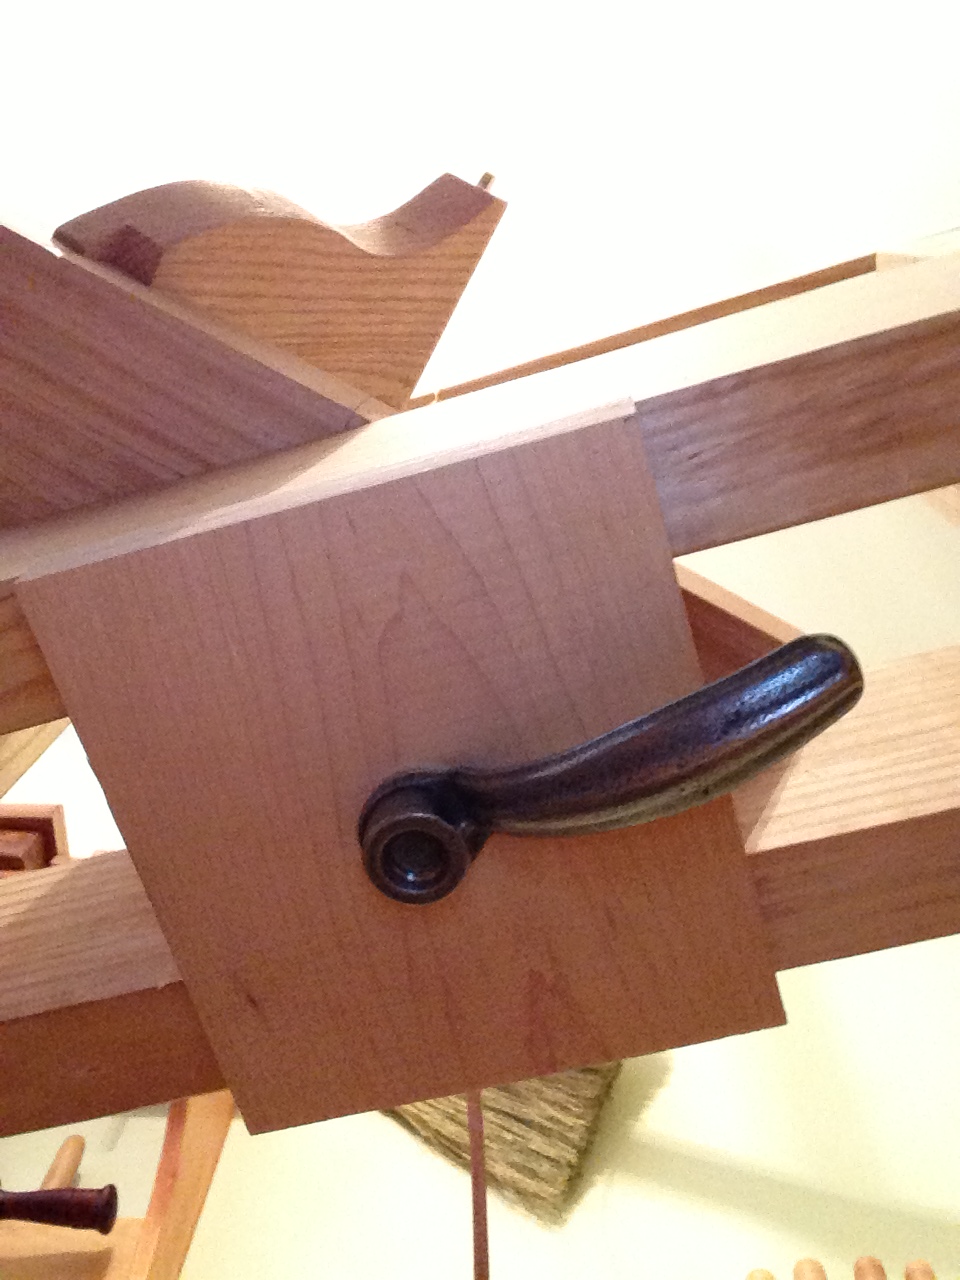
I’m just scratching the surface of drills and bit types. The ones I have shown above are the most common in woodworking shops, but not exclusively. There are a lot of “specialty bits” that are used in all sorts of unique operations. I like to keep my tool set as focused as possible, but do buy the occasional speciality bit like when I was building my Split-Top Roubo Workbench.
Drilling is one of the most frequent activities in any woodworking shop. When you buy drills and bits, again make sure you buy quality. If you do, and you take care of them they will give you a lifetime of good use.
Please subscribe (on right hand side on computer and very bottom on phone) to the mailing list to get future blog updates.
Until next time, keep making shavings and sawdust.
Peace,
Aaron
Copyright 2021 © W. A. Henderson