
Chisels
Back in my early days while beginning my woodworking journey, I believed a chisel was a chunk of metal with a plastic handle. You’d pound them mercilessly to remove wood during construction. They were not precious or even to be well cared for. They were a rough tool, to be used and abused and forgotten about after the work was done.
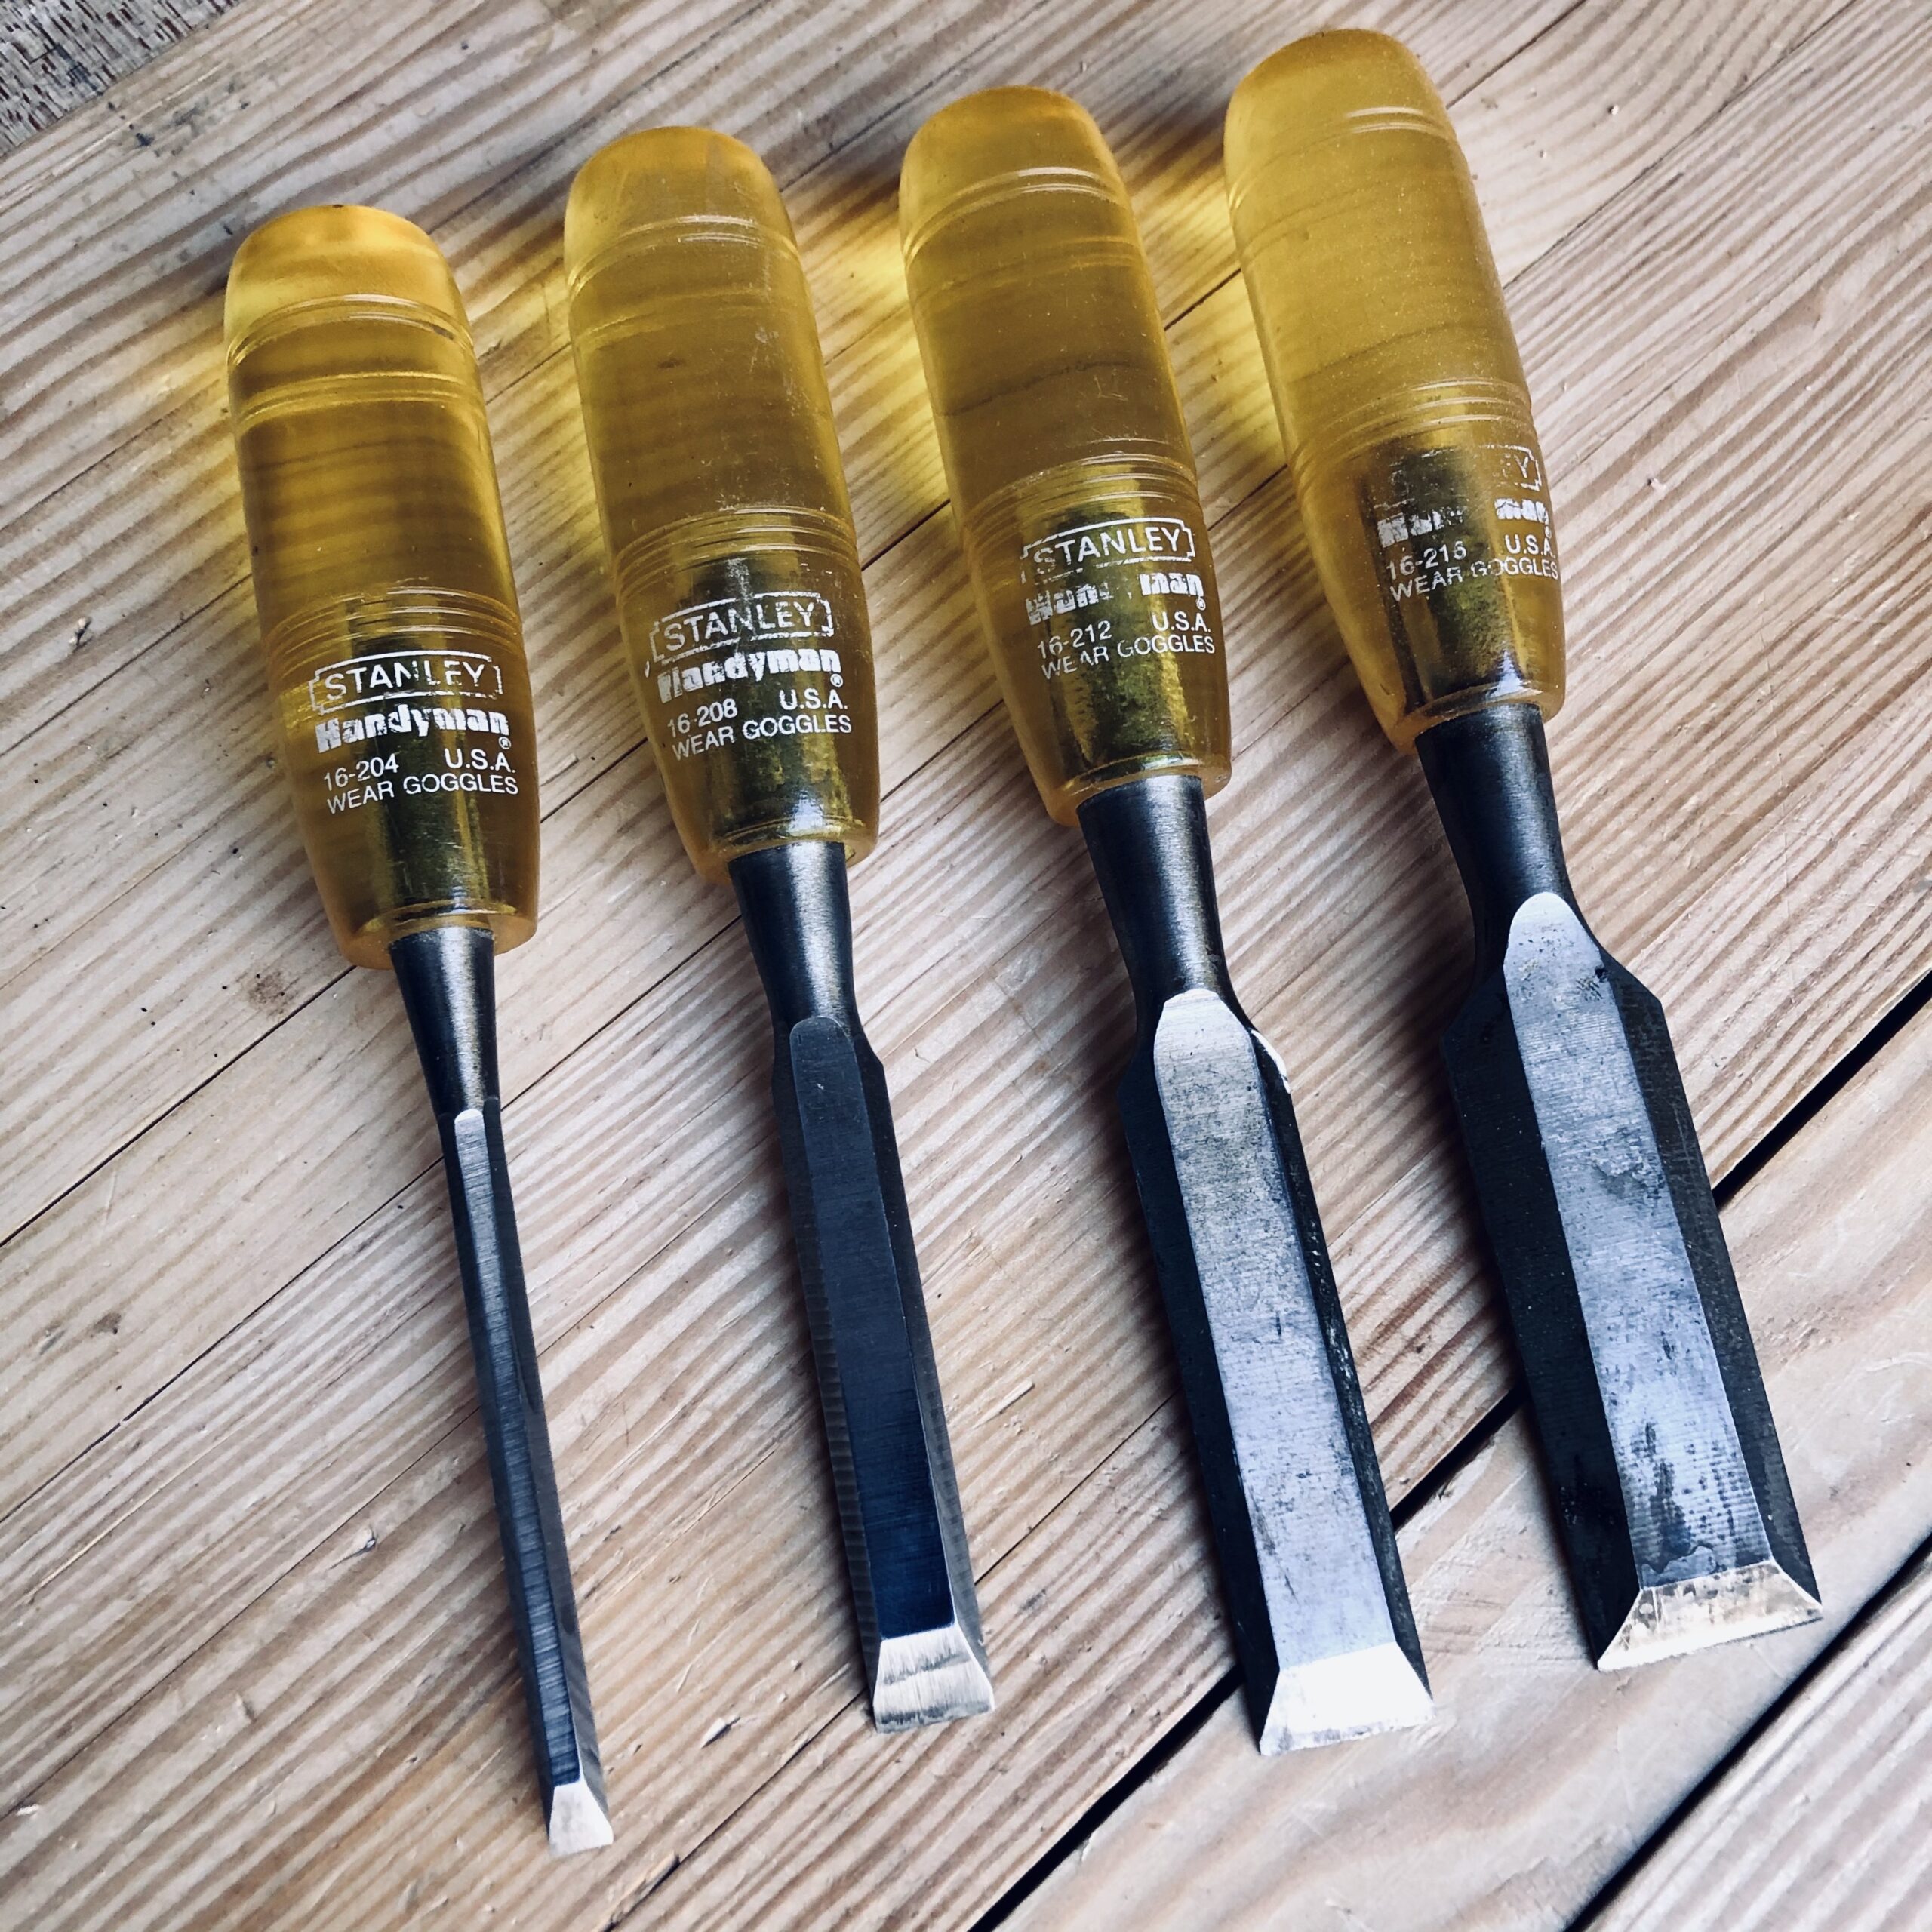
Set of Vintage Stanley Handyman Chisels 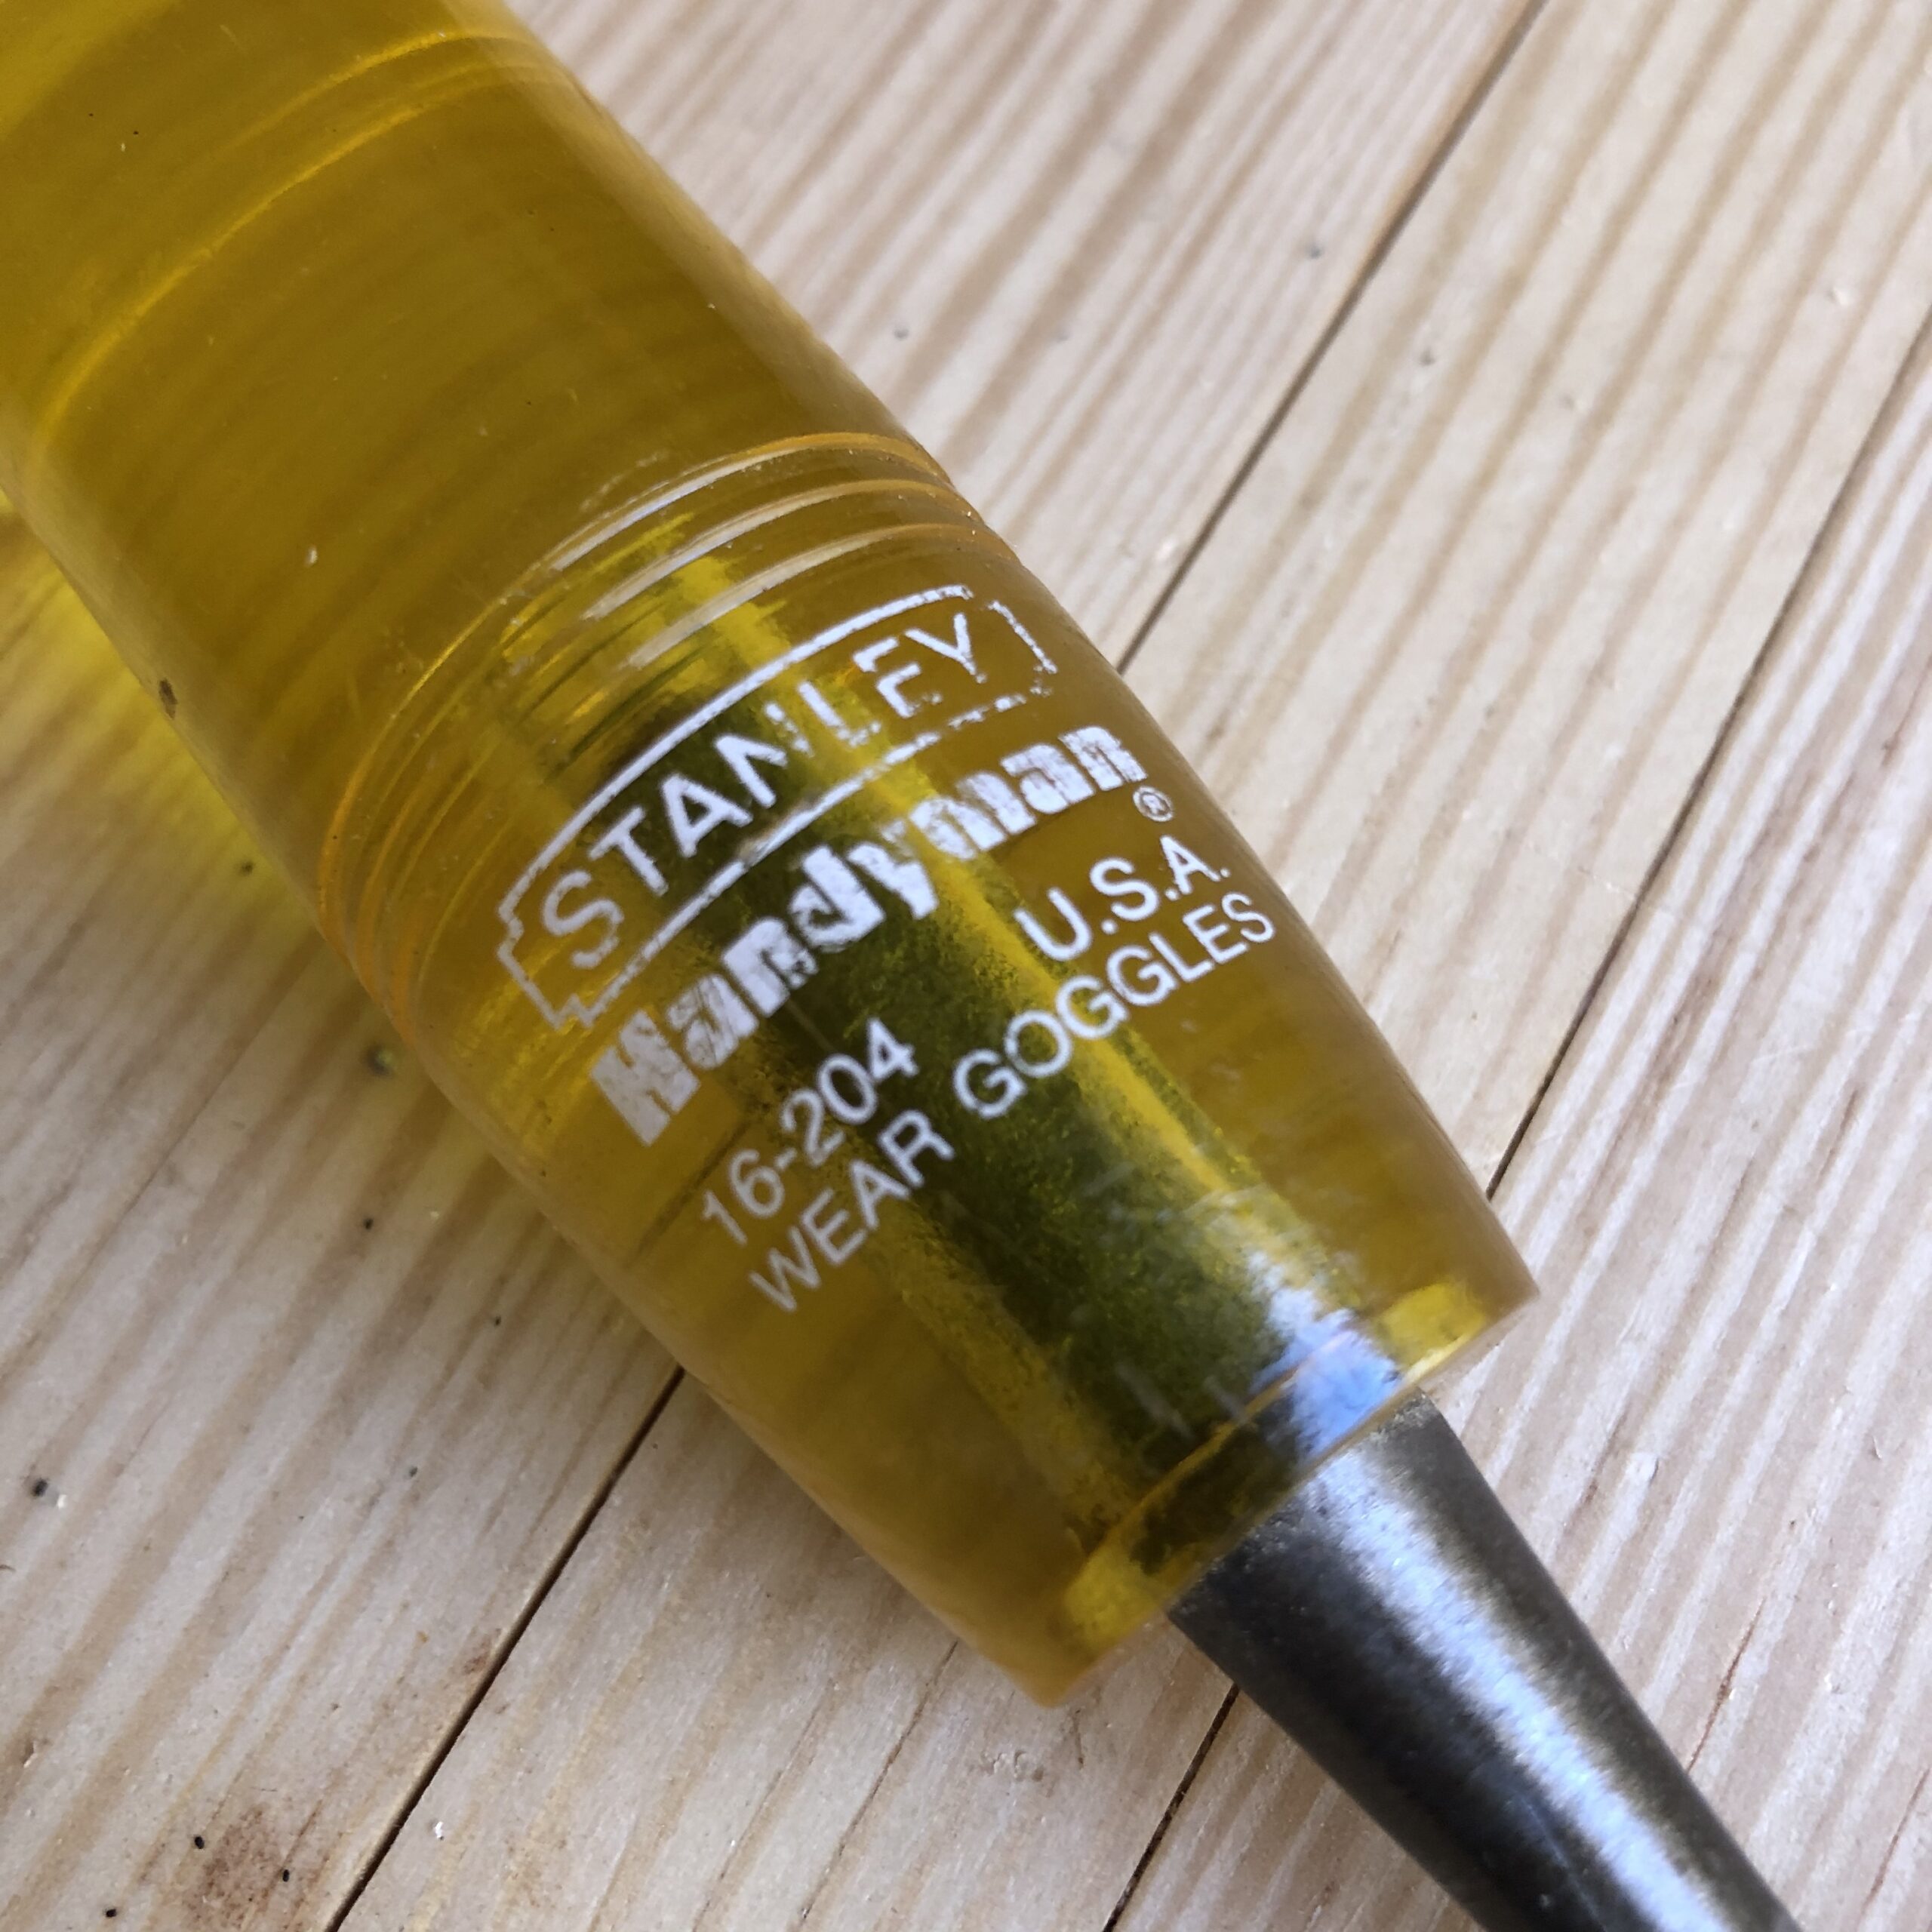
Vintage Stanley Handyman Chisel Detail
My enlightenment began slowly. Yes, I had seen Roy Underhill use them to great effect on his show the “Woodwright’s Shop”. But until I started my personal journey, it did not click about their proper uses until later in my life. My first step was with a shop class. I asked the shop teacher to show me how to sharpen a chisel. He took me over to the grinder in the shop and proceeded to use it to sharpen my Stanley Handyman set (1/4″, 1/2″, 3/4″ and 1″) from the early 80’s. They were OK for use in a power tool shop and they did sharpen and hold an acceptable edge. They were also heavy, unwieldy and unbalanced. A few years later…OK, like 15 year later, I attended Roy’s Dovetail class; this is when I learned what sharp was and specifically a sharp chisel.
I went home determined to “tune” my Stanley chisel set, but then I though to myself, maybe if I got a new set and sharpened those I’d be in business. So I purchased a new Buck Bros. Set. I had studied up on sharpening a bit on the internet and discovered the “Scary Sharp” sharpening method using sandpaper.
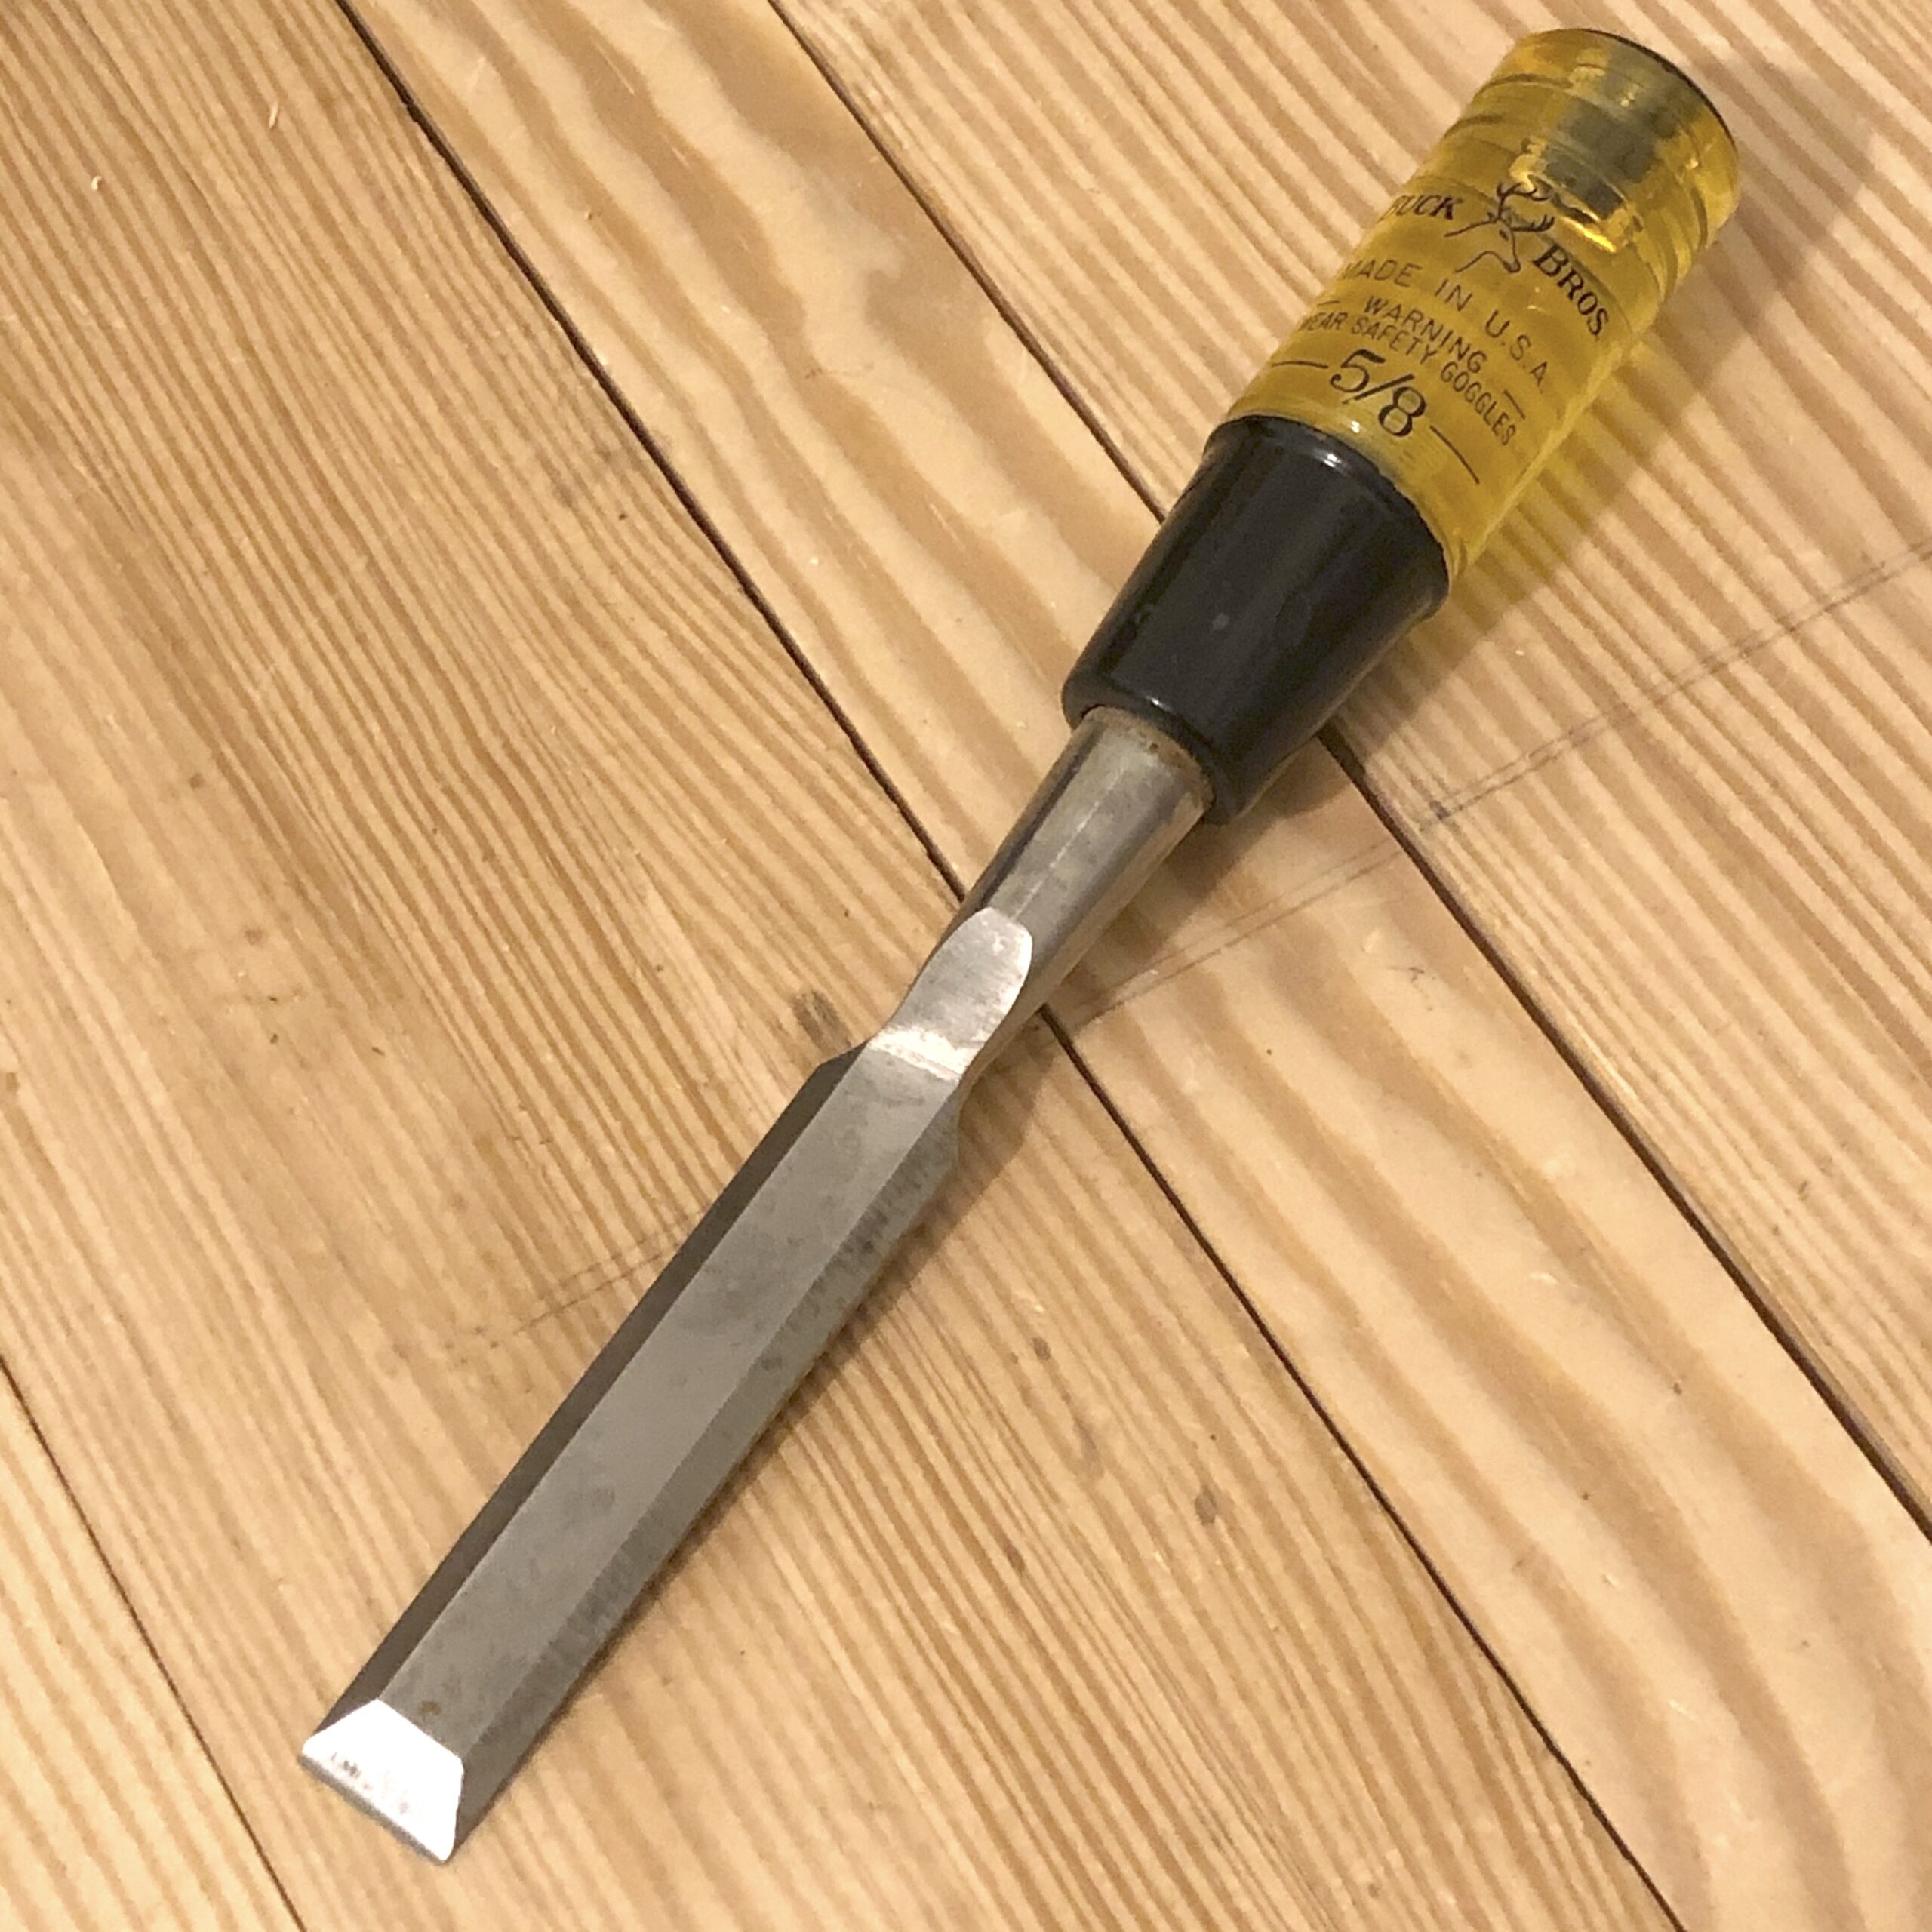
Now armed with my new set of chisels and my newfound sharpening knowledge, I went to town sharpening these so-called chisels. After sharpening them, I excitedly started testing them on the edge of some soft pine and they cut it like butter. This is what I wanted, so I started a new project (using white pine) with them. It was’t long before I noticed they weren’t as sharp as when I started and then I looked at them closely with a magnifying lens. They looked like I had be pounding them into concrete. The teeth were jagged and chipped. Remember, this is soft pine (no knots either).
So I did the obvious, I resharpened them again and they had a beautiful gleaming edge and I resumed using them on my project. Next thing I know, they were back to the snaggletooth shape as before. This would not do. I was so disappointed and it was about this time that I read Chris Schwarz’s book “Anarchist’s Tool Chest” (buy it, read it, you’ll thank me later). In it, Chris goes into great detail on what makes a good chisel.
I had some old chisels I had been collecting for the past couple of years. I started cleaning them up and sharpening them. Some needed new handles, so I made some crude ones to get going (I made better handles later after I got my lathe.) I started using these old chisels and they were orders of magnitude better that those lumps of crappy metal and plastic with a label that said “Chisel”. They took a wonderful edge and kept it. They cut through pine, walnut, cherry, hickory and hard maple and kept on going. Now I was getting somewhere.
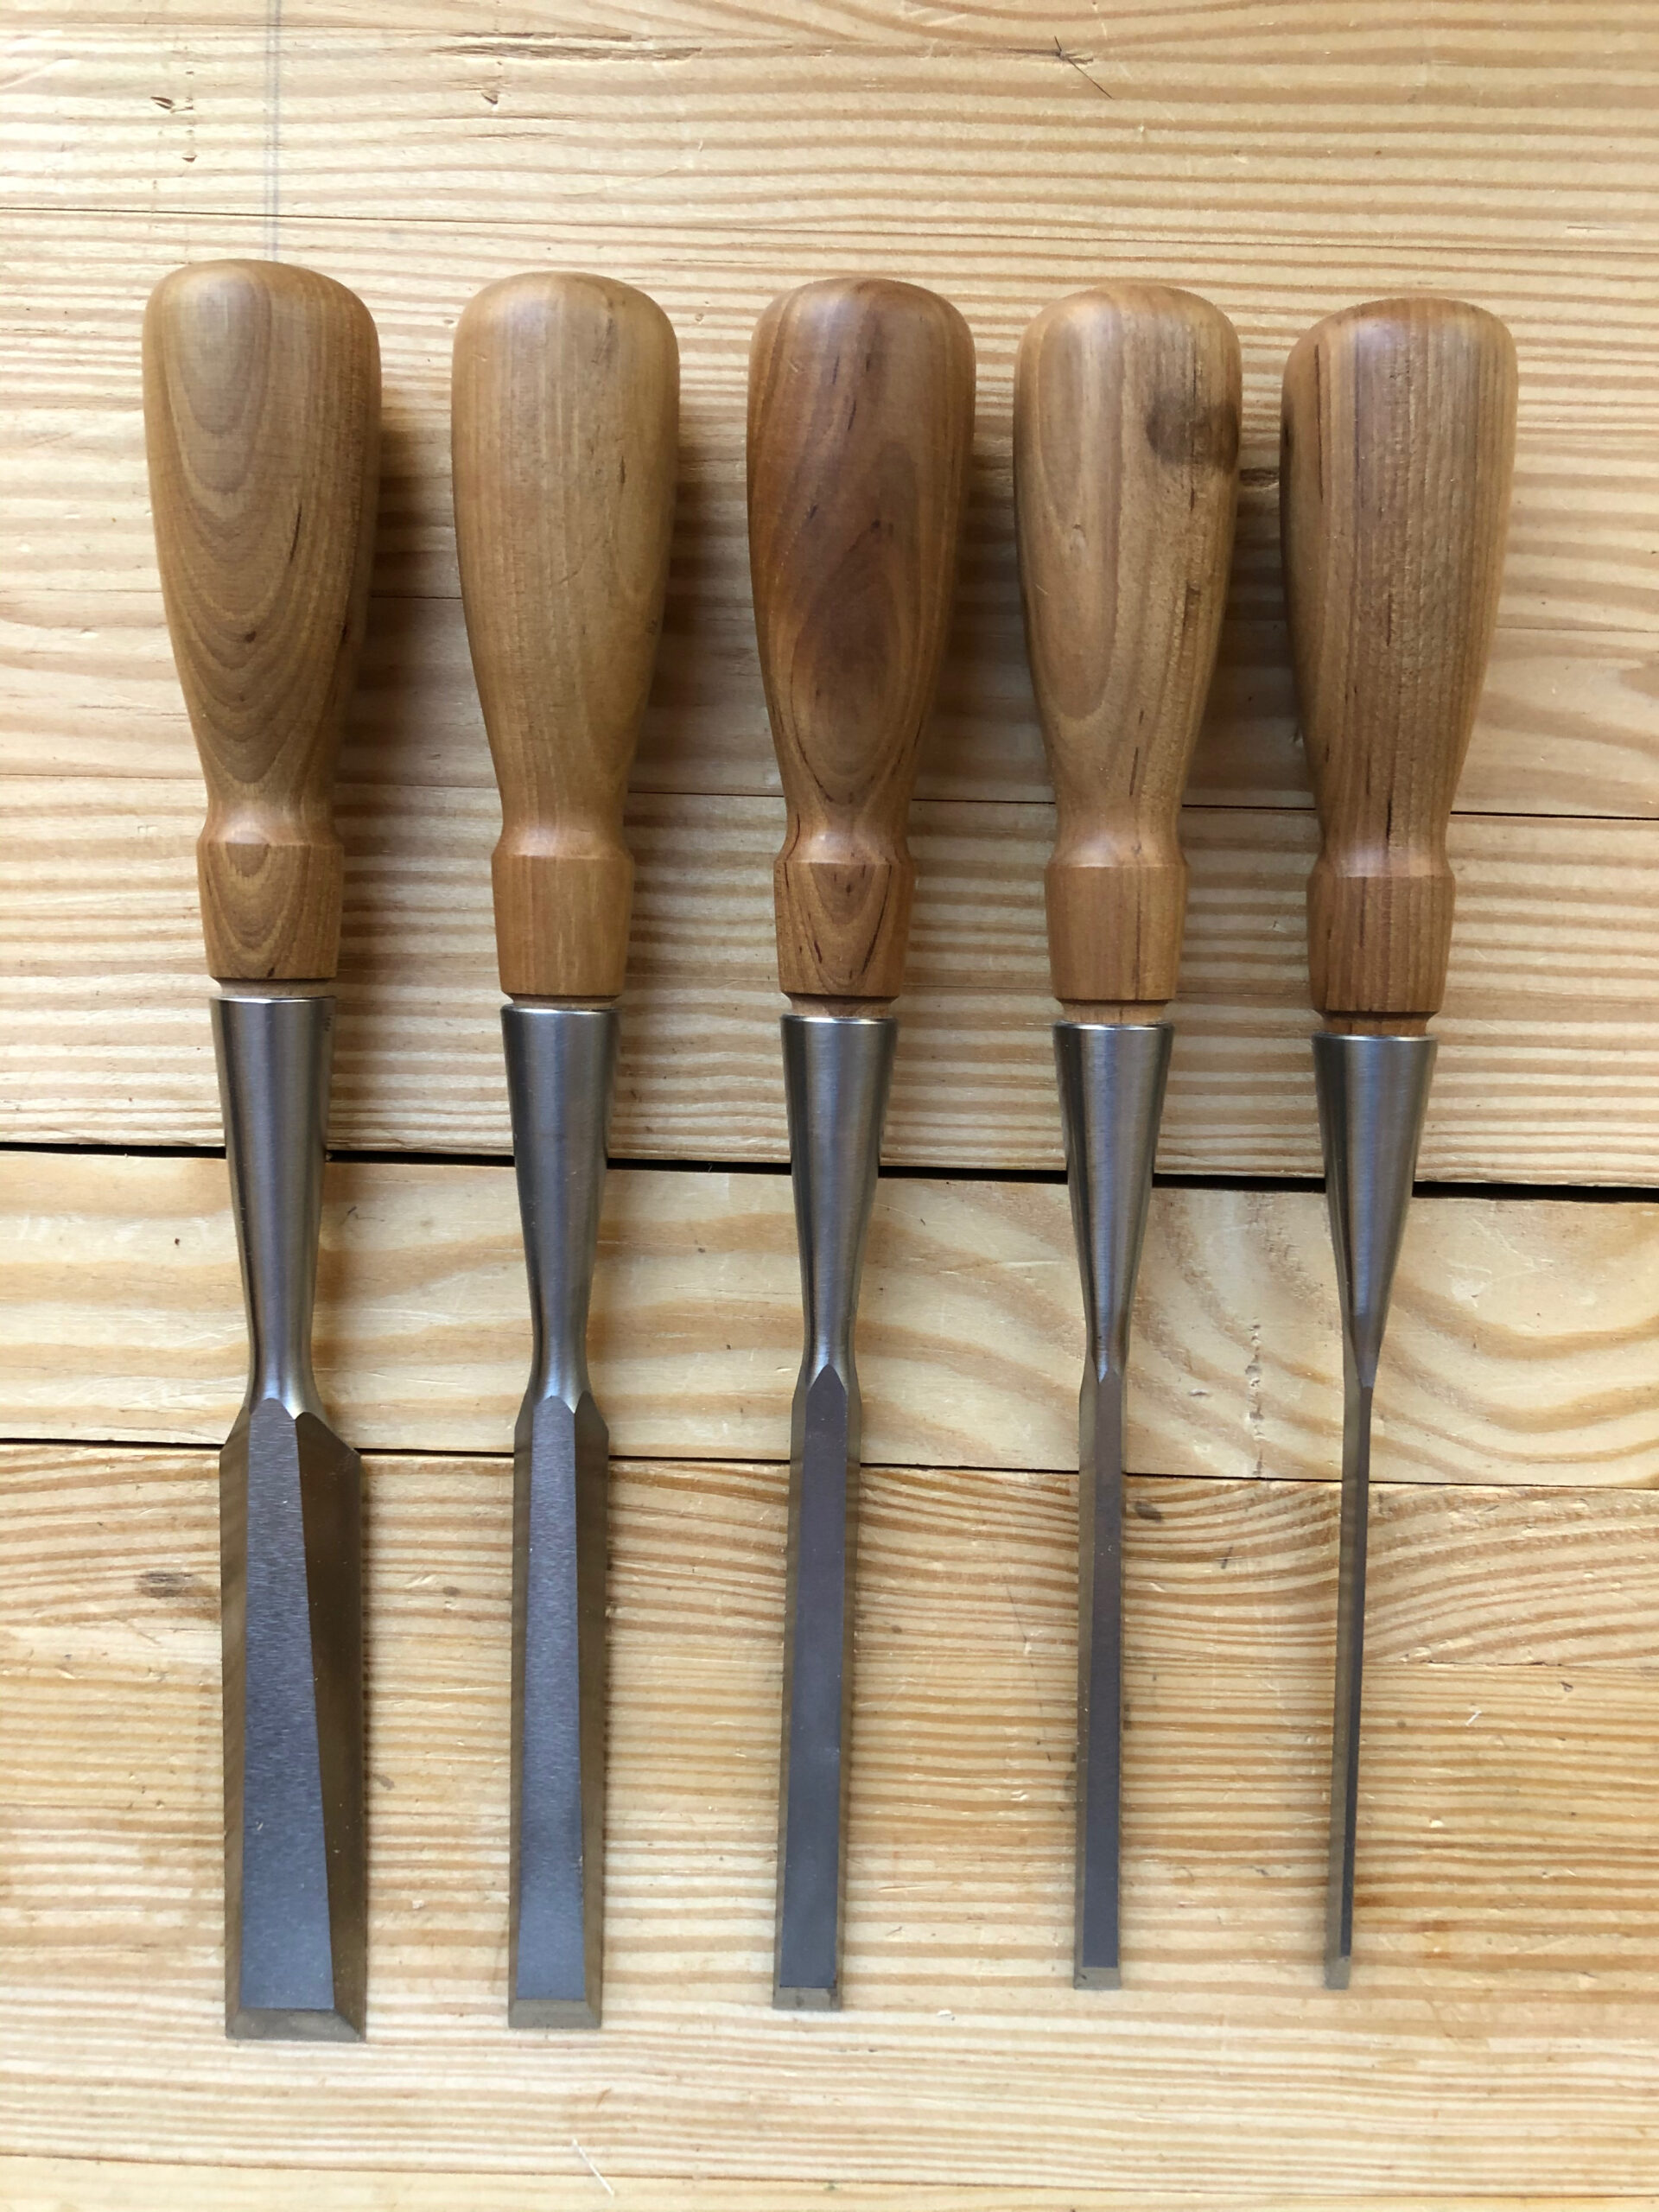
Modern LN Bevel Edge Chisels 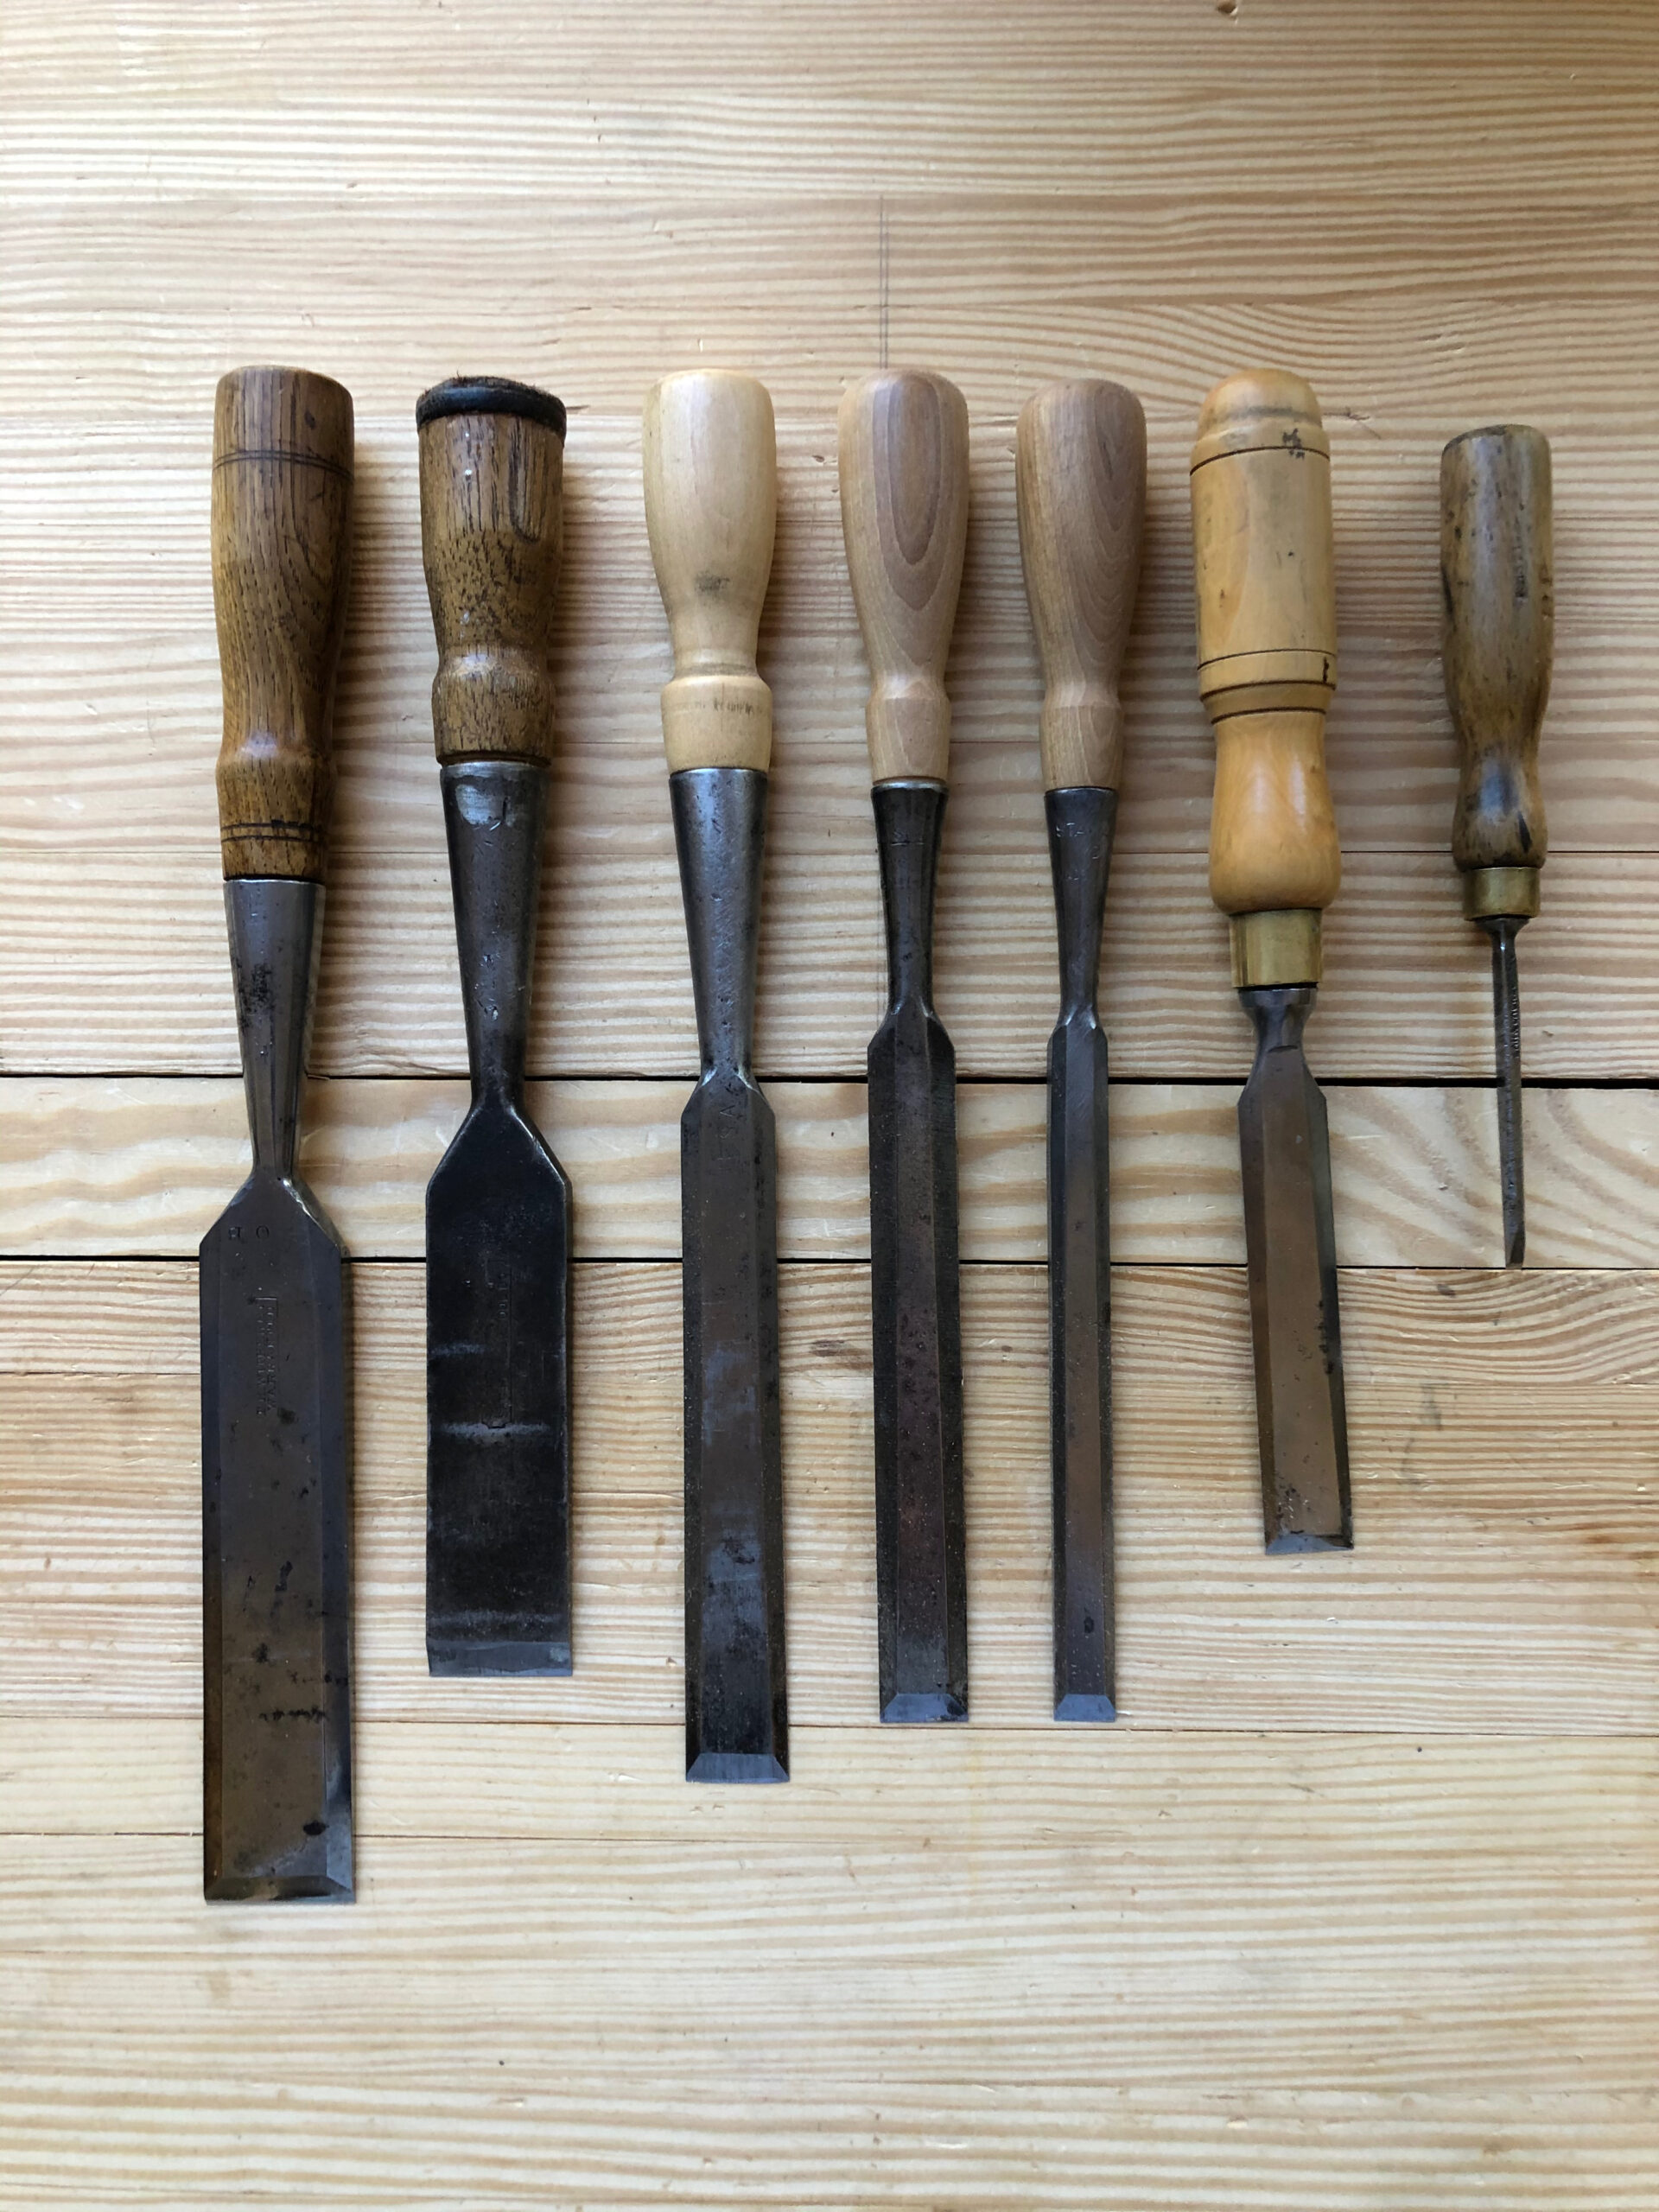
Misc Vintage Chisels
I needed a more complete chisel selection at the time. My vintage tools had some major gaps in sizes. After more research and some soul searching, I decided to save up some money and get the Lie-Nielsen Bevel Edge set (3/4″, 1/2″, 3/8″, 1/4″, and 1/8″). This was not a cheap purchase, but it was an investment. I had just proven Chris’ statement “Buy the best tools” or you’ll buy them twice, once for the cheap tool and second, you’ll buy the quality tool. Save yourself a step and just buy the quality tool and get to work.
If you are looking for the best chisel for you, you may want to go here to watch James Wright’s chisel comparison video (you may also want to subscribe to his channel, if you’re not already). He has performed a very exhaustive study of the currently available brands and the results are quite surprising and very interesting. This study will save you time and money in choosing your next chisel or set of chisels.
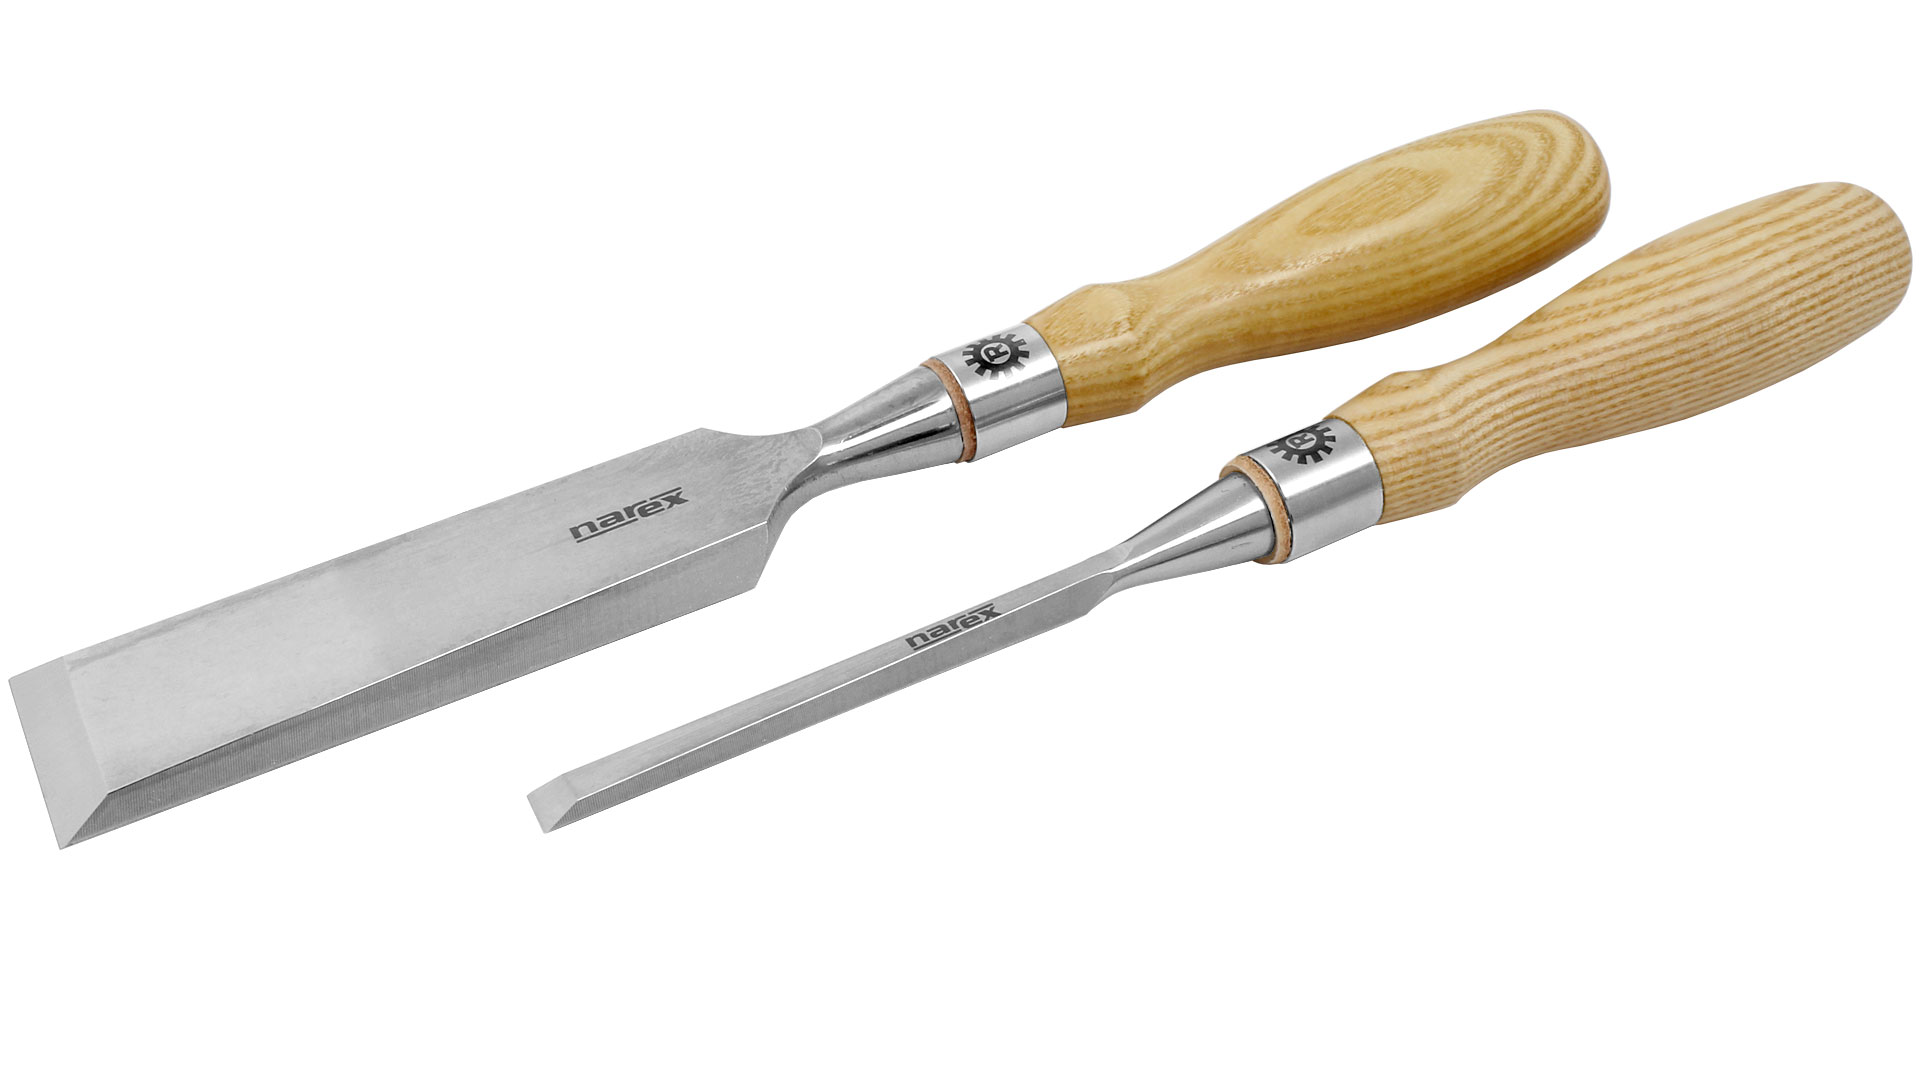
Based on James’s results, I ordered the Narex Richter 1″ Chisel to fill a gap in my set. This should be fun to compare to my LN set. I’ll let you know how I like it in a future blog entry.
There are several types of chisels available to the modern woodworker as I own just a few types, I will only discuss those in detail.
- Beveled Edge Chisel – This is the workhorse of the chisels, It can be struck and removes moderate amounts of material. Its shape makes it ideal to use when making dovetails.
- Firmer Chisel – Does very heavy work and takes a pounding, used mainly for cleaning out a lot of material quickly. Not a precision tool.
- Pairing Chisel – Very thin blade for taking fine shavings and never gets struck with a mallet.
- Mortising Chisel – This is the 900 lb. gorilla of chisels. It can take heavy pounding. It is used in hogging out mortises with abandon.
There are three basic types of Western chisel handles:
- Tang – These are easier to manufacture and usually a little less expensive. They are, in my opinion, a little less robust but people have their own opinions about this.
- Socket – More difficult to make but very robust. These are my favorite types of chisels and I have a pretty complete set of these. One caveat about these, never carry them by their wooden handle. It can shrink with humidity changes and the pointy bits can go careening down towards your feet and at best hit the floor dulling your tool and at worst imbed itself in your tender fleshy foot and you end up with a trip to the urgent care facility.
- Tang and Socket – Most difficult to make and has it proponents. I do not currently own any chisels of this type.
I believe the Socket chisels are more robust, but people also swear by the Tang type too. As I have a lathe, handle creation for socket chisels is very easy and I have made quite a few handles over the years. You can see me rescue a Union Chisel in this video. If you don’t have a lathe, it may be easier to make handles for the tang variety. I just remember making a tang handle for a morticing chisel I used to own and it was a real challenge for me and I cracked the handle after I was almost through making it.
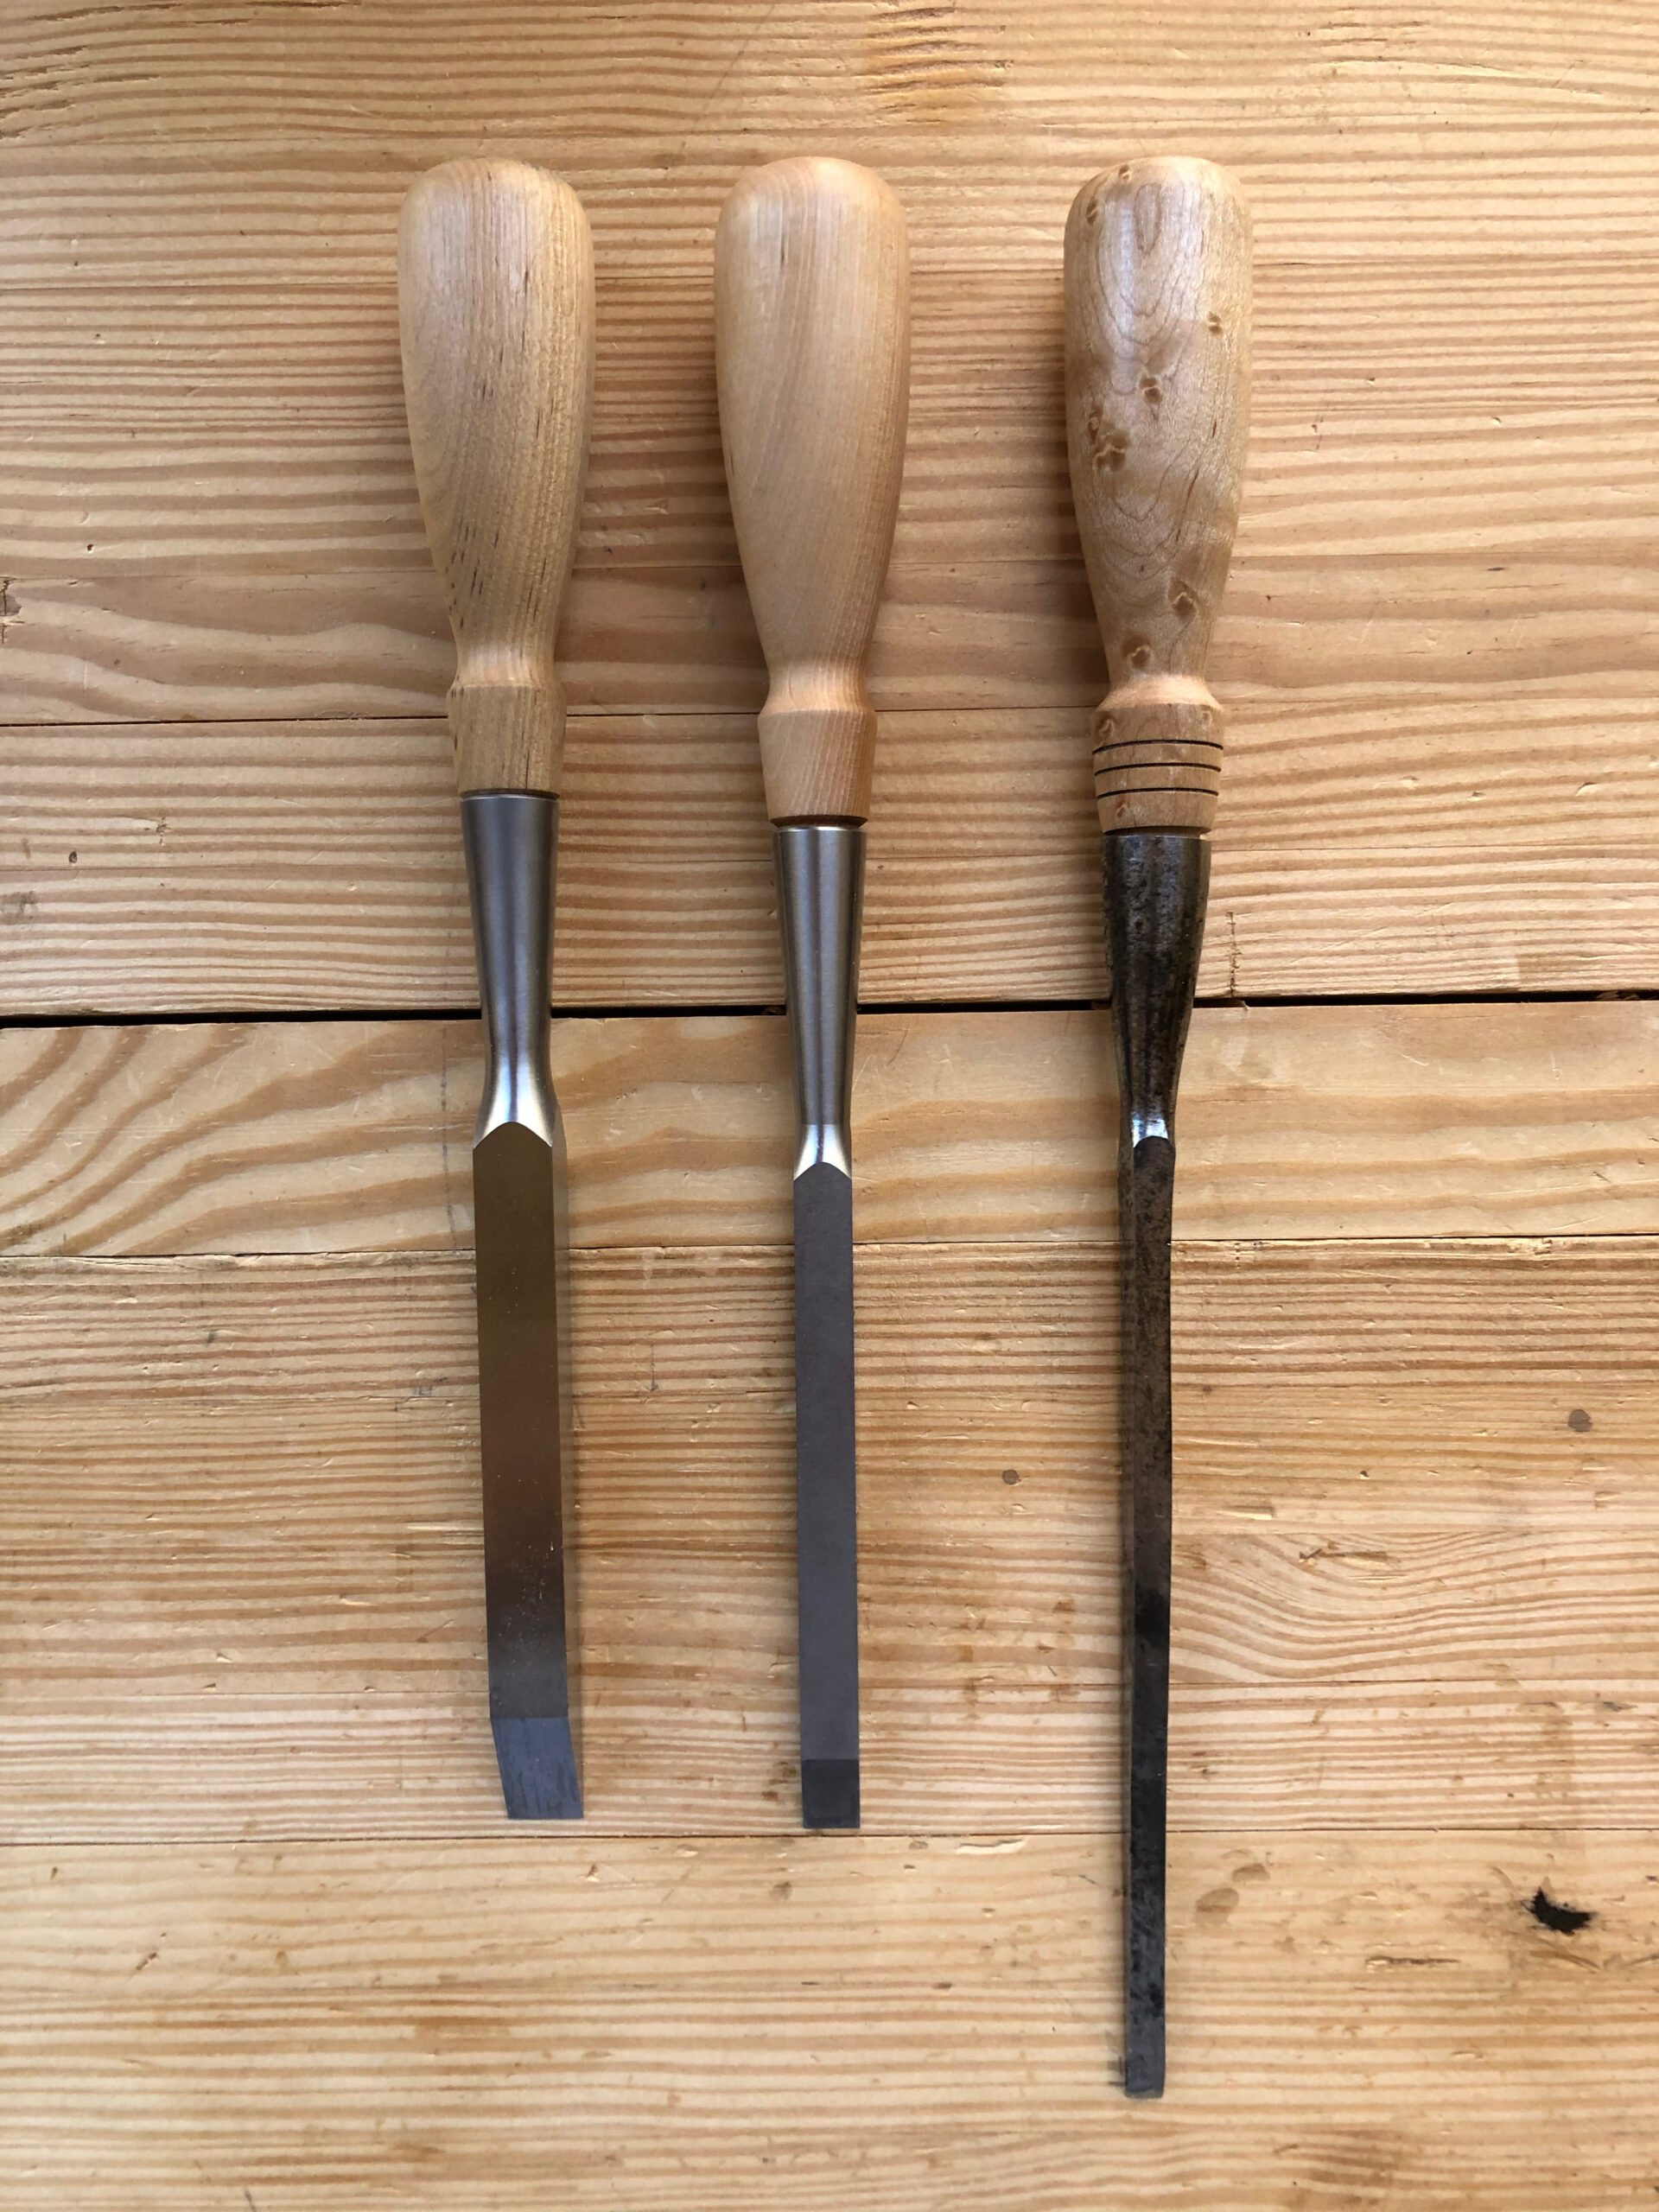
Vintage Incannel Gouges 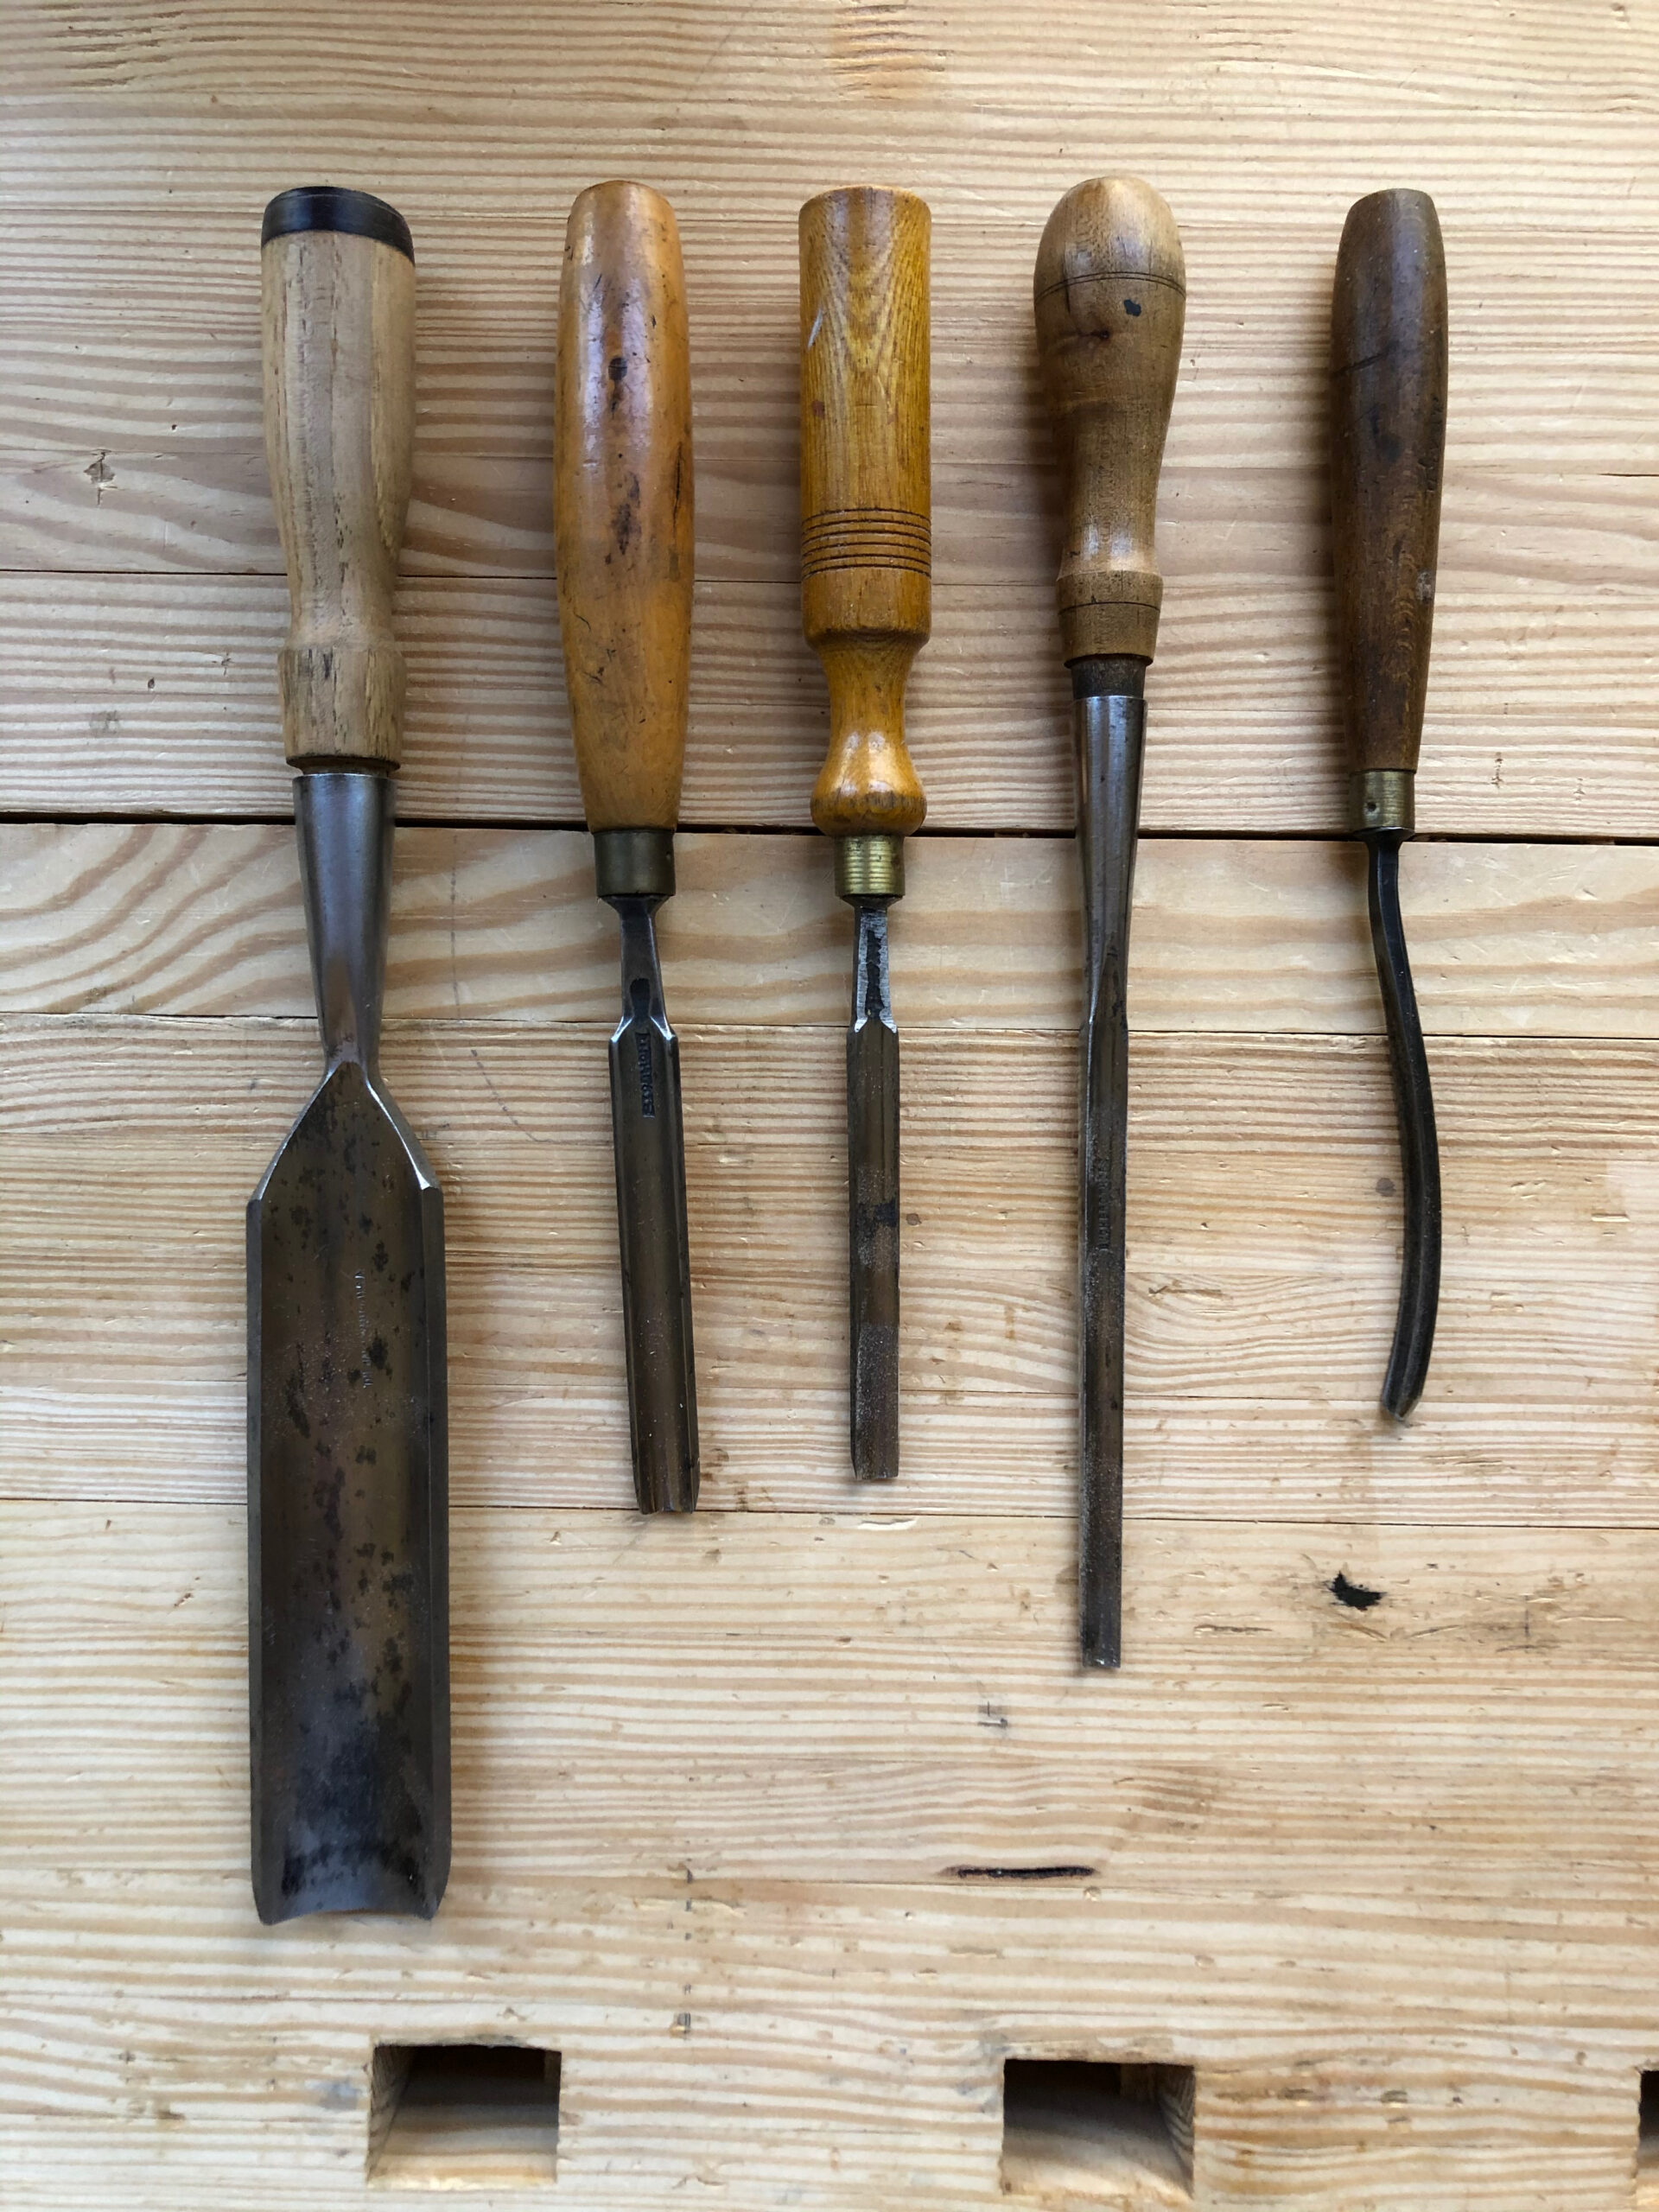
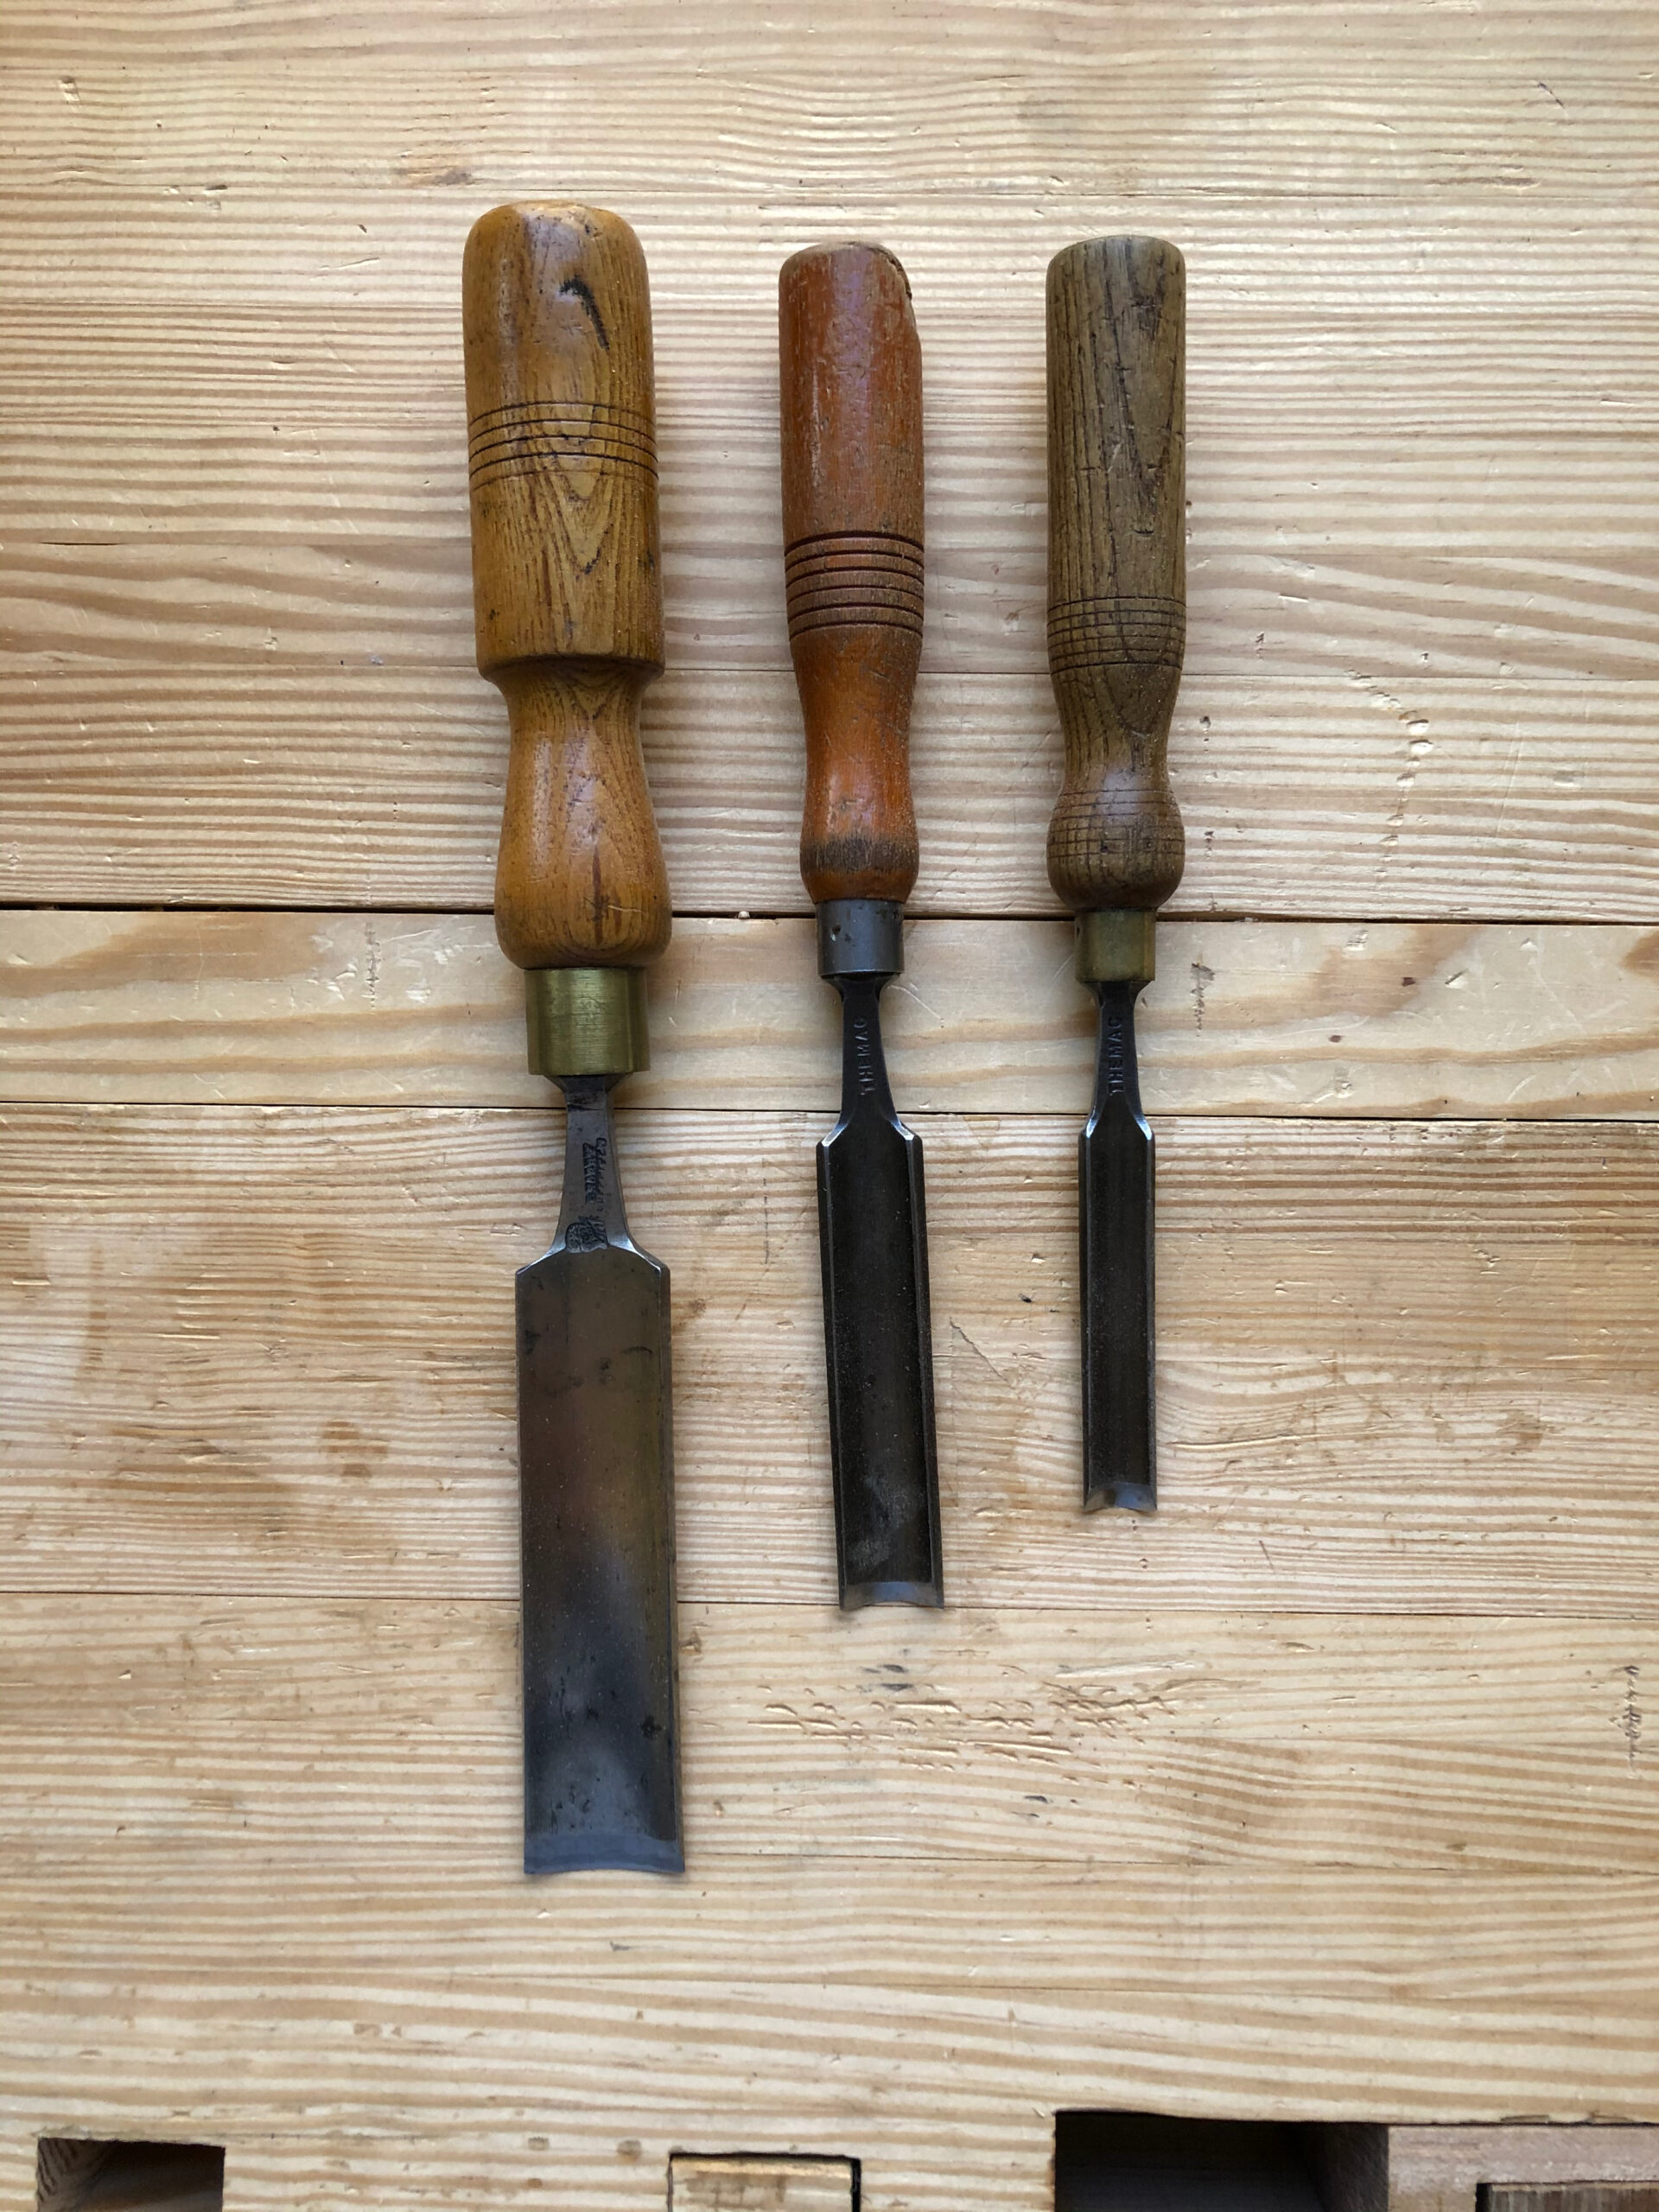
Vintage Outcannel Gouges
Gouges
As with chisels, there are many types of gouges, and like before, I’m going to stick to the ones I own in this BLOG. Most of the larger gouges can be struck with a large mallet, while the smaller ones need a bit more finesse. Gouge Types:
- Incannel Gouge – Used to carve a concave groove
- Outcannel Gouge – Used to carve a convex or rounded shape
Gouges can be either straight or have a curved shaft. The curved shaft version allows you to work closer to the surface of a board or project. All of my gouges are vintage that I have collected over the years. I cannot recall where or when I acquired any of these, just that I have collected them between 2012-2019.
Until next time, keep making shavings and sawdust.
Peace,
Aaron
Copyright 2021 © W. A. Henderson