Category Archives: Tool Chest

ATC Part 2 – Glue and Skirts

Day 2 of the Anarchist’s Tool Chest (ATC) build. To start todays blog, I’m going to talk a bit about the workshop at Lost Art Press (LAP). This place is very special. Yes, special, special in a really good way. The folks at LAP have poured a lot of love, energy and obviously money into this place. The attention to details and the design choices complement this old structure. Each space in the first floor and the outside machine shop are setup with woodworking and efficiency in mind. They have turned a smelly, dank old bar into a beautiful and fully functional residence and workshop where they can ply their trade. It’s a real pleasure to work in such a historical and functional space. I would not hesitate to go back and take another class at this magical place. The people, the smell of wood and general atmosphere are very inviting. Also, they have the best coffee and pastries. The pastries come from local bakeries and are delicious. The are many local restaurants to choose for lunch and dinner. This place was such a pleasure to visit.

Back to my project at hand, the ATC build. Yesterday, I had mostly chopped out the dovetails for all four sides, they just needed some cleanup and fine tuning. This is a very satisfying process, seeing your hard work literally coming together. I had to wait my turn for glue-up as two other students were ready first and the shop only has so many clamps and one instructor.

Box Glue-up – Lots of clamps

After my box was in the clamps, it was time to start laying out the skirt boards these wrap around the bottom of the chest and help protect it from coming apart and the case from day-to-day use and abuse. The choosing of the sides and the marking are pretty much the same as the box itself, except the tails are on the sides 90 deg out from the front to help hold the box together (on the box the tails were on the front and back boards).

By the end of the day all 5 students had their boxes glued and stacked up ready for the next days activities. I had my skirt pieces marked and one corner chopped out.

Tomorrow, Part 3 – More Skirts and Some Mistakes

ATC Part 1- Dovetails, Dovetails, Dovetails

The Anarchist’s Tool Chest (ATC) is the first book written by Chris Schwarz and published by Lost Art Press (LAP) in 2011. Ths book had a major impact to my woodworking mindset. Before the ATC, I was primarily a power tool user and used hand tools as an afterthought.

For those of you that are concerned about the word “Anarchist’s” (because it has been used in a negative context before) in the title, here is Chris Schwarz’ explanation: This is not scary at all unless you sell cheap flatpack stuff made of termite spit.

My interpretation of the Anarchist part of the title speaks to the philosophy of shrugging off the mentality of buying expensive (or cheap) poorly made disposable big box furniture and acquiring a set of high quality tools and making furnishings (and shop appliances) and chairs yourself that will outlast the maker. In other words, “Anarchy is a society being freely constituted without authorities or a governing body”. This frees the woodworker from the current state of systems put in place by organizations or corporations who would like you to buy their products and dictate what you should buy or if you desire, how you should make things.

Getting to the ATC, I noticed that LAP was having a class on the ATC in August 2021, taught by the excellent Megan Fitzpatrick. I decided I would love to build the chest for myself and I signed up for the class as soon as registration was open. I secured my spot in the class and got an AirBnB across the street. I was set. Because of Covid-19, we all had to be vaccinated, which is good as cases were increasing while I was there.

Roubo Clamps with makers triangle

After introductions of the instructor and students, the first day was examining the boards for the sides, putting the cabinet makers marks on the pieces (the triangle that indicates the orientation of all the pieces as seen in the image above) then marking and chopping out the 28 dovetails on the main box. This was a lot of fun and I learned a lot from Megan and I think I have improved my dovetailing skills as a consequence.

Chopping Dovetails

The day ended with most of the dovetails cut out.

Next up ATC Part 2 – Glue and Skirts

Dutch Tool Chest

Dutch_Chest5A couple of weeks ago, I was looking at the class schedule of Roy’s Woodwright’s School and noticed Chris Schwarz from Lost Art Press was going to be teaching his Dutch Tool Chest. It was then I decided I would build my own Dutch Tool Chest.  Yes it would have been great to take the class and experience Chris’s cheeky teaching style and benefit from his vast experience, but I have a business to run so I can’t really get away for the three day class right now.  Besides, I knew I had the skills to make this simple project and decided the time was right.  My old chest is great and I still use it but,  It is not big enough for the tools I use everyday.

The plan was to follow the Popular Woodworking article by Chris and make the smaller, one shelf version.  This small Dutch chest still holds a huge volume of tools and I will be able to work directly from it.  I had most of the materials on hand and like the originals  were probably built, I used what I had on hand.  The sides, bottom and shelf were glued up panels of white pine and the top was a poplar panel left over from when I built a 6-Board Chest. The front and back pieces were white pine 1×12’s that I was going to use on another project.

This project is very straight forward and the joinery is dead simple.  Only two sets of dovetails on the bottom and the rest is screwed and/or glued. Speaking of screws, I purchased my screws and bolts from Blacksmith Bolt & Rivet .  These folks are excellent and I recommend them for any hard-to-find slotted screws and old square bolts.  They are quick, friendly and reasonably priced.

All said, I have about 40 hours in this chest including finishing.  The most difficult part was the breadboard ends on the top as I have never done this type of top before. I must say, I love using this chest and it will be an asset in my shop and well worth the 40-hour investment in time.

-Aaron

Below are a few pictures of the chest.

Saw Box Finish

Some of you may remember the Saw Box I started in this post -> Have Saw Will Travel .  In preparation for finishing my chair I made in the “Continuous Arm Windsor Chair Class” at Elia Bizzarri’s, I wanted to get some more practice with the finishing techniques that I will use in the chair so I decided to finish my Saw Box.
saw_box_front_sm
The process goes like this:

1) Prepare the surface.  Remember that any surface issues will show up in your face if you do not get all the blemishes out prior to applying paint

Plane,  scrape fill any voids with putty to get the surface as smooth as possible.  Lightly sand if necessary.

2) Clean the surface with a cotton rag or wipe down with a cotton rag and denatured alcohol to get all the dust.

3) Apply 3 coats of “Salem Red” milk paint.  The first coat uses Extra-Bond as an adherent to pine surfaces to help even application over knots and pitch pockets.  Wait a minimum of 4 hours between coats.  Also, the first couple of coats may need some light sanding from 220 sandpaper.

This is a very light application for each coat and the first one looks really crappy, but subsequent ones look a lot better.

4) After the the red paint, comes the “Pitch Black” milk paint.  There are 2 coats of this color and it is mixed even thinner than the red.

5) Rub Down – after all the coats of milk paint have been applied, all the painted surfaces are rubbed down with 000 steel wool.  This wears through the black top coats and reveals some the red base coats.

6) Oil Finish – Clean off all the paint dust and begin oiling the project.  This can take 3 – 4 coats of oil (I used Danish Oil on the Saw Box) letting it dry 24 hours between coats.

As you can imagine this is lengthy process and patience is definitely a vulture here.  This is one aspect of this job I am really getting better at.

7) After all the oil coats (3 for this project) then the easiest part,  adding paste wax,  then buffing with a cotton cloth after 25 minutes.

I used to have a dowel to keep the hasp secure.  Once I got my lathe, I thought a nice turned hasp-keeper would be more decorative.

saw_box_keeper_sm


When I assembled the Saw Box and got all the brass hardware installed,  I thought it still needed something.  I decided to add the small dovetail saw to the front.  This identifies the purpose of the box and adds a bit of artistic expression.

saw_box_handle_sm

saw_box_saw_sm

saw_box_open_empty_sm saw_box_open_full_sm

I really like this finish, and it will only look better over time as more of the red wears through.  Let me know what you think.

-Aaron

If you would like purchase any of the items I currently make, please visit my store.


A Bad Day

A Perfect Mitered Dovetail?

Is there such a thing as a bad day in the workshop?  I guess if you gouge yourself with a “pig sticker” or slice yourself with a knife, these could be considered bad days.  This is not what I am talking about here.

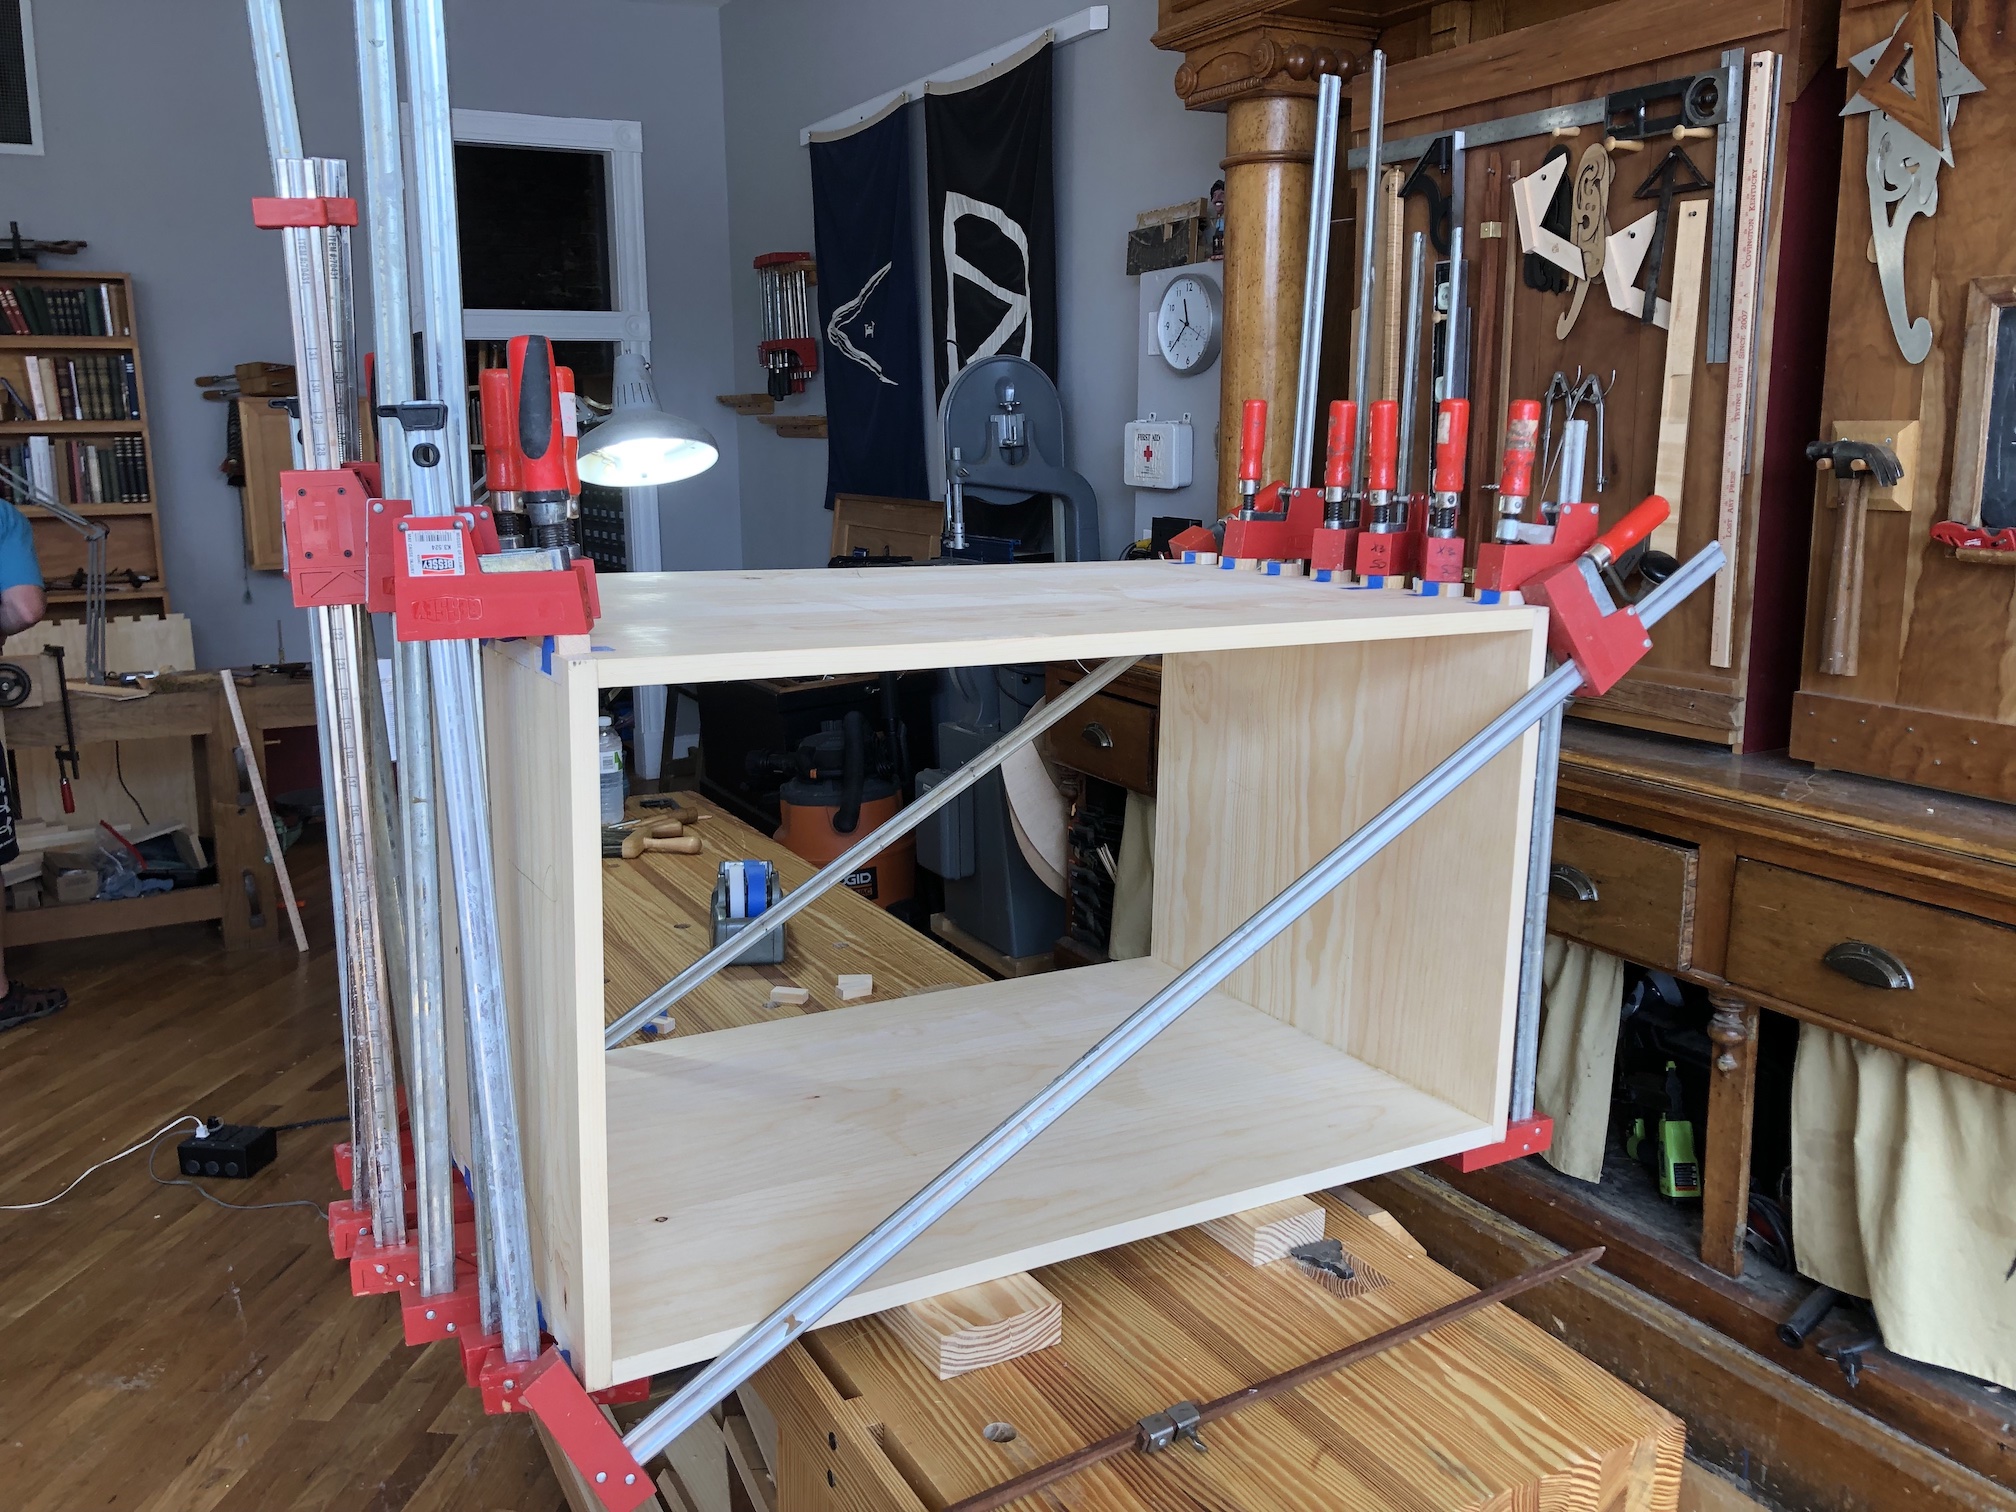
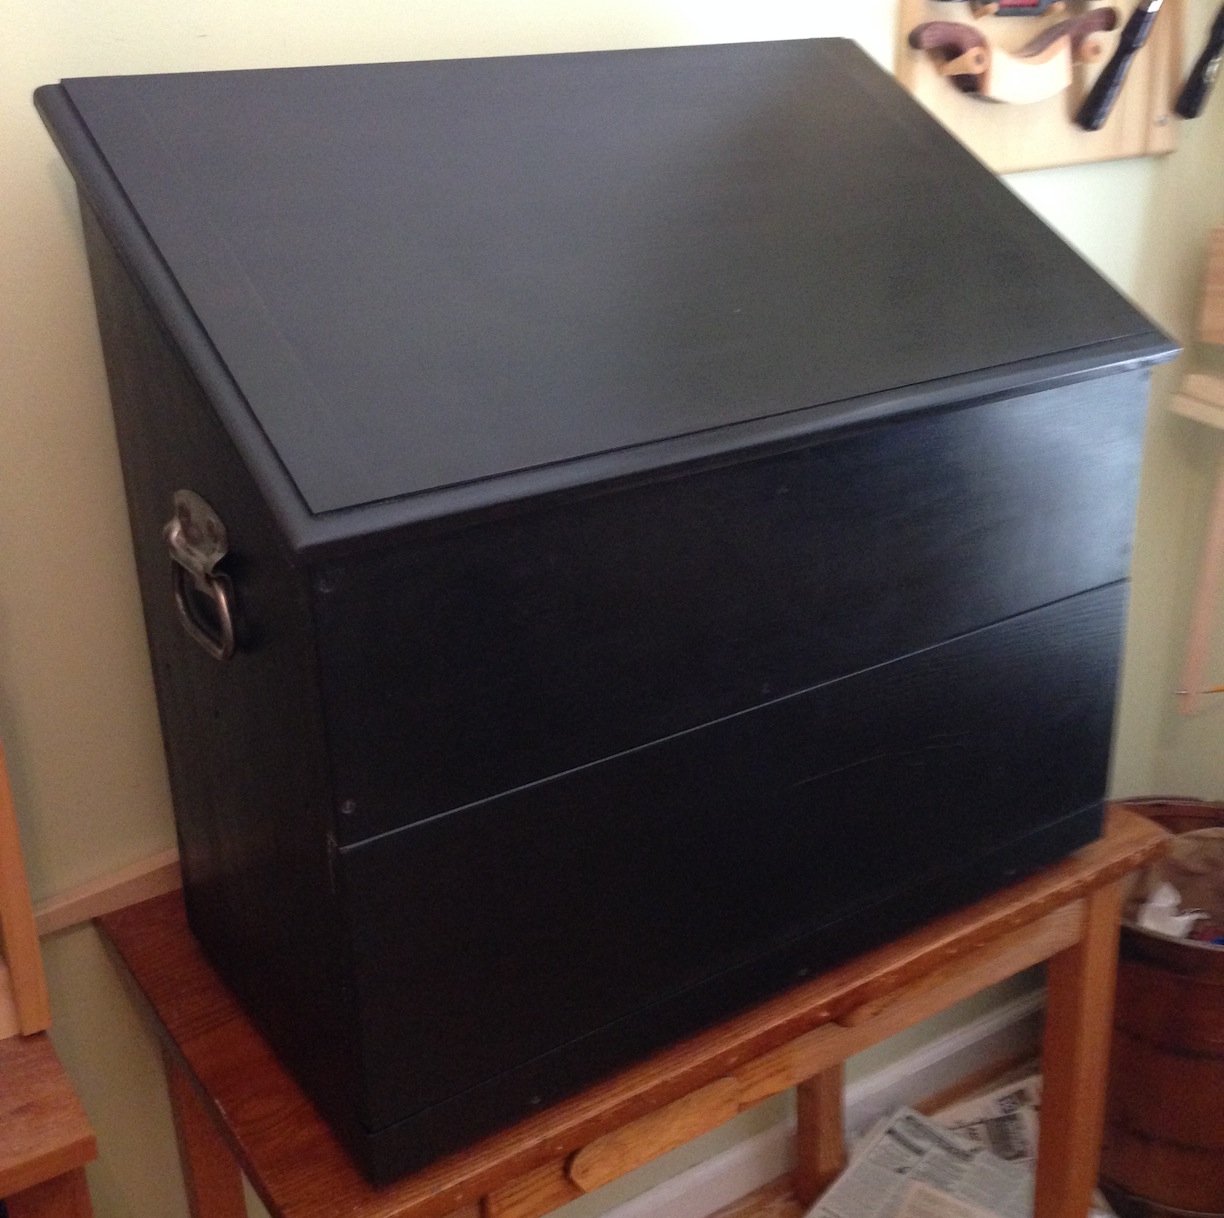
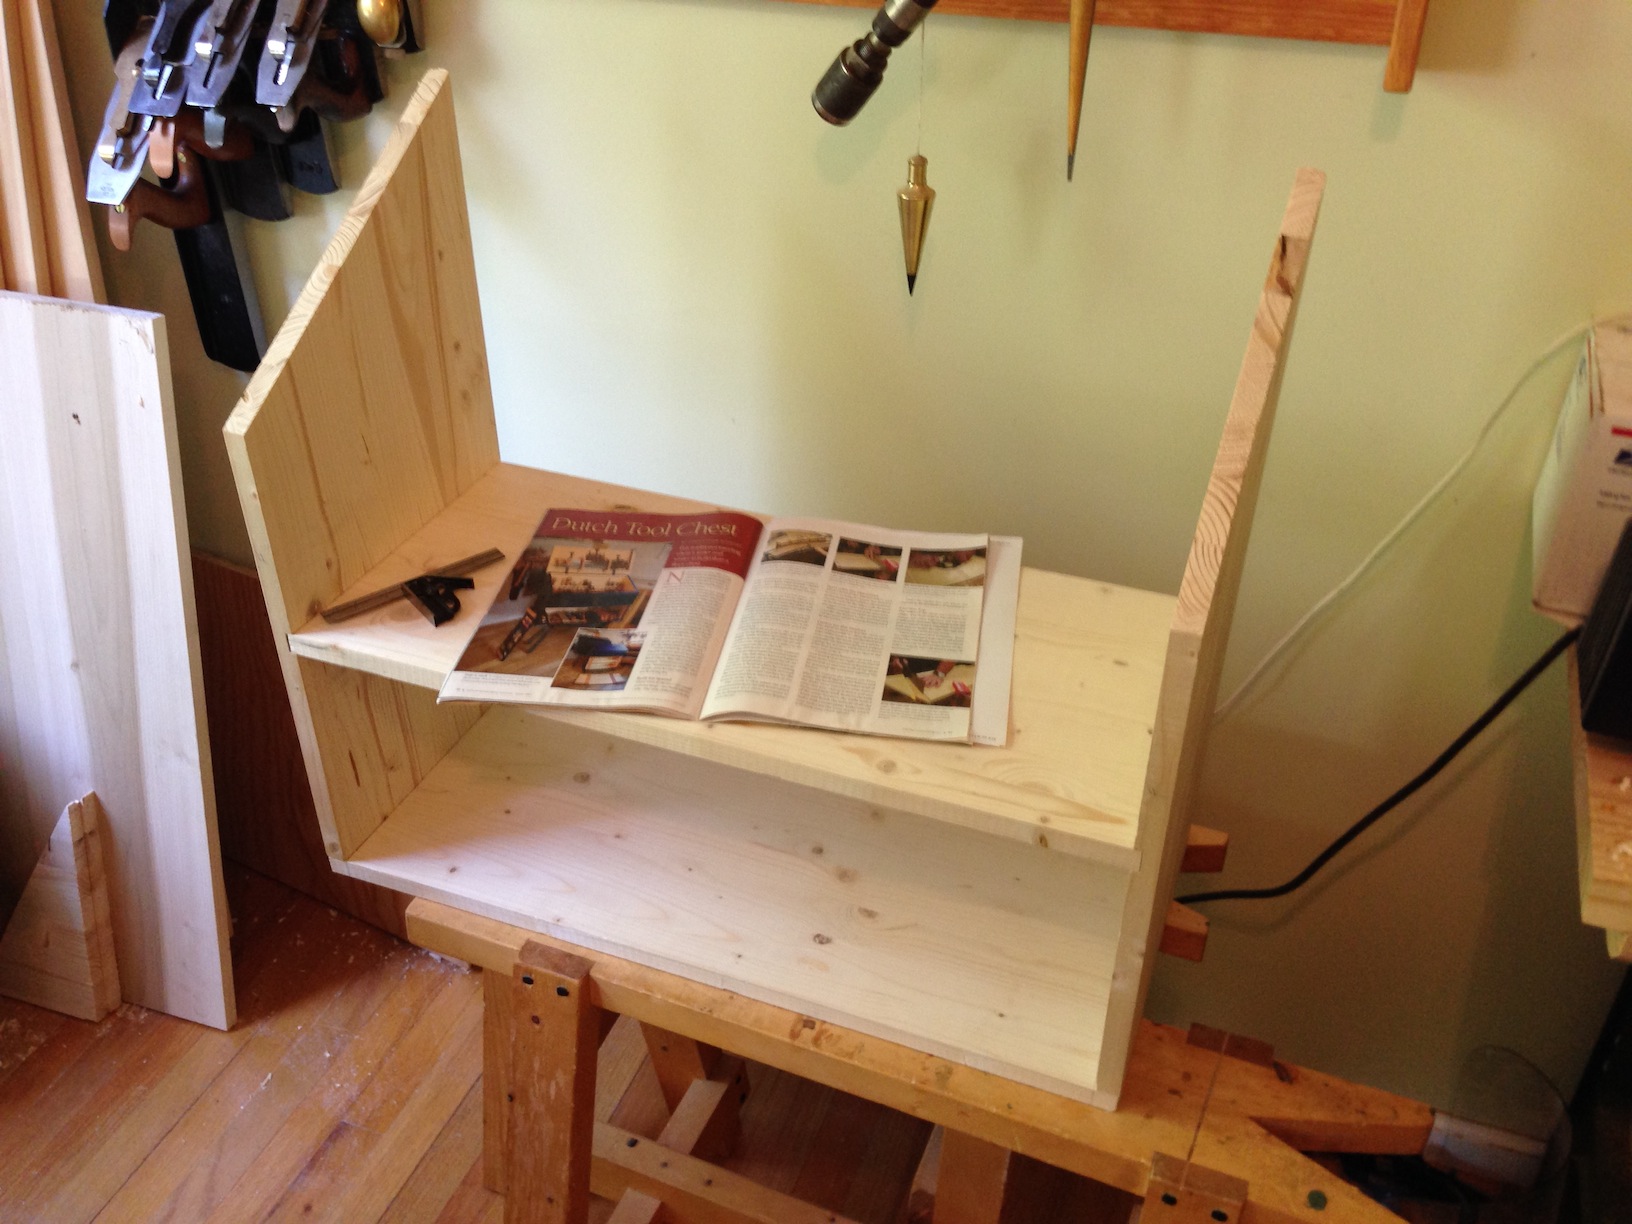
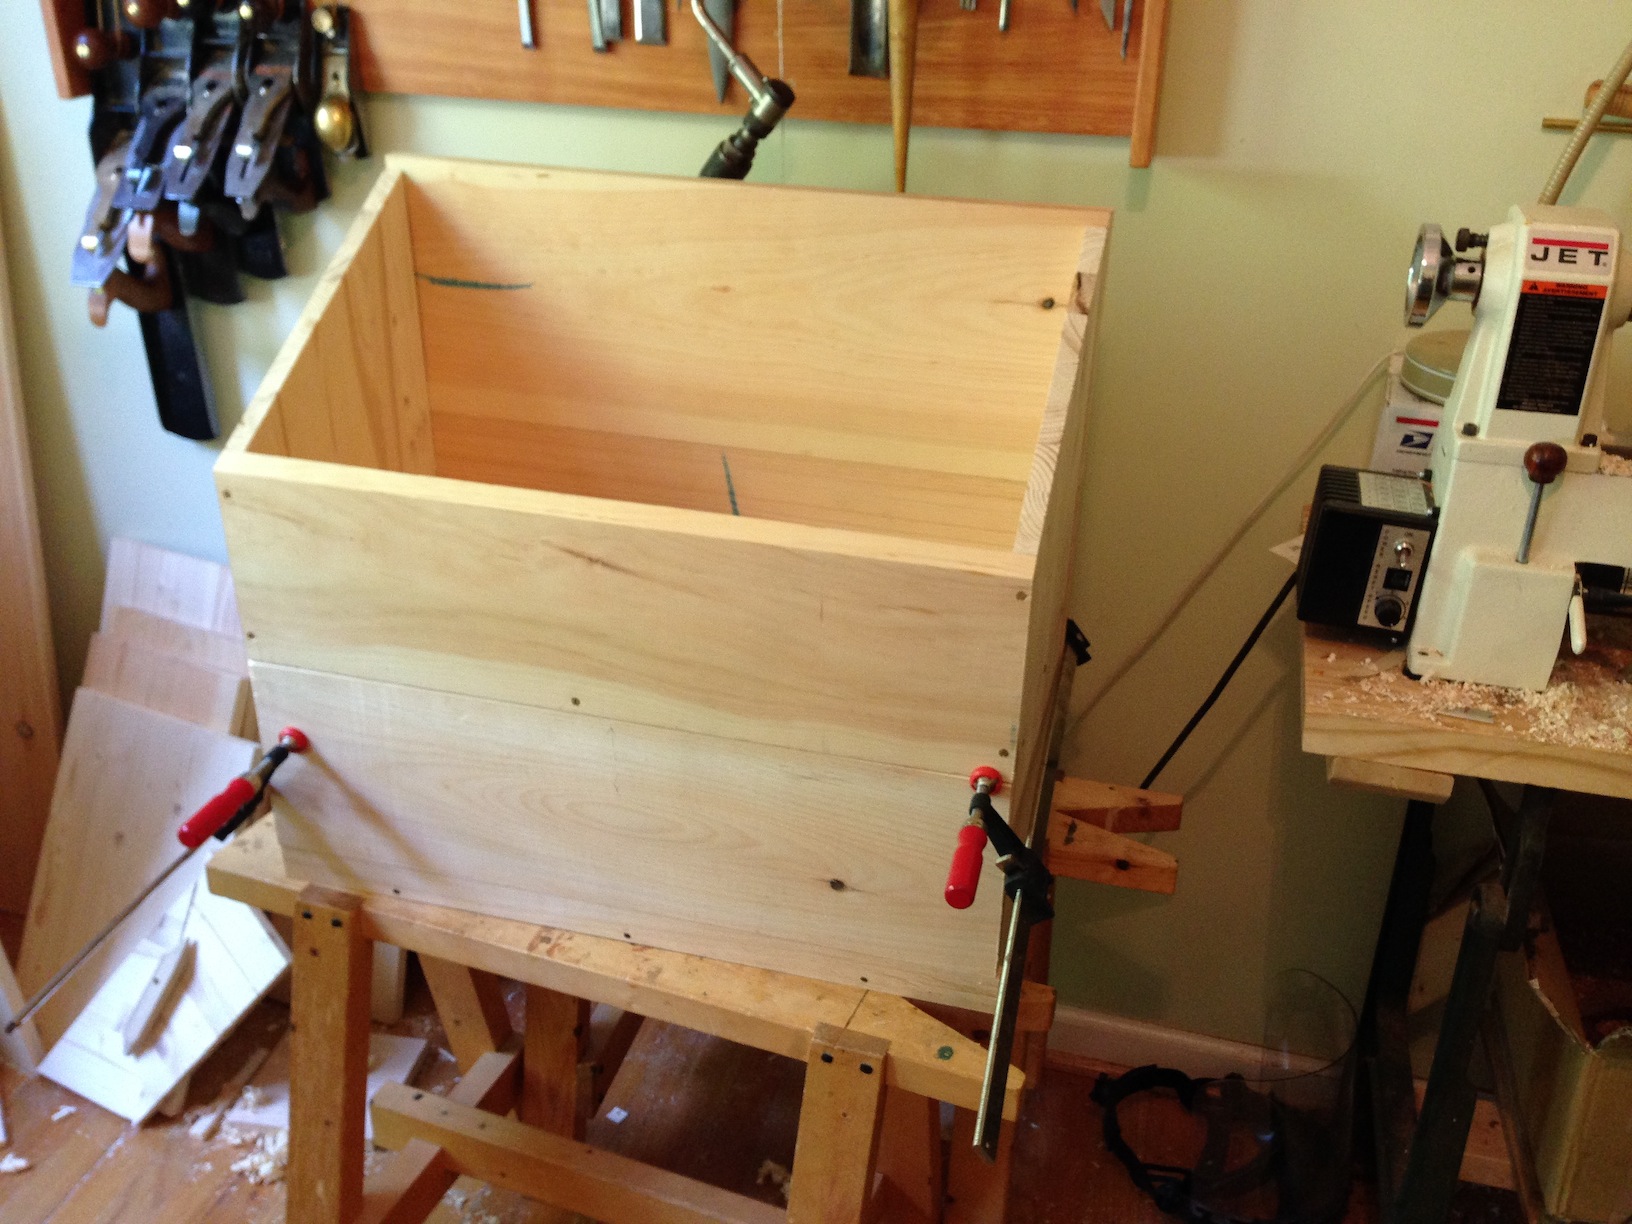
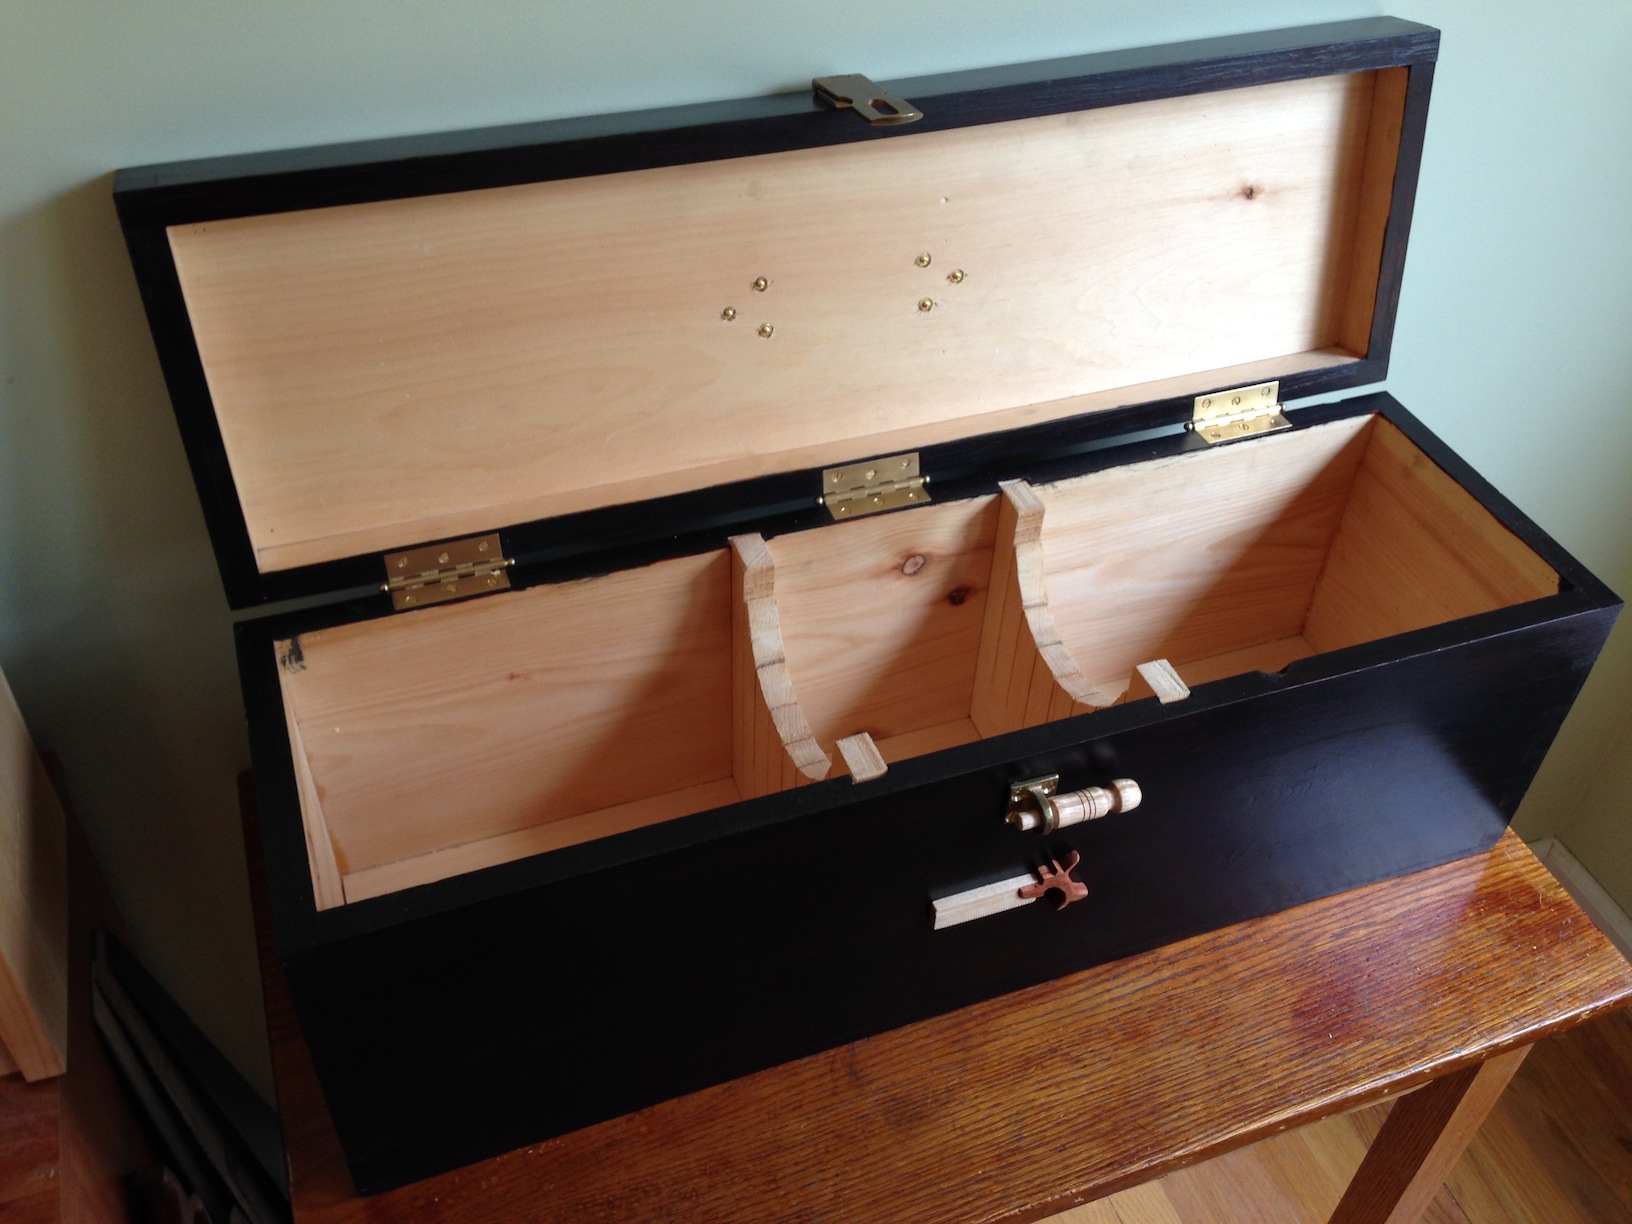
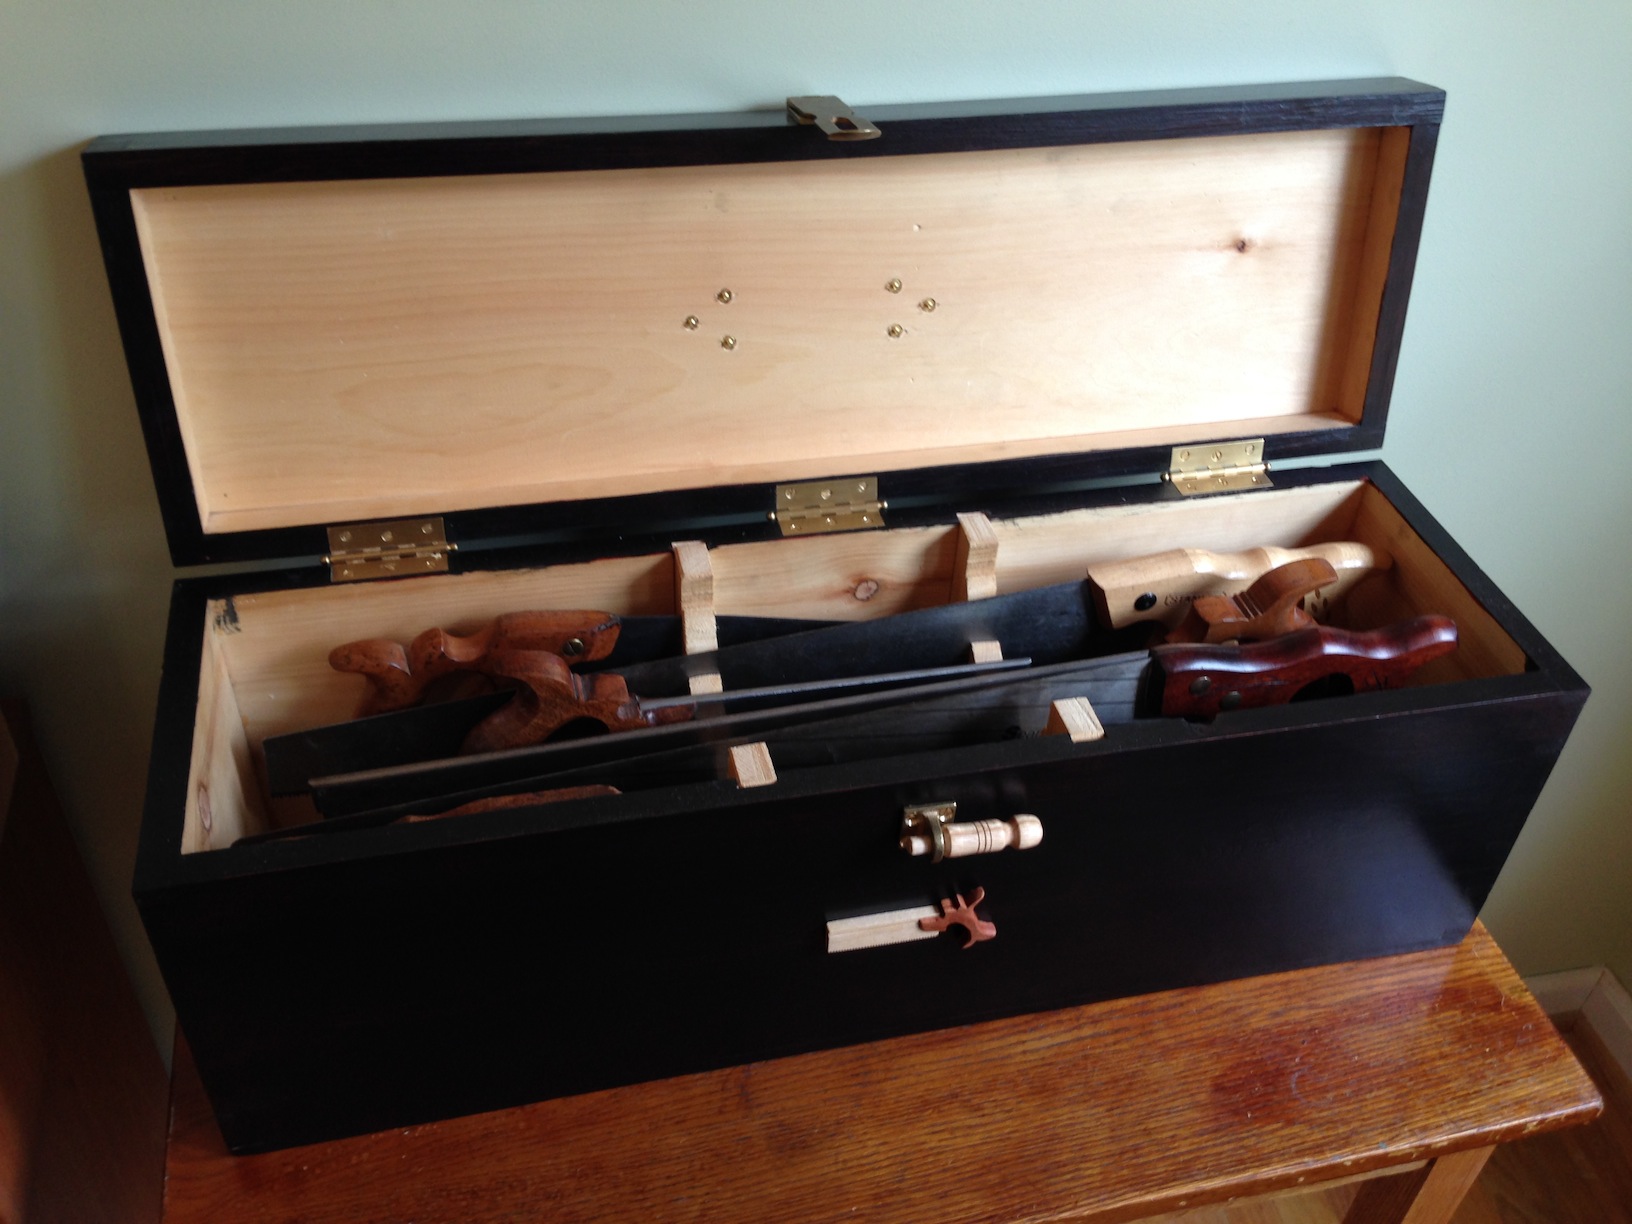
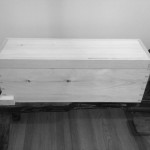
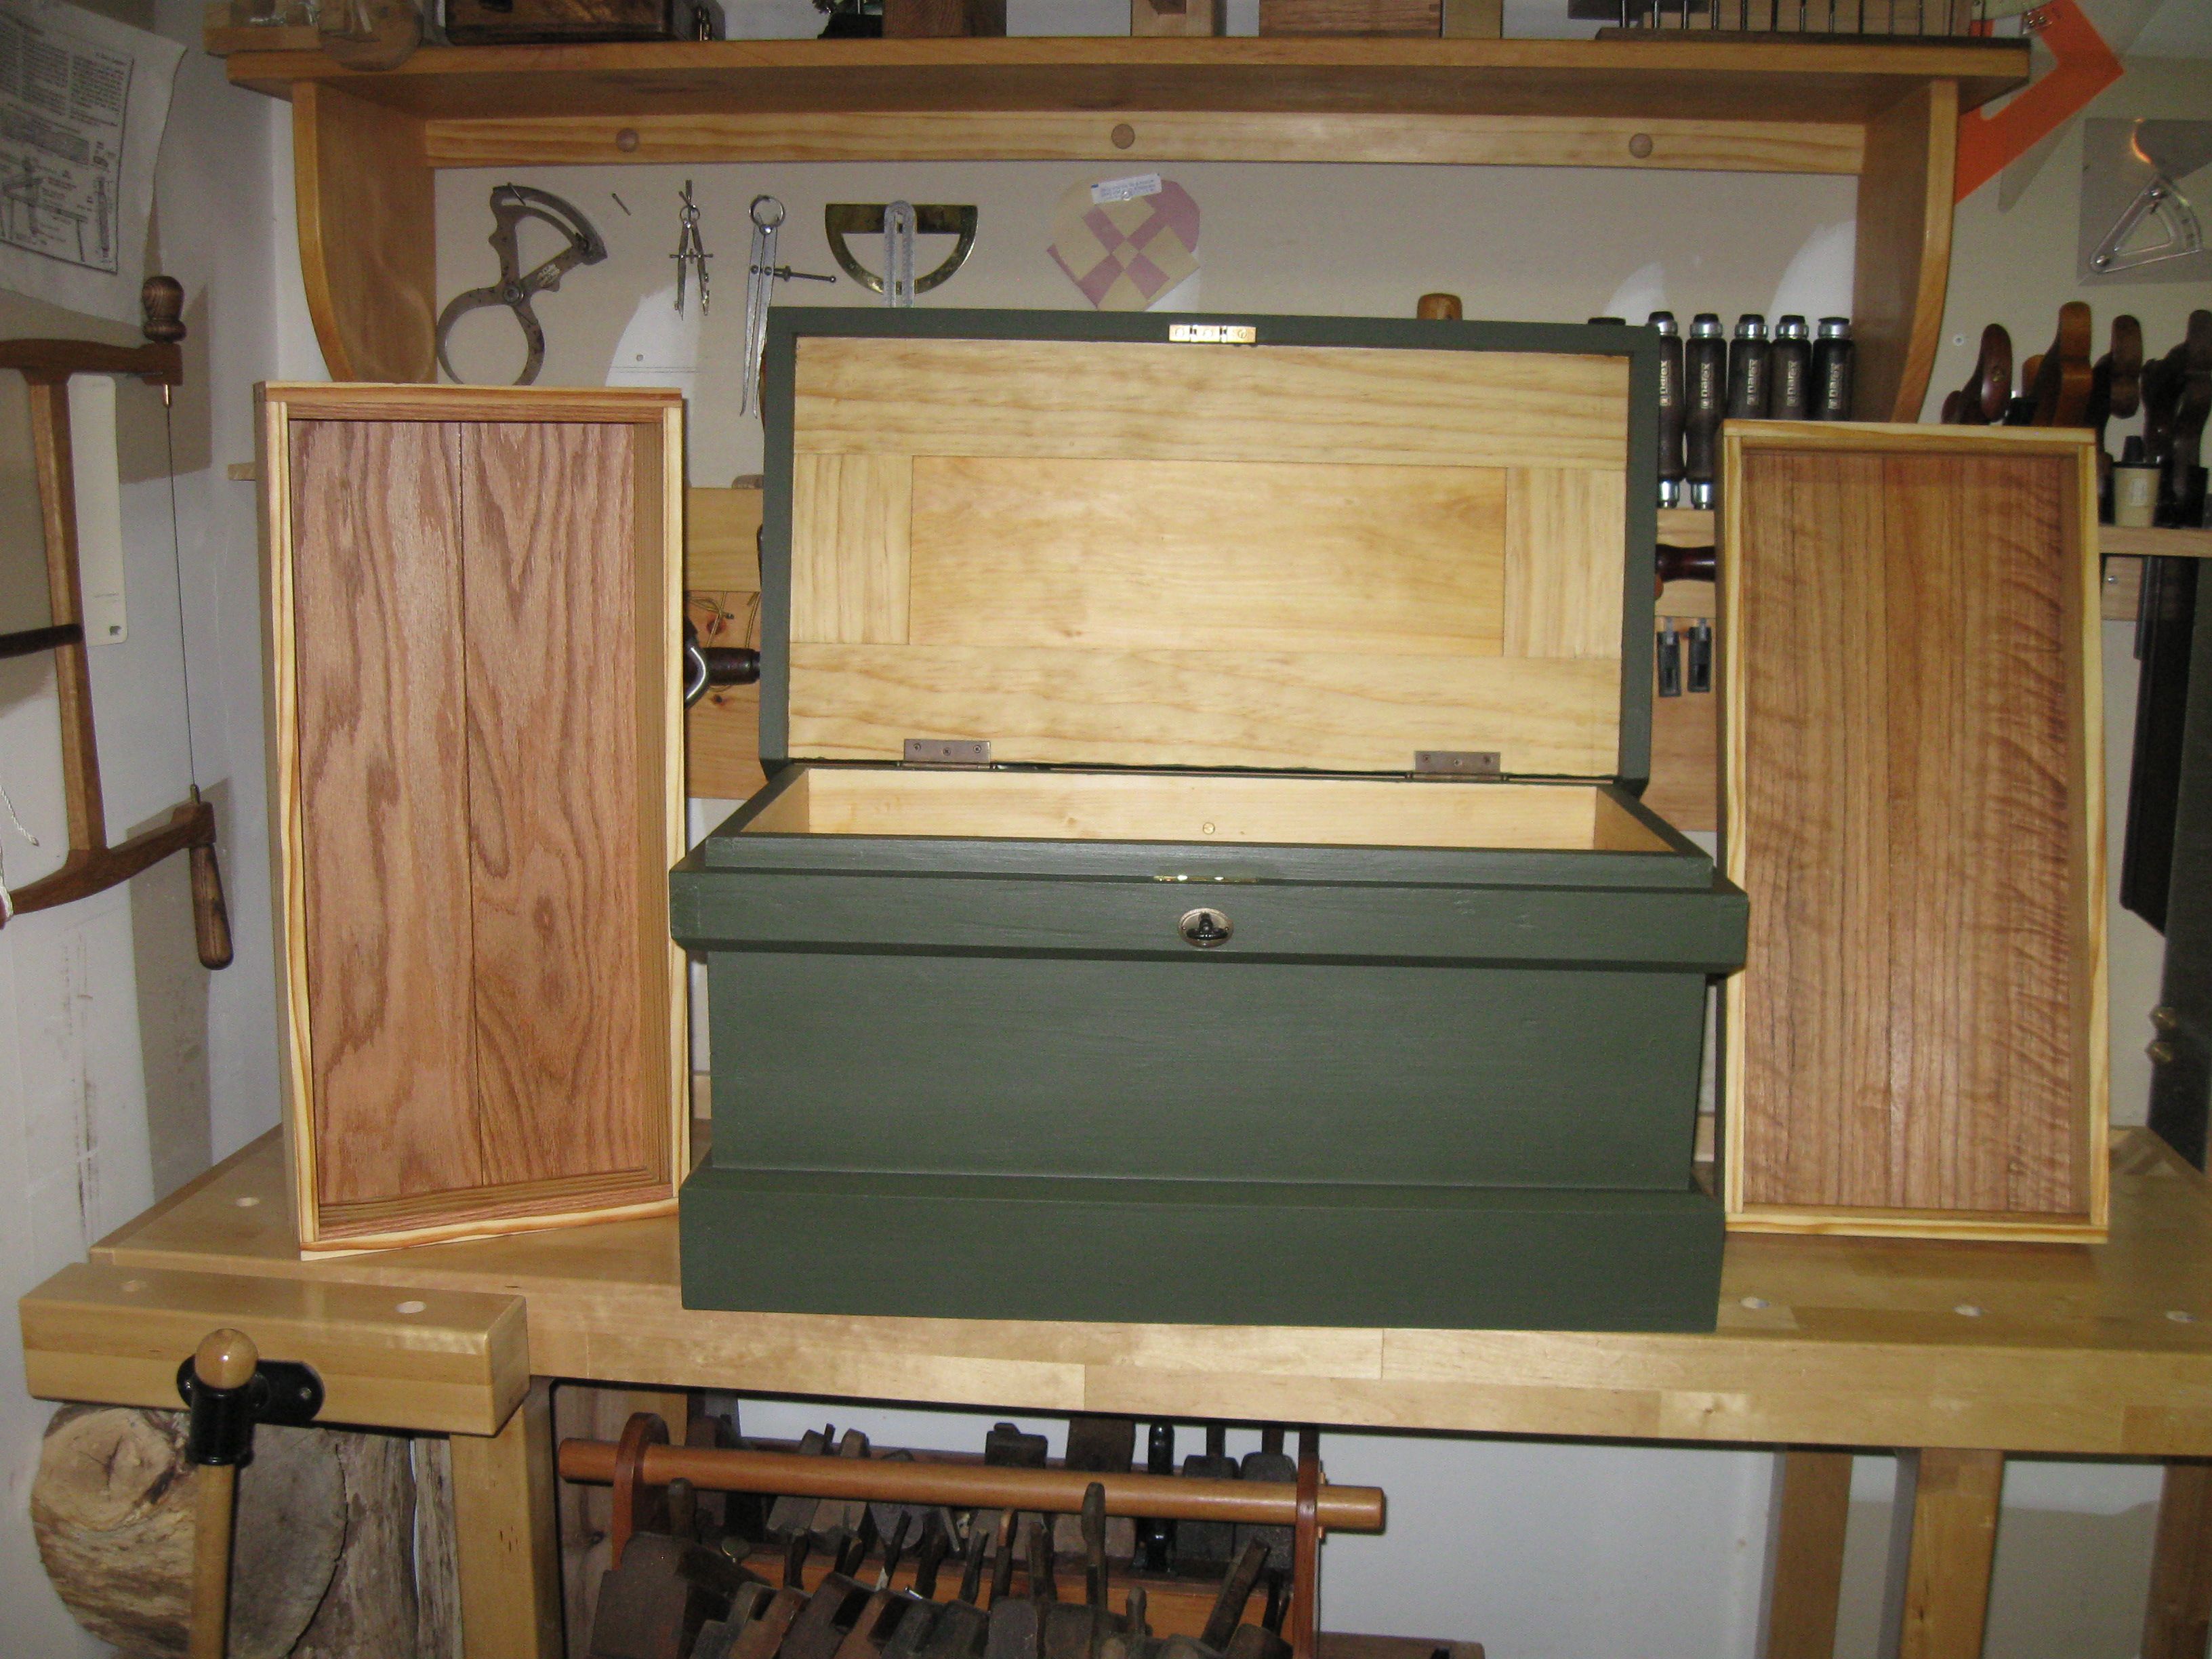
Some days, the good and the bad are not balanced, and you end up with more of one than the other.  Yesterday was definitely one of those days.   It all started out innocently enough.  I’ve not had the opportunity to work in the shop for a few weeks…seemed like forever…but I wanted to continue with the moulding for my Saw Box.  I had completed the shaping of two mouldings with my desired profile, and all I had to do was the mitered dovetails and wrap the bottom of the box – then I would be golden.  As I had done this for the lid sans the molding profile, I felt pretty confident that I could do the same for the bottom skirt.

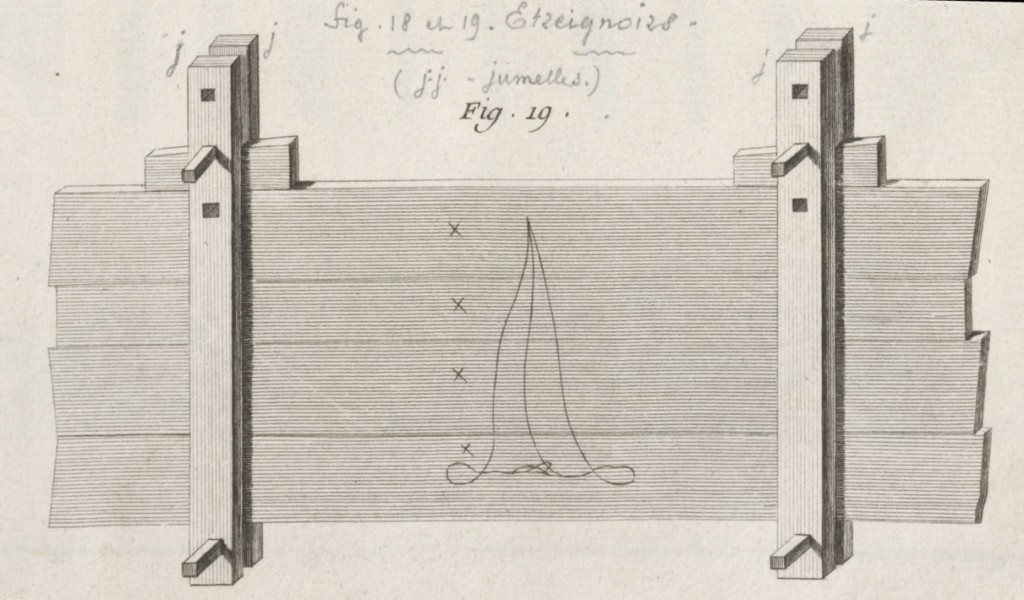
I proceeded to cut the two pieces of one on my moulded boards, and, because it had a knot in it, I could only use specific lengths.  I had plenty of room for mistakes (or so I thought).  I was going to put the pins on the opposite side of the main carcass (on the skirt this would be the short-end side), so I started laying out the joint of the short piece.  Everything was going well up to the point where I started cutting the pins in the long piece….then I made a rookie mistake.  I did not mark an X on my waste piece and I cut into the pin side of the pin and not the waste side.

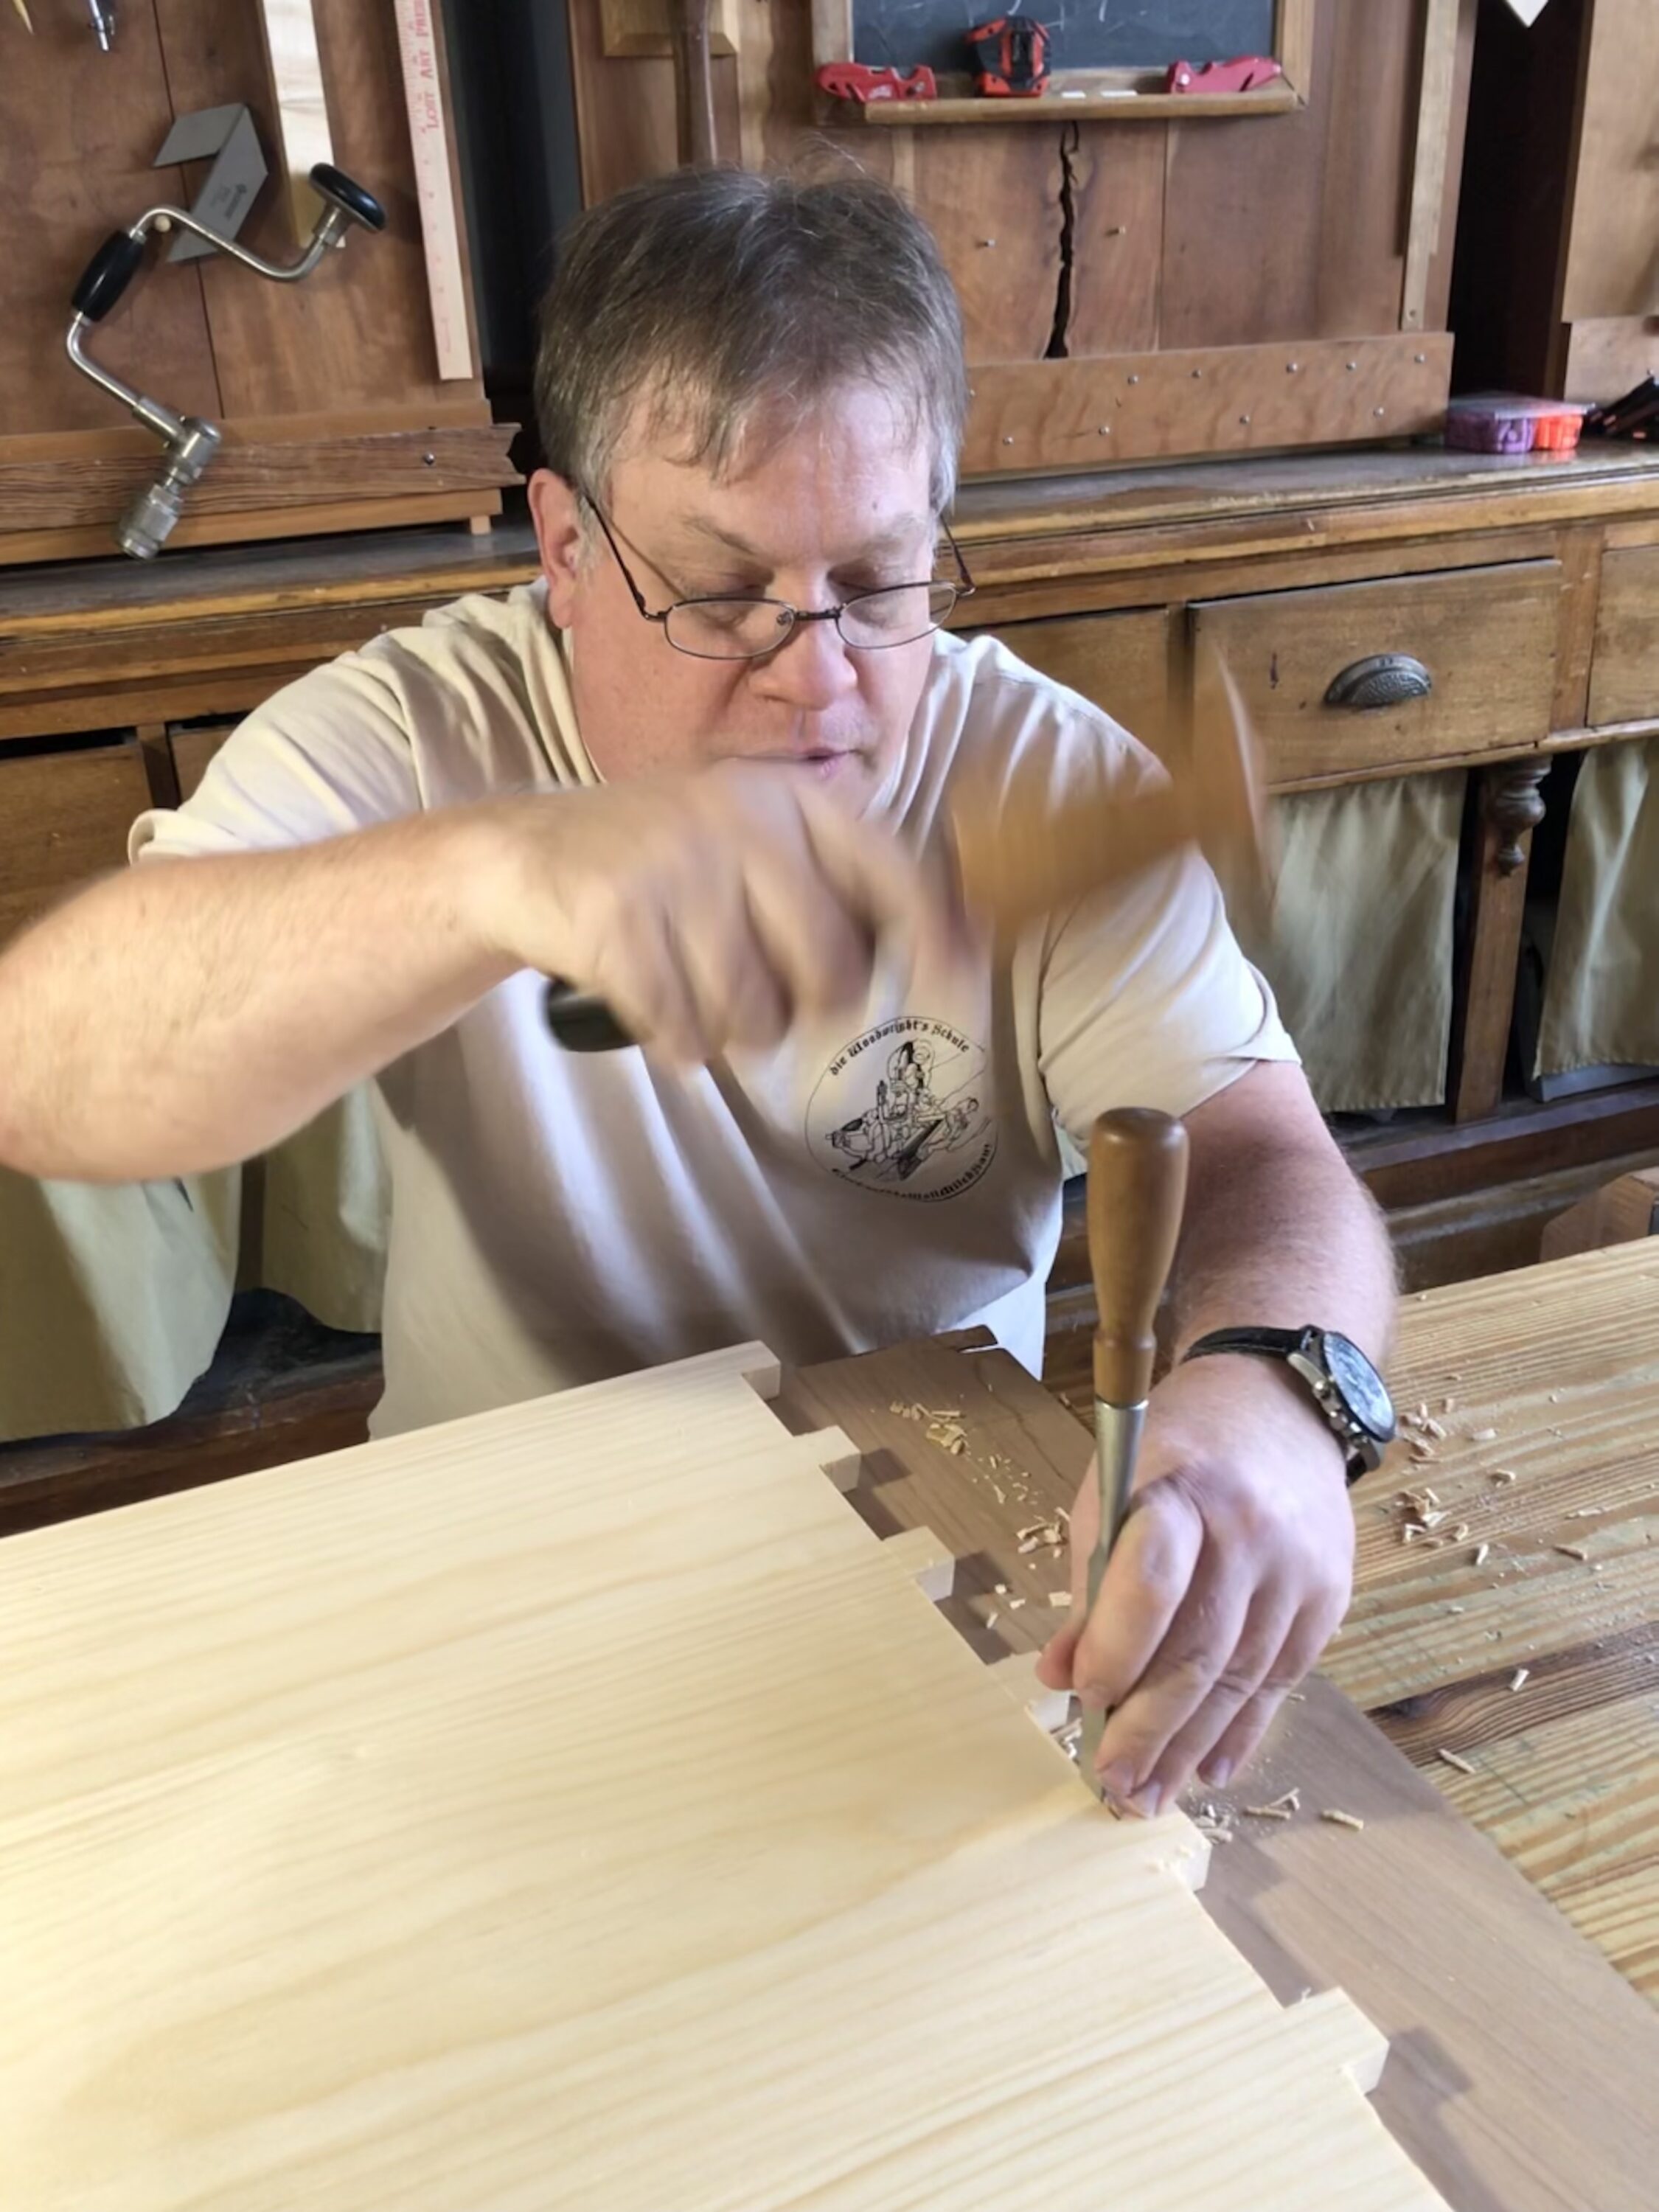
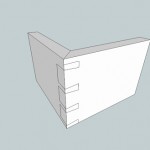
I say “rookie mistake” because I did this exact same thing on my first dovetail at Roy Underhill’s Woodwright’s School in May of 2011.  I even kept the miscut corner joint from the class as a “reminder.”  Clearly I needed a refresher.

Ok, lesson learned,  here is a new mantra:  “Always mark your waste … ALWAYS.”  After this mishap I thought:  Well, this is my one “gotcha” today and everything should be ok, right?  Wrong!

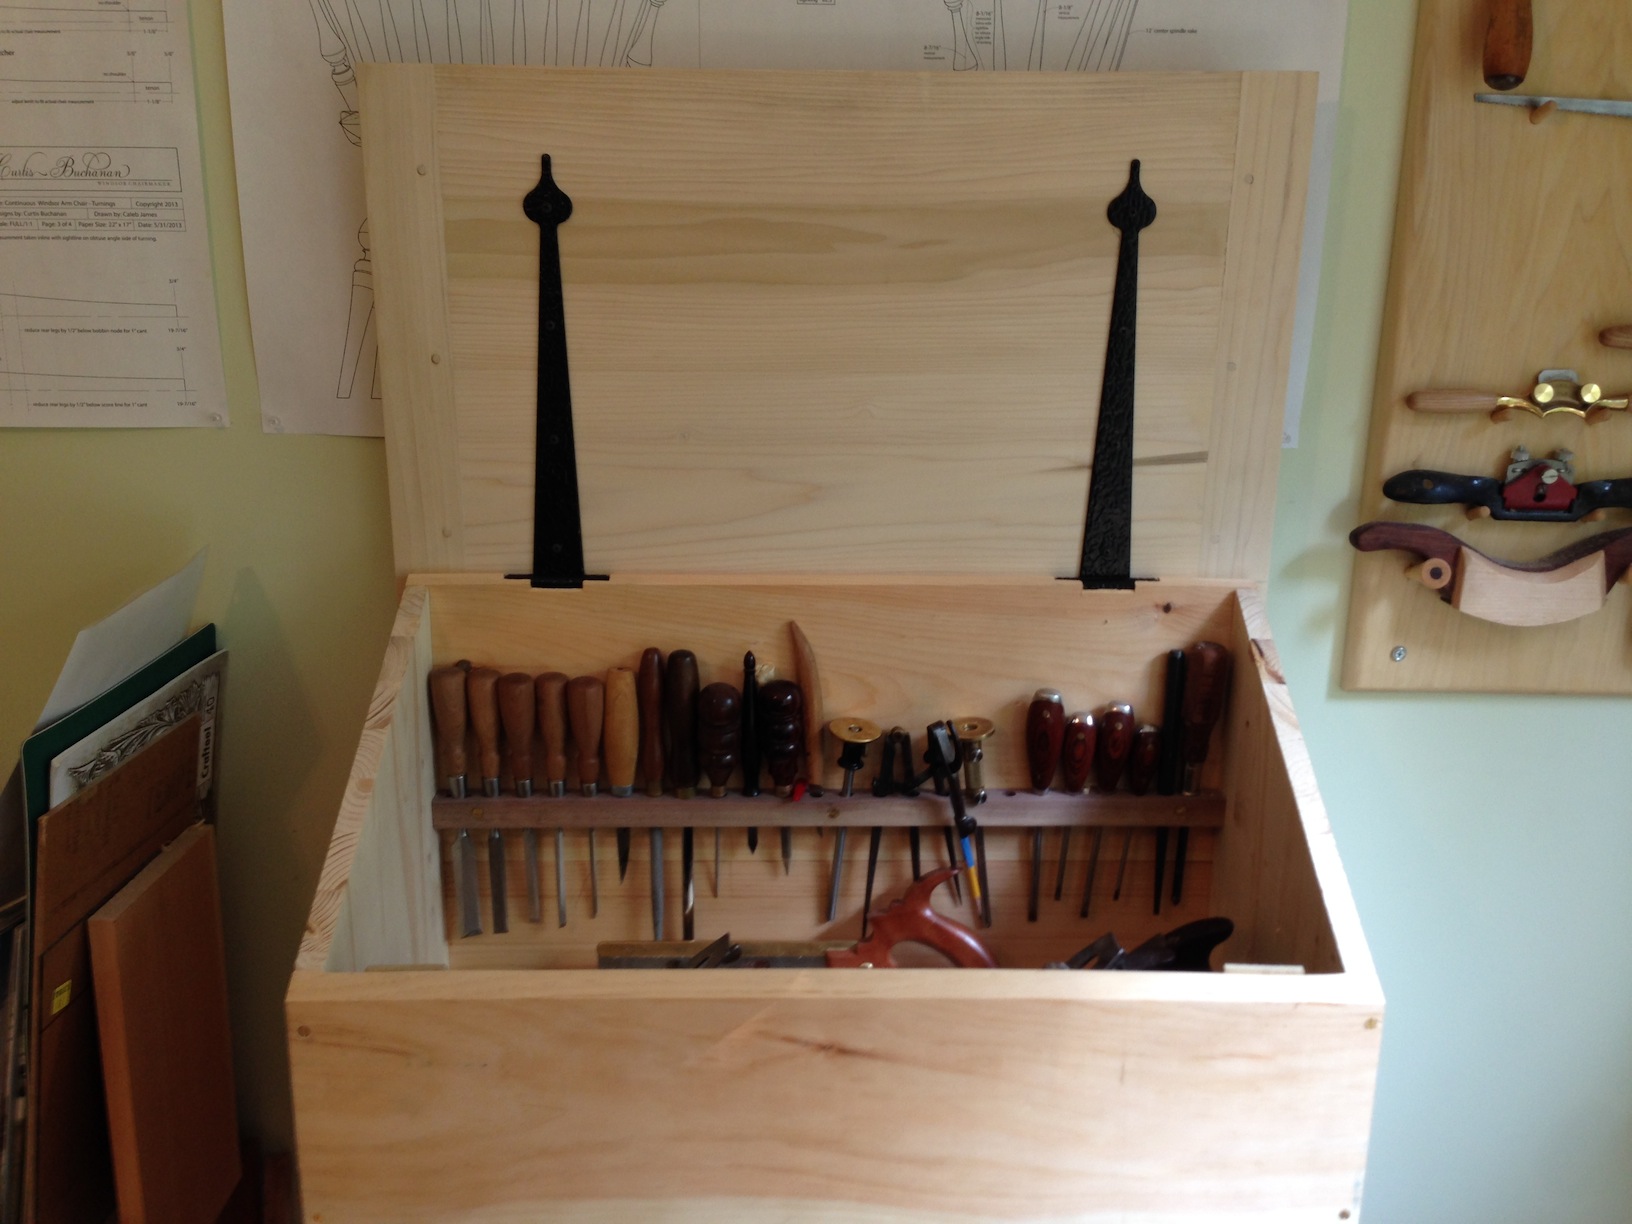
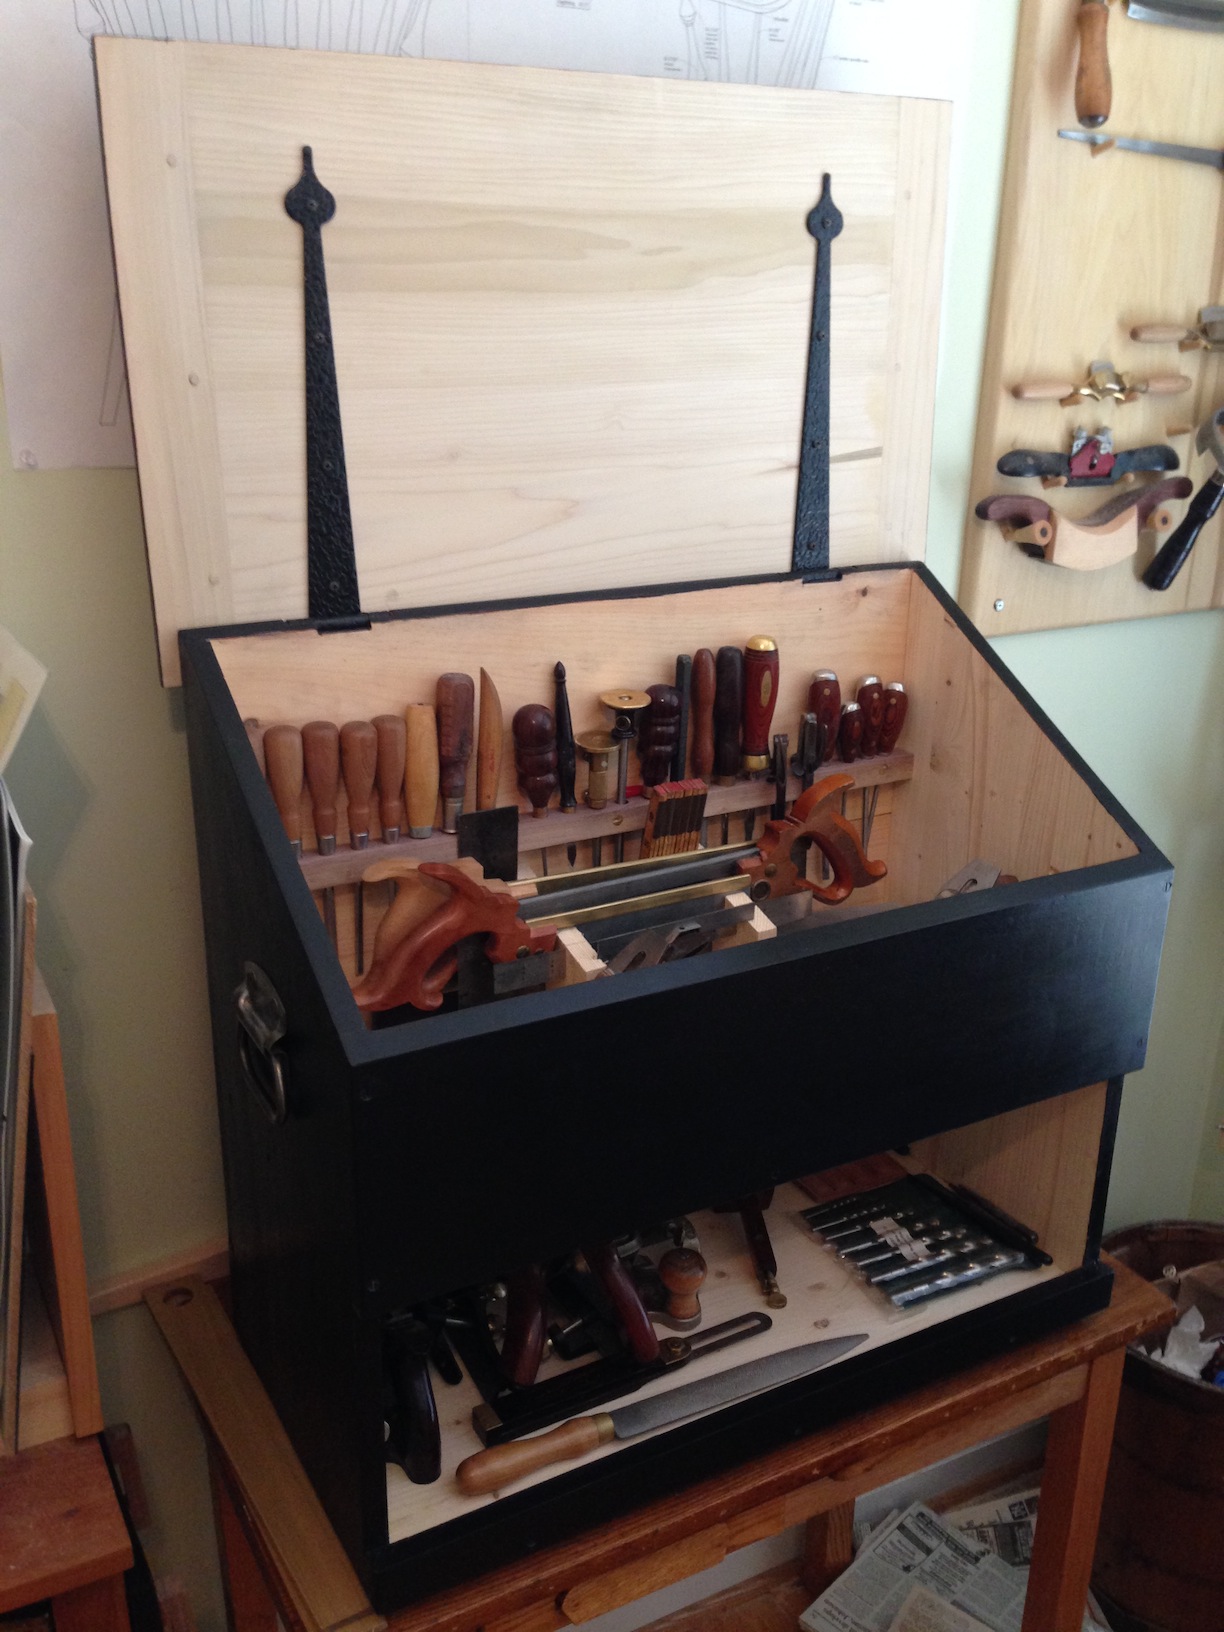
I had to cut a little more off than the width of the dovetail joint on the long piece of molding.  I roughly measured the length on the Saw Box to make sure I had enough material and proceeded with my second attempt at the joint.  I was set now as I had just cut the most beautiful, best fitting and square dovetailed miter joint known to man!  I took it over to my Saw Box, put it up against the side, and said to my friend, Bob, jokingly:  “I sure hope it’s long enough.”  It was short by about 3/16 of an inch.  How my heart sank.   This meant that I not only had to redo the dovetail, but I also had to create a whole new moulding piece.

Oh the Sorrow!

Second newbie mistake of the day:  “Measure twice and cut once.”  Wow, I was batting a thousand.  You would think given the way this day was going I would quit there, but no; I had to forge on.  I haven’t had much time to get in the workshop lately, and I had to make the best use of my time.  I decided to at least cut out the material and form my new moulding before quitting for the day.

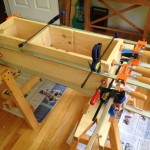
I had a 2×12 board that had a knot-free edge wide enough for the ~2 inch board I needed for the moulding.  I marked it with my marking gauge and proceeded to cut it out with my trusty old Disston rip saw.  I normally like to cut my pieces a little wide and plane them down to size because my hand ripping is not the most accurate…but it was getting late and I decided to rip close to the line.  At first glance, it looked like I finally did something right, but upon closer inspection I noticed I had angled my saw such that I was within the line on the top but shy on the bottom.

Third and final lesson of the day:  “Do not take shortcuts on clear materials.”  It’s ok to experiment on crappy material to try to improve your technique, but if you are unsure of an operation, do not try it on a nice piece of wood just to save time.

Given all the above,  I think I should have stopped after the second problem and walked away for a while to reflect on what I was doing.   I was also lucky I did not injure myself.  It is hard to walk away, as I really enjoy my woodworking time, and I like to take full advantage when I can.  But the price paid could have been more than just wasted time and material.

This makes me think about the adage:  “A bad day in the workshop is better than a good day in the office,” well maybe not always.

-Aaron


Mitres, Dovetails and Lid

With some trepidation I went headlong into the fabrication of my Saw Box lid.  The challenge came from the the geometry of the corner joint for the lid.  By mounting the top board in a groove in the frame boards, the only way to conceal the groove would be to use a mitre joint.

The big problem with ordinary mitre joints is they are weak and do not offer a lot of glueing area.  This is the reason I chose the mitered dovetail joint.  The mitre hides the groove and the dovetail gives the joint strength.  I have never cut this joint before, I have only seen Roy Underhill cut these on his 2-episode show on the Woodwright’s Shop where he made a Joiner’s Tool Chest and used this type of joint for the same reason as I was going to use it.  My effort was a process of trial and error; my first one was ok, but it had a few extra unnecessary cuts.  Fortunately I foresaw this difficulty and planned ahead with extra long stock, which gave me a couple of tries for each piece.  When it came to cutting the critical second cuts on each board,  I was getting pretty good at it.

Here is a drawing of a mitered dovetail joint I found on Mike Ogdon’s now defunct blog on dovetail joints.

The mitered portion of my corner joint is a bit wider than shown in the drawing, in proportion to the dovetails  in the frame boards of my lid.

One other design choice that I made for the lid was to orient the tails to show on the front and the pins on the side.  This was done so as the the top board expands it will not “blow out” the dovetails.  I have allowed some expansion room in the top, so this is just a little added insurance.

Keep in mind I have not glued this top assembly up yet.  I will not be putting glue in the grooves for the top board,  I will leave it “floating” and I will be gluing only the frame joints. Here are a couple of pictures of the box with the lid on it and opened like it would look with hinges attached.

I have also ordered my butt hinges and handle from Horton Brasses which should be here in a few days.  Next time, I should have a special treat with a video of my first attempts to do molding on mitered dovetails for the skirt.

-Aaron

Tills and Bottoms

This was a very productive week with my Saw Box.  I finished the main carcass of the box; I tuned and fit the dovetails, glued it up and attached the bottom board…twice (more on that later).  I ordered and received my hasp from Lee-Valley tools.  This is a big chunk of brass, and it will look great on my saw box.  I still need to order the hinges and handles from Horton Brasses.

My one setback was that I had to redo the bottom board.  I nailed the old one in place but I did not like the look and fit.  I had rabbited the four sides to fit up in the box.  My Lee-Valley moving fillister plane was set correctly, but I evidently did not tighten the depth- stop adequately.  When I was planing away, I made my second mistake; I did not check the depth with my Starrett 6 inch combination square and I ended up with a 1/2″ deep rabbit, where I had set the depth for 3/8.”  I also set the width of the rabbit too wide, so when I put the bottom board in the box there was about a 1/8″ to 3/16″ gap all the way around the inside bottom.

I have a mantra:  “If I settle for good enough then my skills will never progress.”  I decided to replace the bottom.  This meant that I had to take the old bottom out and remove the cut nails.  I have to say, the cut nails hold very well.  It was quite hard to remove the nails from soft pine.  This is good news, as I have used these for my projects extensively, and I am glad to report that they live up to their reputation. The nippers I acquired, upon the recommendation of the ATC tool list, worked very well to remove them.  I straightened the bent nails and used them again for the new bottom board.  This is in keeping with tradition where nails were so valuable that they were often recycled.

In my previous post I showed pictures of the till before it was completely cut out.  I have now cut it out and it fits nicely in the dados I have put in the side boards before the assembly.

Here are some pics of the Saw Box at this stage.

Have Saws, Will Travel

A few Saturdays ago, I attended the Midwest Tool Collector’s Association (MWTCA) tool meet, and finished acquiring all the tools listed in The Anarchist’s Tool Chest (ATC) book, yea!  I can fit almost all of my tools in my traveling version of the ATC, except my saws.  So I got to thinking that I currently did not have a good way to store or transport my saws.   During the MWTCA tool meet, I saw an old military ammo crate that would have almost done the trick.  I did not buy the crate…because I thought it would be more fun to build my own!

On Sunday, my daughter and I went to the local home center to pick up a 1x10x8 board.  Before I actually started to cut wood,  I needed to prototype the till to make sure it would work for me.  I read in the ATC that Chris Schwarz needed to tinker a bit with his design before committing it to wood, so I fashioned a version from scrap wood, roughly following Chris’s design in the ATC.  The big difference in mine was that I decided to make it for 7 saws instead of 4.  My decision to build a bigger one was based on this reasoning:  If I take it to a class that is not saw-focused, I can just load it with the standard 4 saws:  Rip, Crosscut, Dovetail and Carcass.  If I take it to a saw sharpening class, I can load it up with multiple saws to be worked on.  Plus, at home, it will maximize storage.

Here is a pic of my prototype saw till.  It is smaller than the actual till, but it was a great proof of concept.

Prototype dimensions are 6″W x 6″H x 3/4″ with 3/4″ saw cuts for the saws and a offset 2 1/2 radius circle. The two till boards are spaced 6 1/4″ apart


After using the prototype till for a while, I designed the box around it, while allowing for some extra room.  I made my production till 8″ wide and 8″ tall and made of pine.  I made my saw cuts 1 3/8″ apart, keeping the saw handles and blades 5/16″ apart at their closest on each side.

So, here is my saw till.  The 3″ radius semi-circle cut in the top, allows the back saws to be level with the panel saws.

Production dimensions are 8″W x 8″H x 3/4″ with 1 3/8″ saw cuts for the saws and a 3 radius circle. The two till boards are spaced 6 1/4″ apart


Below is a pic of one of my finished dovetailed corners of the saw box.

Perspective of one finished dovetail corner with prototype till “inside” it

More to come soon …

-Aaron

The Finish

atc_chest_sm-01

Well I’ve done it; I’ve gone and finished another project!  This has been a pretty long project but I am really pleased with the results.

Background:

Over the winter holiday break I decided to get off my very-rested posterior to make an Anarchist Tool Chest or ATC (see Chris Schwarz ) of my very own.  This would mean making a LOT of dovetail joints.  My dovetail experience up to that point had been confined to Roy’s one-day dovetail class at the Woodwright’s School (which was great) and a couple of practice pieces that I had done on my own. My trial attempts were pretty pathetic, but at the dovetail class I had a hand-tool epiphany: Sharp tools make all the difference in the world!  I know this is a simple concept, but until you have experienced the joy that is using a good, sharp chisel, you have not lived….or at least probably not been successful at dovetail joints.

I decided on a smaller chest to hone my dovetail skills, a travel chest that is roughly 1/2 the size of the larger one.  The intended dimensions were 12x12x24, this is not exactly the golden ratio, but I sized the width to accommodate my largest plane, a 22″ Jointer.  This smaller footprint was constructed almost exactly to the same design as the full size ATC with a few exceptions:

1) Stock Thickness.  If I went with all dimensions reduced to 1/2, the stock thickness would be 1/2″ and I thought that was a little thin so I decided to go to 3/4″

2) Instead of sliding trays, I decided to maximize the storage space and make 2 lift-out full width and depth trays.  One is  1 1/2″ high and the other 3″ high.  This allows me to get a lot more tools in the small chest.  The lift-out trays make convenient tool holders while working and makes cleanup after use very quick.

atc_chest_sm-02atc_chest_sm-03

3) The lock is placed on the dust skirt, not on the carcass proper.  This was done to accommodate the smaller lock that I used.  I choose to only screw the dust skirt to the carcass, though I did let a little squeeze-out remain from the skirts assembly to help with fixing it to the body of the chest.  It is not under a lot of strain, so I figured fastening it in this way was OK.  What this allows:  If the lock ever breaks, I can remove the dust skirt and fix or replace it.

4) No bottom skids.  I decided to leave these off because this chest will spend most of its life (with me at least) on a cabinet at a good usable height to access the planes in the bottom and not on a wet or damp floor. I may at some point add thin skids but right now it will stay skidless.

This “prototype” exceeded my wildest expectations.  I am very pleased with the end product.  This will make a very good temporary home to my tools until the full sized one is built and also, be a great traveling chest, when taking classes and such.