Roubo Workbench – update 4 – Roubo to the Rescue

You know the the saying, “Everything old is new again?” As you may or may not know, I have been in the process of building my workbench for over a year now and I have been struggling with the benchtop glue-up as I have fewer clamps than I would like and my boards for the top were slightly bowed.  Well, after getting my copy of “Roubo on Furniture” from Lost Art Press a few months ago, something I saw in the plates, specifically plate 18 had my subconscious mind working. Specifically the “straightener” that Roubo talks about for edge gluing boards in figure 19 of that plate.

roubo_straightener

Suddenly a few weeks ago, It came to me, I could use straighteners to face join my benchtop boards and solve several problems at once. First and foremost, it would solve my clamping issue as 2x4s are cheap and would be sufficient for the task. Second, it will help straighten the bow out of my boards as gravity will do most of the work. Also, as a side benefit the top will be mostly flattened up against the upright boards called “twins” (some flattening work is always needed after glue-up).

I need to slightly modify the design to accommodate the wider face of the boards, so I would need to make wider wedges to ensure pressure is applied to the full width of the boards being clamped. The benchtops I am gluing up are only 11 inches in width so the twins do not need to be very long, in my case I am using 24 inch long boards. I am also going to apply paste wax to the twins inner surface to keep the glue squeeze out from sticking to them.

Below is my test setup with some narrower wedges, but sighting down the boards, they look very straight and no bow at all. I have looked for examples of this procedure for face gluing boards and I could not find any.

IMG_5951

Thanks to Andre Roubo and Lost Art Press, I am back in the workbench building business and hopefully in a couple of weeks I will have a fully functional and beautiful workbench (not like the pathetic one seen in the background).

Peace,
-Aaron

Hand Tools, Power Tools or a Combination

My Way of Working Wood

There are currently 3 camps in the woodworking community on which types of tools to use in woodworking,

  • Traditional Non-Power Tools only
  • Modern Power Tools (with some limited non-power hand tool usage)
  • A mixture Traditional and Power Tools

Traditional Non-Power Tools Only

Let’s address the “Traditional Non-Power Tools only” category first as it was the first method used by woodworkers for millennia before power tools were introduced in the late 19th and early 20th centuries. Through innovation and experience, hand tools were developed to the point of near perfection by the time power tools came on to the scene. In all categories for tools to work wood, there were specific tools and processes to shape and manipulate wood. Some of these processes and techniques were preserved in written works by Moxen and Roubo and others. Some have been lost to the ages.

Thanks to the efforts of numerous historical societies, Roy Underhill, and Chris Schwarz at “Lost Art Press”, some of these lost techniques have been resurrected or rediscovered allowing woodworkers everywhere to learn these techniques in order to make more historically accurate and more importantly, better built projects based on this knowledge. Roy and Chris are my modern woodworking heroes and have helped make me a better woodworker.  I have had the good fortune to take classes with them in person and glean from them some of this knowledge. This category is gaining more converts every day thanks to the efforts of these men and others in this community who are teaching and sharing their knowledge through the internet and in person in classes and workshops across the world.

As late as 10 years ago in 2000’s there was only a few tool manufacturers who made high quality (as compared to tools make in the apex of hand tool use in the late 19th century). Now we are seeing a new market for these tools and more companies are arising to fill this need. The motivation for companies to produce these tools is linked to this growing community of woodworkers that demand a) High quality durable new tools and b) For them to be made domestically e.g. Made in the USA. One such company is Lie-Nielsen in Warren Maine. Their commitment to quality is second to none. In today’s economy these tools are very expensive, but they will last you a lifetime of dependable usage.

Modern Power Tools

Next, we have the power tool usage category. This is the category that has emerged and evolved over the 20th and 21st century and is used in most all manufacturing and the majority of the amateur and hobbyist woodworking community today. As a young man growing up here in North Carolina, this was the woodworking world I have known from childhood and the one that most frustrated me. First as a child, I remember my dad and also my grandfather using these tools and smelling freshly cut wood and loving that smell.

As a child, I could not operate these dangerous machines, but later as a young man, using hand power tools, I built items that were less than optimal because I had no formal training other than high school shop class where I learned how to use a lathe and how to draw which would come in handy later. The internet had not yet been invented, so YouTube was years away.

There was one thing working in my, and other workers favor, it was the “New Yankee Workshop” with Norm Abram. This show taught me some important techniques and that amazing things could be built if you had all the right tools and a large shop to use them in, but these tools were expensive and generally out of my price range to buy at the time.

Frustrated, in 1997, I decided to sign up for a woodworking class at the North Carolina State University Crafts Center. This was a shop intro class where I would learn the basics of all the major woodworking shop equipment such as the table saw, band saw, power joiner, lathe, disk sander and planer. I also learned how to grind a bevel on a chisel, I built several projects and gained a lot of experience and appreciation using these tools. There was always something about power tools I didn’t like, they scared me, even today I have a healthy respect for how quickly they can hurt you. After that class, I collected various power tools for use in my shop. Currently I have a very nice contractor’s table saw, a vintage Rockwell band saw, a bench drill press and a vintage Craftsman scroll saw and various hand power tools.

Admittedly power tools take less skill to do basic operations and they speed up some jobs quite considerably. One of my sayings is “modern materials need modern tools to work them.” For example, try using a hand saw on a piece of plywood, it will work, but it won’t be pretty.

A mixture Traditional and Power Tools

This brings me to the mix of Traditional and Power Tools. For me, this is the best of both worlds. You can breakdown stock quickly with the power tools and then craft the wood with the pleasure that is hand tools and keep the tool marks and techniques that any woodworker from the early 19th century would recognize. I keep my power tools and hand tools separated (with the exception of the lathe, which I keep my hand tool shop) as the power tools create too much dust and noise, they can not be used in my shop which is inside my house.

Cutting Hand tools rule no. 1 – They must be sharp. This was the first and most important lesson when I took a dovetail class at Roy’s Woodwright’s School in Pittsboro, NC. I didn’t know what a sharp tool was until I took this class. Sharpening your hand tools is a gateway skill that will dramatically and irrevocably improve your ability to work with hand tools.

Unless you are working at a historical preservation site like Williamsburg, or some other similar historical site (or if you are commissioned with a hand tool only order), using only hand tools is not necessary. The way I look at it, power tools do the work of an apprentice and as I do not have an apprentice, the power tools will suffice. I do make exceptions to this in a couple of cases. 1) I use only hand tools when I make a “special” project that I want to be completely done by hand and 2) For modern type projects using modern materials (Like plywood), I will use modern methods and tools.

I do not see the two camps as being mutually exclusive, I happily live in both worlds and I believe my projects have benefited by using both hand and power tools. But given my preference, I will always gravitate to traditional hand tools. I feel a bond to all those woodworkers from the past that used these same techniques and know that we all share the same experience of the unique feel, smells and sounds while we shape wood to our will.

Peace,
-Aaron

Roubo Workbench – update 3 – Tail Vise Puzzle

2015-11-21 10.27.00

Tail Vise Rails resting on the bottom of the bench top for a test fitting

At long last,  I am back working on my workbench.  There was a brief delay because life happens.  For reasons I won’t bore you with (cat fostering), I was unable to work in my garage for the past 2 weeks and I was not able to make any workbench progress.  Fortunately,  I am back in business and I made a major step forward yesterday.  I finished the cavity for the tail vise to be installed in.  I have the pictures showing the “finished” cavity below.  Suffice it to say,  I am glad to get that part completed so I can get on with the rest of  the workbench.  As you can see in the photos, I have not glued the boards together for the front part of my bench.   I will probably do this tomorrow.  Then I can start gluing the remainder of the boards together  to finish assembling the top.  Right now the exact dimensions of the cavity is not important.  I will need to finish the top surface of the workbench before making any precision cuts to mount the tail vise.  In the following pictures you will see the boards clamped together and then expanded to show how each one is individually cut to form the whole. I did purchase some soft maple to attach to the front of the bench because it will get the most abuse from clamping and other activities,  so I decided to make it out of maple.  Also, it will be dovetailed into the side maple piece which the tail vise will be attached.

-Aaron


2015-11-21 10.27.42

Clamped without the Tail Vise Rails

2015-11-21 10.29.04

Expanded to show each board

2015-11-21 10.29.12


Roubo Workbench – update 1- Stock prep

bc_classic_leg_vise_pic

BenchCrafted Classic Leg Vise – Unfinished

IMG_2818

3x5x22 Maple End Cap – Cat Inspected

I have almost all the materials on hand for my workbench.  I am still waiting for my new Benchcrafted Traditional Classic Vise to get here, but I finished surfacing my hard maple end cap that secures the tail vise to the end of the bench.  As you can see my shop cat is inspecting my work with aloof approval. It started out as a rough log and now it is surfaced on 4 sides, square and flat 3″x5″x22″ board. As you can also see, the benchtop boards are now acclimating in my shop.  I will start laminating them soon.


IMG_0059

2x5x6 Leg and Stretcher Stock

I was waiting for my “Southern Yellow Pine” SYP lumber to dry some more.  I checked them with a moisture meter and it read 10%, that is dry enough to start processing them so I  have ripped them to width from 6 2″x12″x6′ boards, down to 12 2″x5.25″x6′ boards that will be used for the legs and stretchers.  I still have a LOT of surface planing yet to do on these boards.  If I had a power surface planer I would use it.  I do have 2 nice joiner hand planes that can do the job, albeit a bit slower and a with a bit more muscle power.


The only parts for the bench I have left to buy are the bolt hardware (used to secure the end cap to the bench) and the chop board for my leg vise.  The chop board is going to be a 8/4 x 8″ x 36″ piece of hard maple.  I will need to get that at the local lumbar yard. Depending on price, I may also  get a 6/4 x 5″ x  6′ hard maple board for the front on the workbench.  That will make a stronger front edge that I will be clamping to all the time and also will look nice dovetailed into the end cap.

I know this project is progressing a bit slowly,  but I have never built a workbench before and I like to think about projects as I build them so I do not make as many mistakes.  This workbench has some complications that have me really putting my engineering hat on.  I am loving every minute of it.  This bench will serve me well for many, many years and I can’t wait to build my first project on it.

-Aaron

And so it begins – My Roubo inspired 18th Century Workbench


IMG_2778
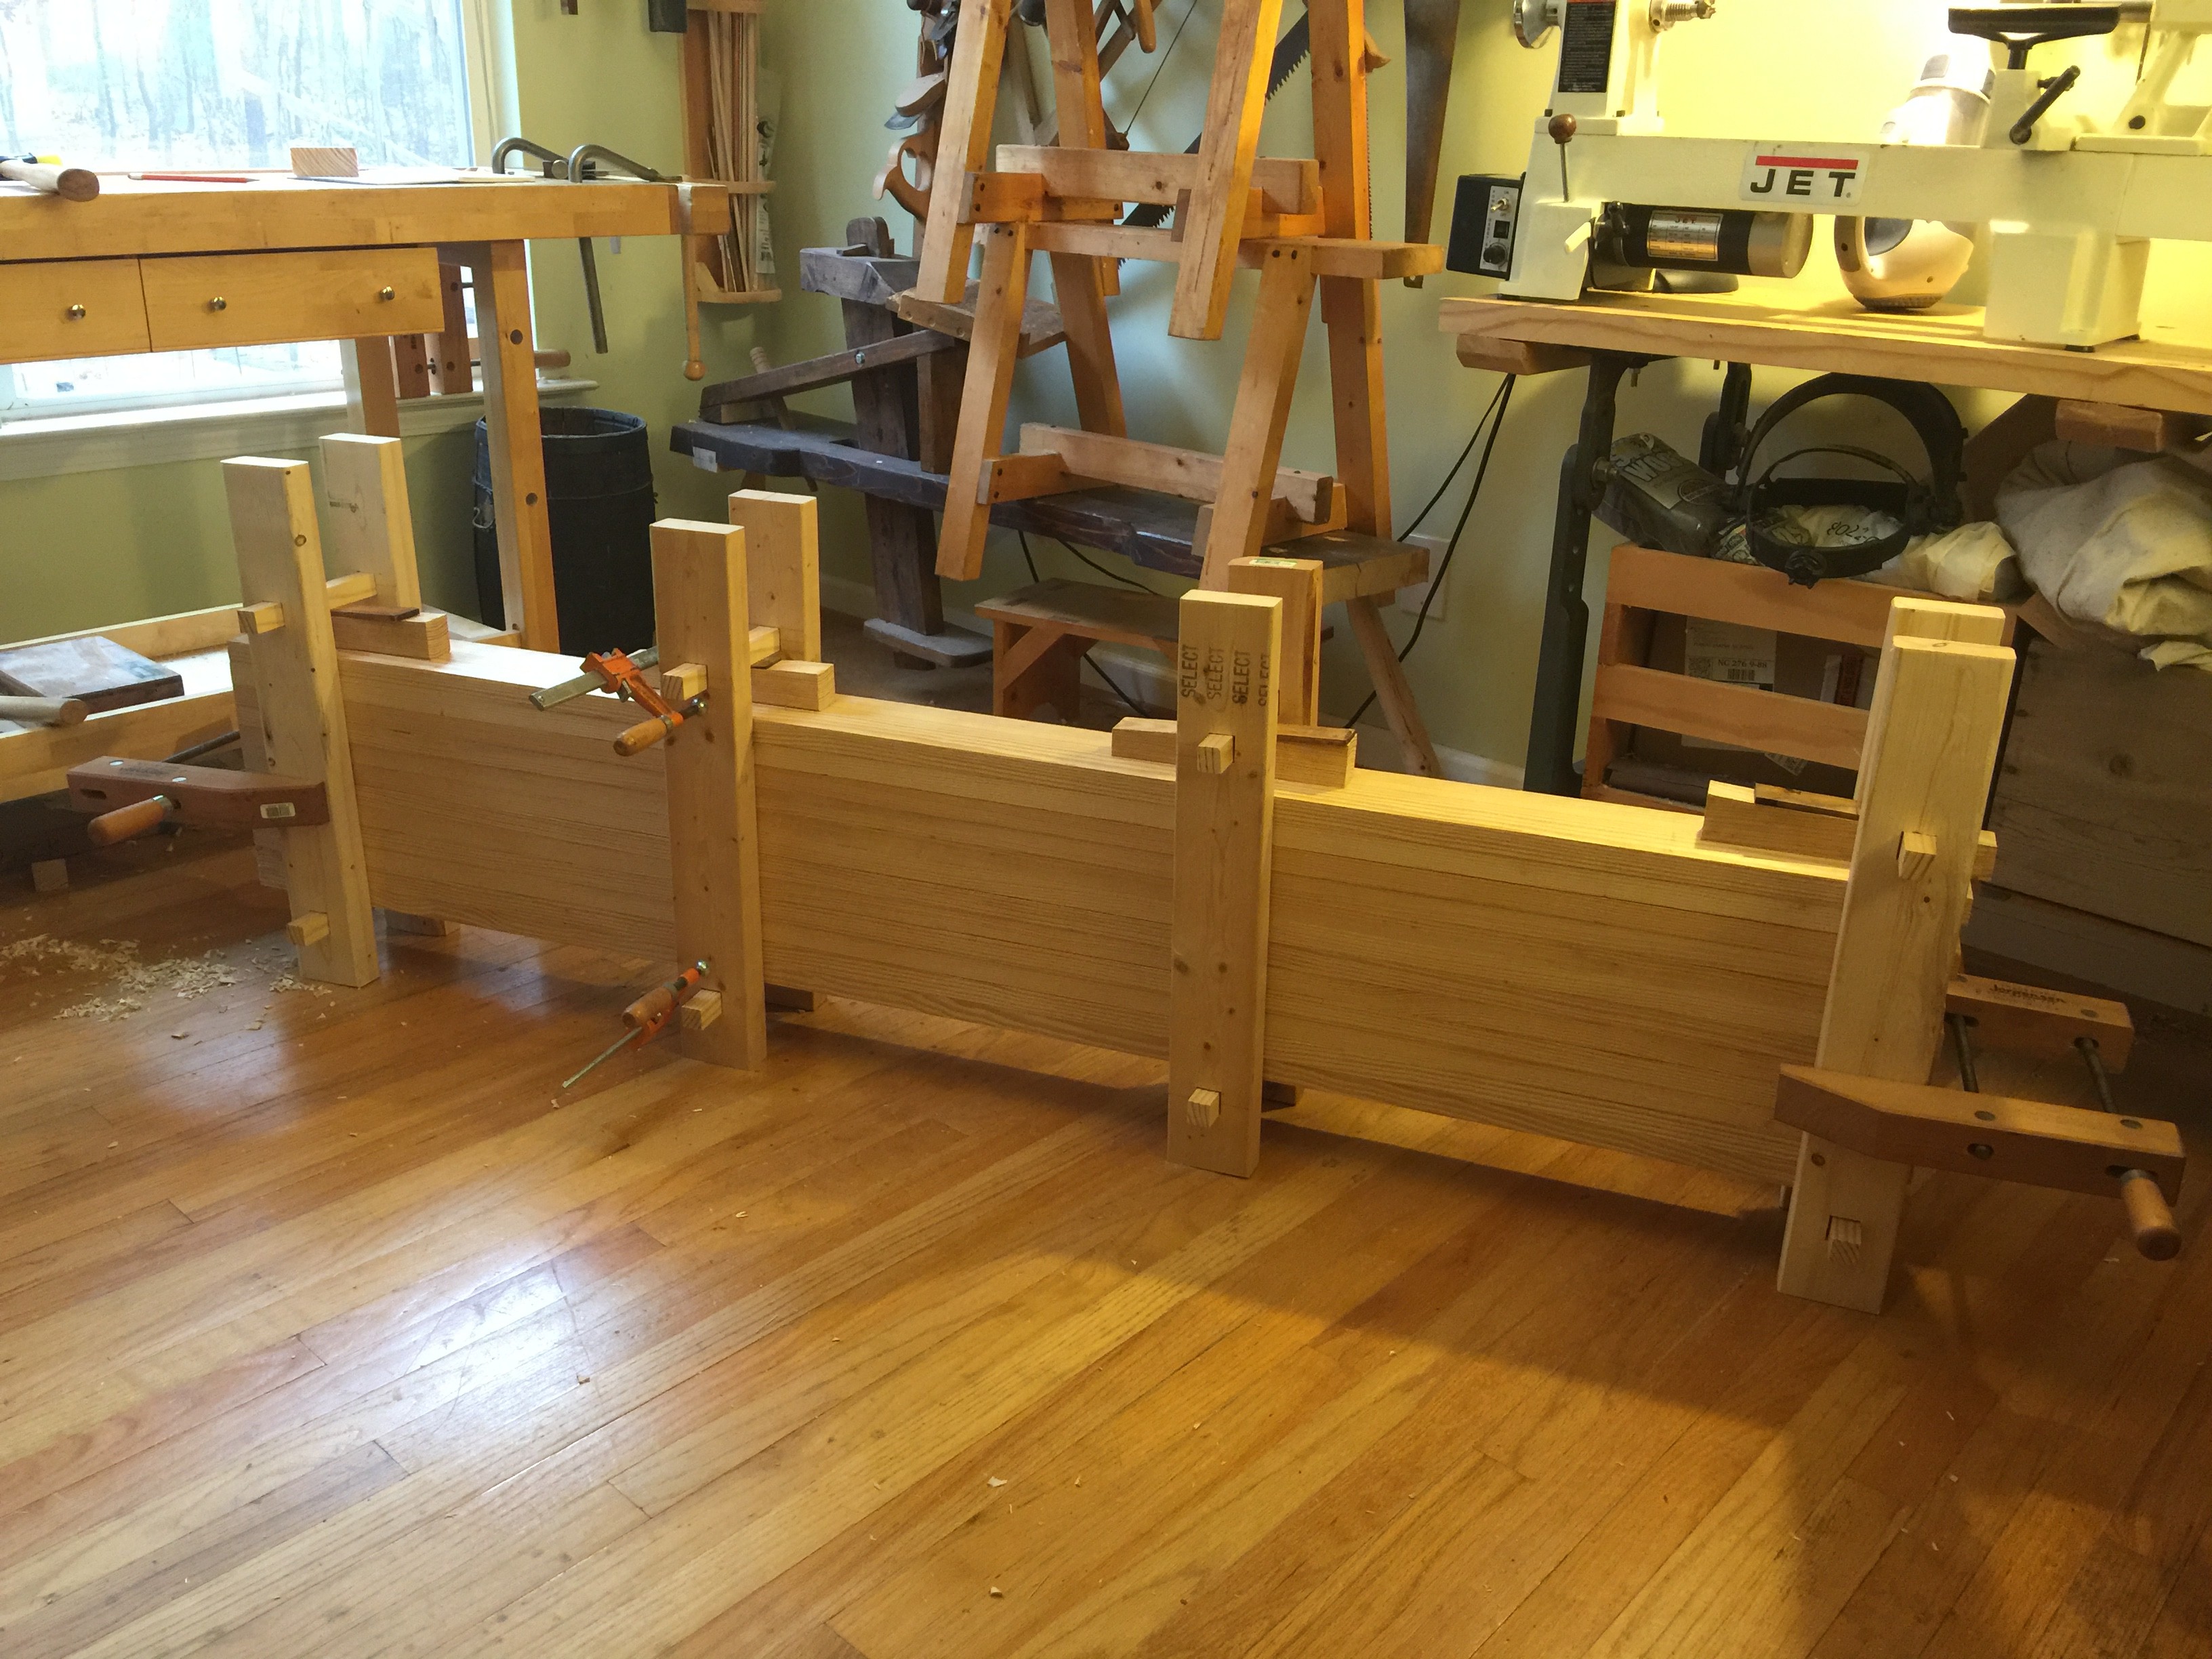
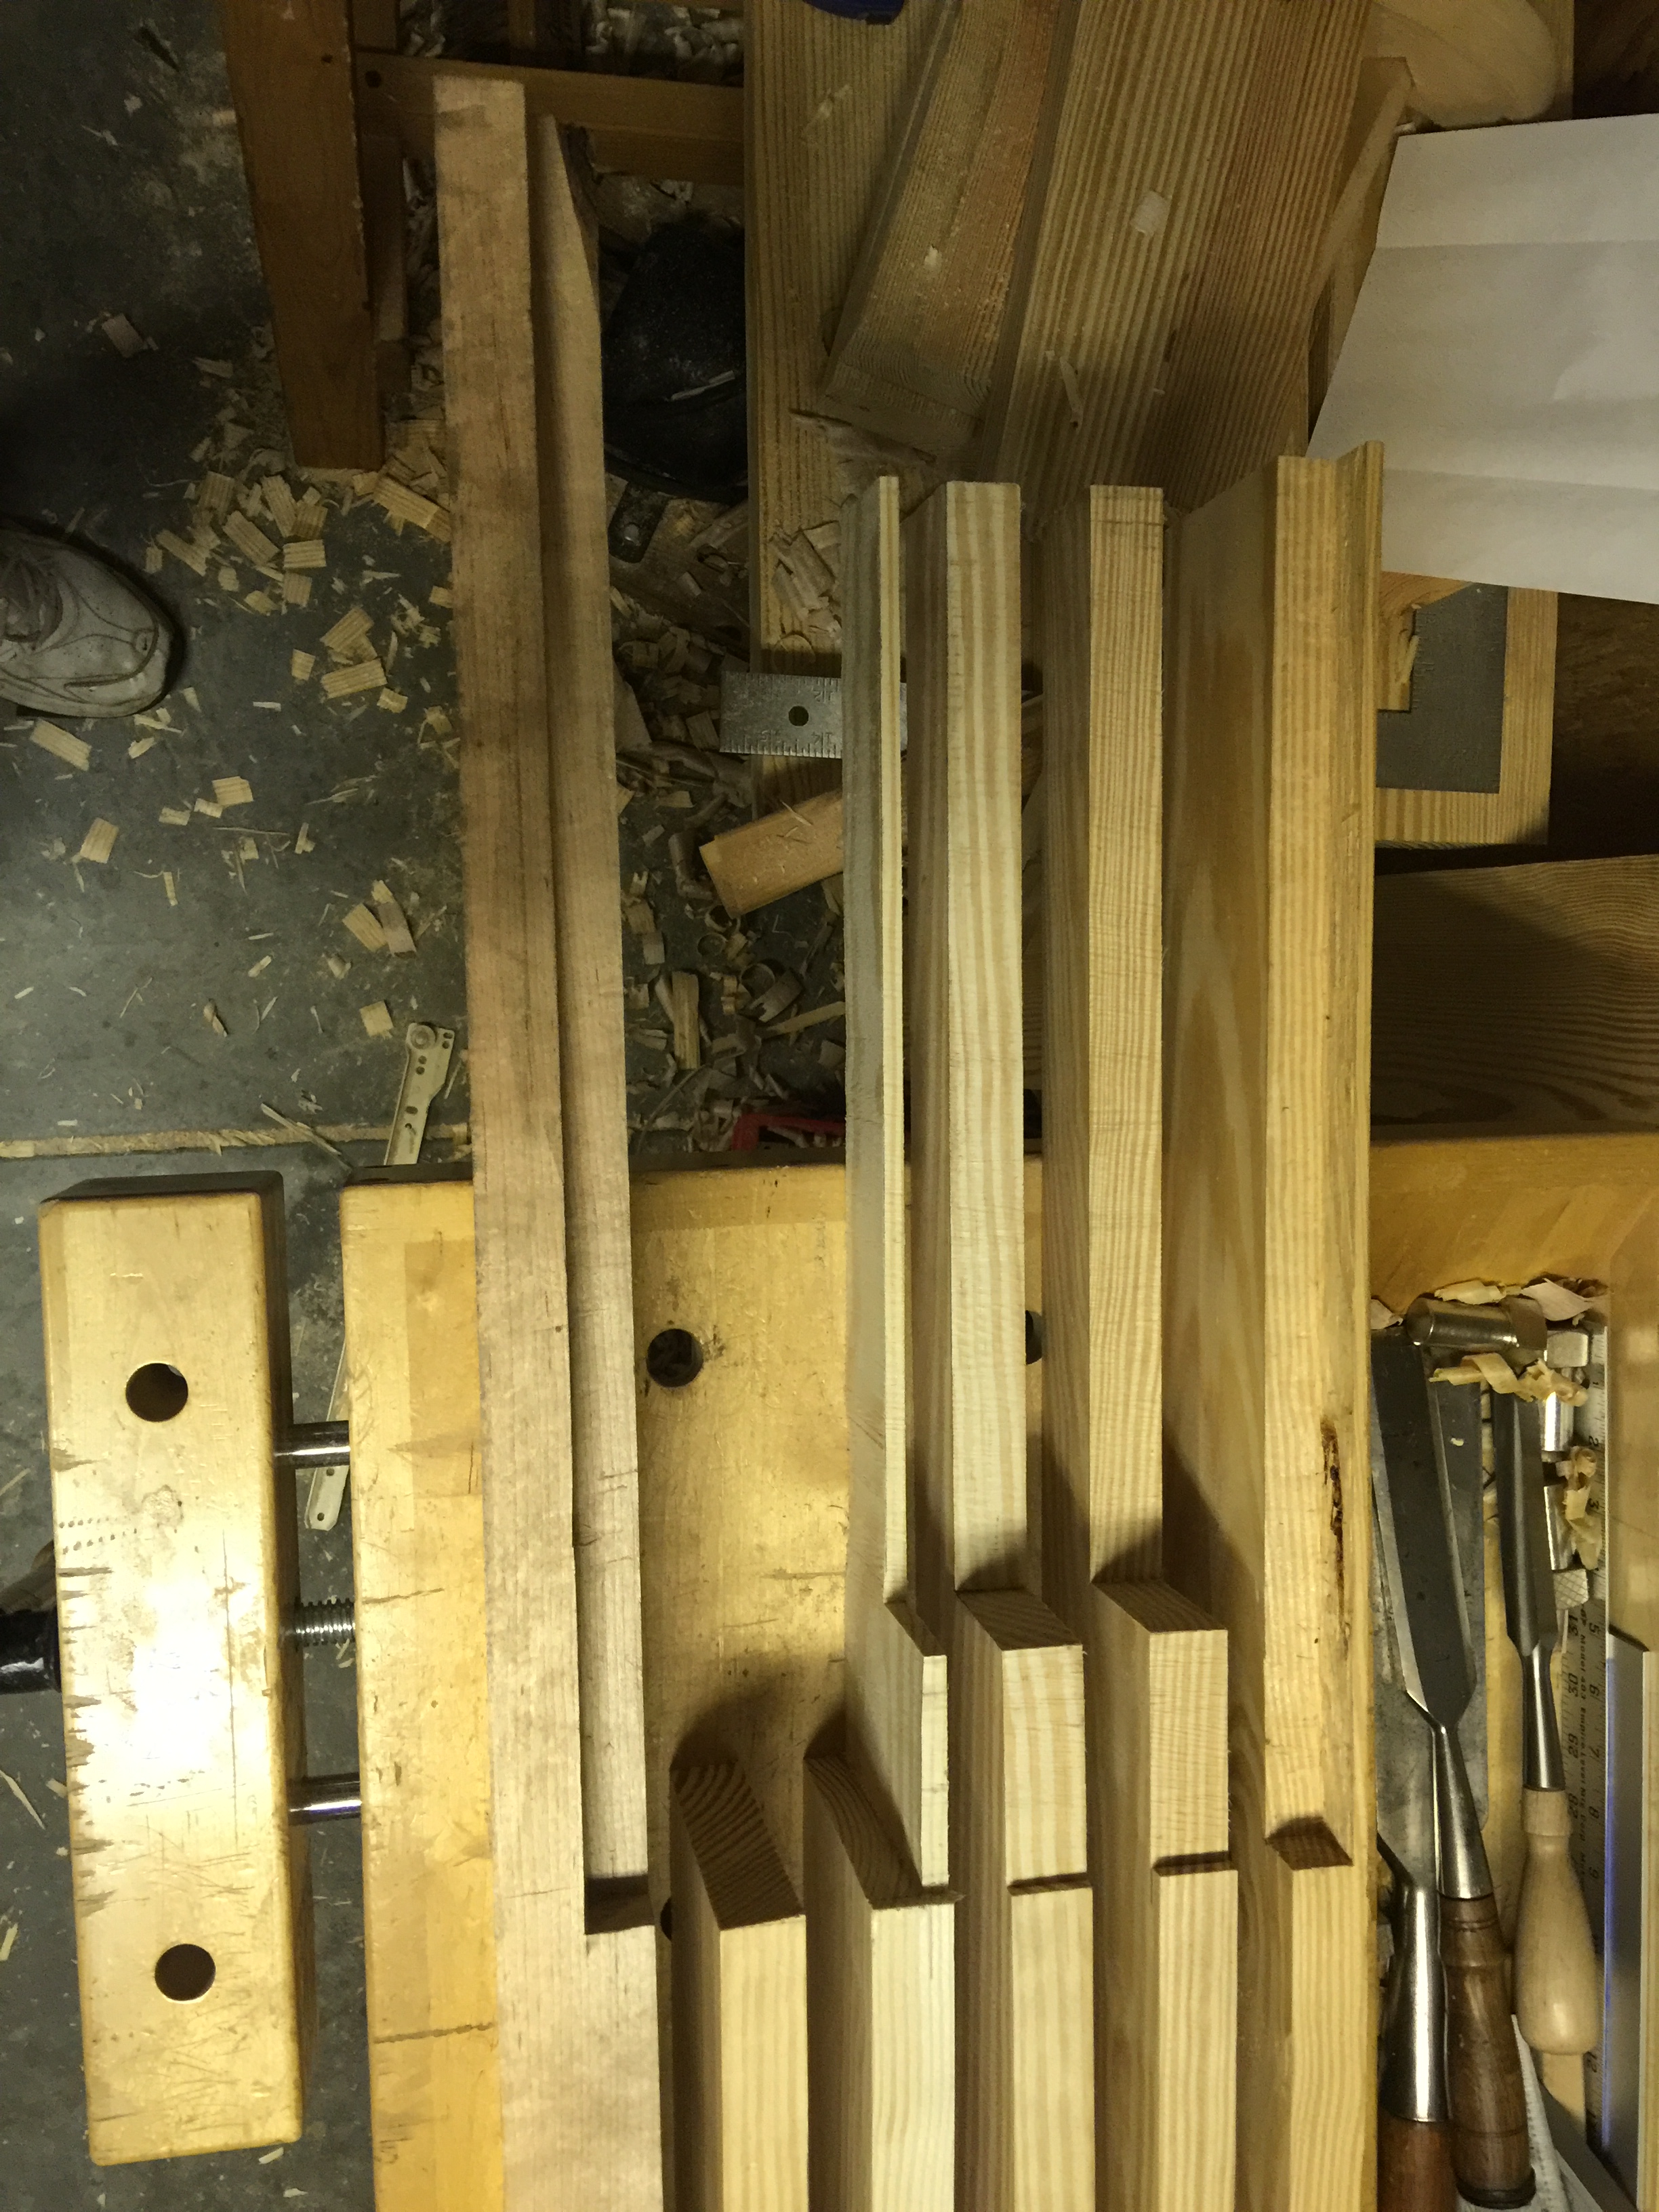
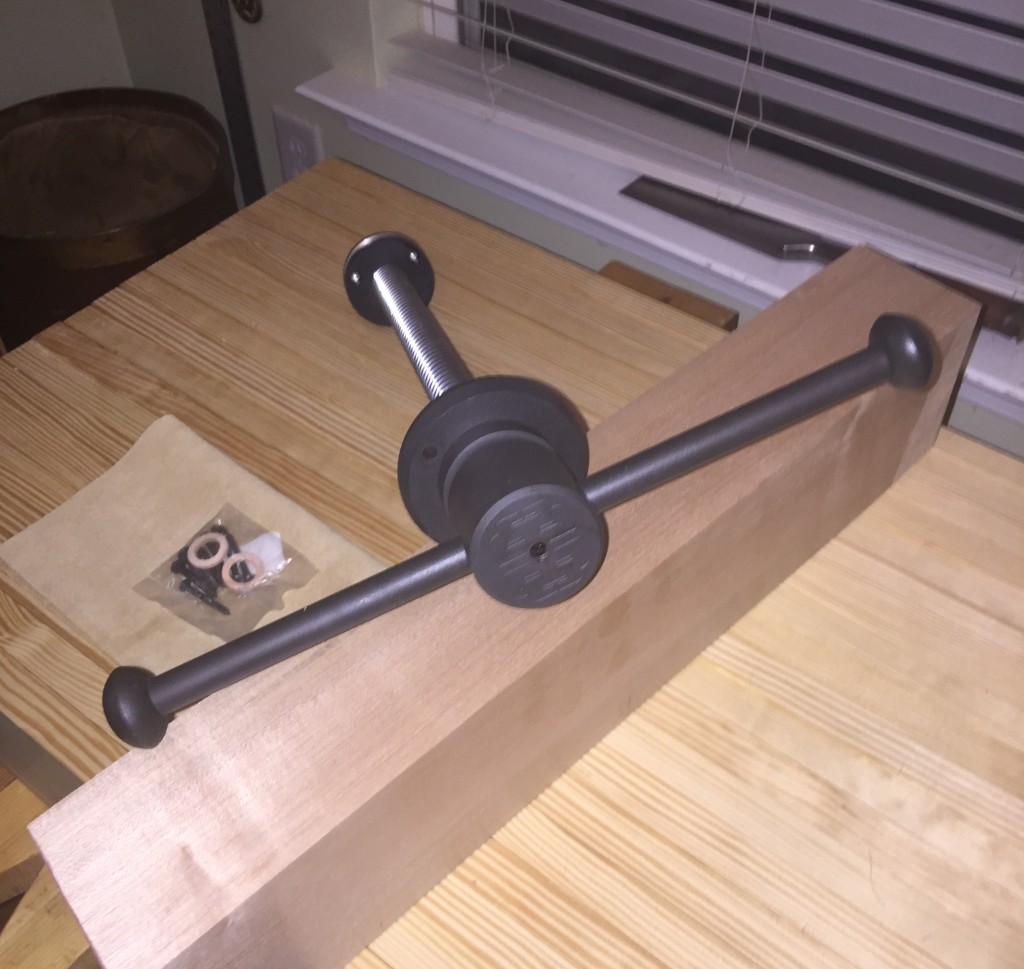
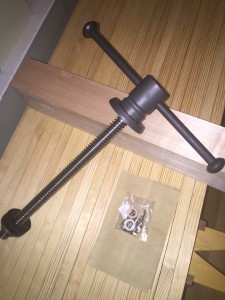
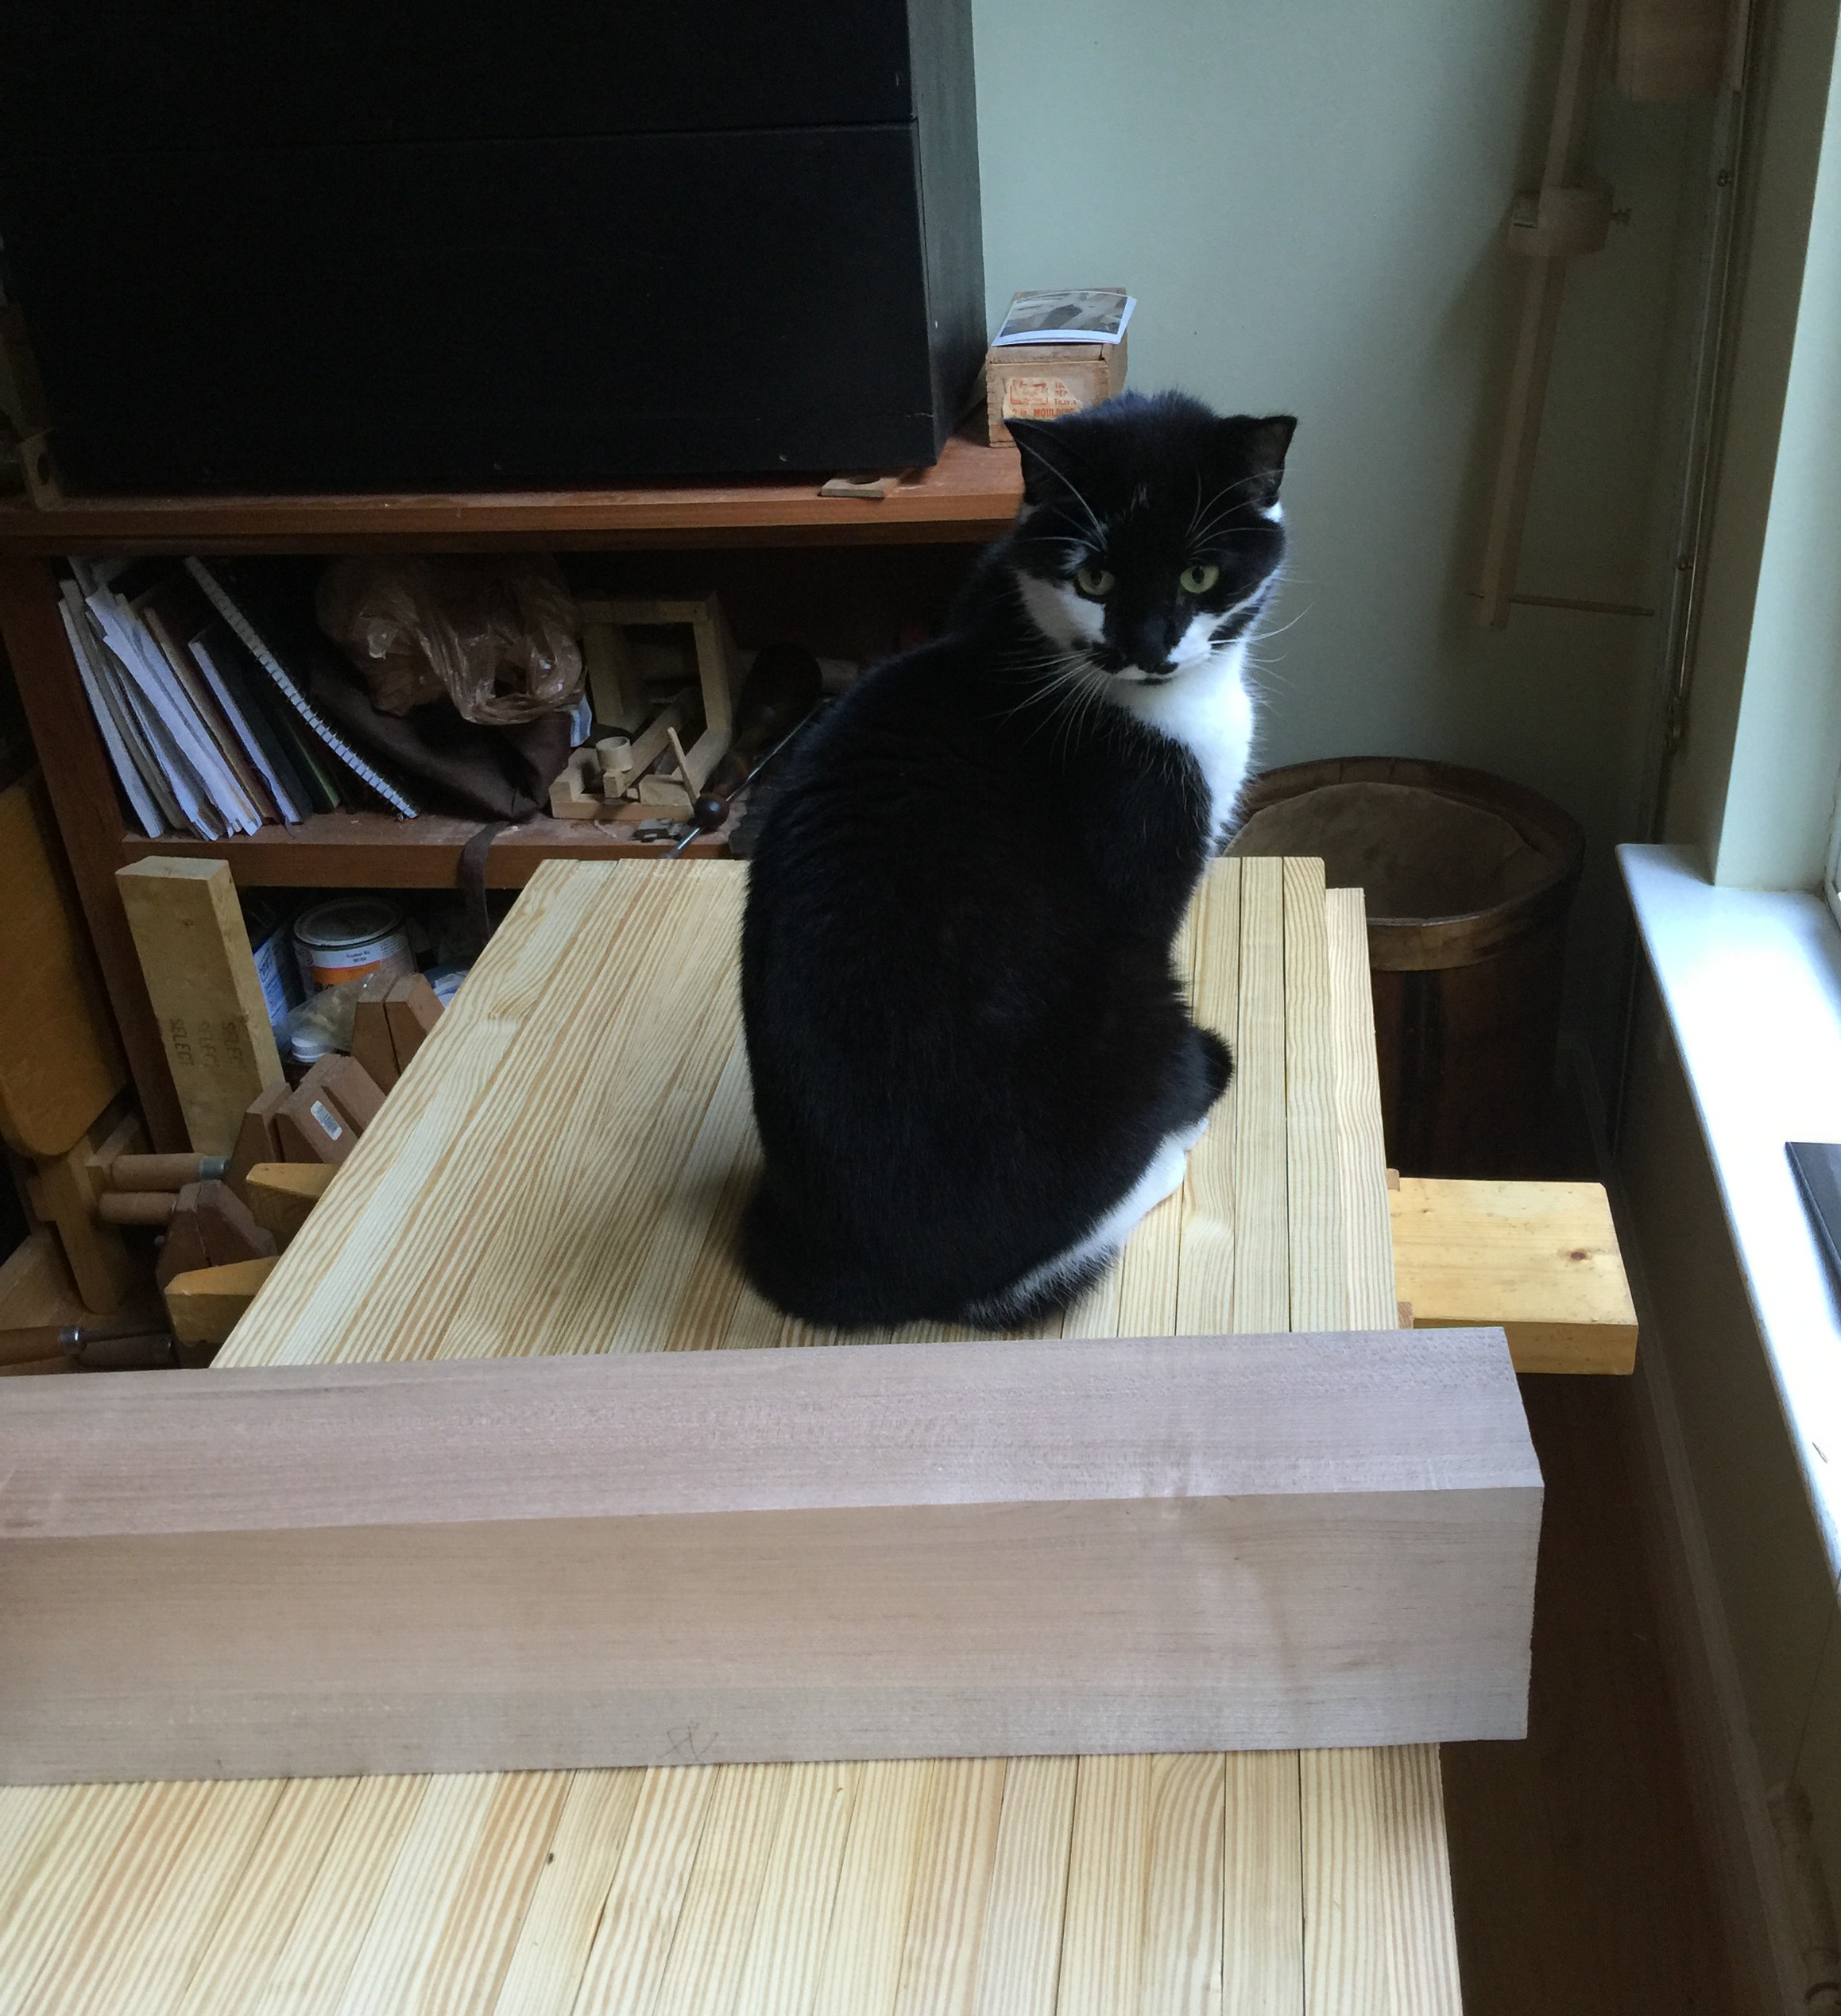
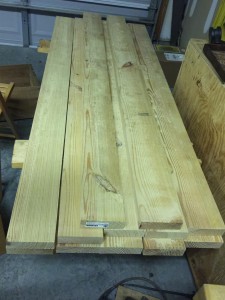
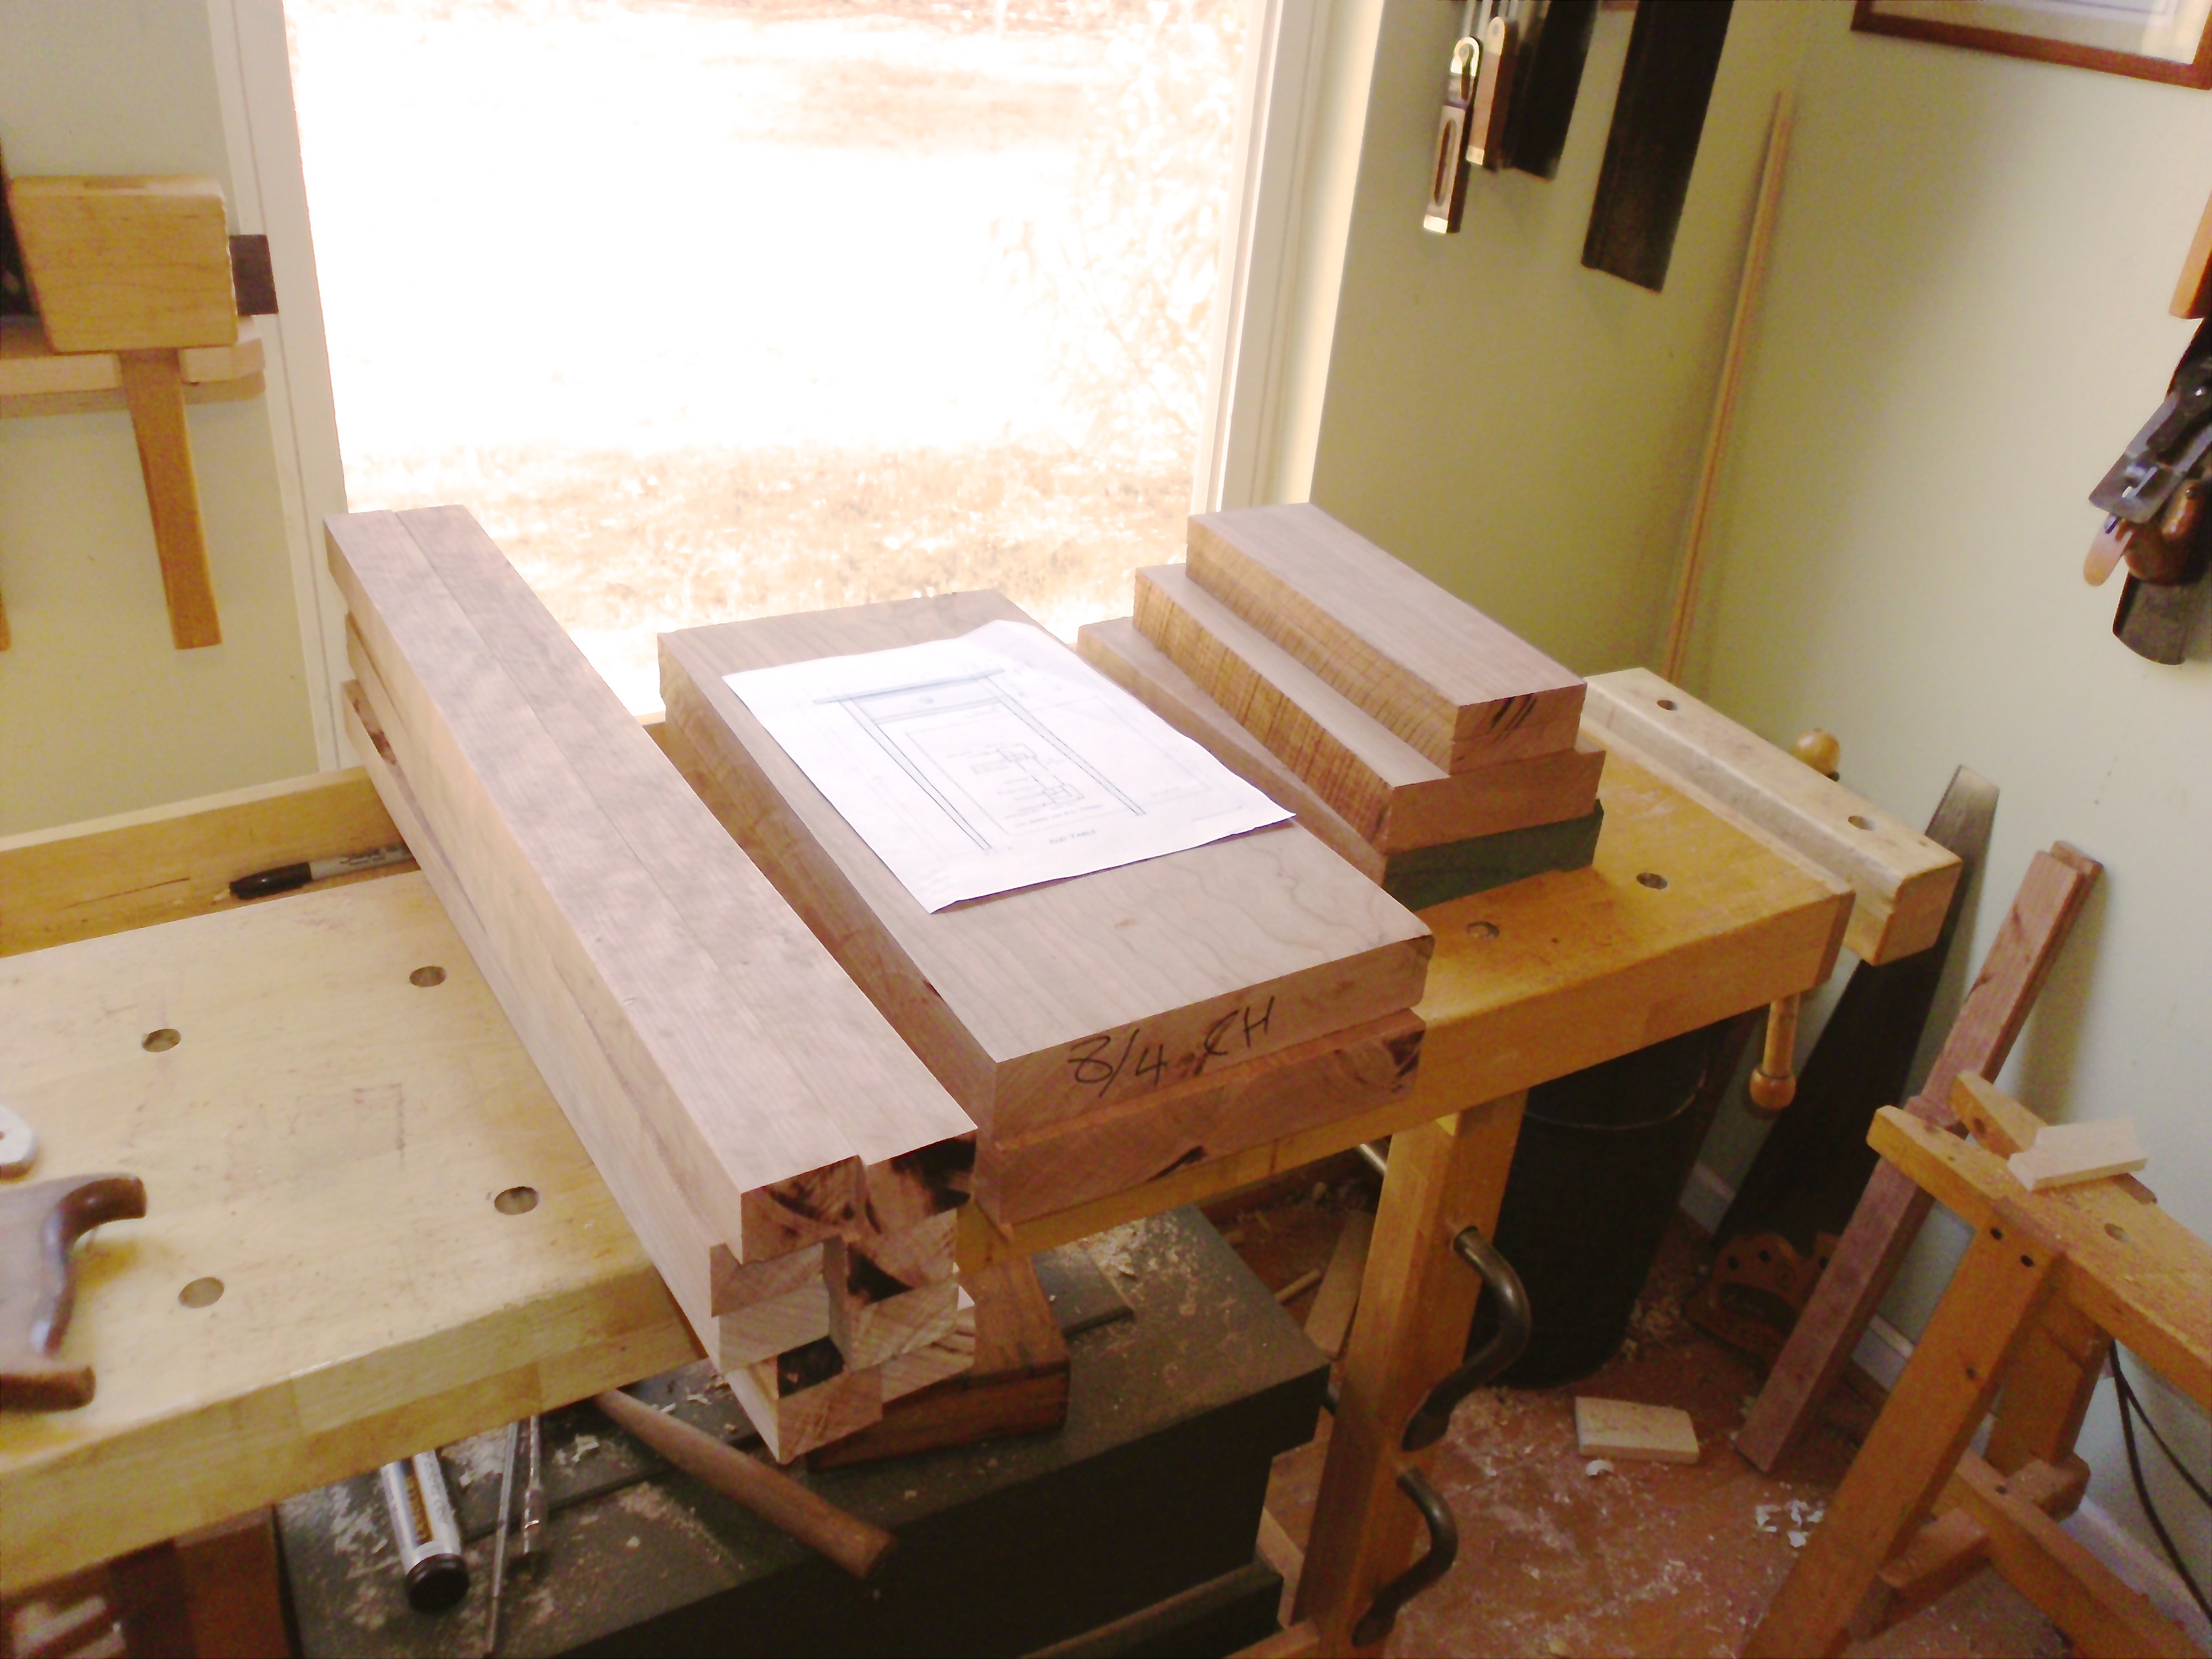
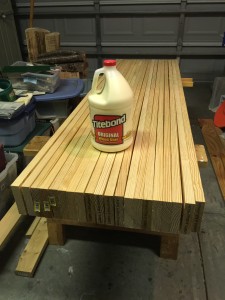
This is a project that is way overdue. I’ve been working with my lightweight commercial workbench for way too many years. Last Friday I purchased 10 beautiful 5/4 x 5″ x 12′ boards of southern yellow Pine. I had already purchased my
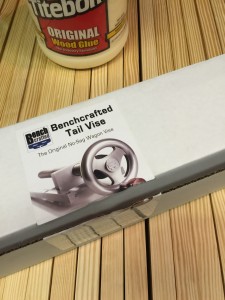
 Benchcrafted tail vice about a year and a half ago. This tail vise is quite an expensive piece of machinery to have just laying around not earning it’s keep. So I have decided to go ahead and build my very own Roubo Workbench.  In these pictures you’ll see the boards have already been cut in half and resting nicely on my two saw benches. I will be following Chris Schwarz’s  plans for a 18th century Roubo workbench, modified as to fit incorporate my Benchcrafted tail vise. The finished Bench top should be 5″ thick, 20″ wide and 72″ long.  This is going to be one heavy workbench.  The overall workbench dimensions will be H 34″ x W 20″ X L 72″.  I am using Chris Schwarz’s book “Workbenches – From Design & Theory to Construction & Use” as my primary source for plans and instructions.  I also have Chris’s other workbench book “The Workbench Design Book – The Art and Philosophy of Building Better Benches”.  He has republished his “Workbenches” book and it is available on his website at Lost Art Press.


IMG_2780

My biggest conundrum at this point this how to mount the Benchcrafted tail vise.  The issue at hand is, I have not glued up all my boards yet because I want to cut them out before laminating them so that I don’t have to hog out a lot of material later. It’s kind of like putting a jigsaw puzzle together in 3-D before you’ve even seeing the pieces. Not only that, the pieces don’t exist yet, and I will have to fabricate them correctly, so when it does go together, everything will fit perfectly.

I’ve been toying with the idea of making a 1/2 scale model, just so I know how everything will fit together. This is one of those projects I have to sleep on and think about for a few days before the solution comes to me. In the meanwhile I’m studying the plans, and I’m looking at my boards in the garage longing to have this bench finished.


Here is what the tail vise will look like when it is installed.TailVise_250pxTail-Vise


This will not be a very long journey, I want this workbench finished before the ghouls and goblins come out on Halloween.

-Aaron


Just Plane Fun

Aaron_and_the_wooden_joiner_planeOne of the things I love to do in the shop is make tools.  I have made saws, tool boxes, knives, mallets, hammers and other assorted useful items.  One thing I always wanted to make but was hesitant to, was a plane.  Any plane would do, a jack, molding or  scrub plane would be great. One of the reasons I have hesitated is because planes are different.  They do take some skill and experience to set the blade and the wedge at the right angles where they actuality cut wood and eject the shavings.  The history of planes goes back for centuries and they have been made by hand for that long but these things take skill to make and get right.

With that in mind,  I had been keeping an eye on Bill Anderson’s plane classes at the Woodwright’s School for some time. Recently (a year ago), I got my chance, I was on the wait list for a joiner plane class and got the call at the last minute. Let me tell you, I was excited.  In this class you built a 28″ long 19th century joiner plane complete with a vintage iron.  This was a three-day class and I loved every minute of it.  I finished all the major parts in the class.  All that was needed was to widen the mouth for the iron a bit, as it was a little too snug, make the front and back buttons and make a knob.

The buttons and the knob were afterthoughts, but the more I looked at it, the more I thought it needed a little color.  I added the cocobolo buttons, cocobolo being a very hard wood will protect the plane ends when I adjust the iron with blows from my wooden mallet.  The knob was also a last minute item where I had a hardwood button to put in the top, but I wanted more.  I put a 4″ long dowel in the hole already drilled for the top button and I liked the way it felt when I used the plane.  Excitedly, I went to the lathe and turned a nice cocobolo knob.

I was going around and around in my head on how to fasten this knob to the plane body and then an old technique came to mind.  I would use a foxtail wedge.  Basically an exposed wedge is one you do after sawing a slot and inserting a dowel or spindle in a hole and driving the wedge home.  A foxtail wedge is the same, but you do not have access to the wedge to drive the wedge with the mallet, so the bottom of the hole acts as a stop. You have to widen the bottom of the hole into the end grain and put the wedge in the sawn slot and insert the knob in the hole, and with a mallet, you drive the knob to the bottom forcing the wedge to widen the bottom of the knob locking it in place. At that point, you have a glue-free solidly fixed knob. Click here to see a picture and description of how a foxtail wedge works.

A little sanding and a few adjustments here and there and the plane was ready for the finish.  Planes are usually just finished with some type of oil and wax.  I put 3 coats of Danish Oil on and then some wax and she is ready to go to work.

2015-03-11 14.24.42This was a great project and it still was a bit difficult, but Bill is such a great teacher, I was able to do all the complicated work in the class, under his guidance.  If you get a chance, go take a class at the Woodwright’s School, you’ll be glad you did 🙂

-Aaron

Brass Hammer

You might not know it, but I have been looking for a brass hammer for some time now. I need a brass hammer to tap my wooden plane’s irons to set them at just the right cutting depth.

You see, brass hammers are preferable to steel hammers as the brass is softer than the plane iron and will not damage it where the steel hammer will “mushroom” the steel and that is bad.

brass_hammer1I went to the MWTCA tool meet yesterday and I happened across this nice little beauty in the rough for $5.00.  A real bargain, as these babys can cost a lot of dough new. It had a brass head and brass handle with a duct tape grip.

I could have just left well enough alone and used it happily, but I just had to make it better.

I had to get that duct tape off of there because it was pretty nasty and really old so it was breaking down.  This came off with a knife and the brass rod handle was in good shape.  I was really struggling on how to properly put a wooden handle of the brass rod.  This decision was made for me, as I was cleaning the head the brass rod came right out of the head.

The high end tool manufacturer Lie-Nielson used to make a really nice cross-peen hammer and I liked the handle shape, so  I decided to mimic that shape.

I had to re-drill and enlarge the hole in the hammer head so it would accommodate a wooden handle. I drilled half way through on the top of the head with the next larger size bit so when I wedged the handle it would not would not come off.

I had a nice piece of cherry that was perfect for the job. So 30 minutes on the lathe and I had me a new handle.  The Lie-Nielson cross-peen hammers have a more slender handle than what I made for my handle.  I made my handle a little thicker to accommodate the heavier head on my hammer.  The hardest part of this whole project was fitting the cylindrical head to the cylindrical handle and getting it to fit.

Brass Hammer

This is what I ended up with. Quite a change from the hammer I brought home yesterday!  I am really happy with this and I hope it gives me many years of good service.

-Aaron


Brass Hammer Head

Brass Hammer Top

Tale of Two End Tables – Chapter 1 – Stock Prep

In an effort to expand my experience with building larger woodworking projects, I am starting this new year making some furniture pieces.  I do not want to go totally crazy, so I am starting on two Shaker end tables featured in the September 2004 Issue of Woodworking Magazine.  This article goes into great detail on building this popular and timeless design.  The Shaker style has an appeal to woodworkers, as it is functional, very stylish and pretty strait forward to build. I decided to build two end tables so that I could maximize my wood use and match the pair using the same wood for the whole project.

My first step was to procure a beautiful piece of cherry from the local lumber yard, Capital City Lumber, here in Raleigh.  I did score a choice board  8/4″x12″x8′.  This was a thing of beauty and I have to give credit to my friend, Bob, who saw this board and called it to my attention.

The next step after getting it home was board layout. In order to get the most use out of a board and avoid waste, it is important to plan the usage of each section of a board and how to cut it out .  I worked this around in my head for a couple of days to avoid making a mistake on this expensive and precious lumber.  This is part of any woodworking project takes time to learn and gain experience.  Fortunately I have been doing board layout for some time now, so I felt confident in my layout decisions.  I have done numerous projects with less expensive lumber that have really added to my knowledge and skill level.

One of the big challenges for this project is the stock thickness. It is 8/4 or roughly 2″ thick.  Most of the boards called for in this project (except the legs) are 3/4″.  In a conventional shop you would “re-saw” these pieces in half on a band saw and have two pieces about 7/8″ thick. My band saw is currently down for repairs so I have to do it the old fashion way, with a rip saw.  That’s right the following will have to be cut in this manner:  2 tops 9×18, 2 drawer fronts 4×12 and 6 aprons or stretchers 5 1/2×13.  I have about 2 full days of sawing ahead of me, but it will be worth it. Below is a picture of my rough sawn stock cut to the length and width.

-Aaron

Rough Stock

Dutch Tool Chest

Dutch_Chest5A couple of weeks ago, I was looking at the class schedule of Roy’s Woodwright’s School and noticed Chris Schwarz from Lost Art Press was going to be teaching his Dutch Tool Chest. It was then I decided I would build my own Dutch Tool Chest.  Yes it would have been great to take the class and experience Chris’s cheeky teaching style and benefit from his vast experience, but I have a business to run so I can’t really get away for the three day class right now.  Besides, I knew I had the skills to make this simple project and decided the time was right.  My old chest is great and I still use it but,  It is not big enough for the tools I use everyday.

The plan was to follow the Popular Woodworking article by Chris and make the smaller, one shelf version.  This small Dutch chest still holds a huge volume of tools and I will be able to work directly from it.  I had most of the materials on hand and like the originals  were probably built, I used what I had on hand.  The sides, bottom and shelf were glued up panels of white pine and the top was a poplar panel left over from when I built a 6-Board Chest. The front and back pieces were white pine 1×12’s that I was going to use on another project.

This project is very straight forward and the joinery is dead simple.  Only two sets of dovetails on the bottom and the rest is screwed and/or glued. Speaking of screws, I purchased my screws and bolts from Blacksmith Bolt & Rivet .  These folks are excellent and I recommend them for any hard-to-find slotted screws and old square bolts.  They are quick, friendly and reasonably priced.

All said, I have about 40 hours in this chest including finishing.  The most difficult part was the breadboard ends on the top as I have never done this type of top before. I must say, I love using this chest and it will be an asset in my shop and well worth the 40-hour investment in time.

-Aaron

Below are a few pictures of the chest.