
09-Jan-2021 Update: James Wright has recently released his comprehensive “Plane Iron Test Results Fast And To The Point” video. Do yourself a favor and watch this. You’ll be glad you did. I recently bought the Veritas PM-V11 2″ Blade for one of my smoothing planes based on his test results.
Planes and plane collecting can become an obsession. Like saws from my earlier blog entry, I have been collecting, acquiring and restoring them for over a decade. I am not a tool or plane collector per se. I collect and restore tools I’m going to press into service. If I do come across a plane I don’t need, that is a good deal and/or that needs restoration I will generally sell it in “farm fresh” condition or I’ll do a minimal restoration that preserves the history, patina and character of the tool while making it usable. I have sold or given away more planes than I currently own.
New Vs. Old
I want to address this upfront. You can spend your whole woodworking career and never use a brand new plane. The vintage planes (be choosy here, there are vintage crappy ones too) are well built, have excellent steel and can do excellent work. I love my old Stanley No. 5’s especially. I also love using the new Lie-Nielsen planes and their tools in general. The fit and finish are without equal and they are (in my opinion) the best production planes you can buy today. I own a complete set (complete set for me, not the whole set of Stanley Numbers 1-7) of old and new planes. I use all of them for different tasks and they all have earned their valuable space in my small shop. The LN planes are expensive, but I have been spreading that cost out over a decade, getting them as birthday presents and gifts. I have also sold miscellaneous (woodworking and non-woodworking) items and saved my money to purchase some of these. You don’t have to buy LN planes to be a good woodworker. I just really like using them and will continue to do so.
Also, you do not have to buy Lie-Nielsen planes brand new. You can buy them used and sometimes get a great deal. I bought my LN 40-1/2 Scrub Plane for about $85 ($175 new) second hand. It was a bit rusty, but It cleaned up beautifully and works great.
“Underneath all this shininess is poor materials, cheap labor, and one less sale for a passionate business owner that actually cares”
Matt Estlea
One other note, Matt Estlea made a great video on buying a cheap AmazonBasics #4 plane and spent the time to get it working halfway decently. He makes a very good point, if you’re set on getting a new plane, you can buy a cheap plane made by people who do not love and care about the craft and spend valuable time get it working ok, but time is money. What you get is a plane that will never perform like a LN or other top maker and “Underneath all this shininess is poor materials, cheap labor, and one less sale for a passionate business owner that actually cares” thus depriving a quality maker a sale. Why not skip the fettling step and buy a superb plane from a maker that cares about their craft and woodworking in general and you’ll have a lifetime tool.
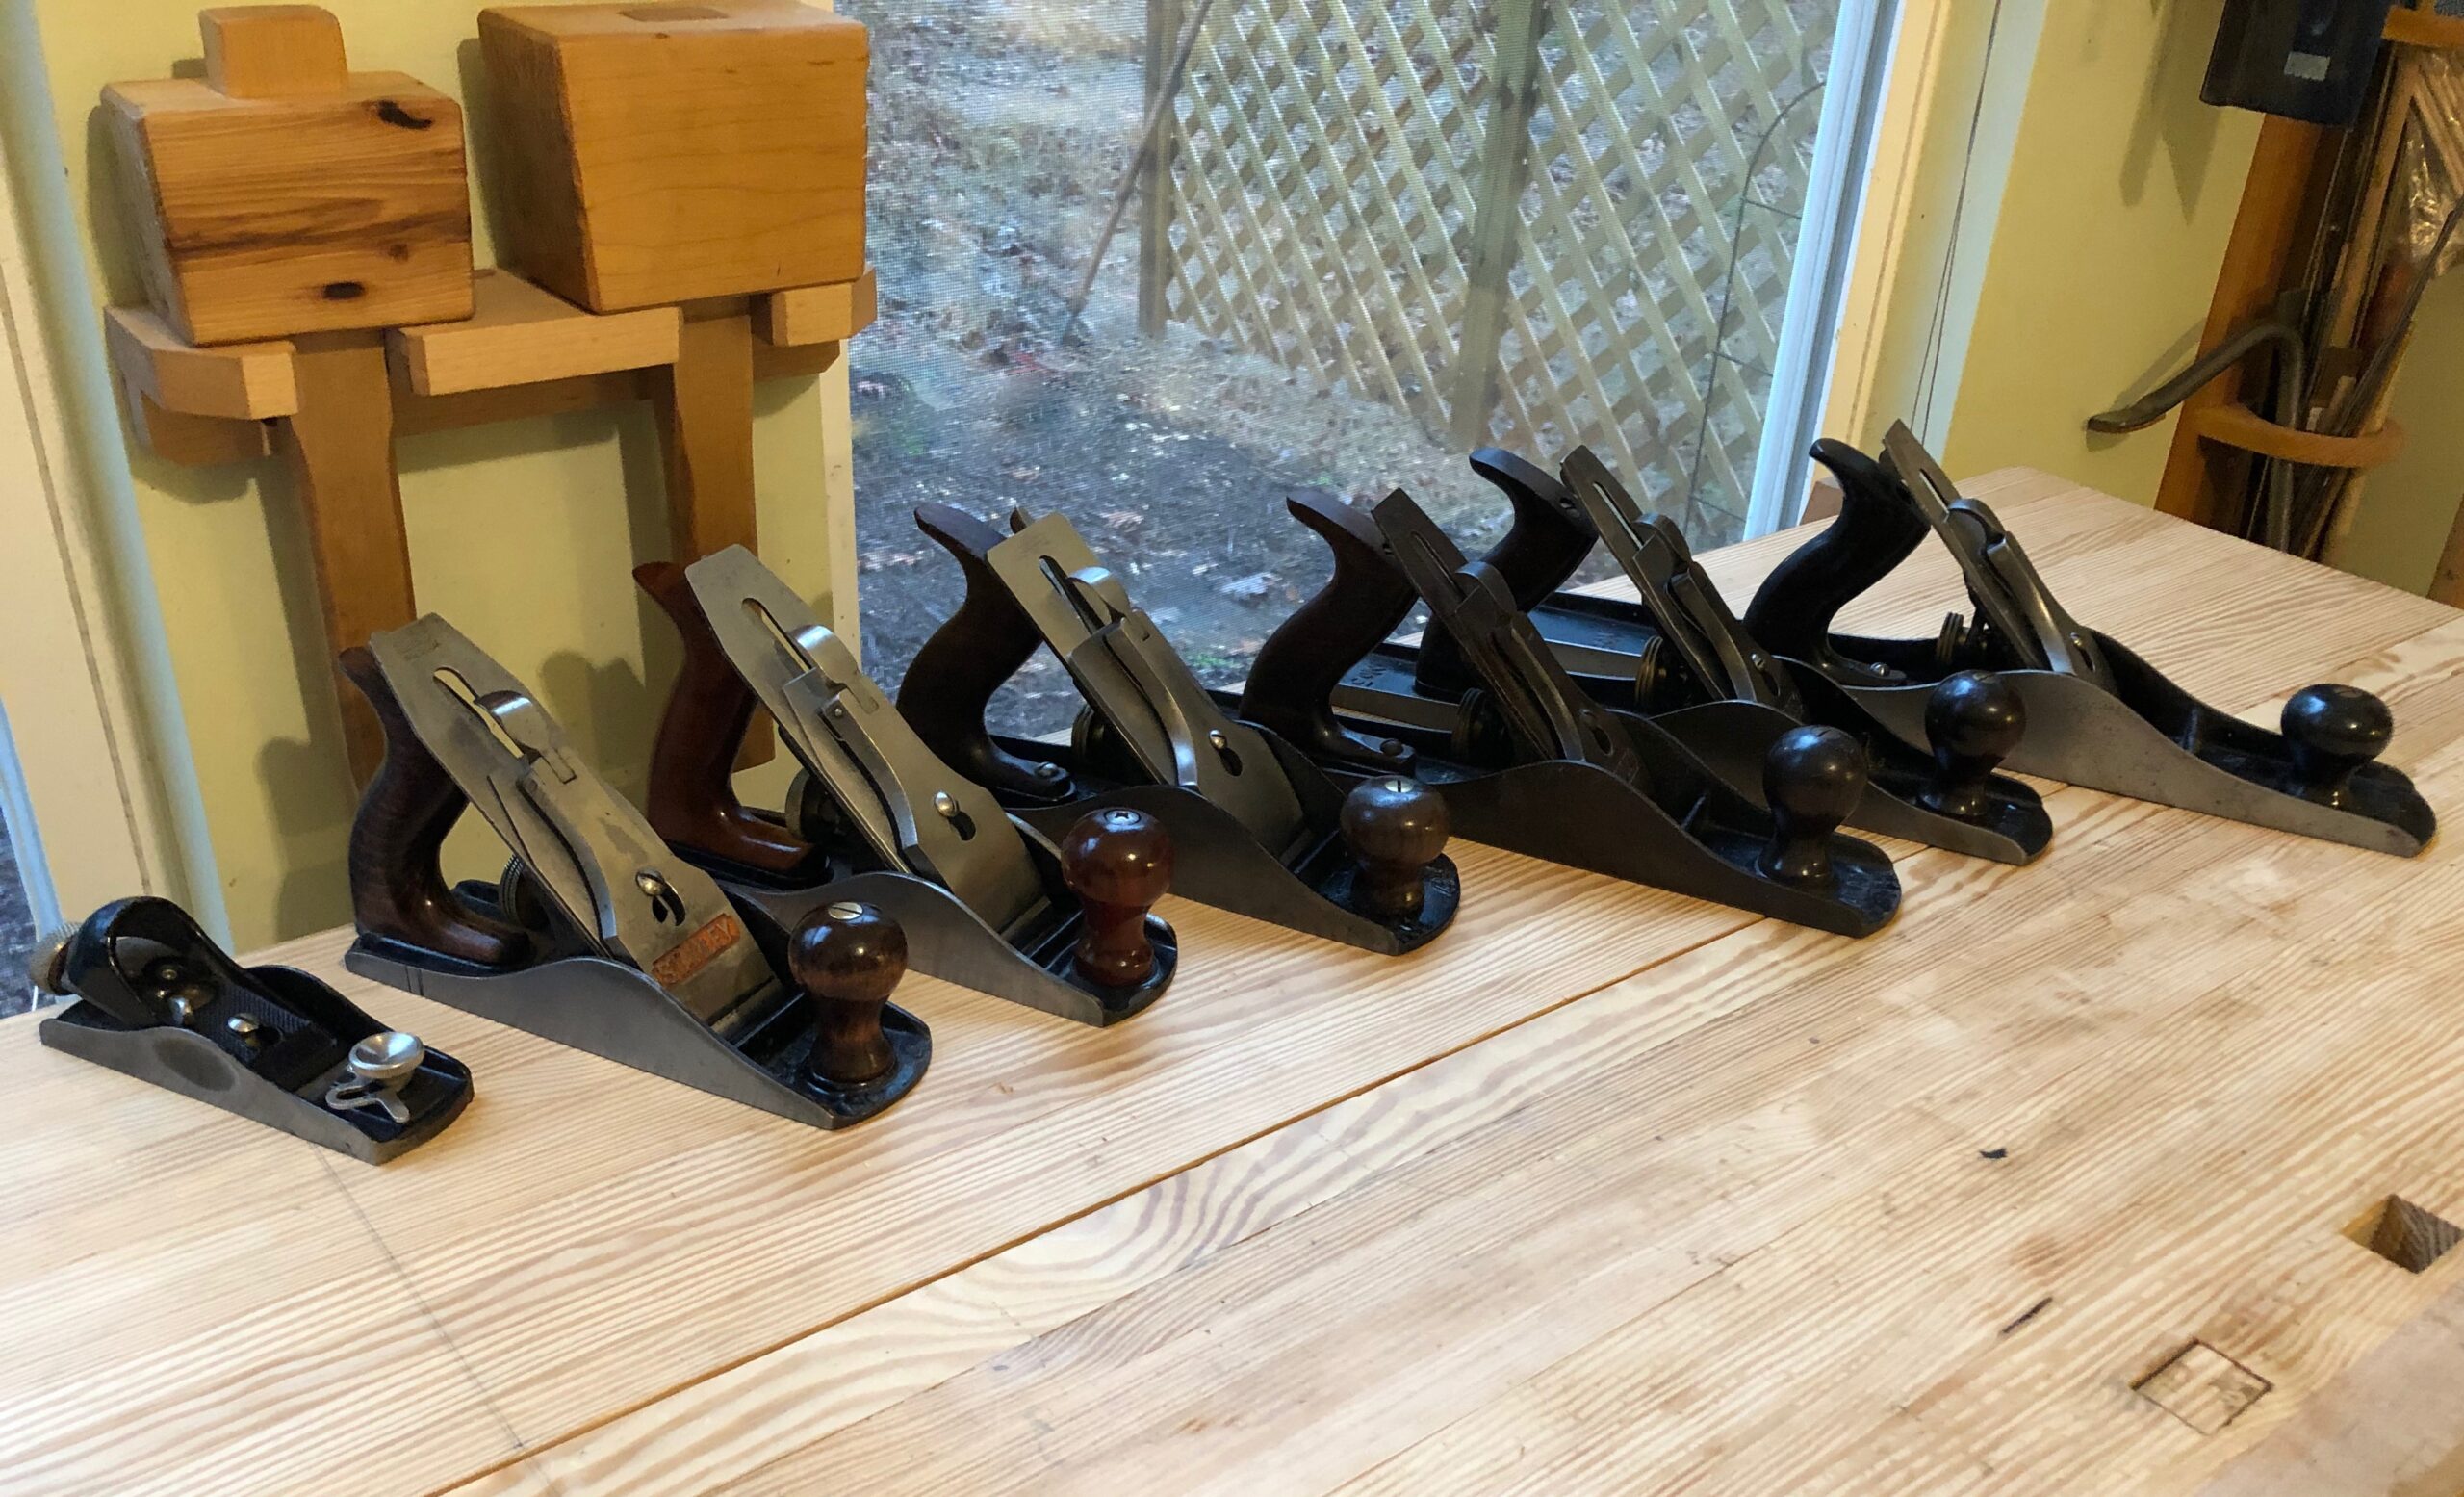
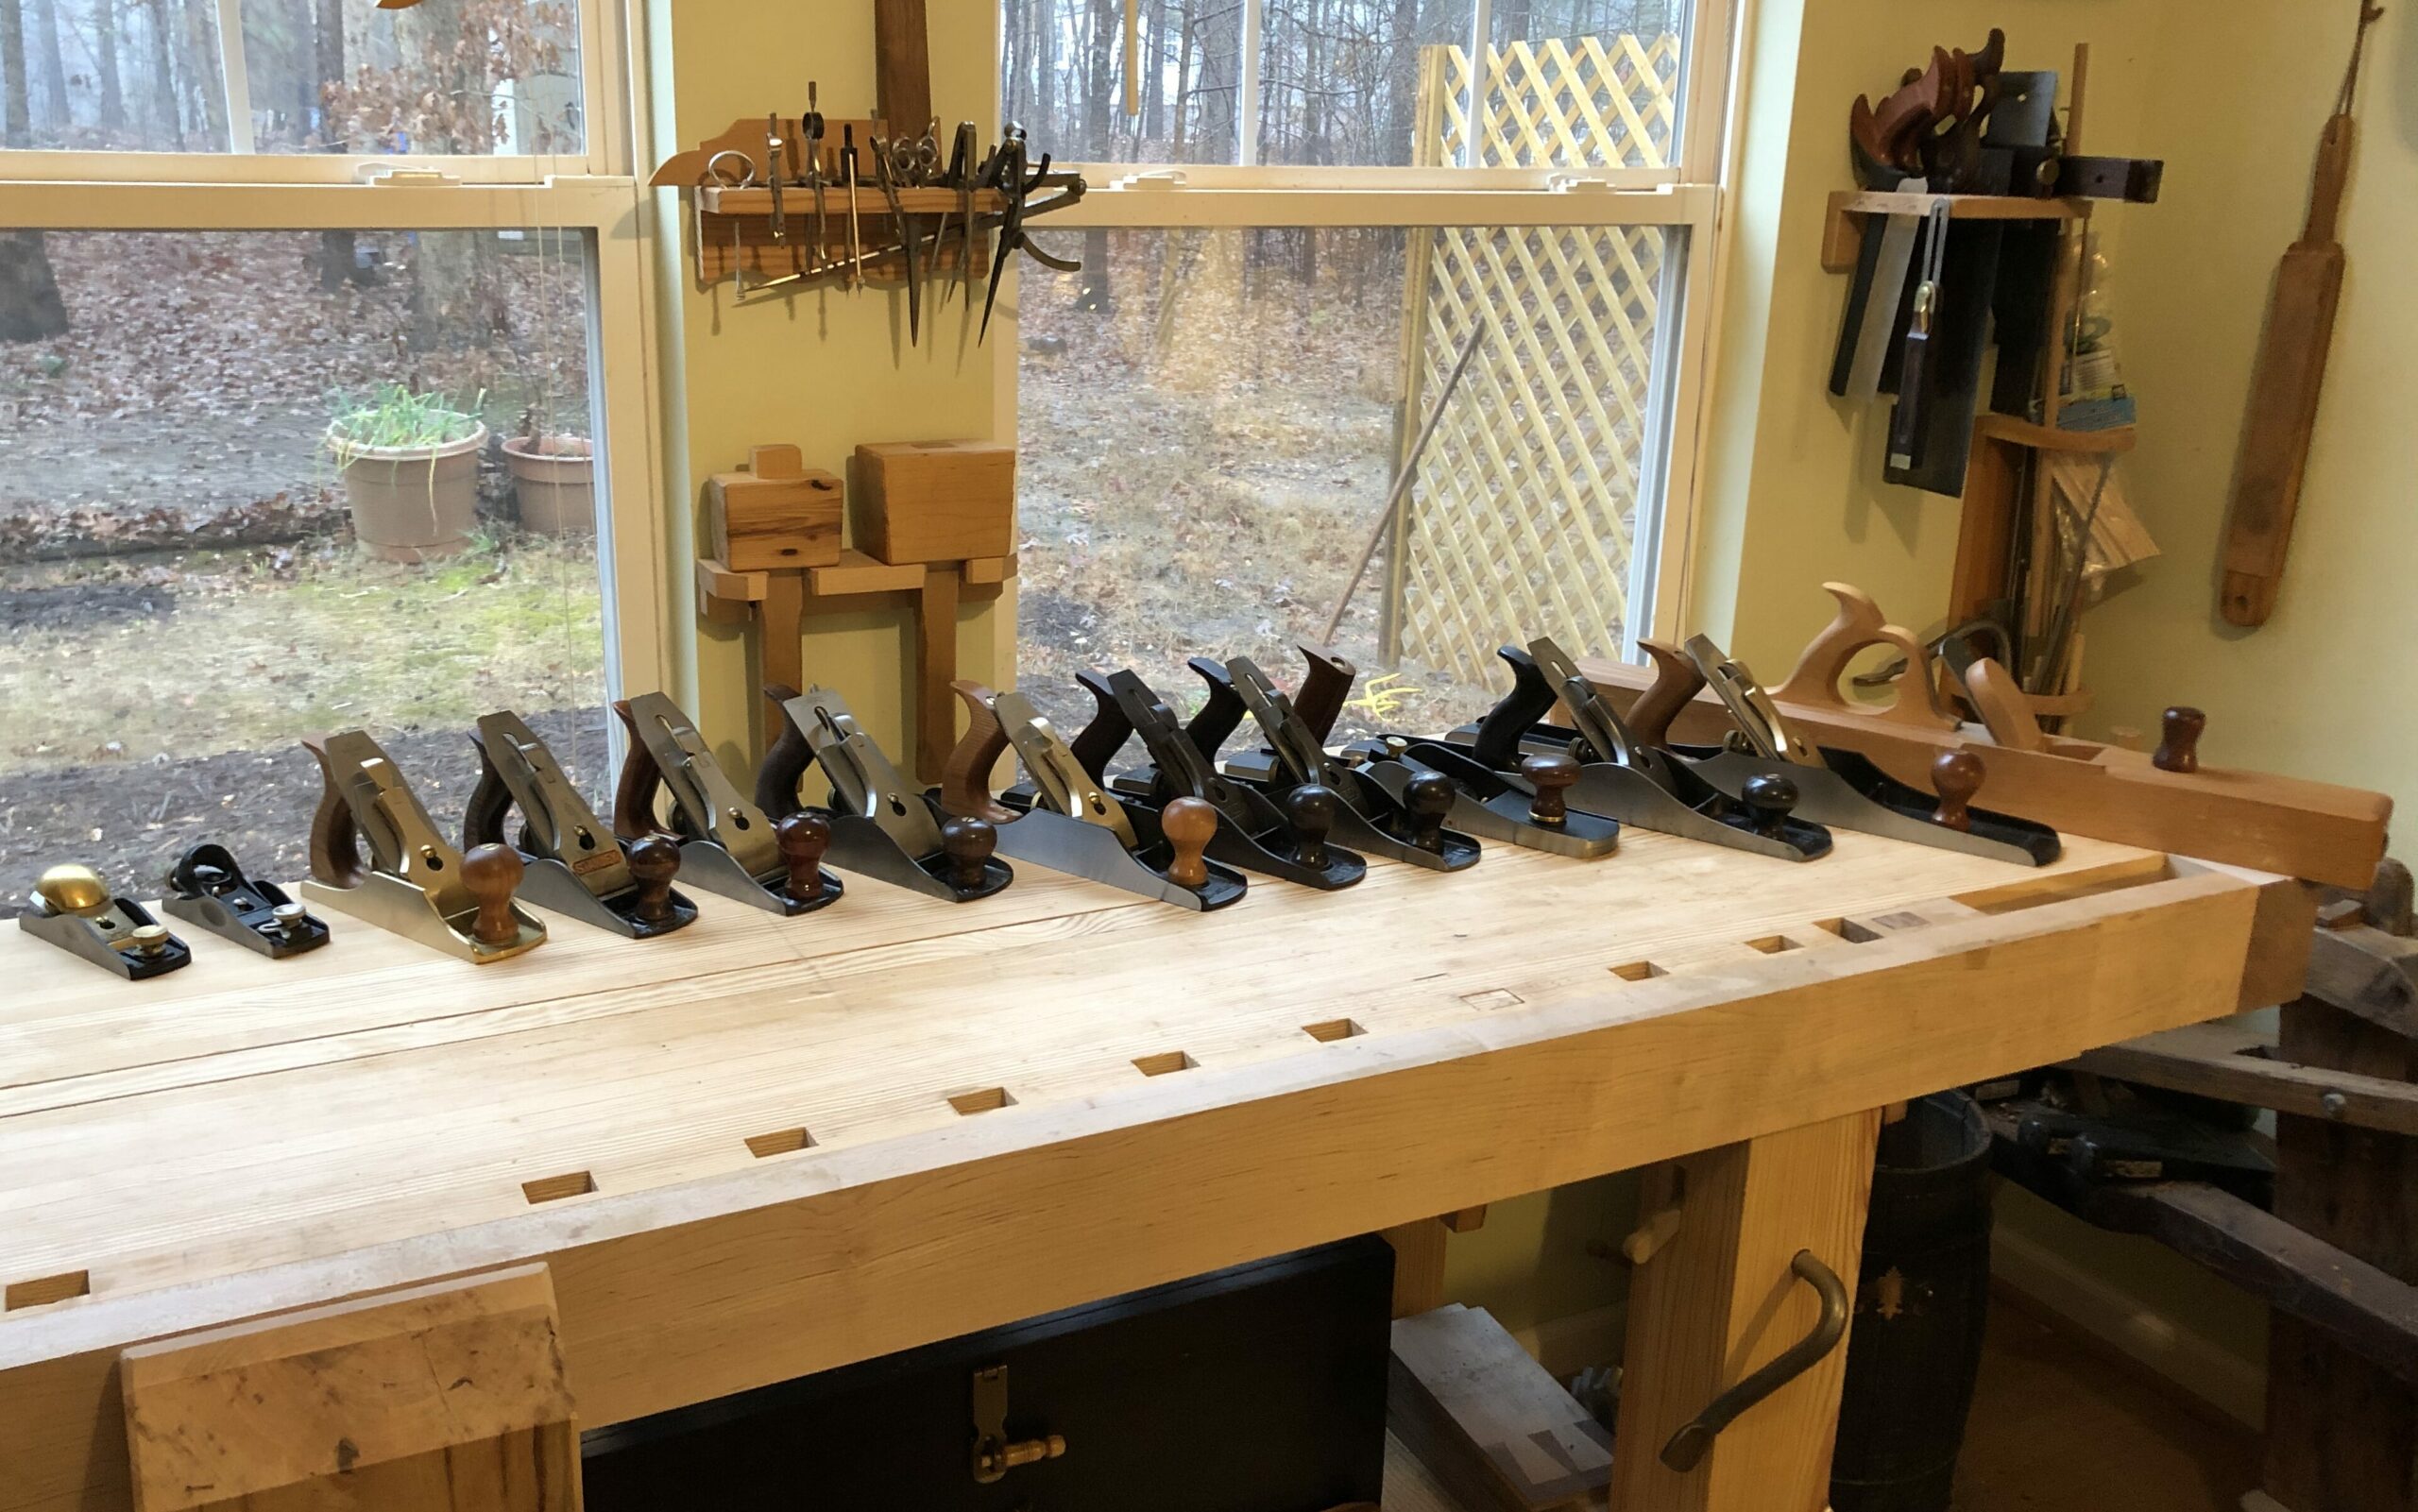
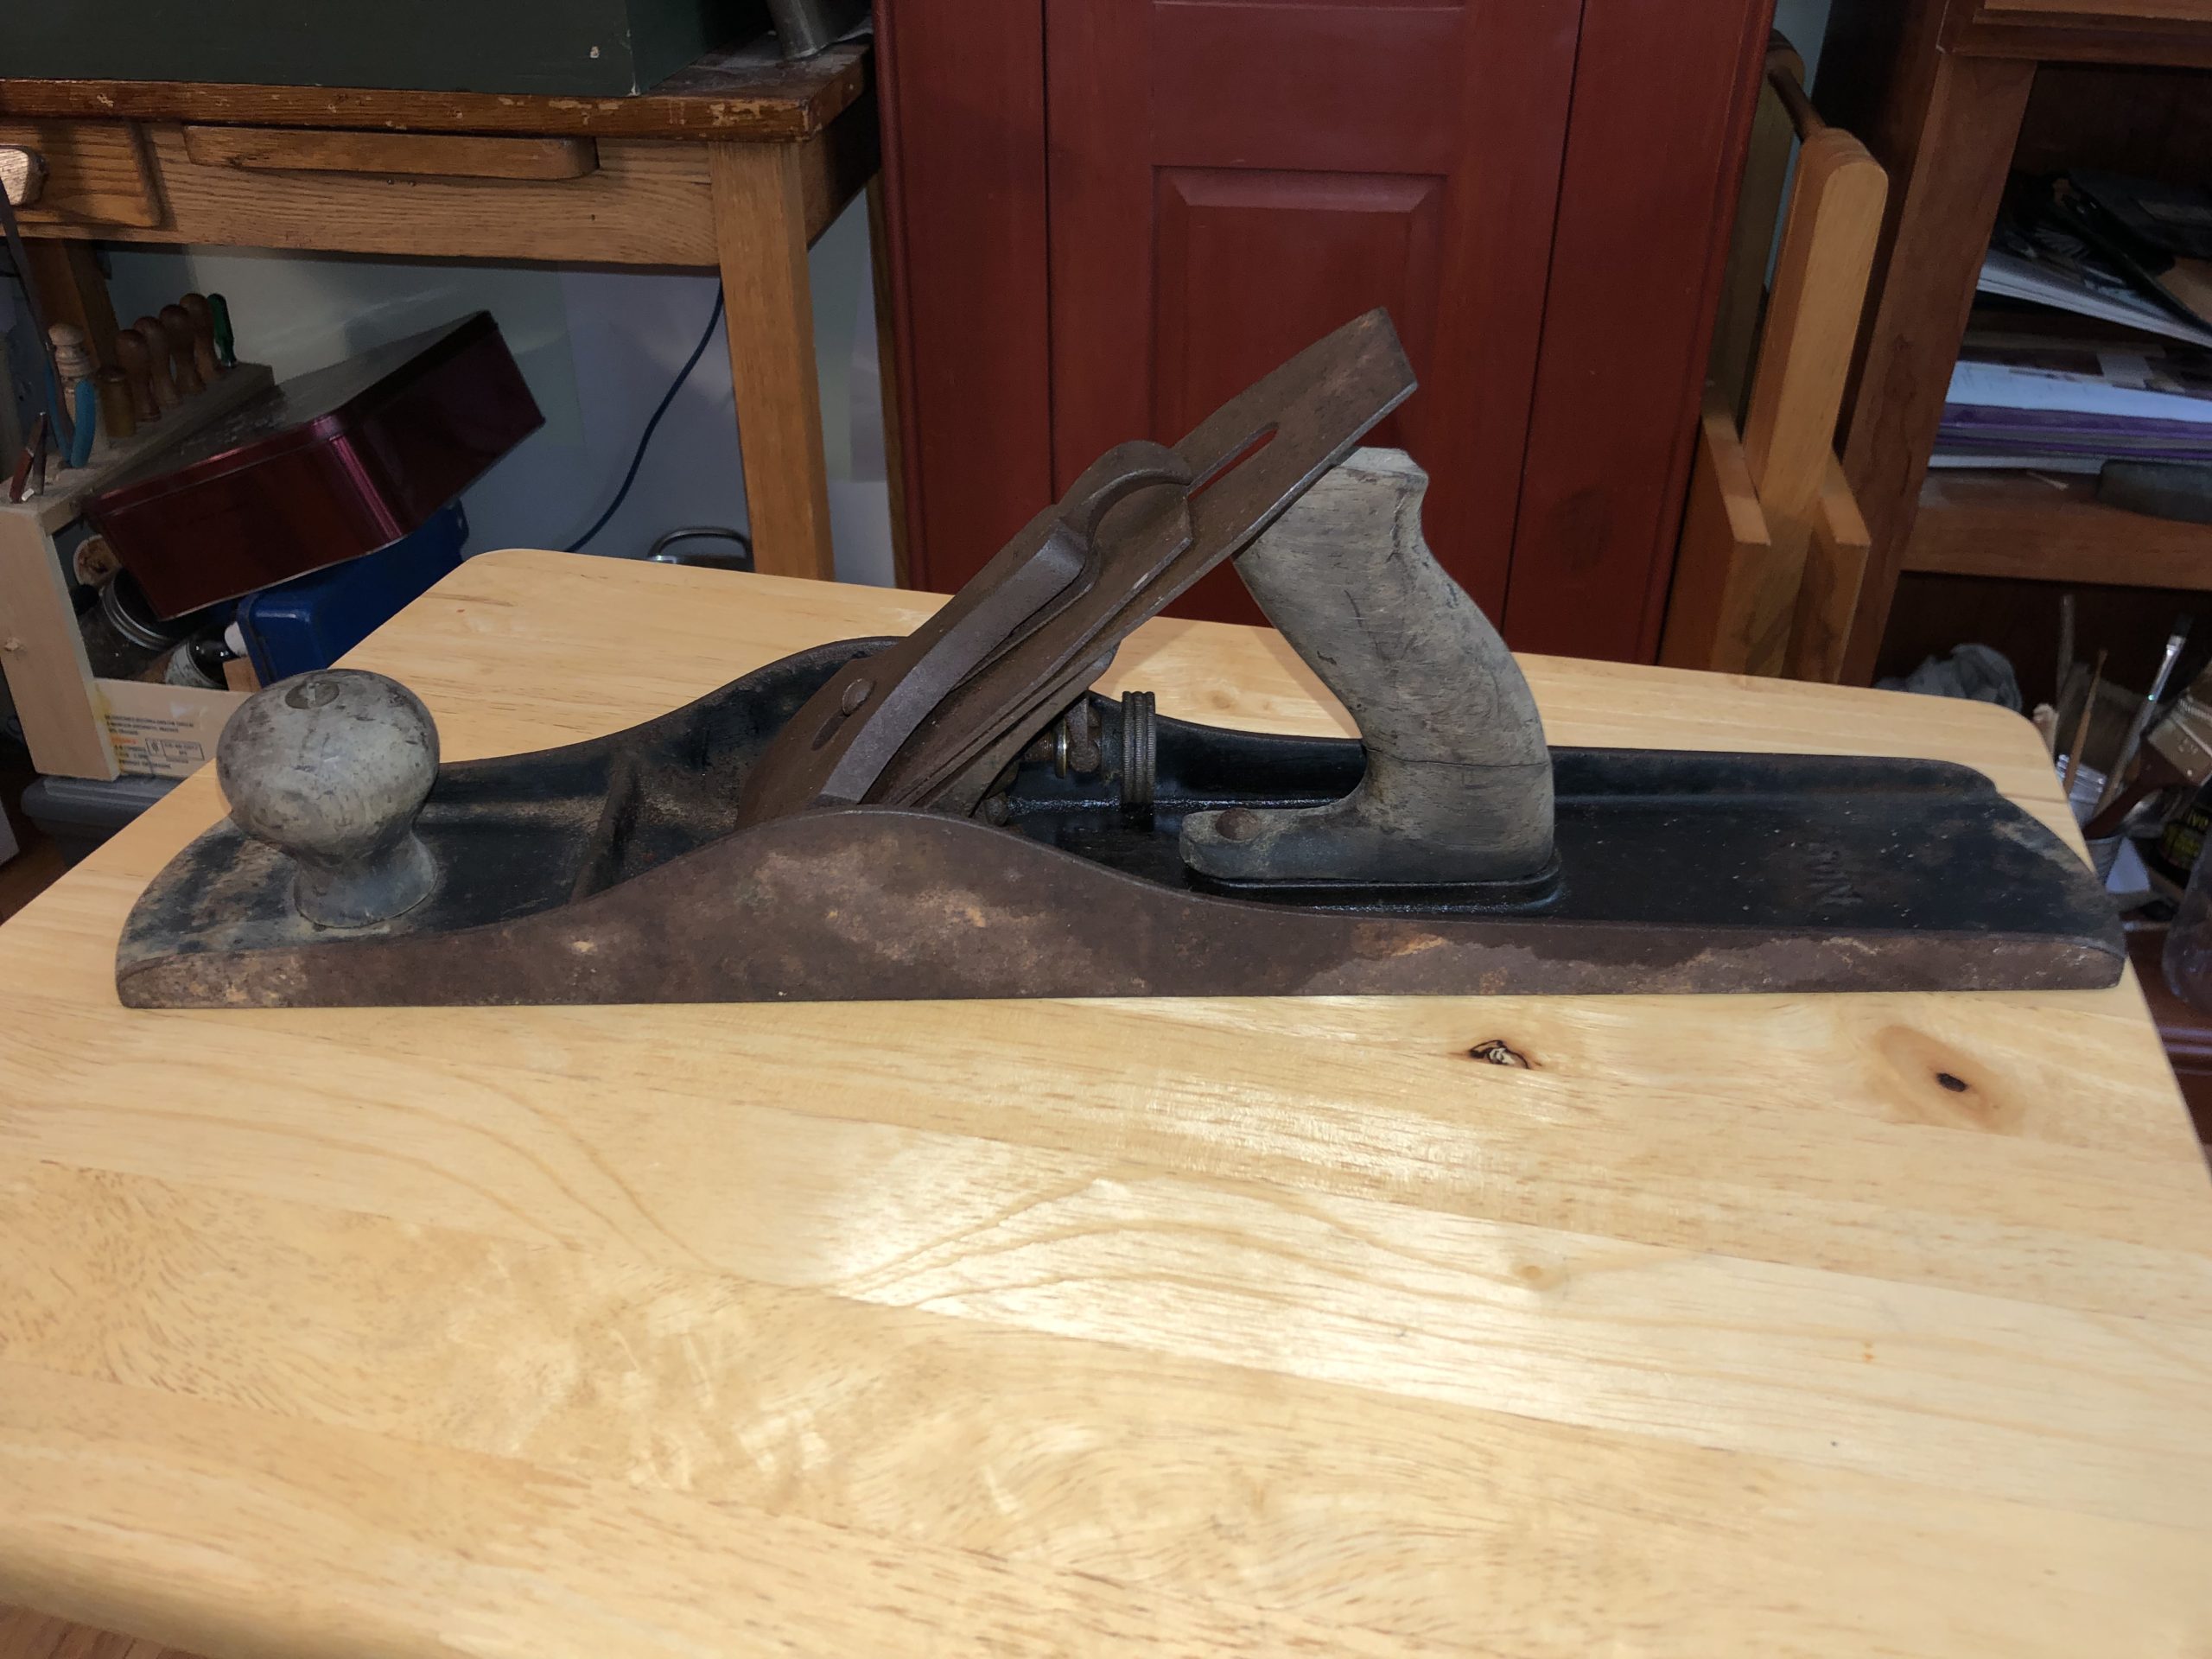
Vintage Bench Planes
I have the following Stanley Bench Planes. No.4 Smoother, No. 4 1/2 Smoother, No. 5 Jack (set up as a joiner/smoother), No. 5 Jack (Setup as for rough stock removal), No. 6 Joiner, No. 65 Low Angle Block Plane.
Vintage planes are great. I love these olde tools and and I love to restore them. I have restored quite a few over the years and it never ceases to amaze me how nice they look after a good restoration. Some of these have come to me in a state that you would swear they would never make another smooth shaving. But after careful and thoughtful work, they become a valued member of my collection. I know the Lie-Nielsen planes are pricey, but to me I love using them and they only touch the wood after the vintage planes do their work. Lumber for the home center often has inclusions (who knows what, could be small sand, metal chips and other unknown plane iron killers) that chip plane irons. I do brush and clean the surfaces of the new stock, but there is no way to get everything. That being said, I do try to keep from harming these old workhorses. Here is the time line for these planes:
– Stanley No. 60 1/2 Block Plane – I got this at a community yard sale in 2018 in my local downtown for $5.
– Stanley No. 4 Smoothing Plane – This is a family heirloom and I treasure it.
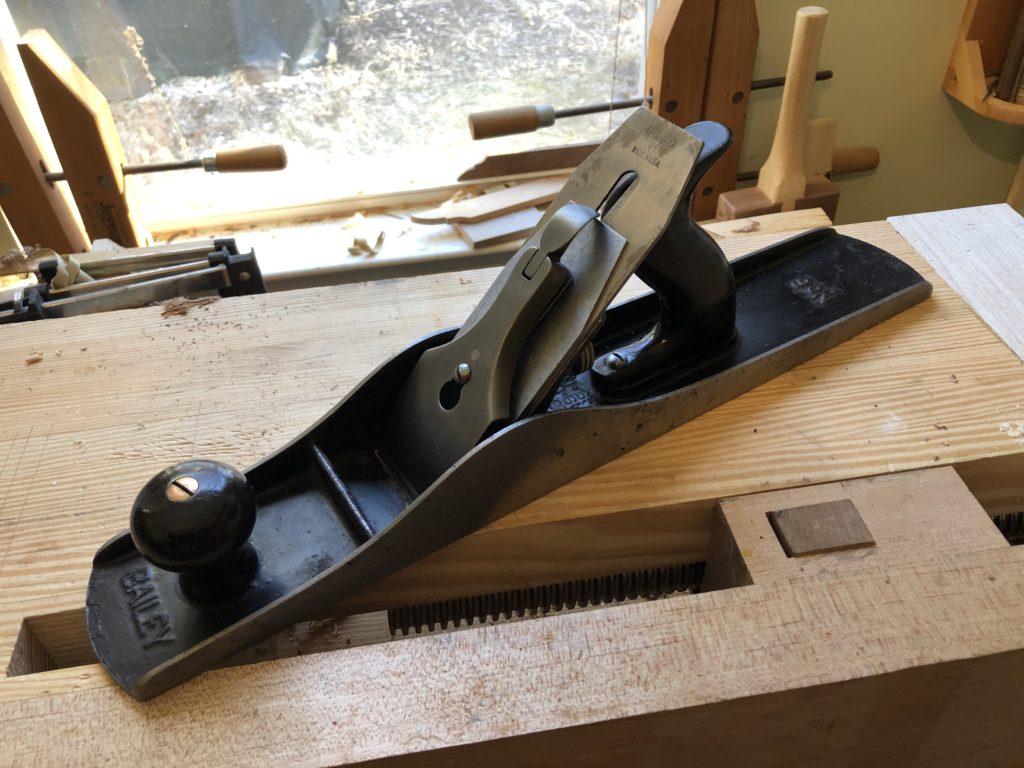
– P&C 1940 – This is a Bailey Style No. 4 circa 1962 (rebranded Millers Falls No. 4). I bought this at a MWTCA meet in Jan 2017.
– Stanley No. 4 1/2 Smoothing Plane – I bought this plane with store credit from Ed Lebetkin’s tool store in 2019.
– Two Stanley No 5 Jack Planes – I bought these from eBay in 2019, to replace one I should not have sold, but I did, now it is gone so I had to replace it with two.
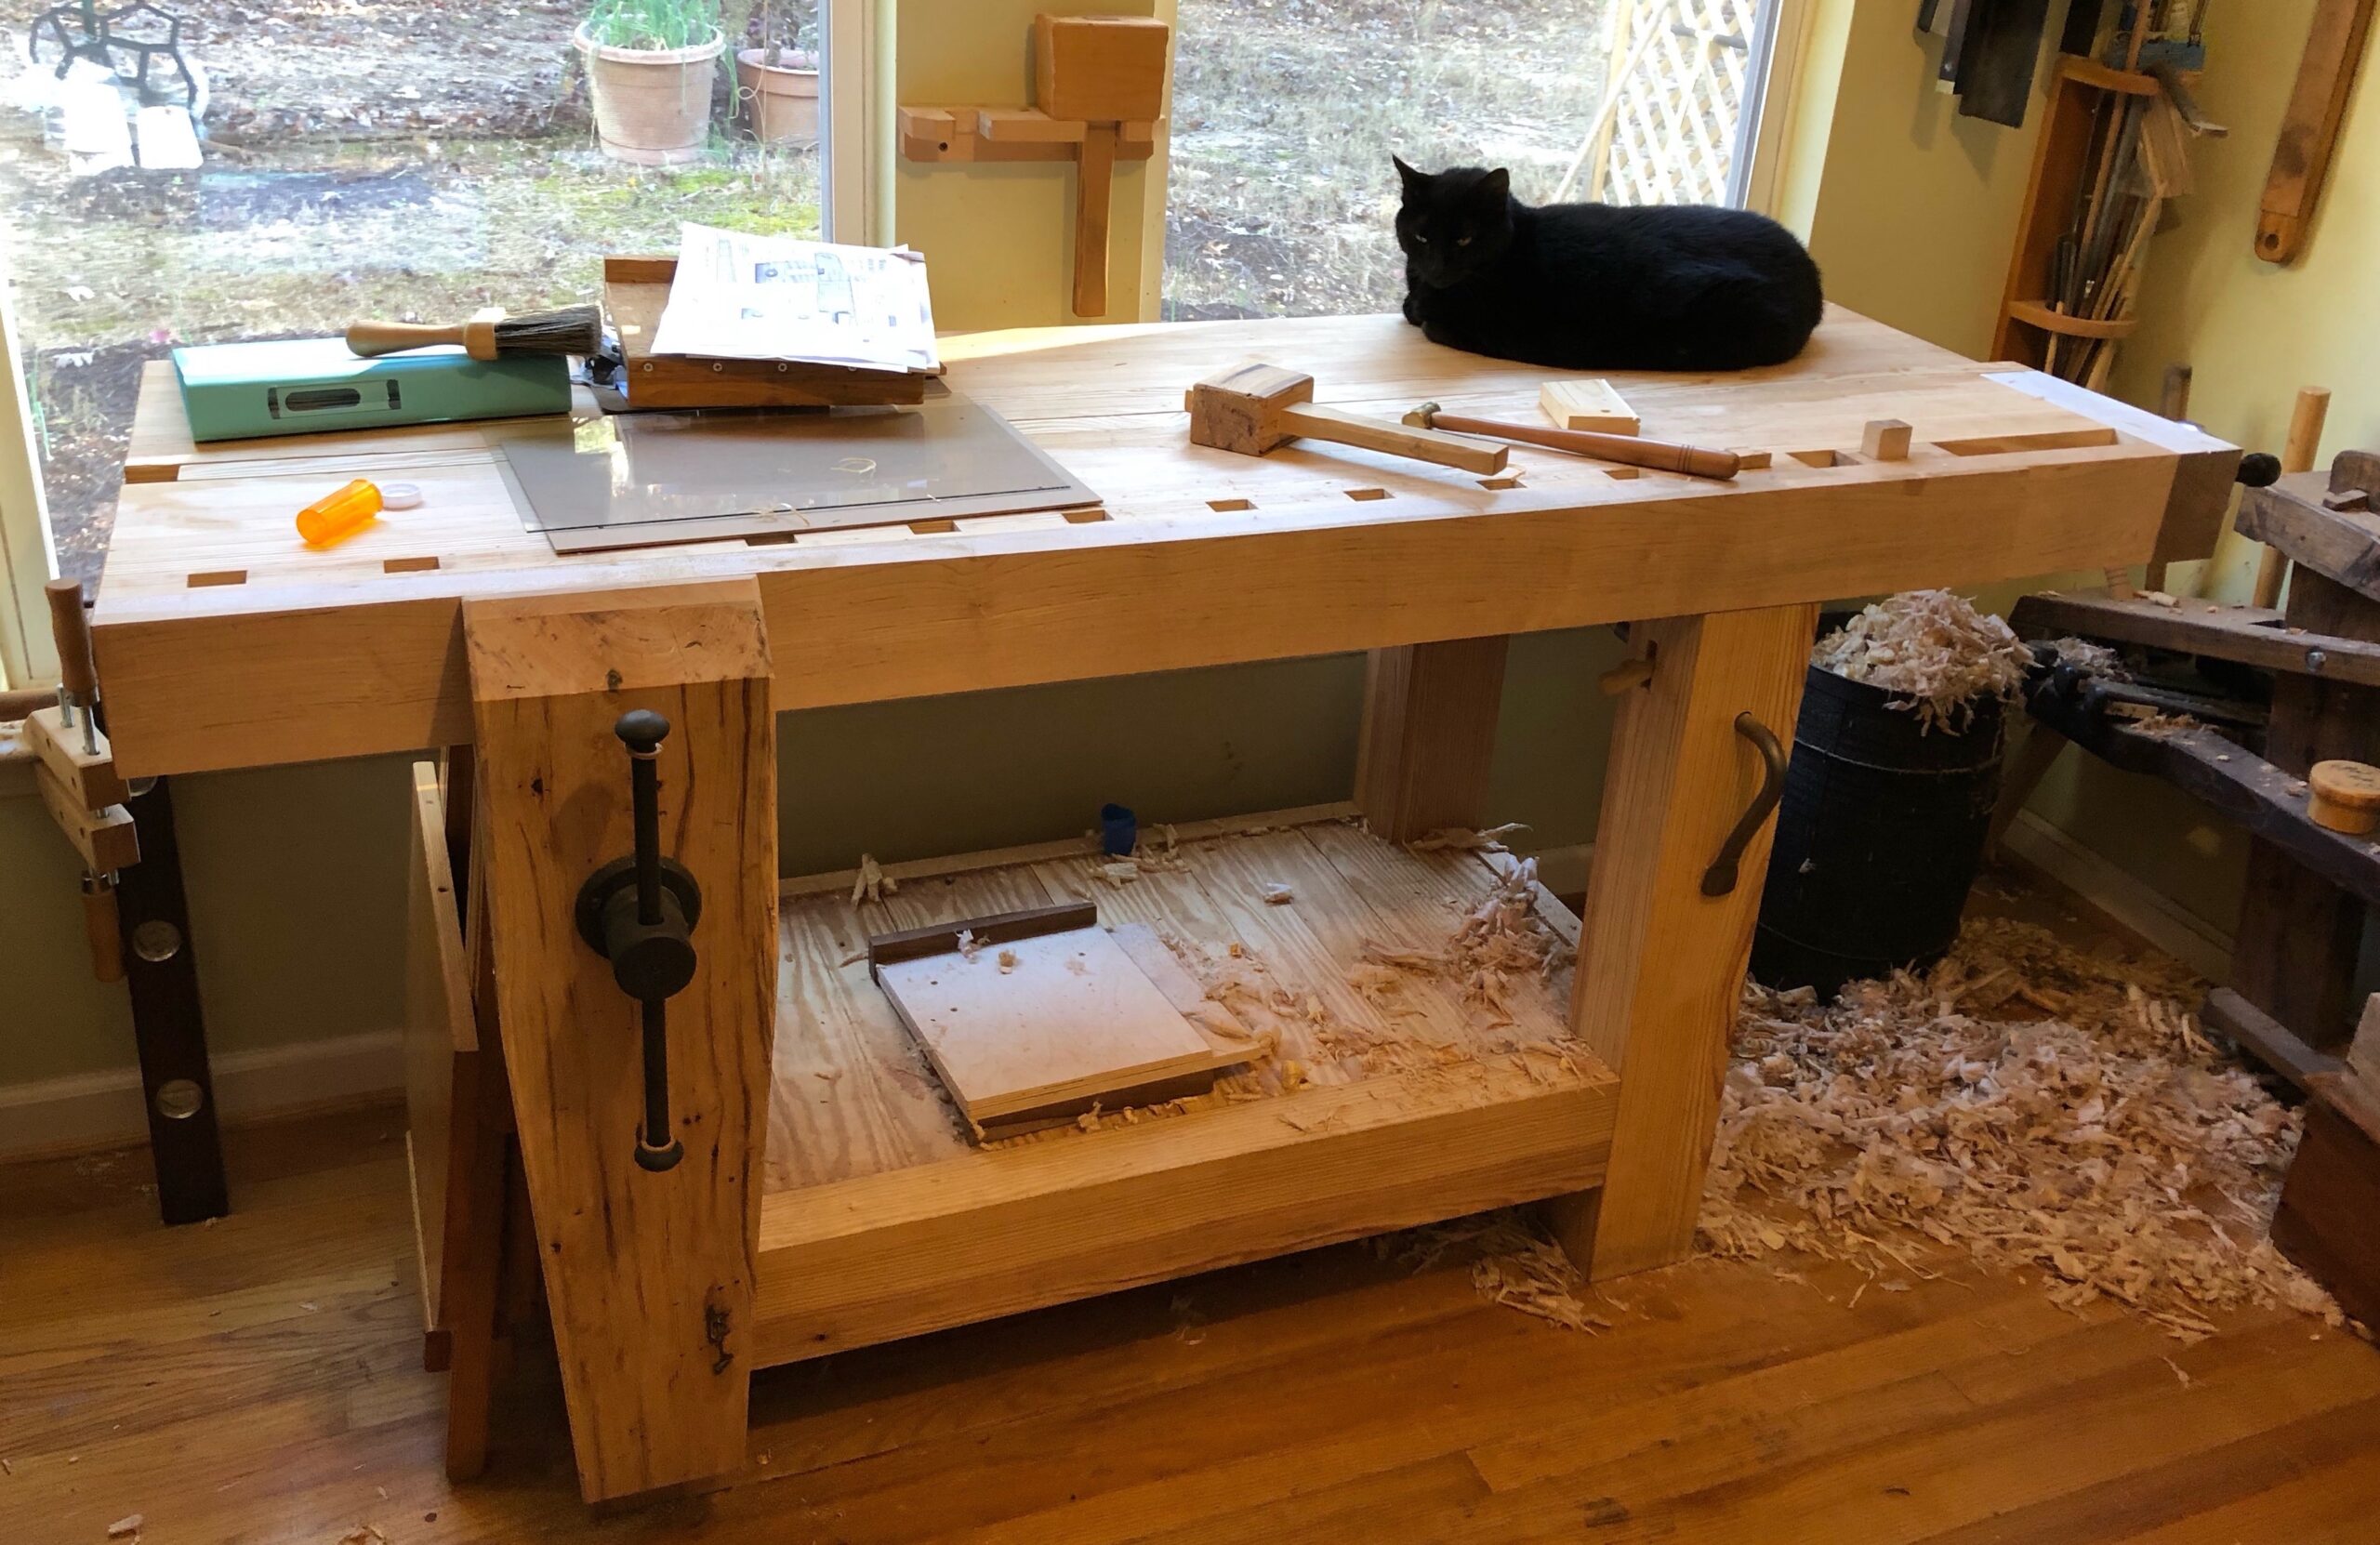
– Stanley No. 6 Fore Plane Type 10 – I bought this plane for $15 at the Habitat Restore in Aug 2019. It was a major restore with a vintage correct lever cap and the iron and chip breaker from the No. 4 1/2. It now works great and it works great as a small joiner. I used it extensively on the workbench build.
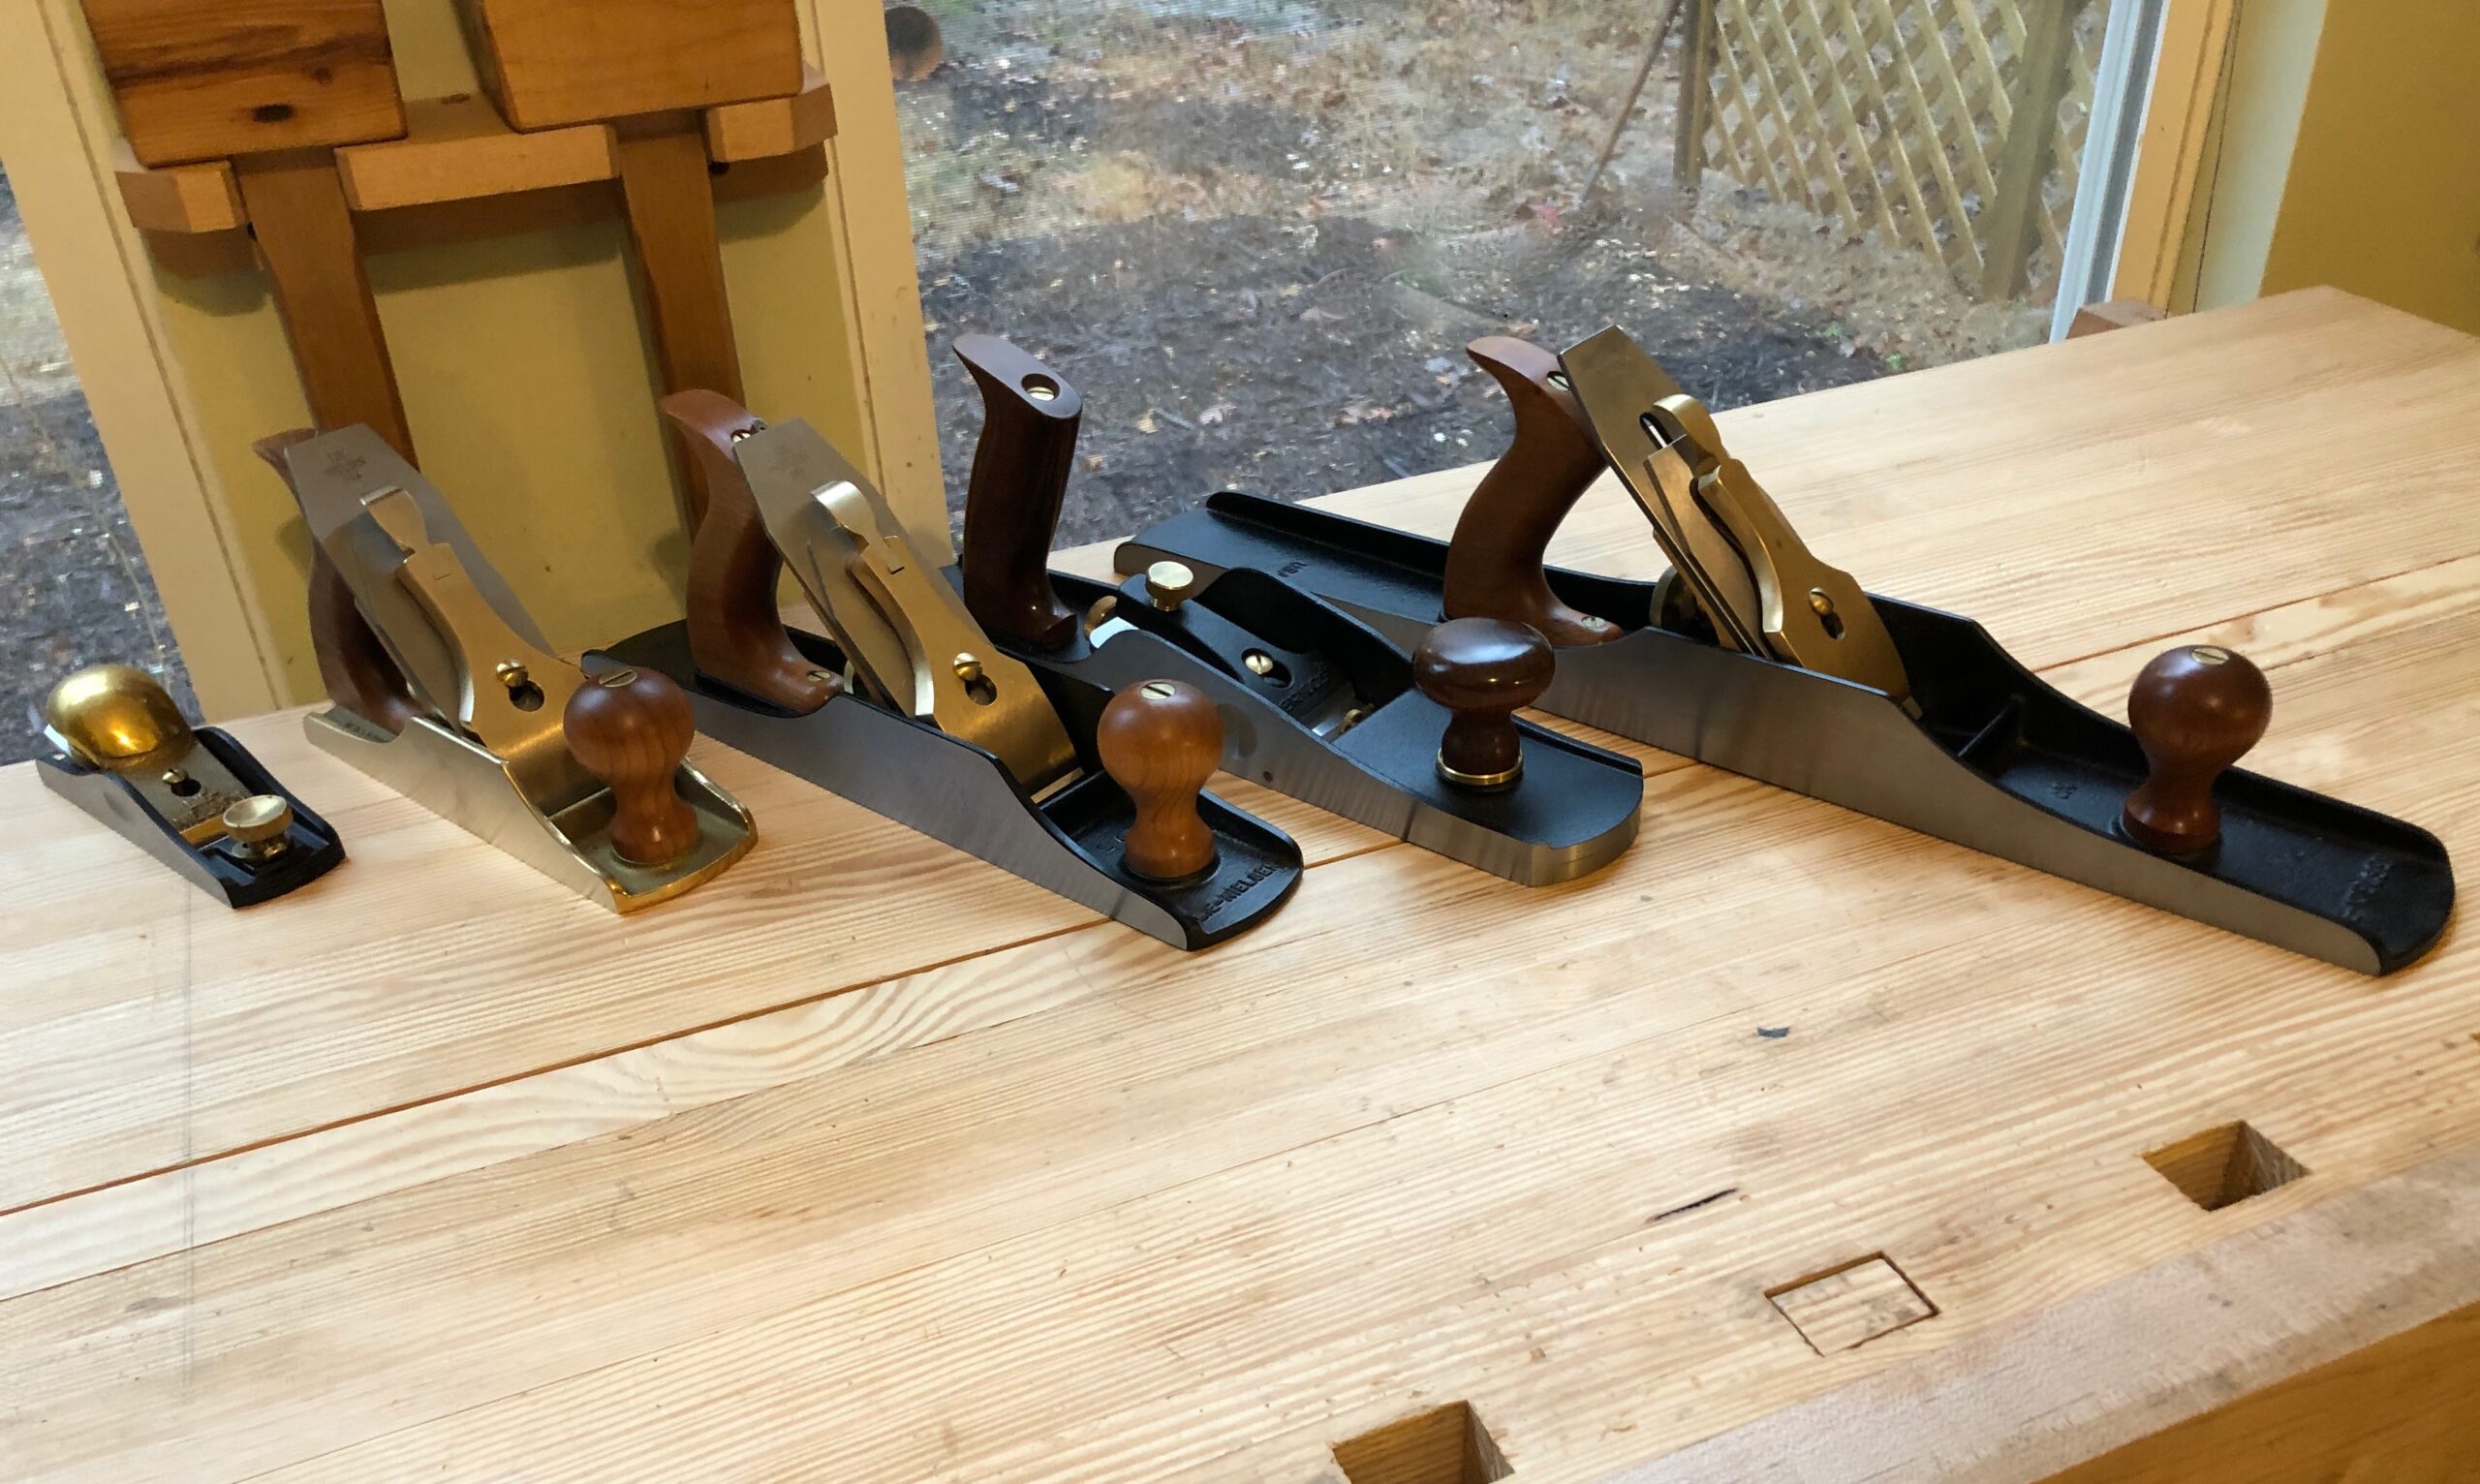
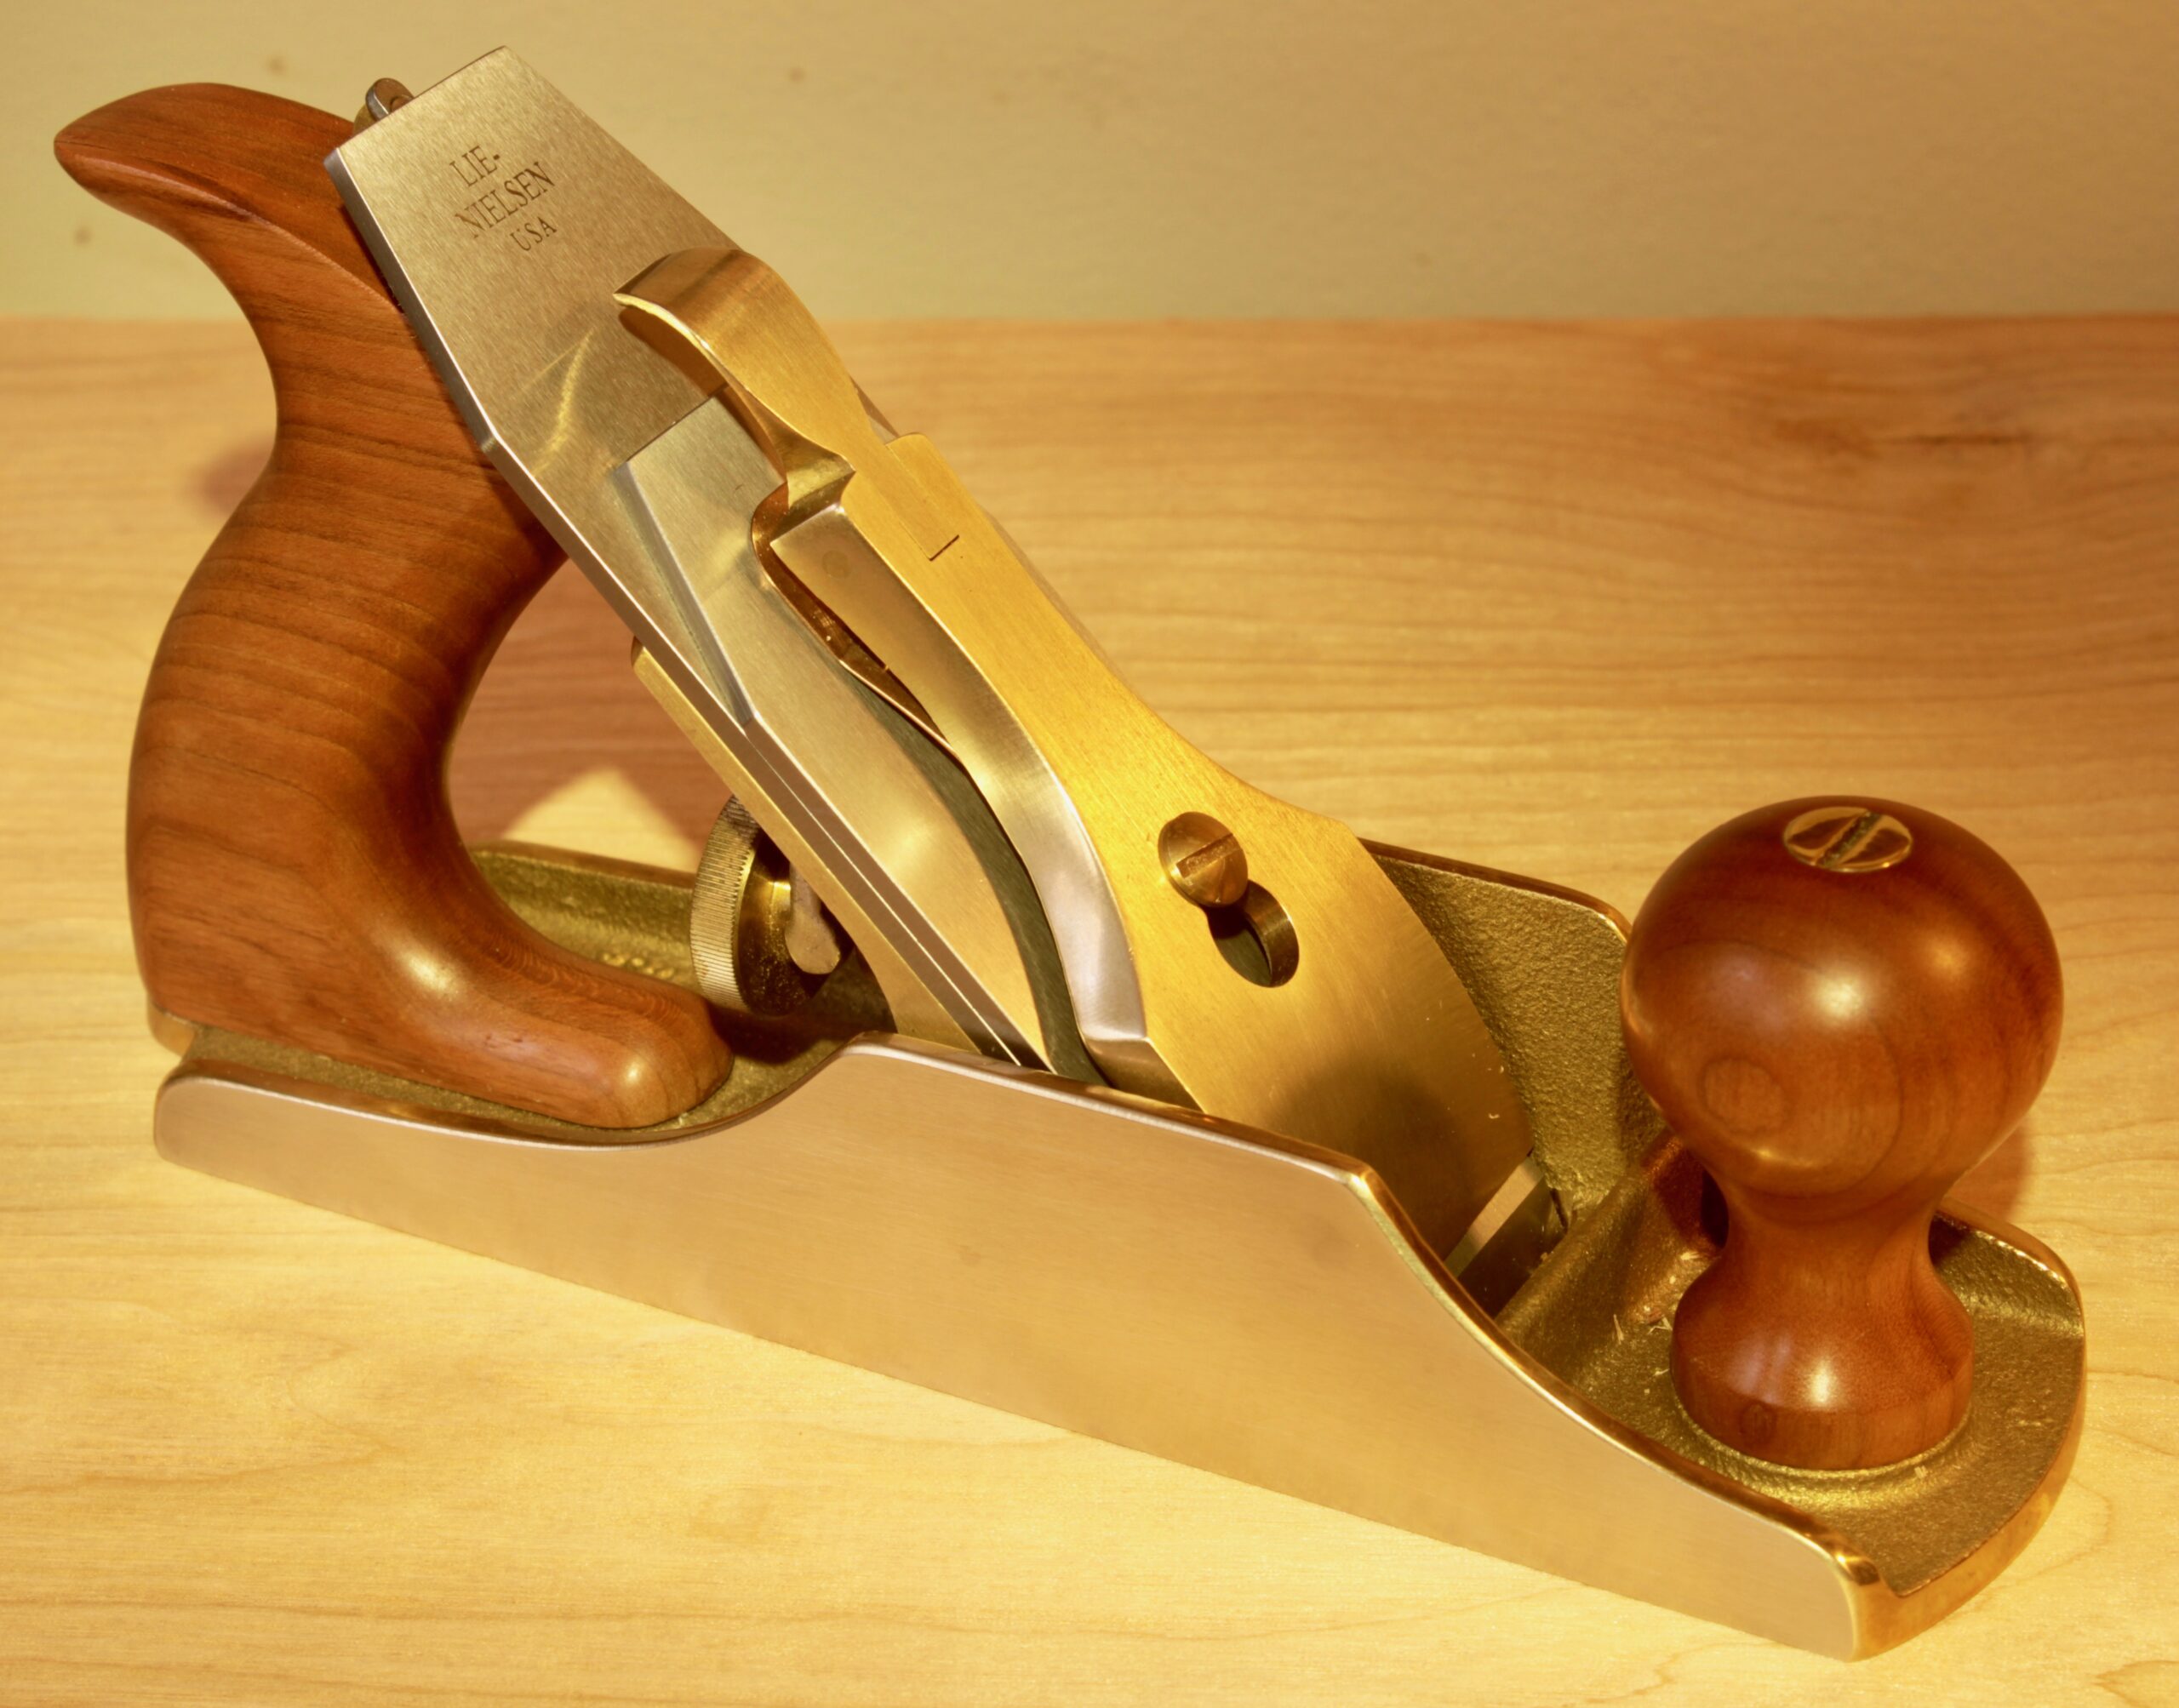
New Bench Planes
I have the following Lie-Nielsen planes – No. 60 1/2 Low Angle Adjustable mouth Block Plane, No. 4 Smoothing Plane , No. 5 Jack Plane, the No. 7 Joiner Plane. These occupy the valuable real-estate in my Dutch Tool Chest or DTC.
The LN 60 1/2 Block Plane is a very nice plane of course. It is the nicest block plane I have ever used. It lives in a leather holster I made for my DTC.
Purchase Dates:
No. 60 1/2 – I bought it at a LN tool event in January 2014 at the local College Crafts Center.
No. 4 – Purchased online Nov 2017
No. 5 – Purchased Sep 2018
No. 7 – Purchased July 2011
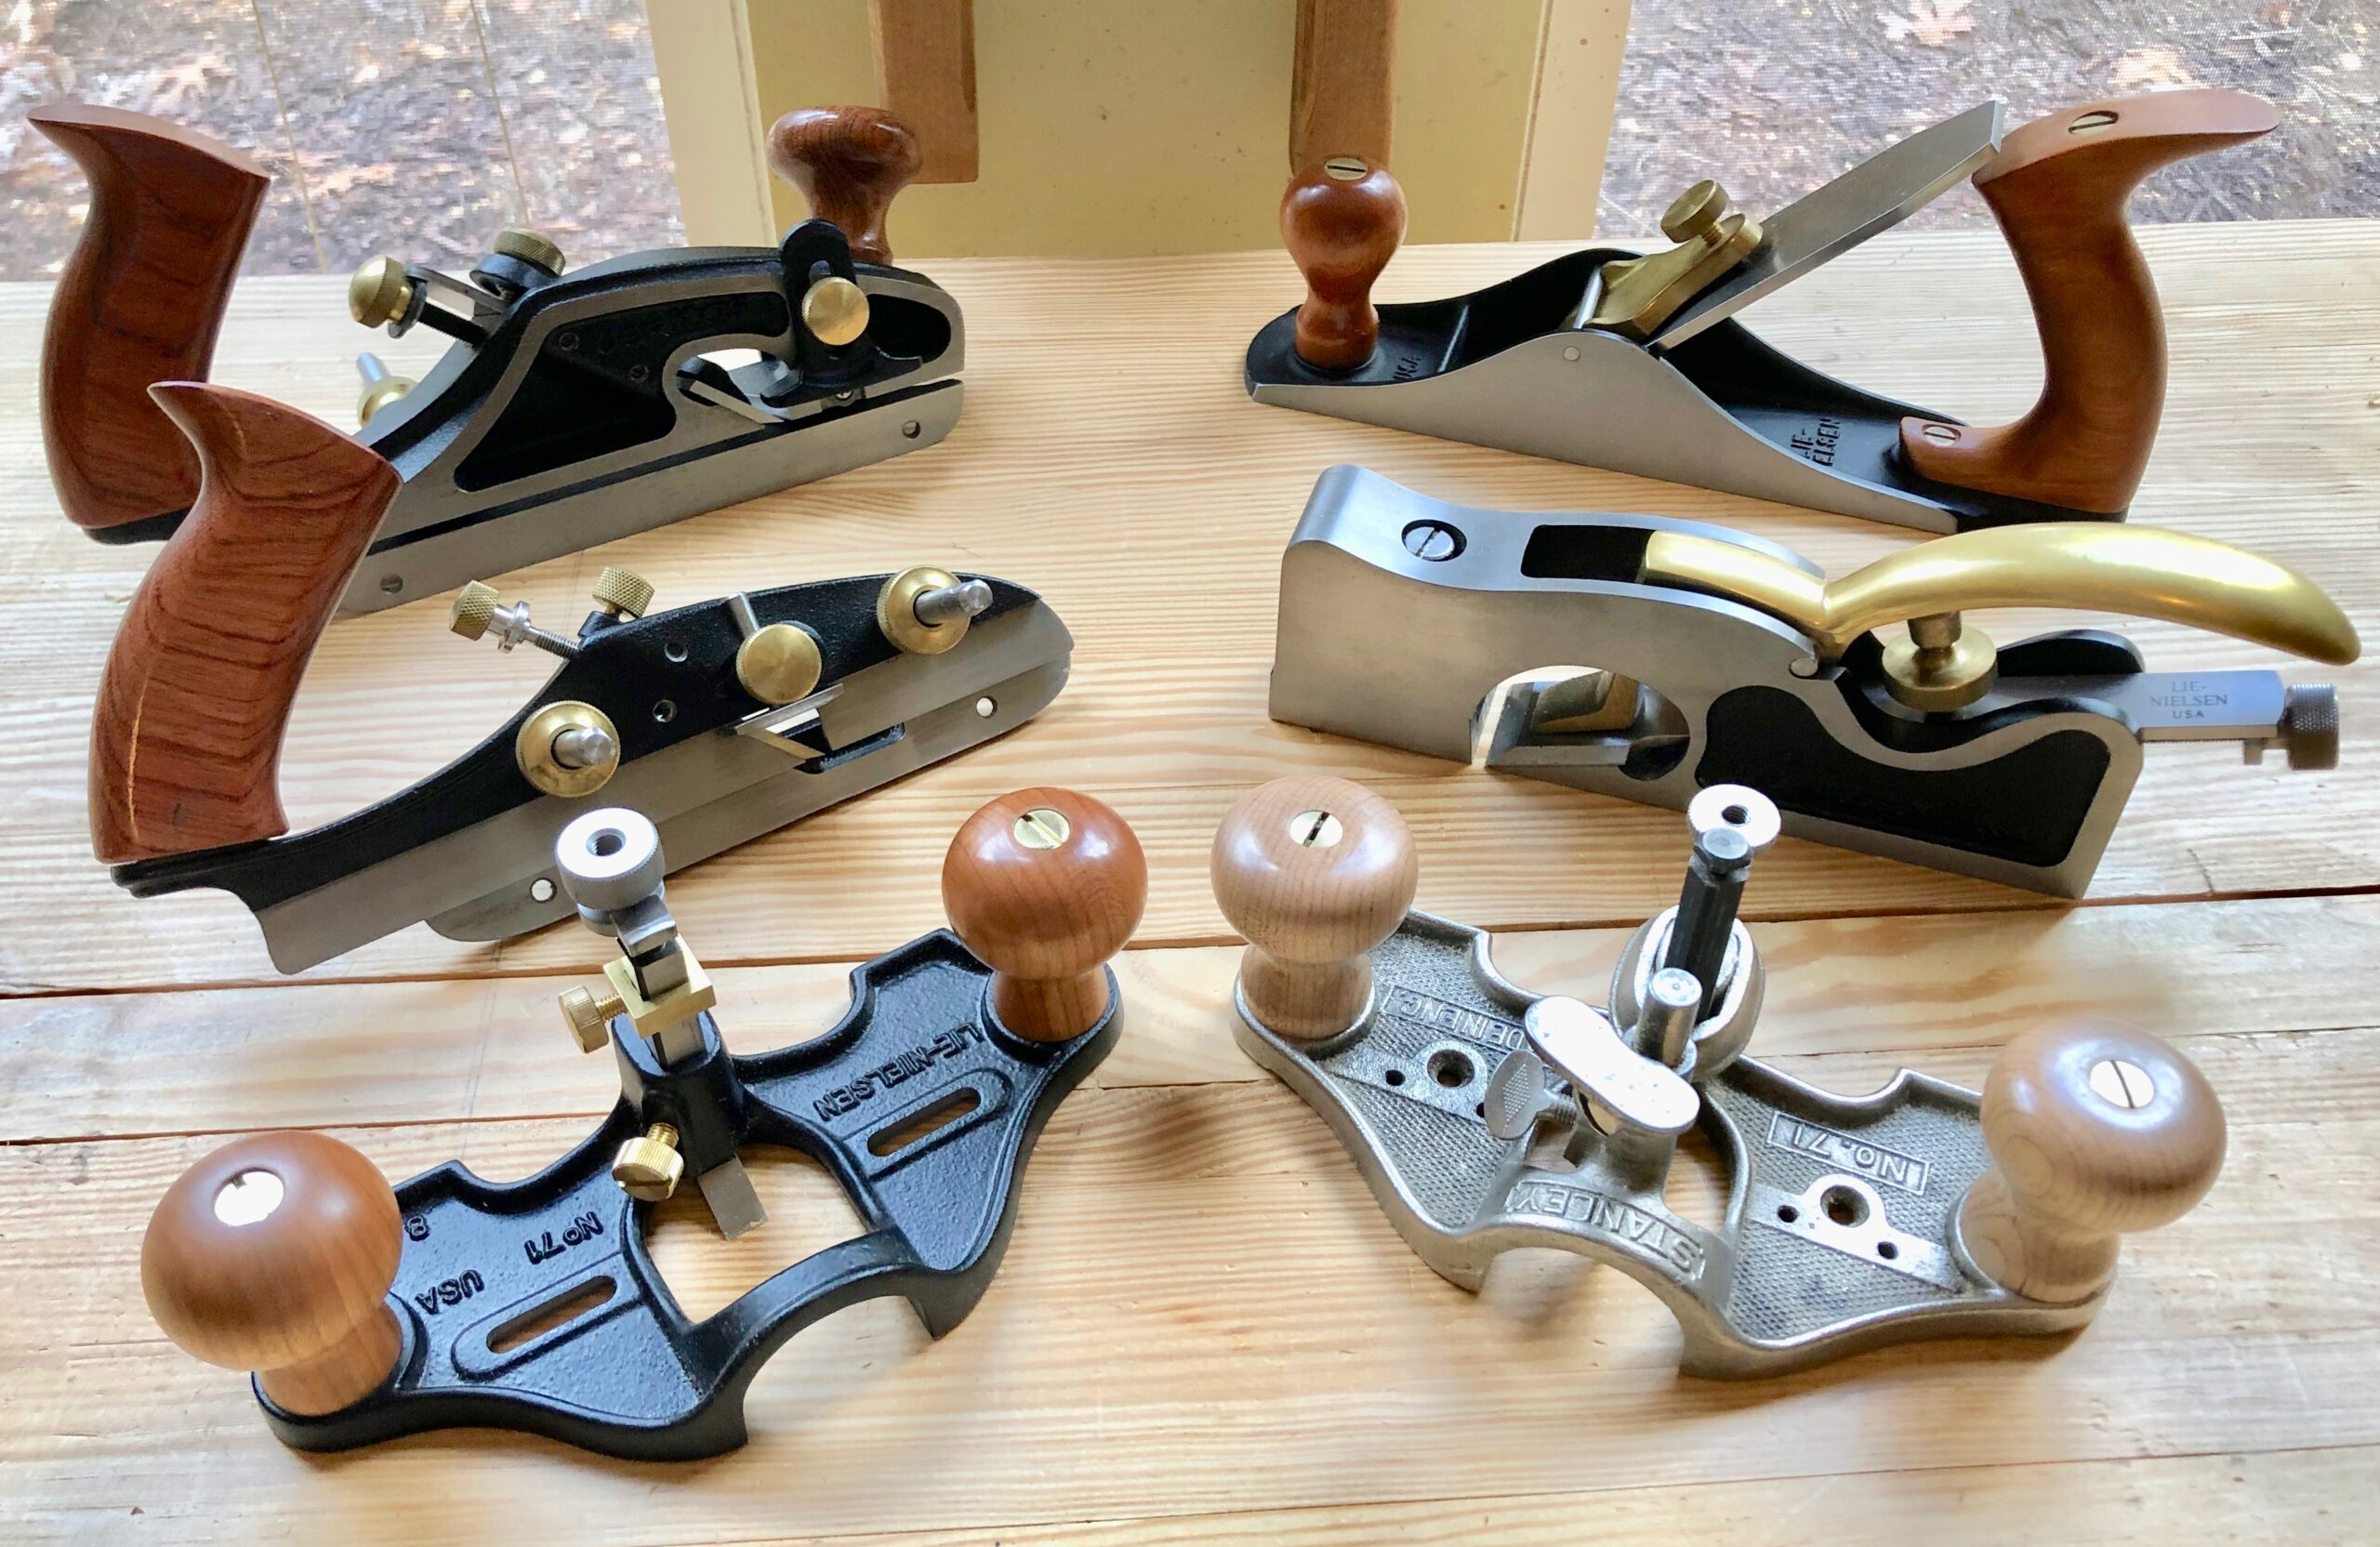
New Speciality and One Vintage Plane
Here I have the following Lie-Nielsen Planes, No. 71 Large Open Mouth Router Plane, No 40 1/2 Scrub Plane, and Large Shoulder Plane. I have the following Veritas Planes – Right-Hand Small Plow plane and Right Hand Skew Plane. I have an vintage Stanley No. 71 Router Plane. I replaced the knobs with ones I turned myself on the Stanley 71 because the original had badly chipped black paint (and ugly wood) with aluminum nuts. I replaced the nuts with brass nuts (yes, I saved the old knobs and nuts IN case I ever loose my mind and sell this beauty.) Purchase Dates:
– Veritas RH Skewed Rabbit Plane – July 2012
– LN No. 40 1/2 Scrub Plane – May 2015
– Veritas SM RH Plow Plane – Jan 2012
– LN No. 073 Large Shoulder Plane – Aug 2012
– LN No. 71 Router Plane – June 2020
– Vintage Stanley No. 71 Router Plane – I think I purchased this at the MWTCA in 2012.
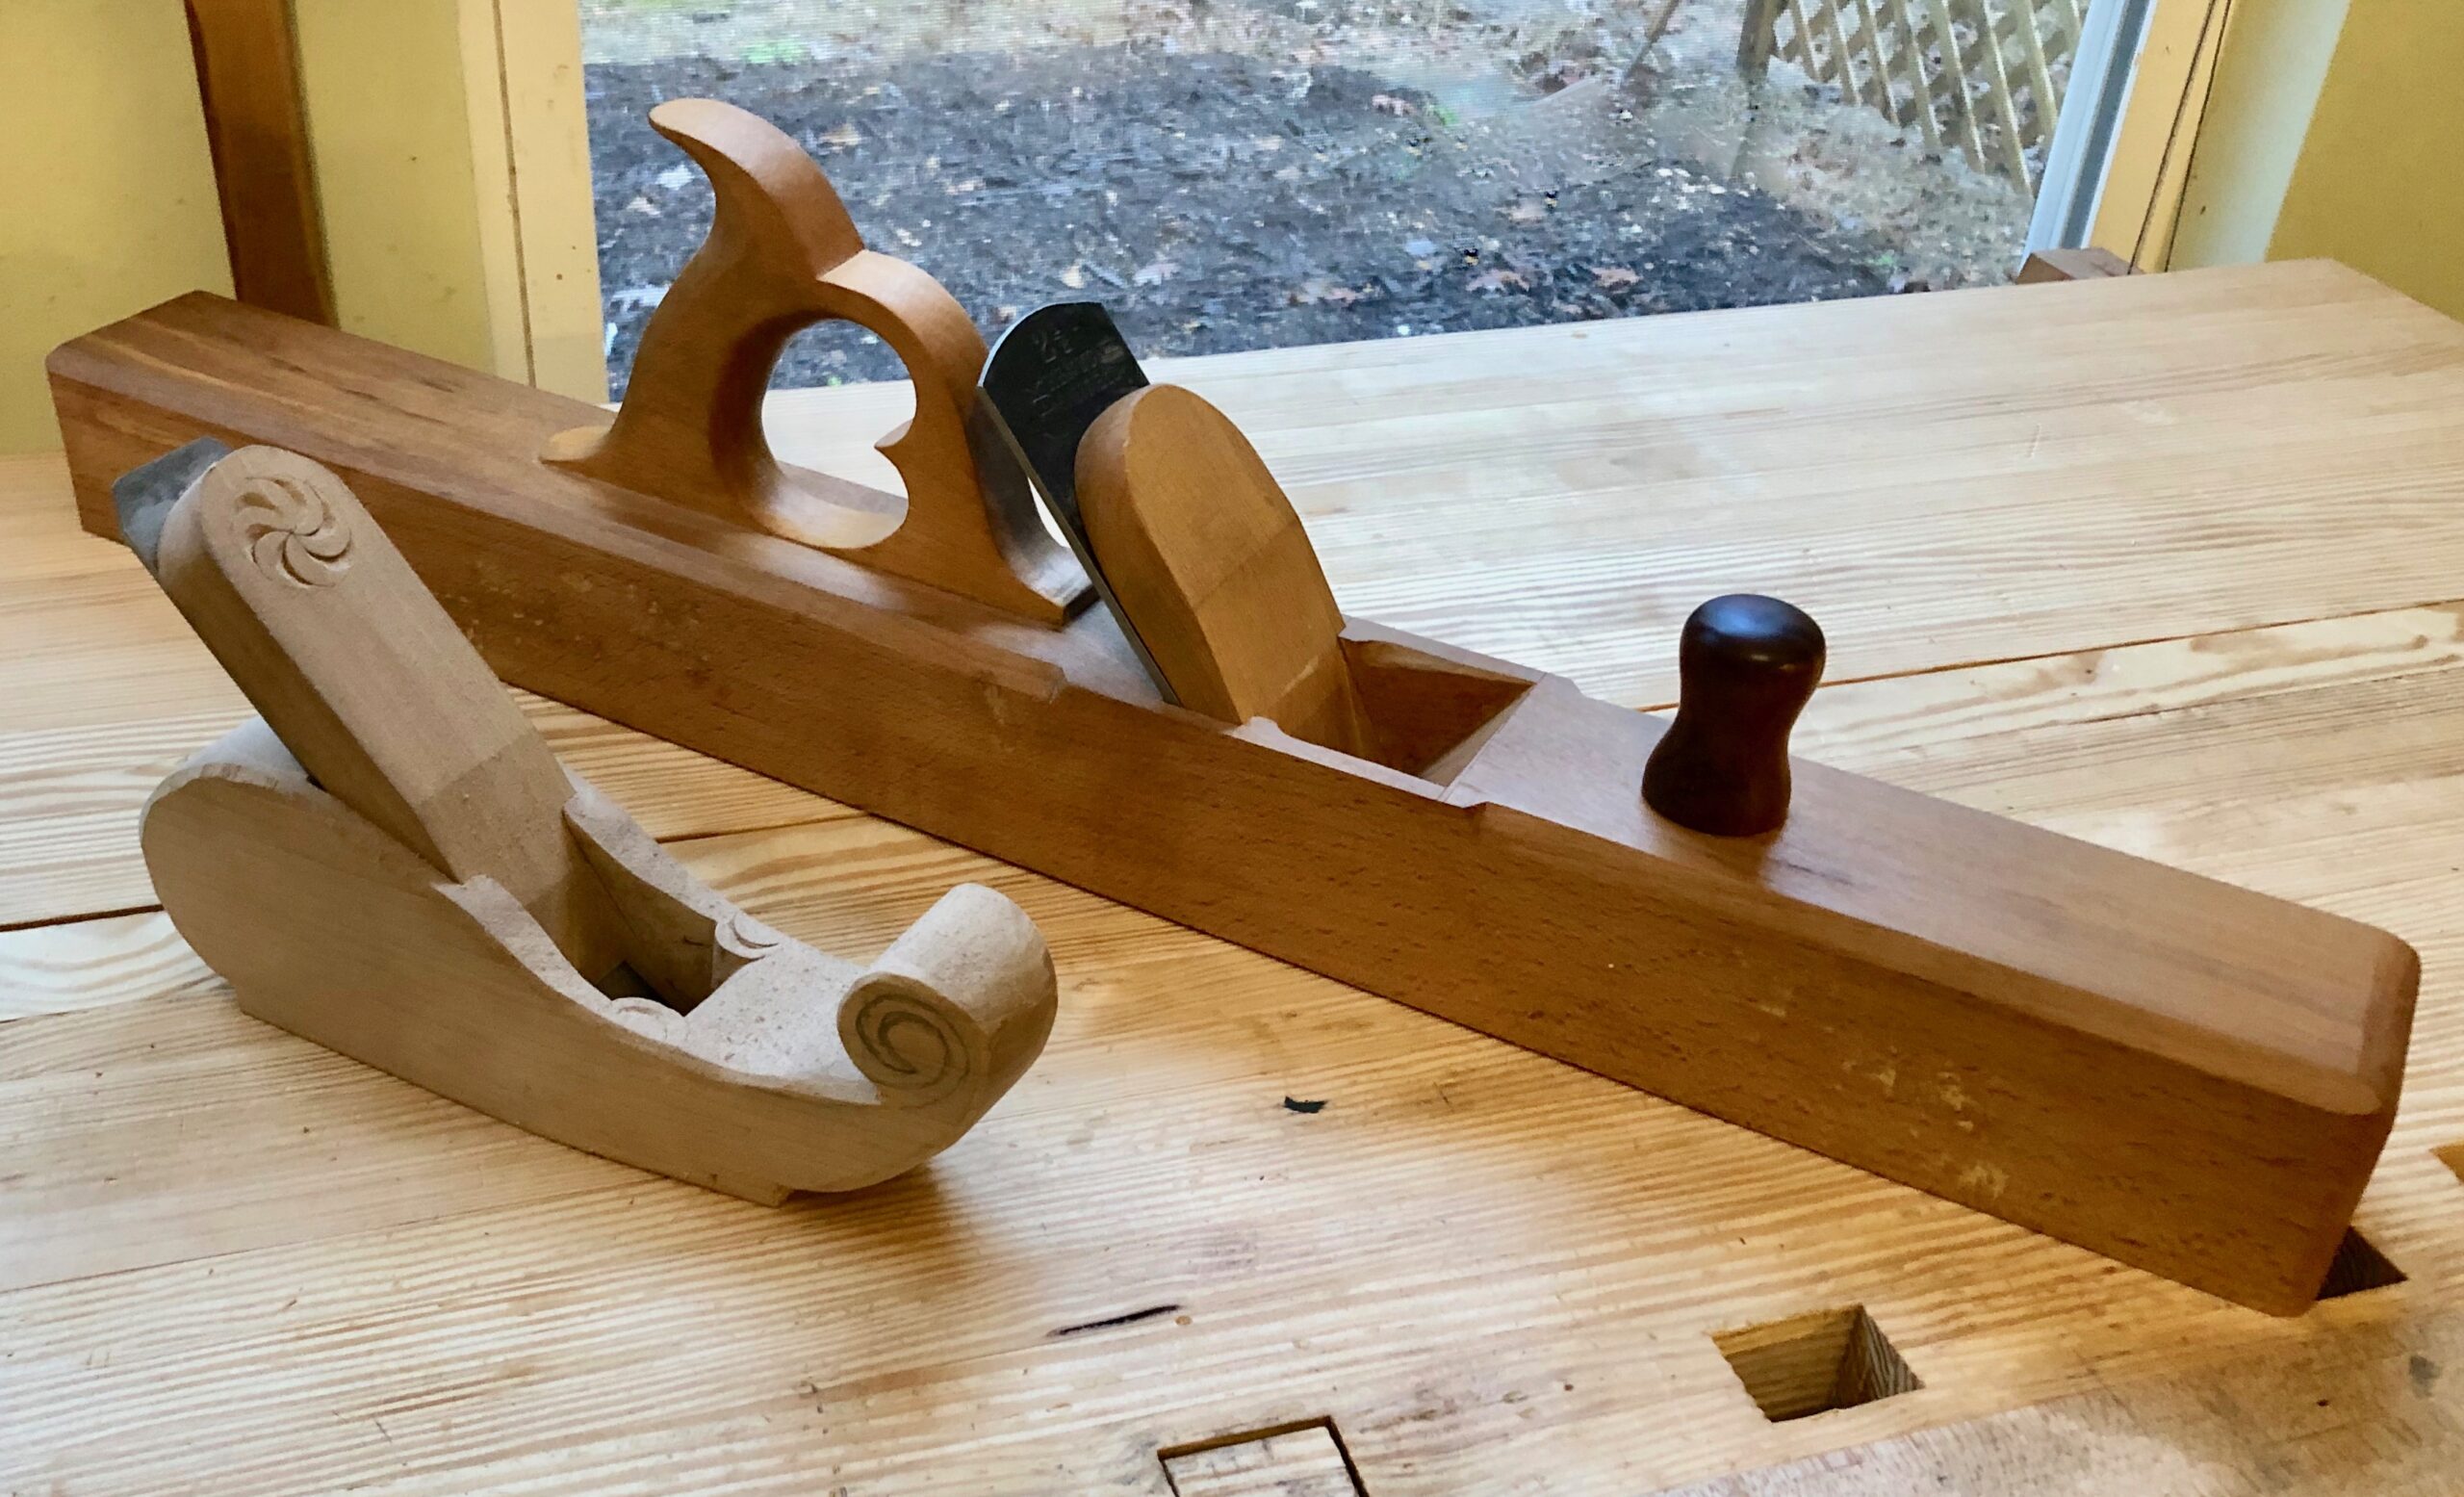
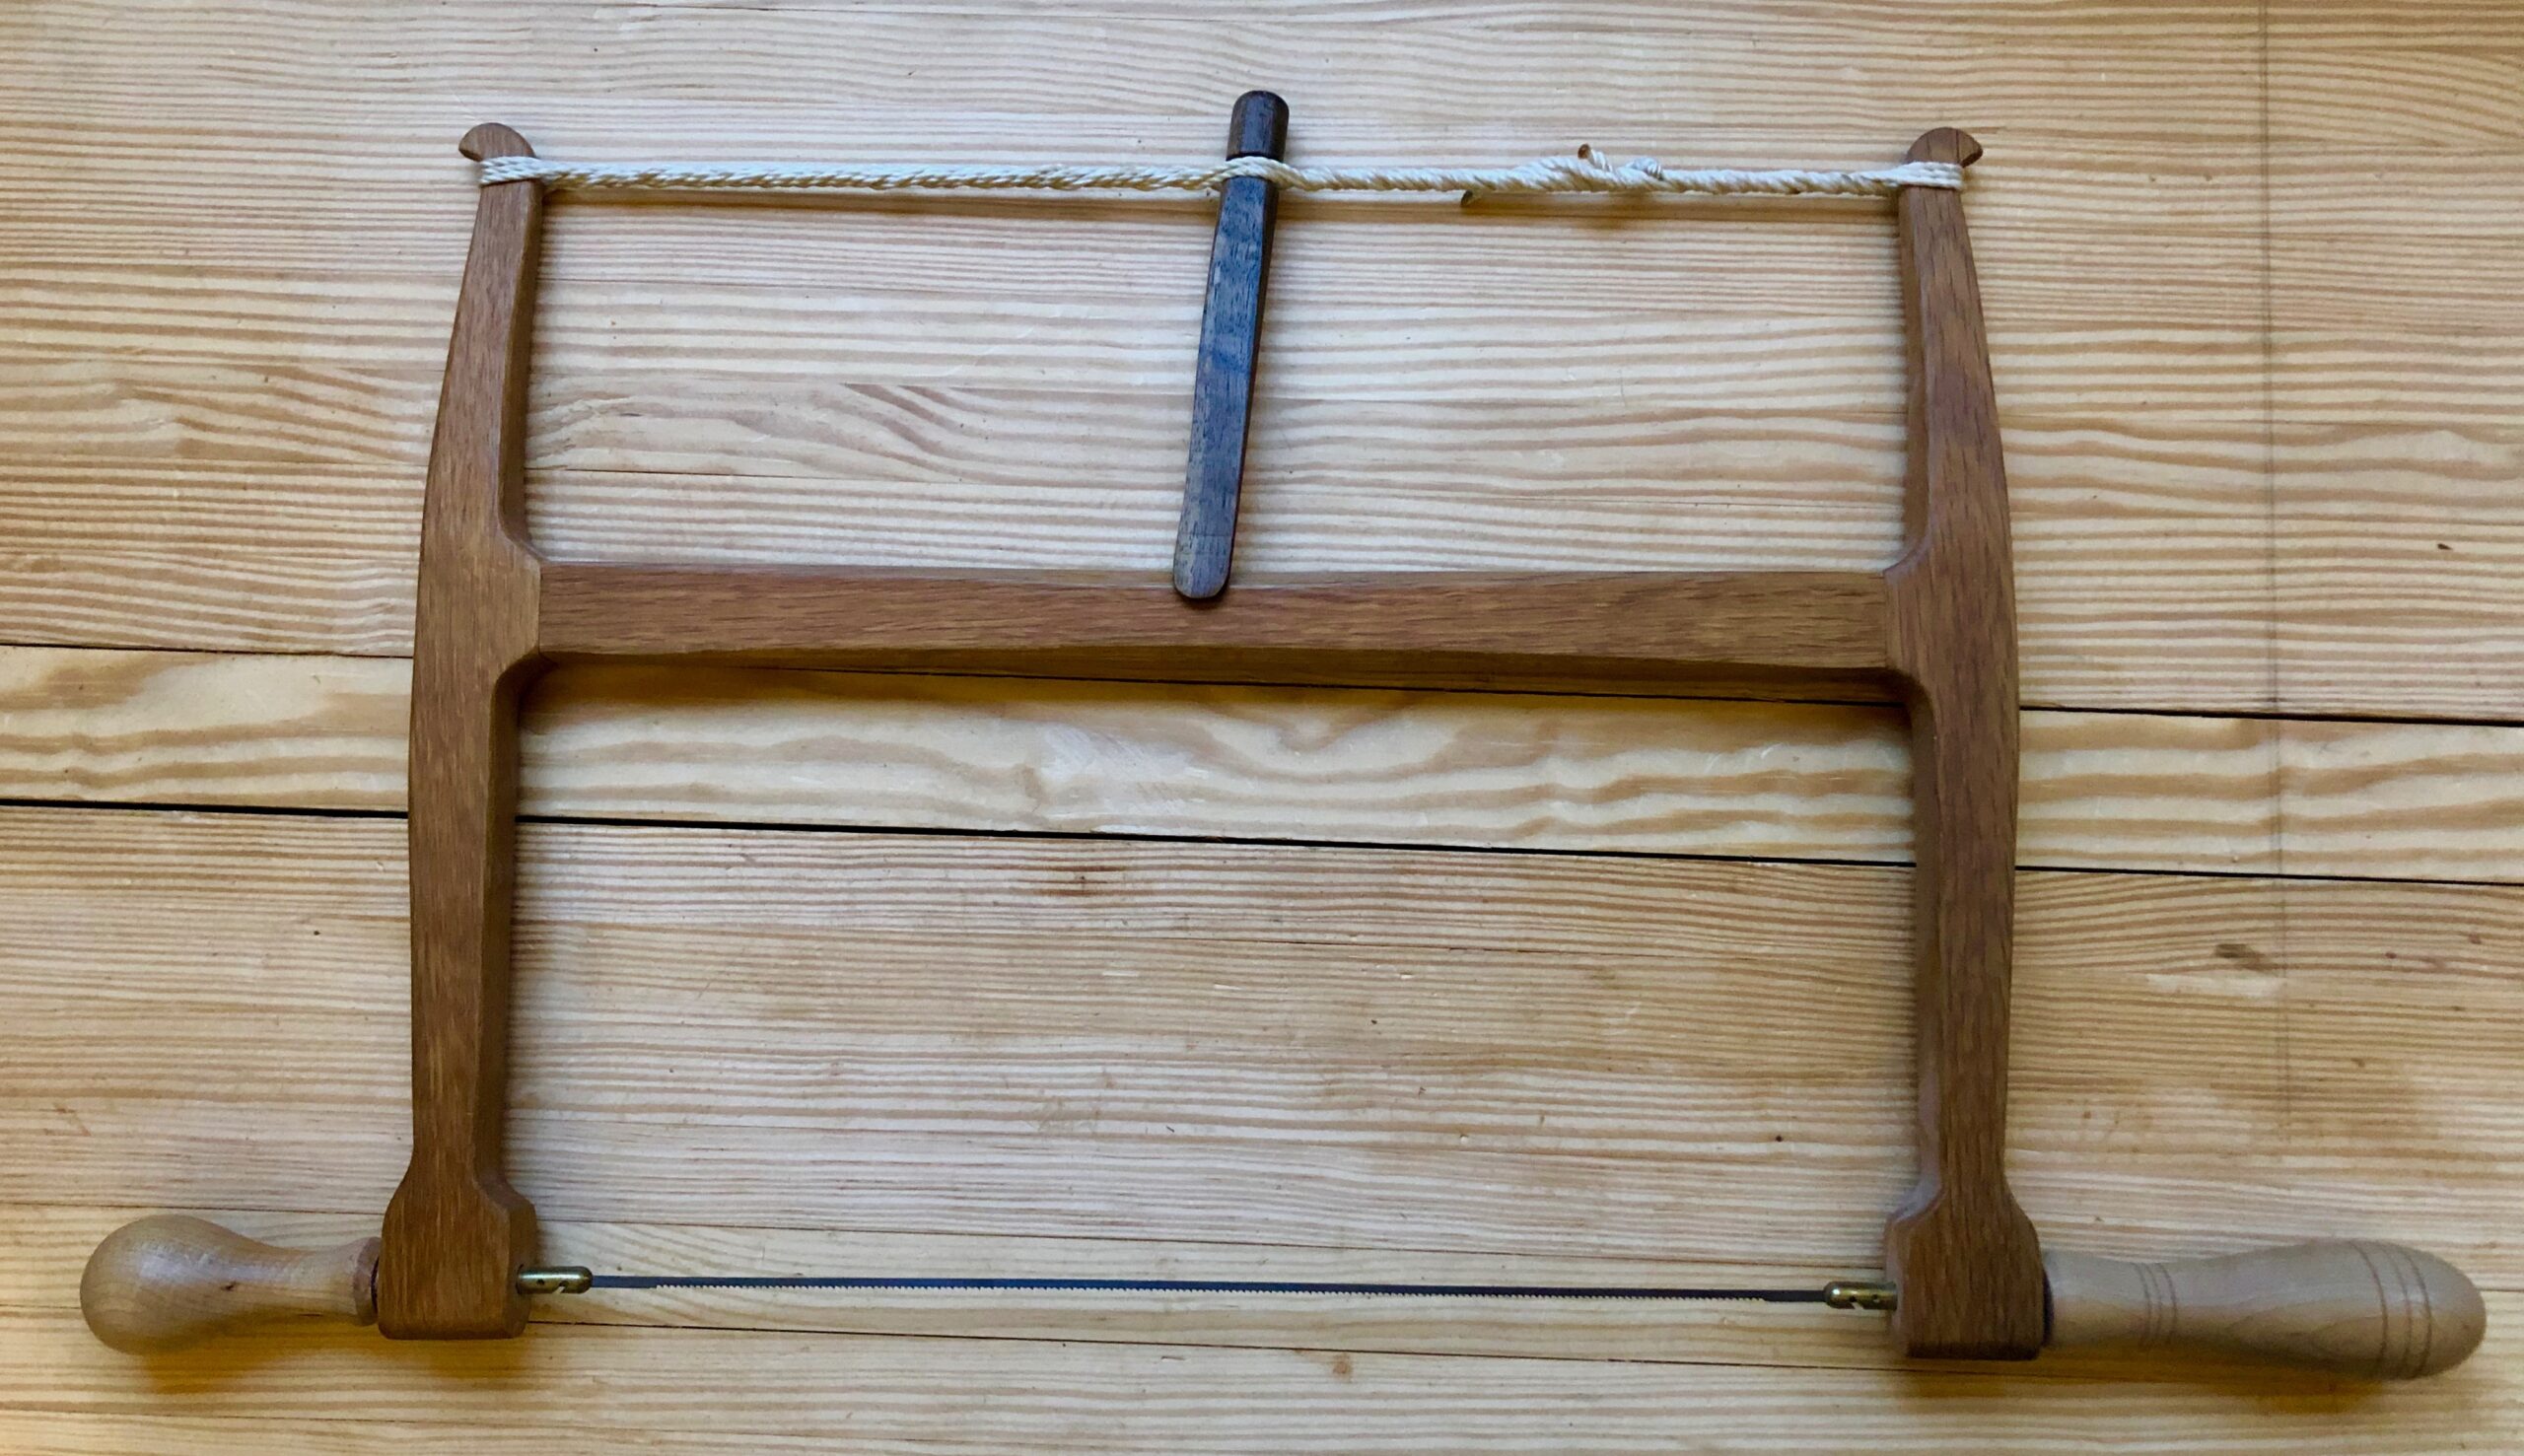
Homemade Planes
Making planes is great fun. I love taking woodworking classes and I made these two beauties at the Woodwright’s School under Bill Andersons expert tutelage. I normally don’t hesitate to take on a woodworking project on my own (although it’s more fun to have the company of like-minded individuals.) But plane making can be a little tricky especially when you are carving one from one chunk of wood and not using the Krenov Method. Bill breaks down the process into easy-to-understand steps and I ended up with two great planes. The Joiner Plane above is my longest plane. It is very light compared to my LN No. 7 plane and does a fantastic job on my longest boards. I put a Cocobolo front knob and buttons (not pictured) on the toe and heal for taping when adjusting the plane. The small Scandinavian style Scrub Plane hogs out material from rough boards with abandon and is fun to use.
– Larger Joiner Plane – Class date was March 2015 – See my blog entry here
– Scandinavian Scrub Plane – Class date May 2015
That about wraps up my planes section. These are some of my most useful tools. I use them on just about every project.
Please subscribe (on right hand side on computer and very bottom on phone) to the mailing list to get future blog updates.
Until next time, keep making shavings and sawdust.
Peace,
Aaron


