
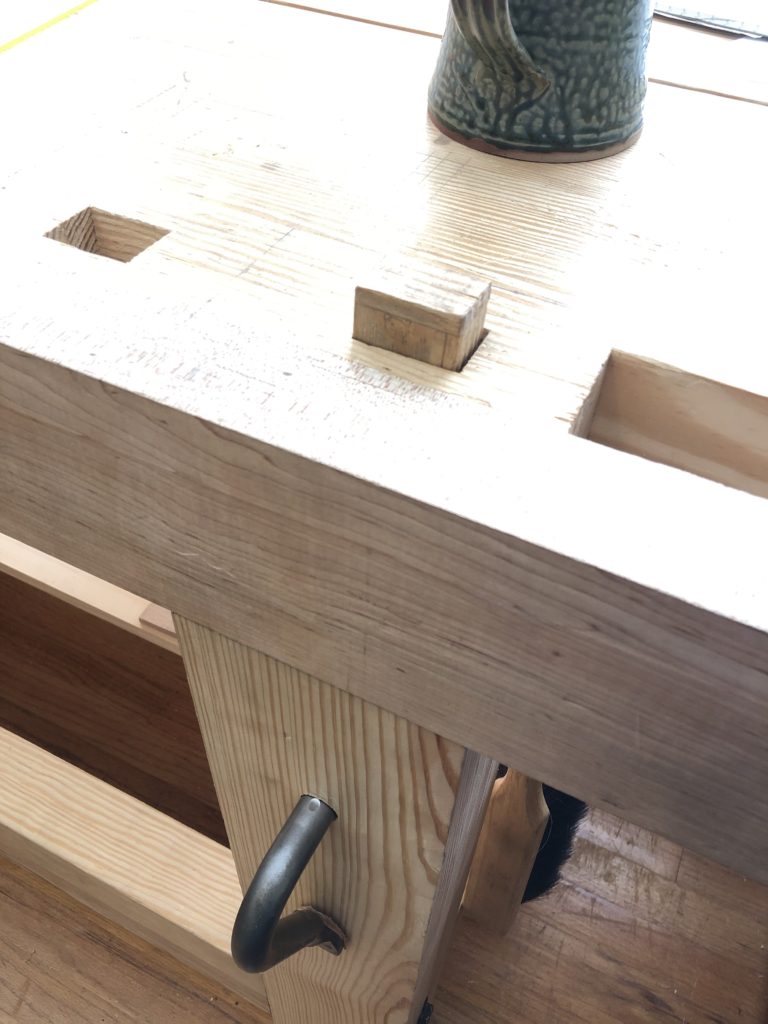
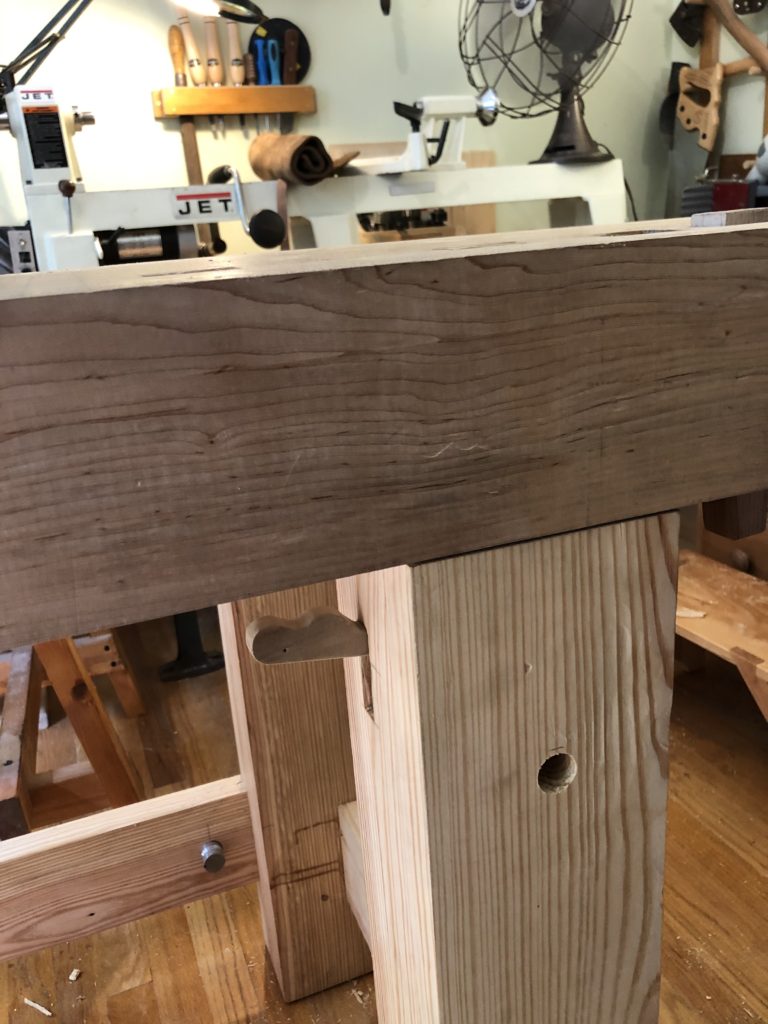
During this stay at home time, I decided to finish my loooong term project, my Split Top Roubo Workbench (more on the actual workbench in a later entry). I was working on the legs and benchtop. With this design the dog hole closest to the end or wagon vise (BenchCrafted) is directly over my right leg. The plans call for a hole drilled vertically down the leg to allow for the dog to seat flush with the top. That’s all well and good but how do you get it out?
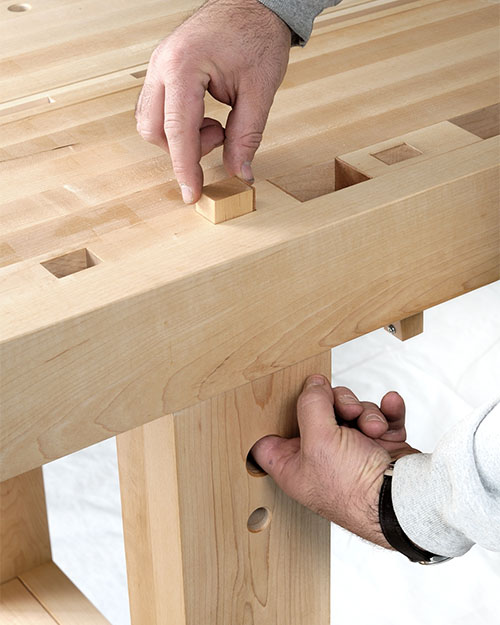
The BenchCrafted plans call for a largish hole to be drilled on the face of the leg to poke your finger into to prop it up.
This did not sit well with me for some reason. It’s not particularly that I have an issue with holes in my bench leg, per se (I don’t mind the dog holes for my holdfasts). it’s just this is a fairly large hole and I thought there should be a better way.

Enter the “1st Dog Hole Lever”, this handy contraption will sit on the left inside of the right leg and will extricate your flush bench dog with abandon. This takes some extra work to install, but not that much and I do not believe it will interfere with any clamping operations. As this is my idea and I have not seen anyone do this (every Split Top Roubo Workbench i’ve seen just drills the big hole) time will tell. If it does get in the way, you can simply remove the pivot nail and proceed with your clamping or other operations and replace it when you’re done.
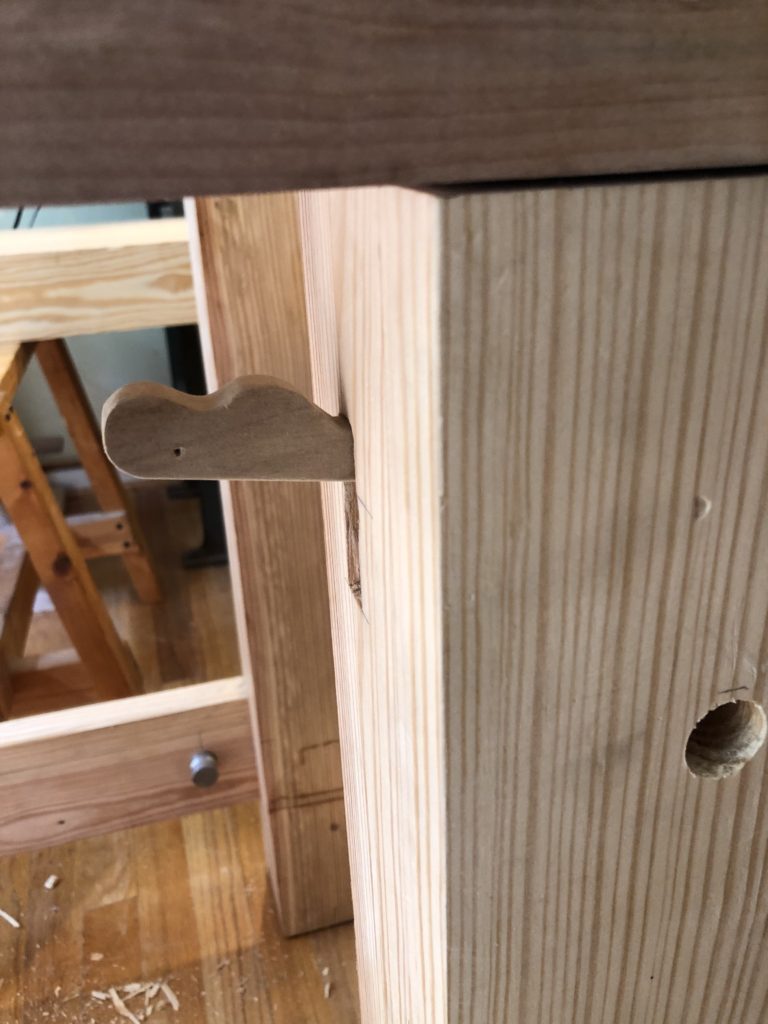


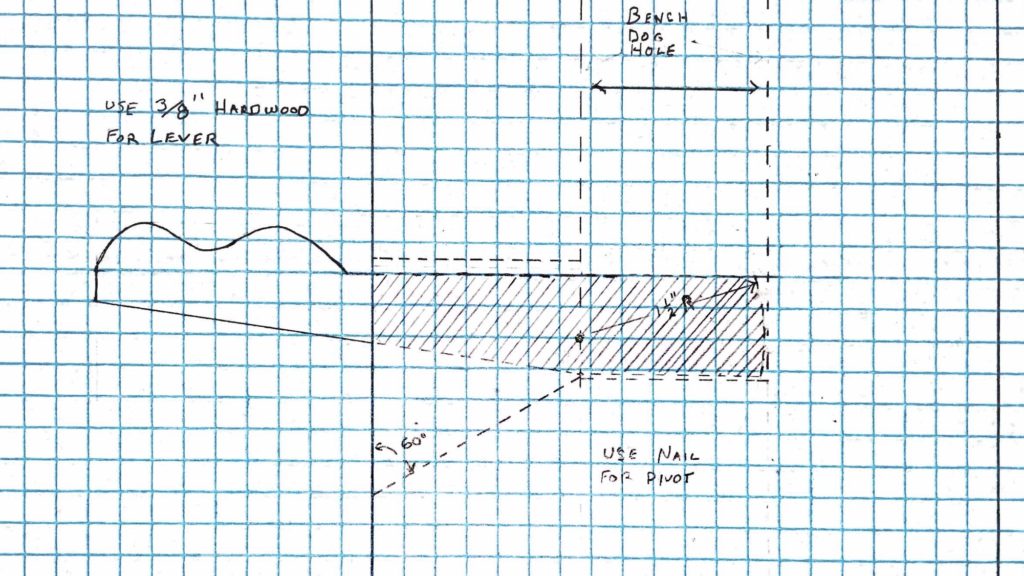
Dog Lever
If any of you are building or planning on building this bench, you may want to add this little detail. I know I really like using it (and my cat does too).
Peace,
Aaron