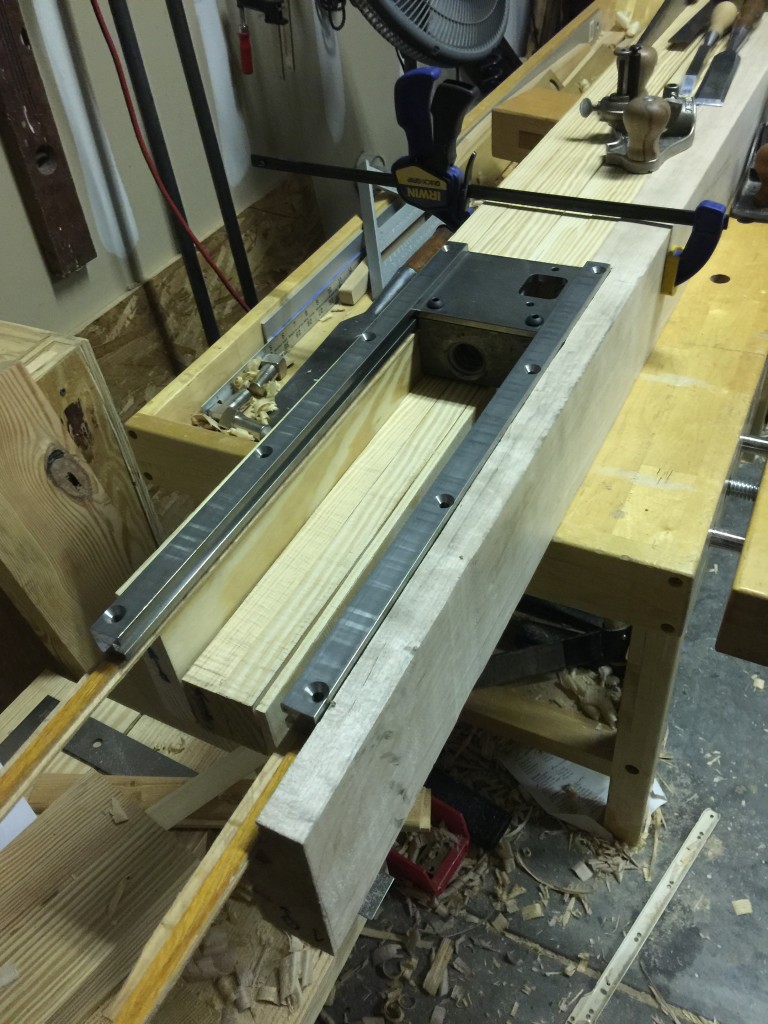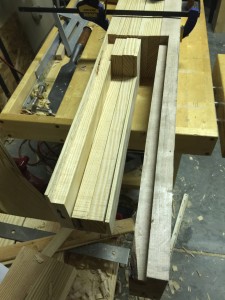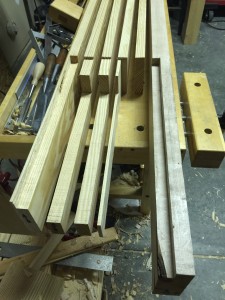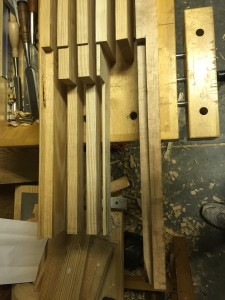
Tail Vise Rails resting on the bottom of the bench top for a test fitting
At long last, I am back working on my workbench. There was a brief delay because life happens. For reasons I won’t bore you with (cat fostering), I was unable to work in my garage for the past 2 weeks and I was not able to make any workbench progress. Fortunately, I am back in business and I made a major step forward yesterday. I finished the cavity for the tail vise to be installed in. I have the pictures showing the “finished” cavity below. Suffice it to say, I am glad to get that part completed so I can get on with the rest of the workbench. As you can see in the photos, I have not glued the boards together for the front part of my bench. I will probably do this tomorrow. Then I can start gluing the remainder of the boards together to finish assembling the top. Right now the exact dimensions of the cavity is not important. I will need to finish the top surface of the workbench before making any precision cuts to mount the tail vise. In the following pictures you will see the boards clamped together and then expanded to show how each one is individually cut to form the whole. I did purchase some soft maple to attach to the front of the bench because it will get the most abuse from clamping and other activities, so I decided to make it out of maple. Also, it will be dovetailed into the side maple piece which the tail vise will be attached.
-Aaron


