
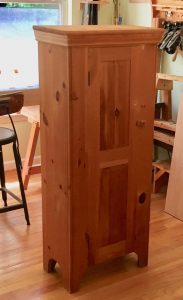
Cabinet Before Painting
Sometimes a project just screams “You must complete me now!”. Well, that is what my latest project was saying to me. I was lucky and picked up a nice pine standing cabinet from Freecycle.org a while back and it looked like it only had one coat of polyurethane on it and the cabinet looked to be 15 or 20 years old. I knew it wold make a great addition to my shop as a paint and adhesives storage cabinet.
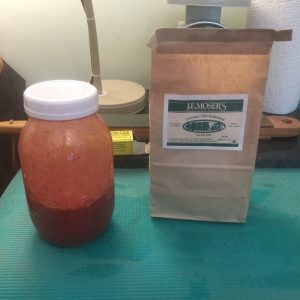
J.E. Moser’s Milk Paint
I removed all the hardware and sanded it with 280 grit sandpaper. My plan was to use Lexington Green milk paint from J.E. Moser’s as this is one of my favorite colors. But when I checked I only had enough for a small project. I did have quite a bit of the Salem Red.
Fortunately whoever originally finished this piece did not put many coats so the sanding went pretty smoothly. There were some dings and I had to set a few finish nails, but nothing major.
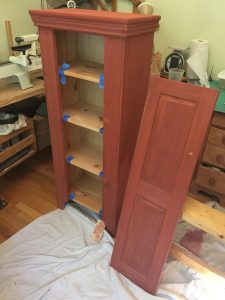
Cabinet with one coat of milk paint
I have to say, I am really starting to love milk paint. It is non-toxic, has no fumes, dries quickly, water soluble and it looks great. Here is a good site with lots of information about milk paint if you have never used it before. The first and second coats do not usually look very good, but the third and fourth are really nice. This piece was an exception, It took the milk paint like it had been waiting for it. This piece has been an absolute pleasure to paint! New wood sometimes resists milk paint especially if it still has some moisture in it, but this cabinet is very dry and been really fun to paint.
After I finish the painting, I will take some brown grocery bag and crumple it up and really give it a good buffing. this will burnish the surface and get it ready for the paste wax top coat.
Check back tomorrow to see how it turned out 🙂
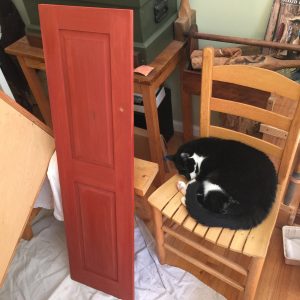
Shop Cat helping paint dry
“Happy Shavings”
-Aaron
P.S. If you have not seen my YouTube channel click => Here to check it out or click on the YouTube link on the sidebar.