
 One of the things I love to do in the shop is make tools. I have made saws, tool boxes, knives, mallets, hammers and other assorted useful items. One thing I always wanted to make but was hesitant to, was a plane. Any plane would do, a jack, molding or scrub plane would be great. One of the reasons I have hesitated is because planes are different. They do take some skill and experience to set the blade and the wedge at the right angles where they actuality cut wood and eject the shavings. The history of planes goes back for centuries and they have been made by hand for that long but these things take skill to make and get right.
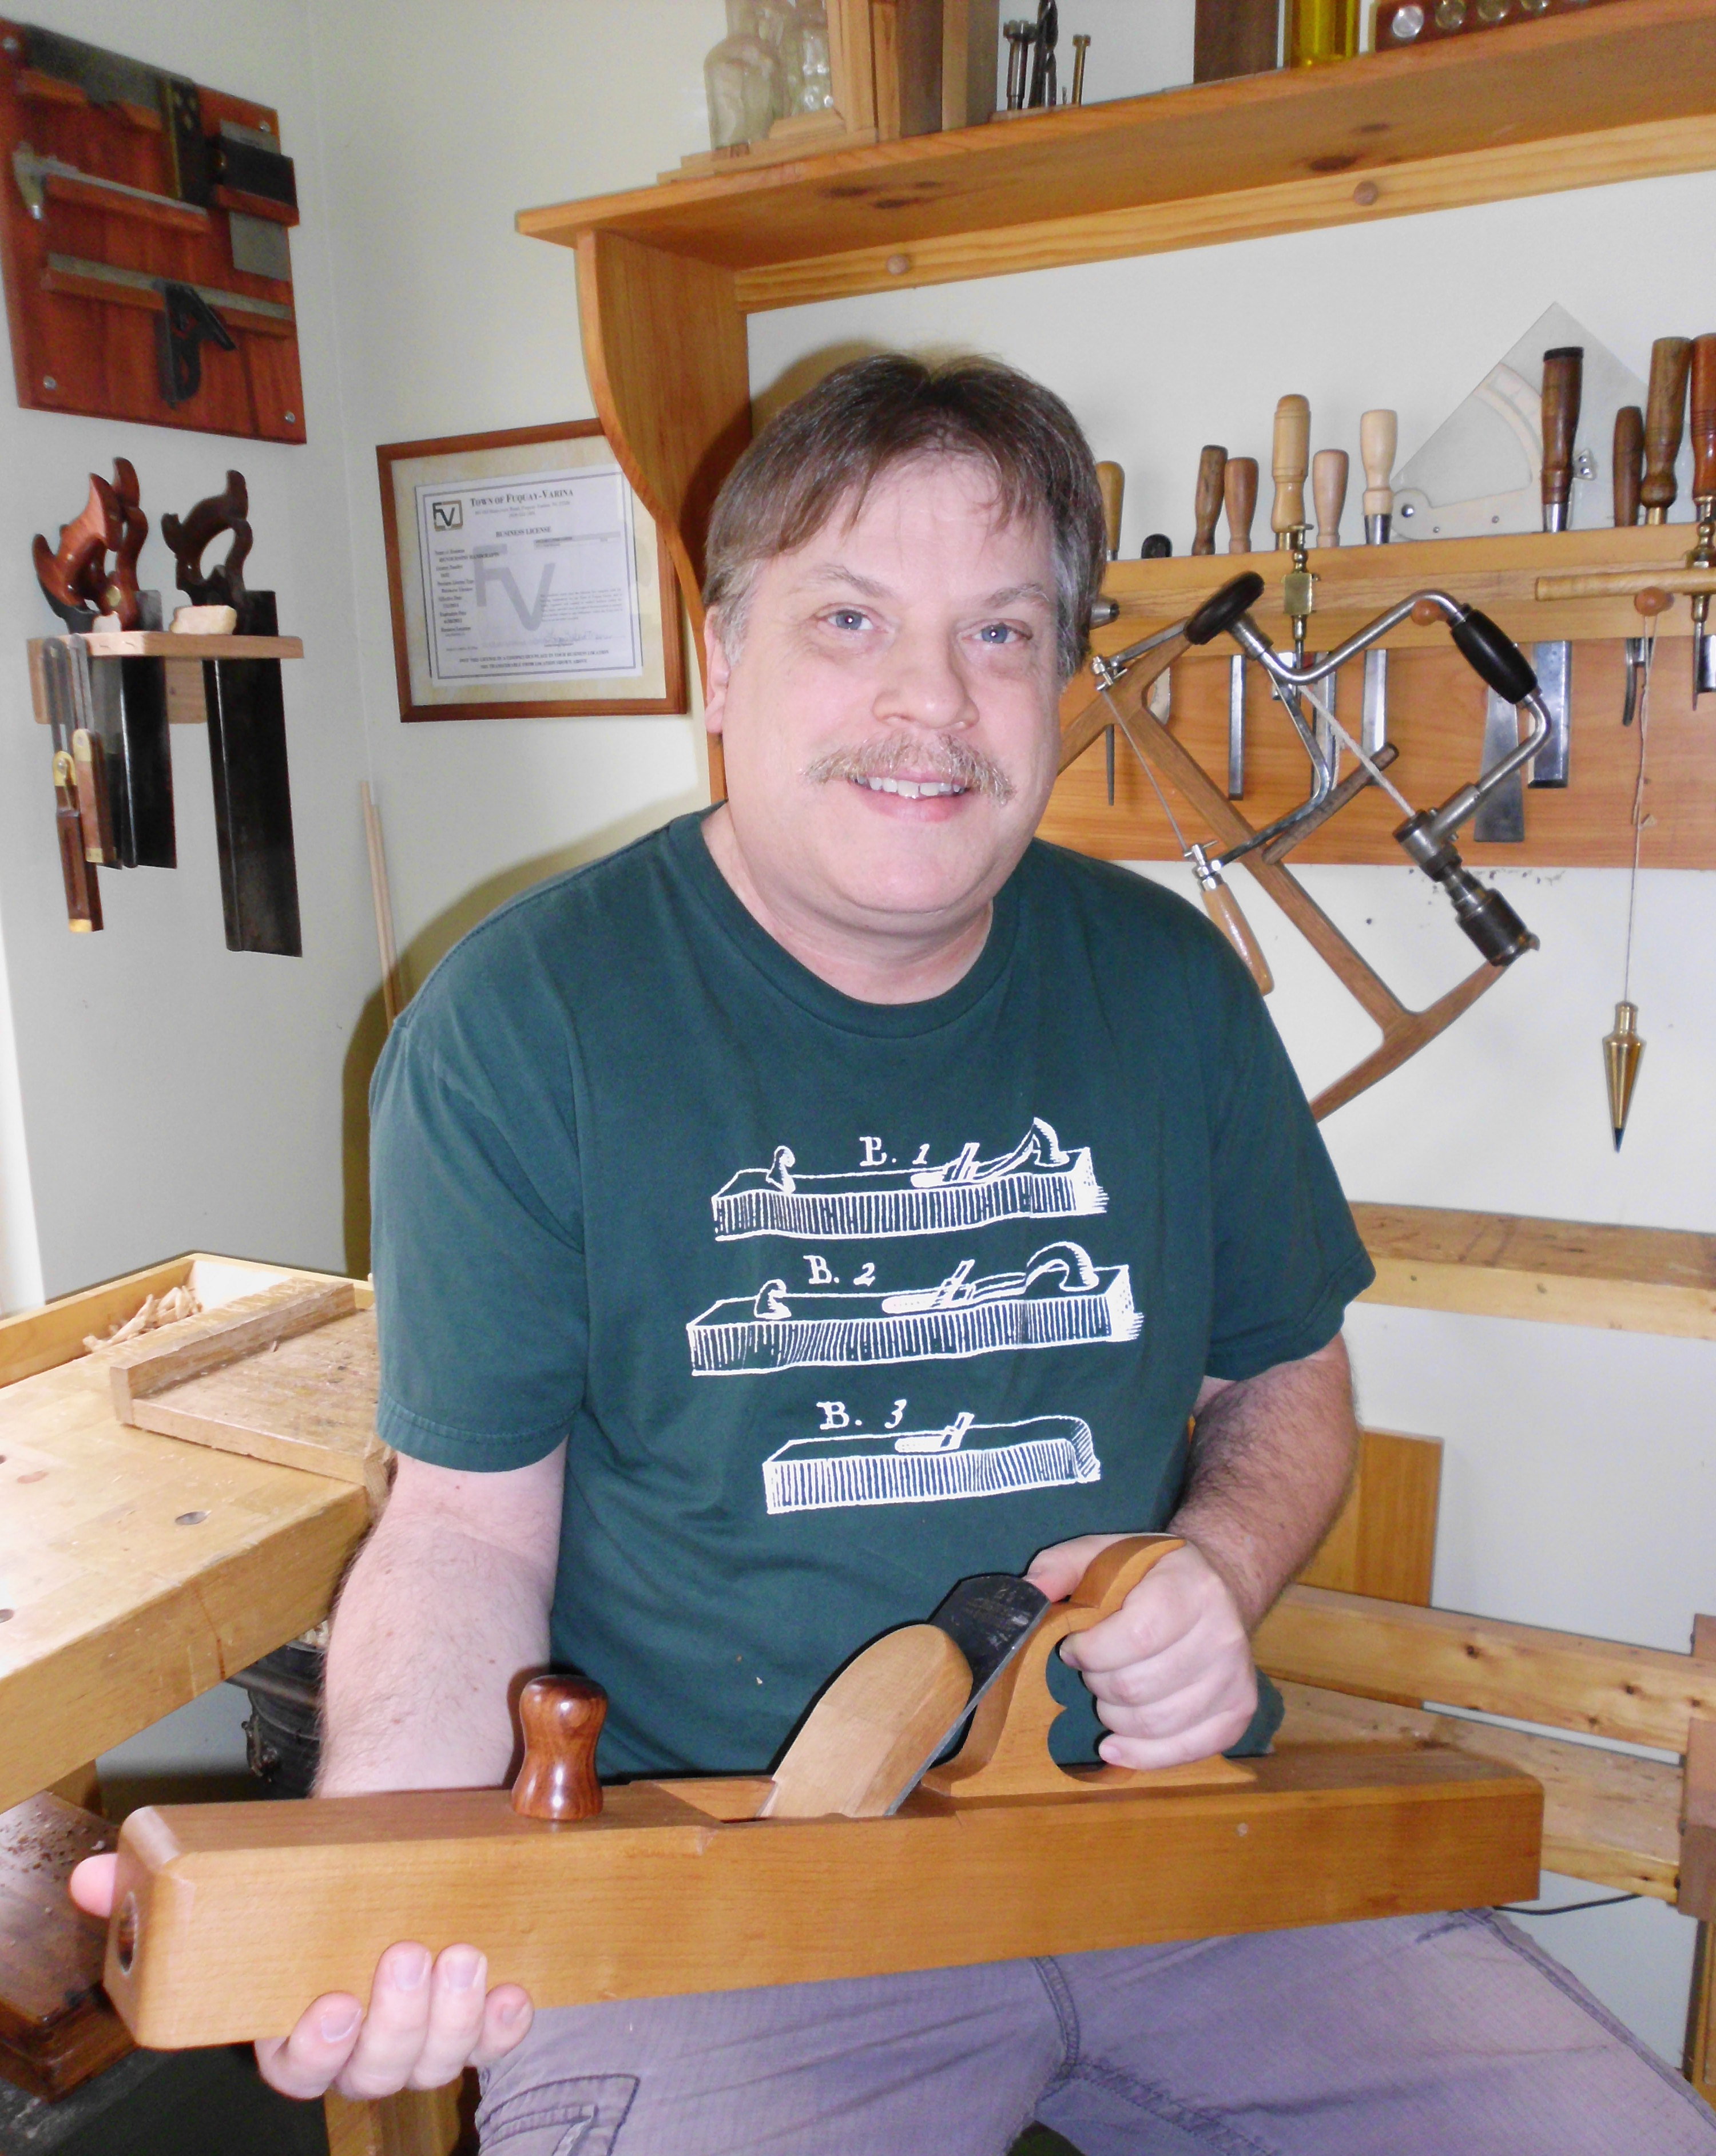
With that in mind, I had been keeping an eye on Bill Anderson’s plane classes at the Woodwright’s School for some time. Recently (a year ago), I got my chance, I was on the wait list for a joiner plane class and got the call at the last minute. Let me tell you, I was excited. In this class you built a 28″ long 19th century joiner plane complete with a vintage iron. This was a three-day class and I loved every minute of it. I finished all the major parts in the class. All that was needed was to widen the mouth for the iron a bit, as it was a little too snug, make the front and back buttons and make a knob.
The buttons and the knob were afterthoughts, but the more I looked at it, the more I thought it needed a little color. I added the cocobolo buttons, cocobolo being a very hard wood will protect the plane ends when I adjust the iron with blows from my wooden mallet. The knob was also a last minute item where I had a hardwood button to put in the top, but I wanted more. I put a 4″ long dowel in the hole already drilled for the top button and I liked the way it felt when I used the plane. Excitedly, I went to the lathe and turned a nice cocobolo knob.
I was going around and around in my head on how to fasten this knob to the plane body and then an old technique came to mind. I would use a foxtail wedge. Basically an exposed wedge is one you do after sawing a slot and inserting a dowel or spindle in a hole and driving the wedge home. A foxtail wedge is the same, but you do not have access to the wedge to drive the wedge with the mallet, so the bottom of the hole acts as a stop. You have to widen the bottom of the hole into the end grain and put the wedge in the sawn slot and insert the knob in the hole, and with a mallet, you drive the knob to the bottom forcing the wedge to widen the bottom of the knob locking it in place. At that point, you have a glue-free solidly fixed knob. Click here to see a picture and description of how a foxtail wedge works.
A little sanding and a few adjustments here and there and the plane was ready for the finish. Planes are usually just finished with some type of oil and wax. I put 3 coats of Danish Oil on and then some wax and she is ready to go to work.
 This was a great project and it still was a bit difficult, but Bill is such a great teacher, I was able to do all the complicated work in the class, under his guidance. If you get a chance, go take a class at the Woodwright’s School, you’ll be glad you did 🙂
-Aaron