You might not know it, but I have been looking for a brass hammer for some time now. I need a brass hammer to tap my wooden plane’s irons to set them at just the right cutting depth.
You see, brass hammers are preferable to steel hammers as the brass is softer than the plane iron and will not damage it where the steel hammer will “mushroom” the steel and that is bad.
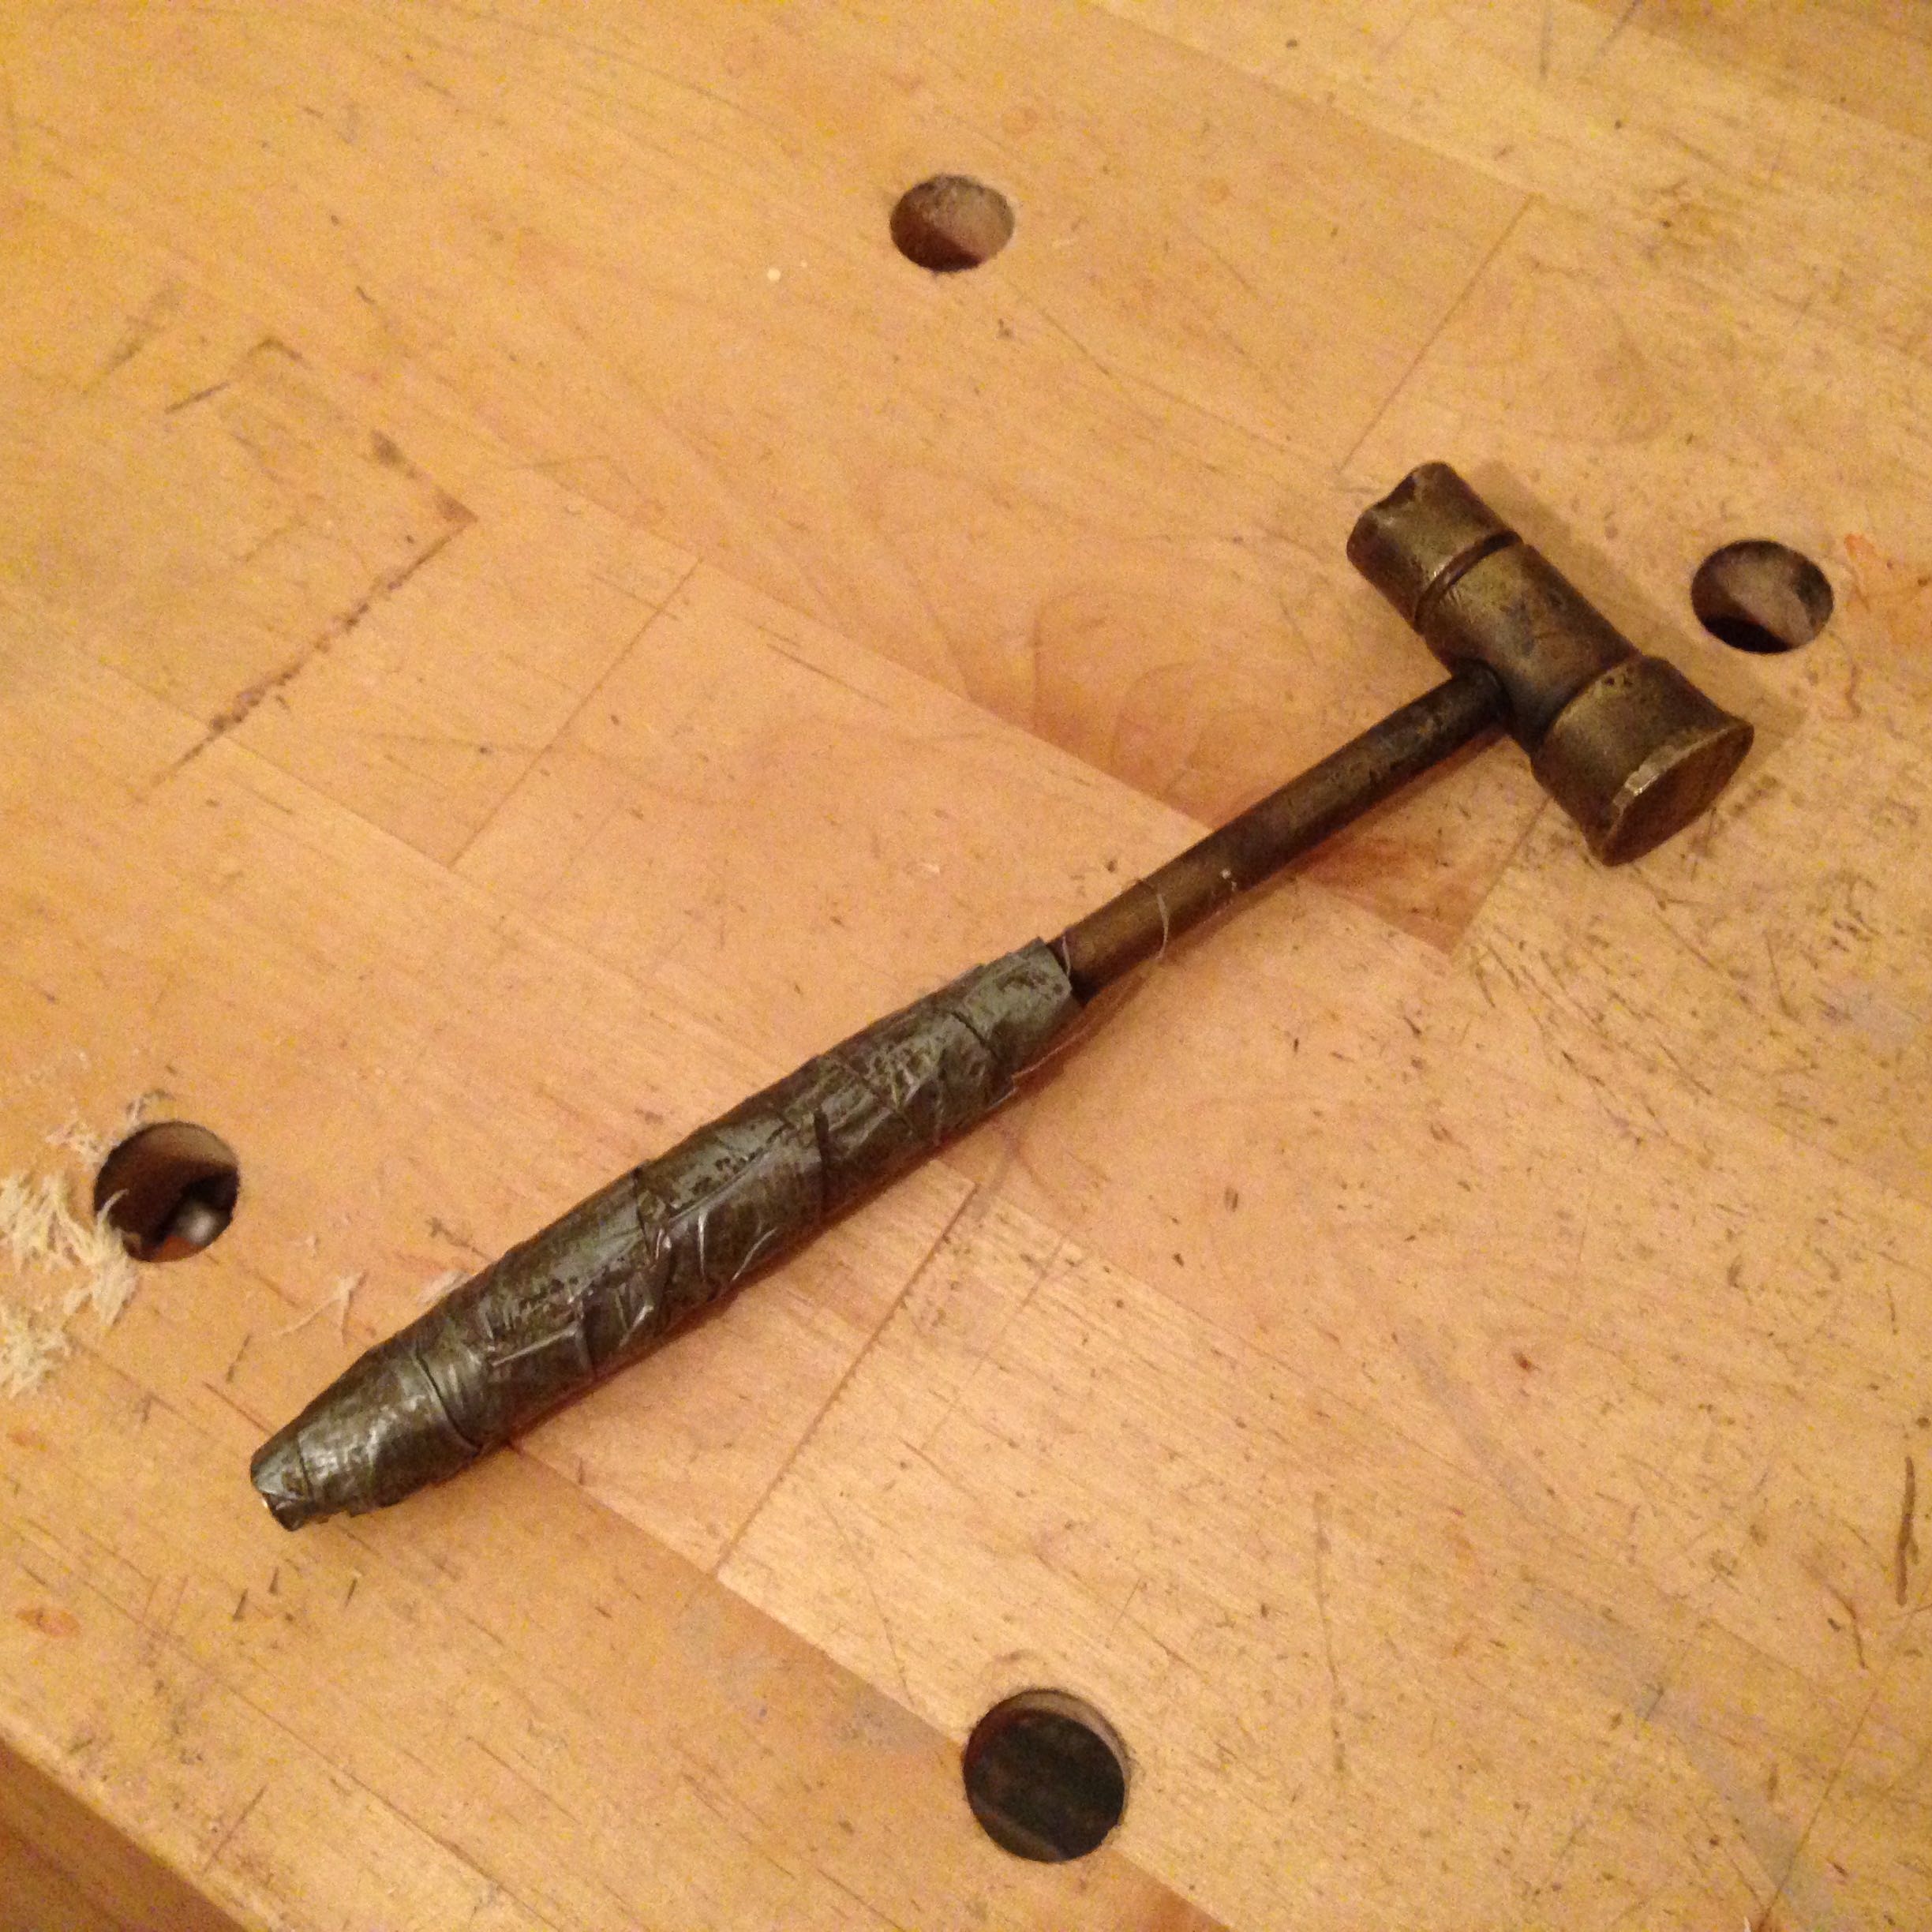 I went to the MWTCA tool meet yesterday and I happened across this nice little beauty in the rough for $5.00. A real bargain, as these babys can cost a lot of dough new. It had a brass head and brass handle with a duct tape grip.
I could have just left well enough alone and used it happily, but I just had to make it better.
I had to get that duct tape off of there because it was pretty nasty and really old so it was breaking down. This came off with a knife and the brass rod handle was in good shape. I was really struggling on how to properly put a wooden handle of the brass rod. This decision was made for me, as I was cleaning the head the brass rod came right out of the head.
The high end tool manufacturer Lie-Nielson used to make a really nice cross-peen hammer and I liked the handle shape, so I decided to mimic that shape.
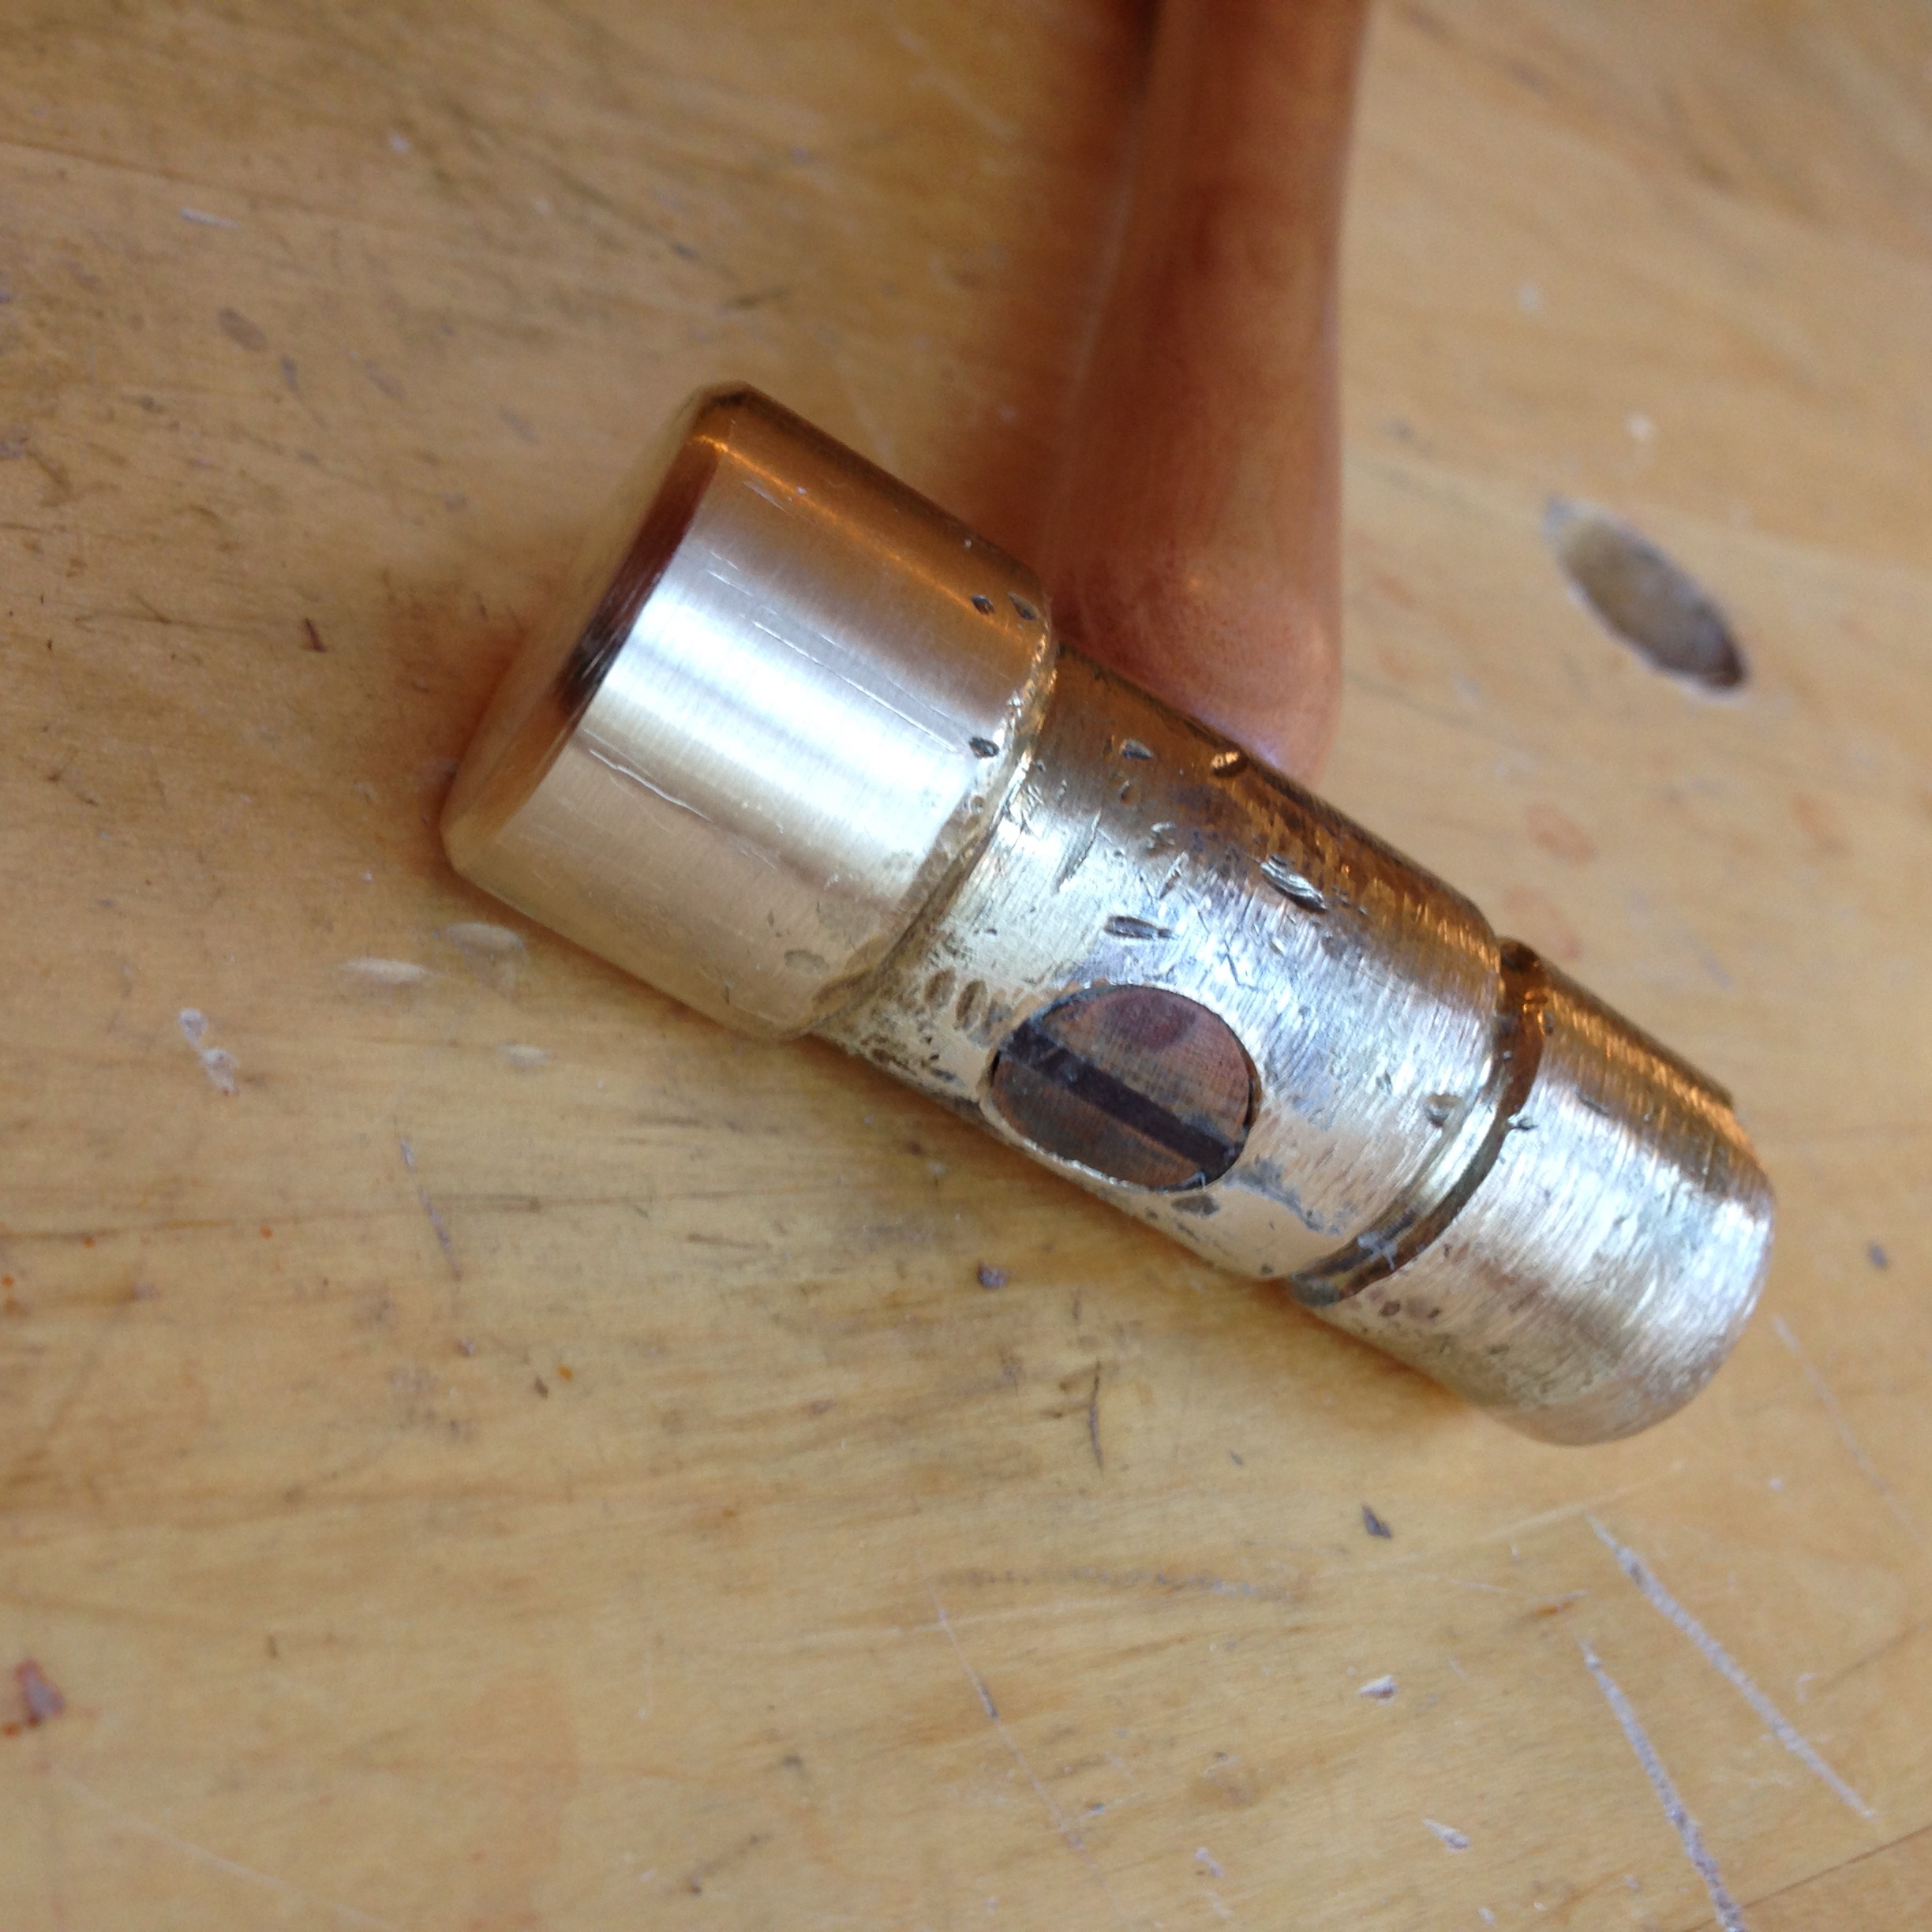
I had to re-drill and enlarge the hole in the hammer head so it would accommodate a wooden handle. I drilled half way through on the top of the head with the next larger size bit so when I wedged the handle it would not would not come off.
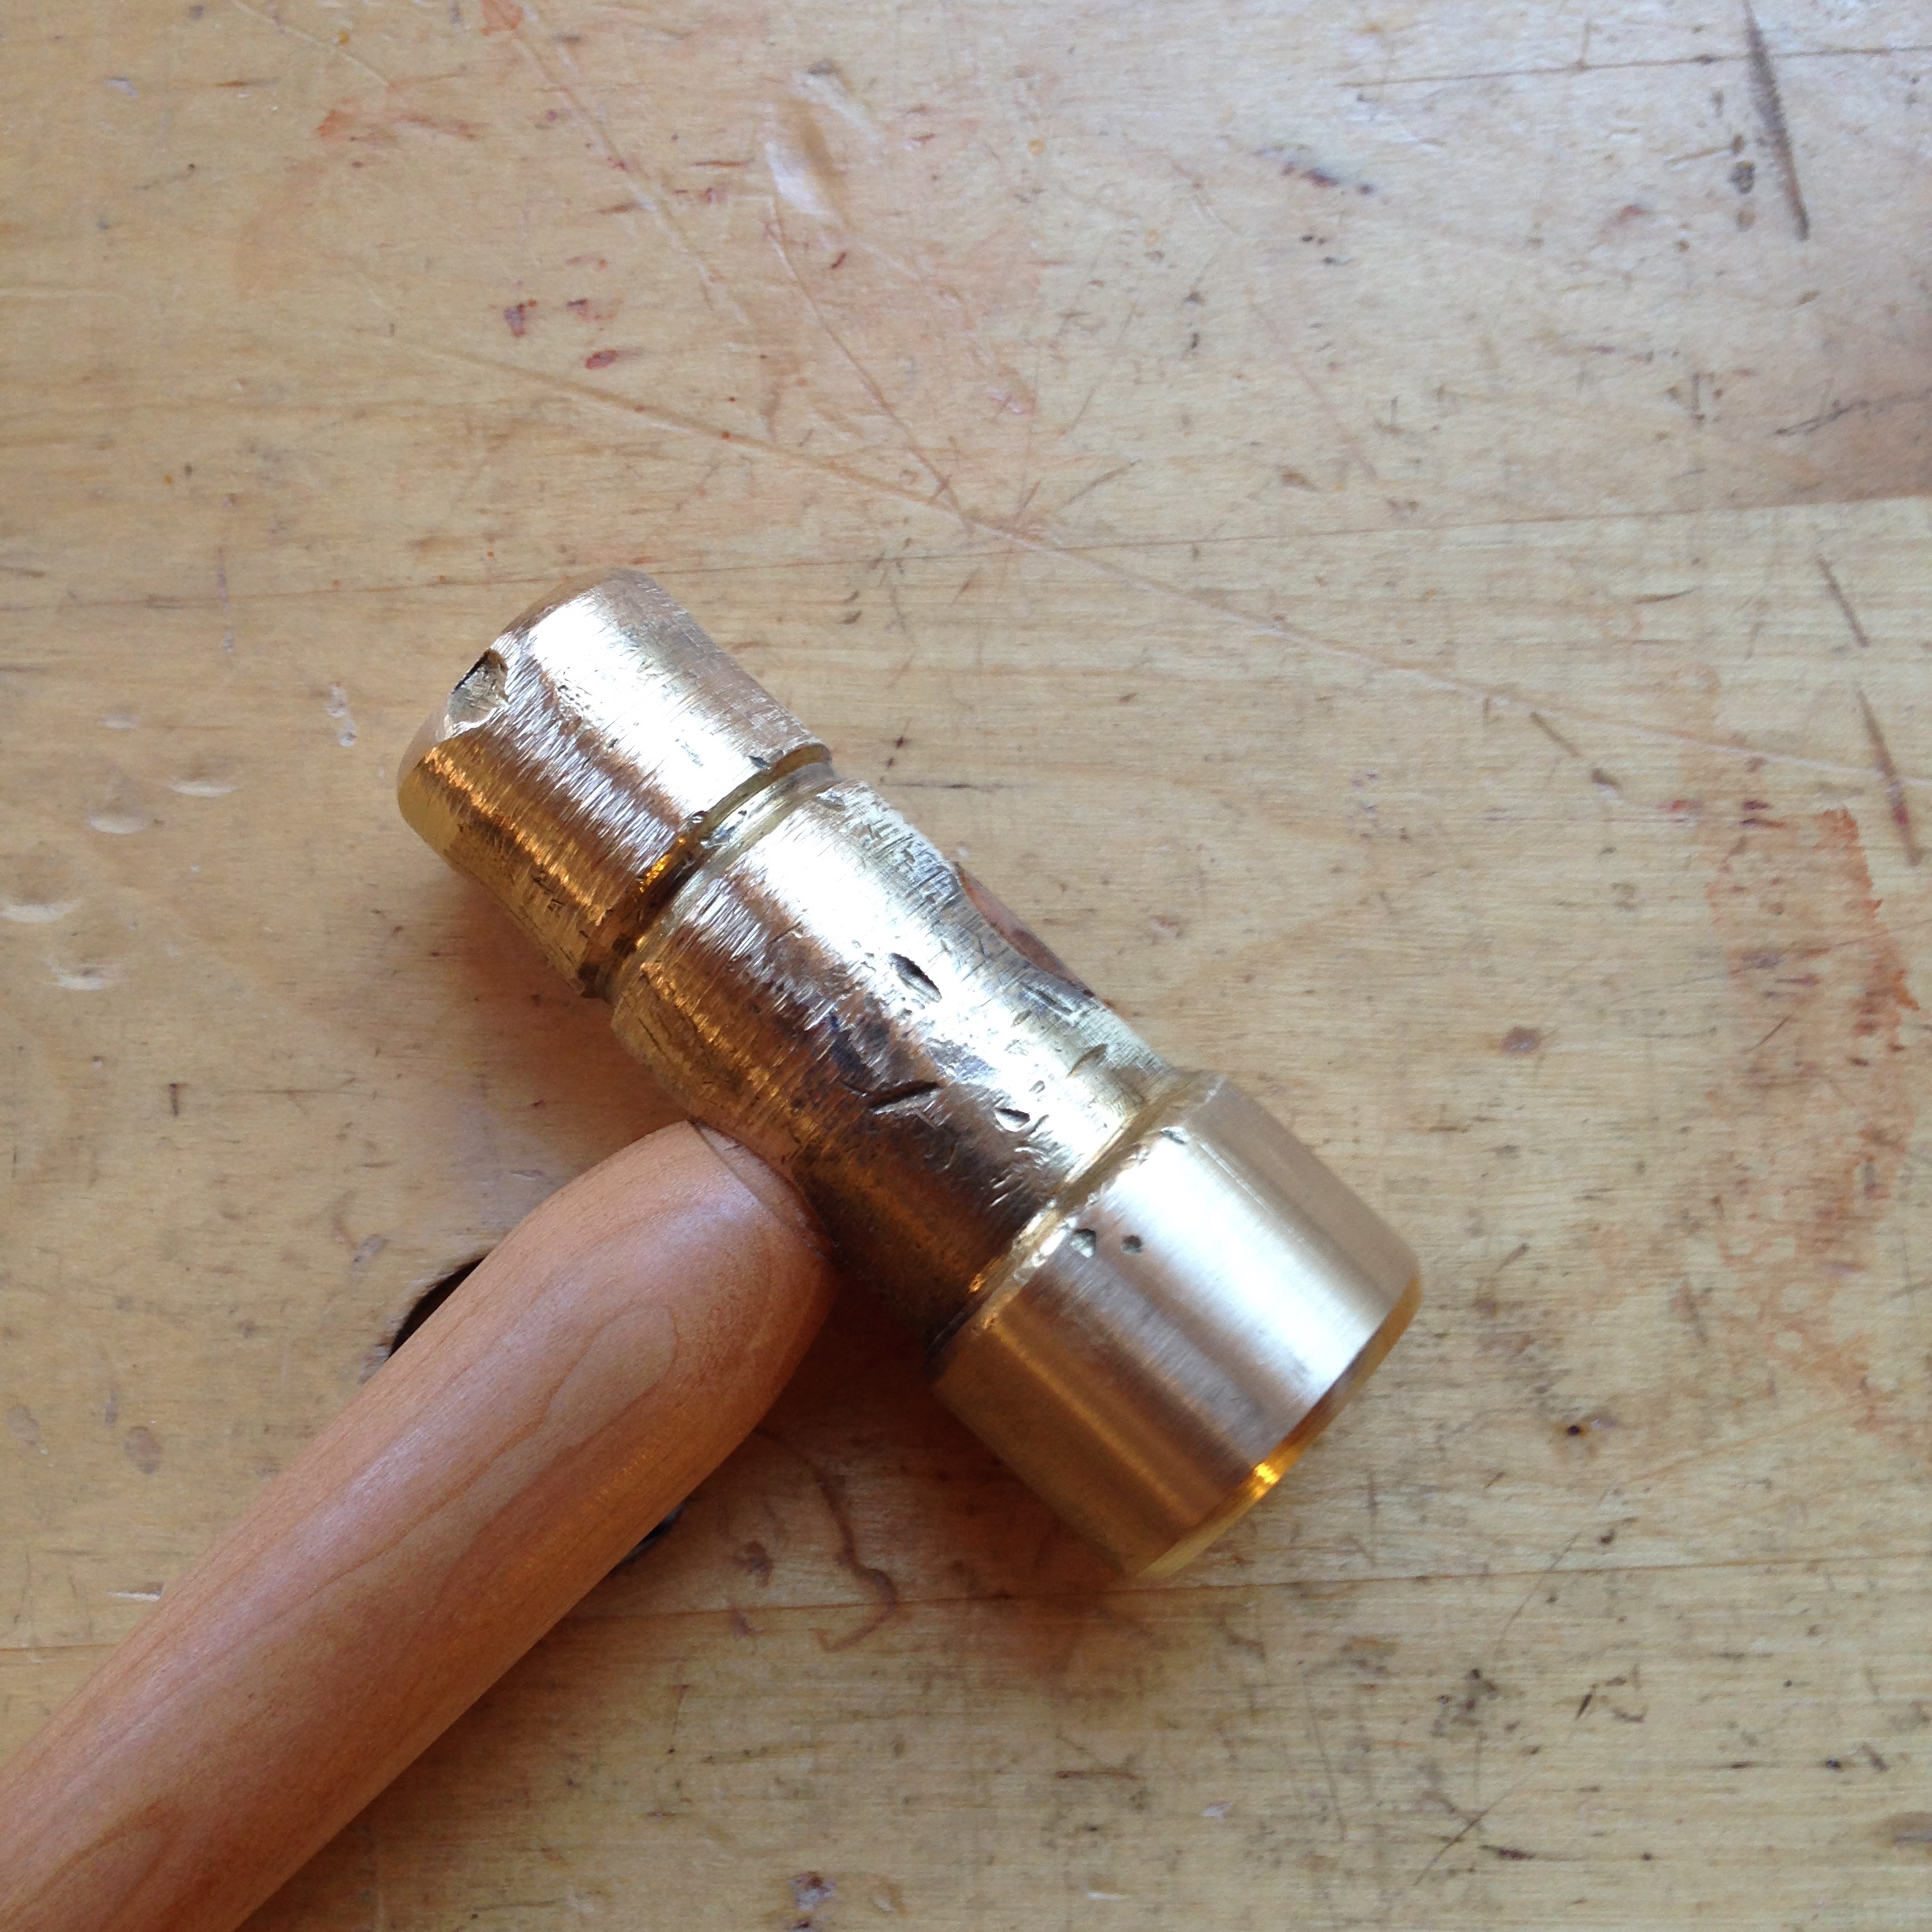
I had a nice piece of cherry that was perfect for the job. So 30 minutes on the lathe and I had me a new handle. The Lie-Nielson cross-peen hammers have a more slender handle than what I made for my handle. I made my handle a little thicker to accommodate the heavier head on my hammer. The hardest part of this whole project was fitting the cylindrical head to the cylindrical handle and getting it to fit.
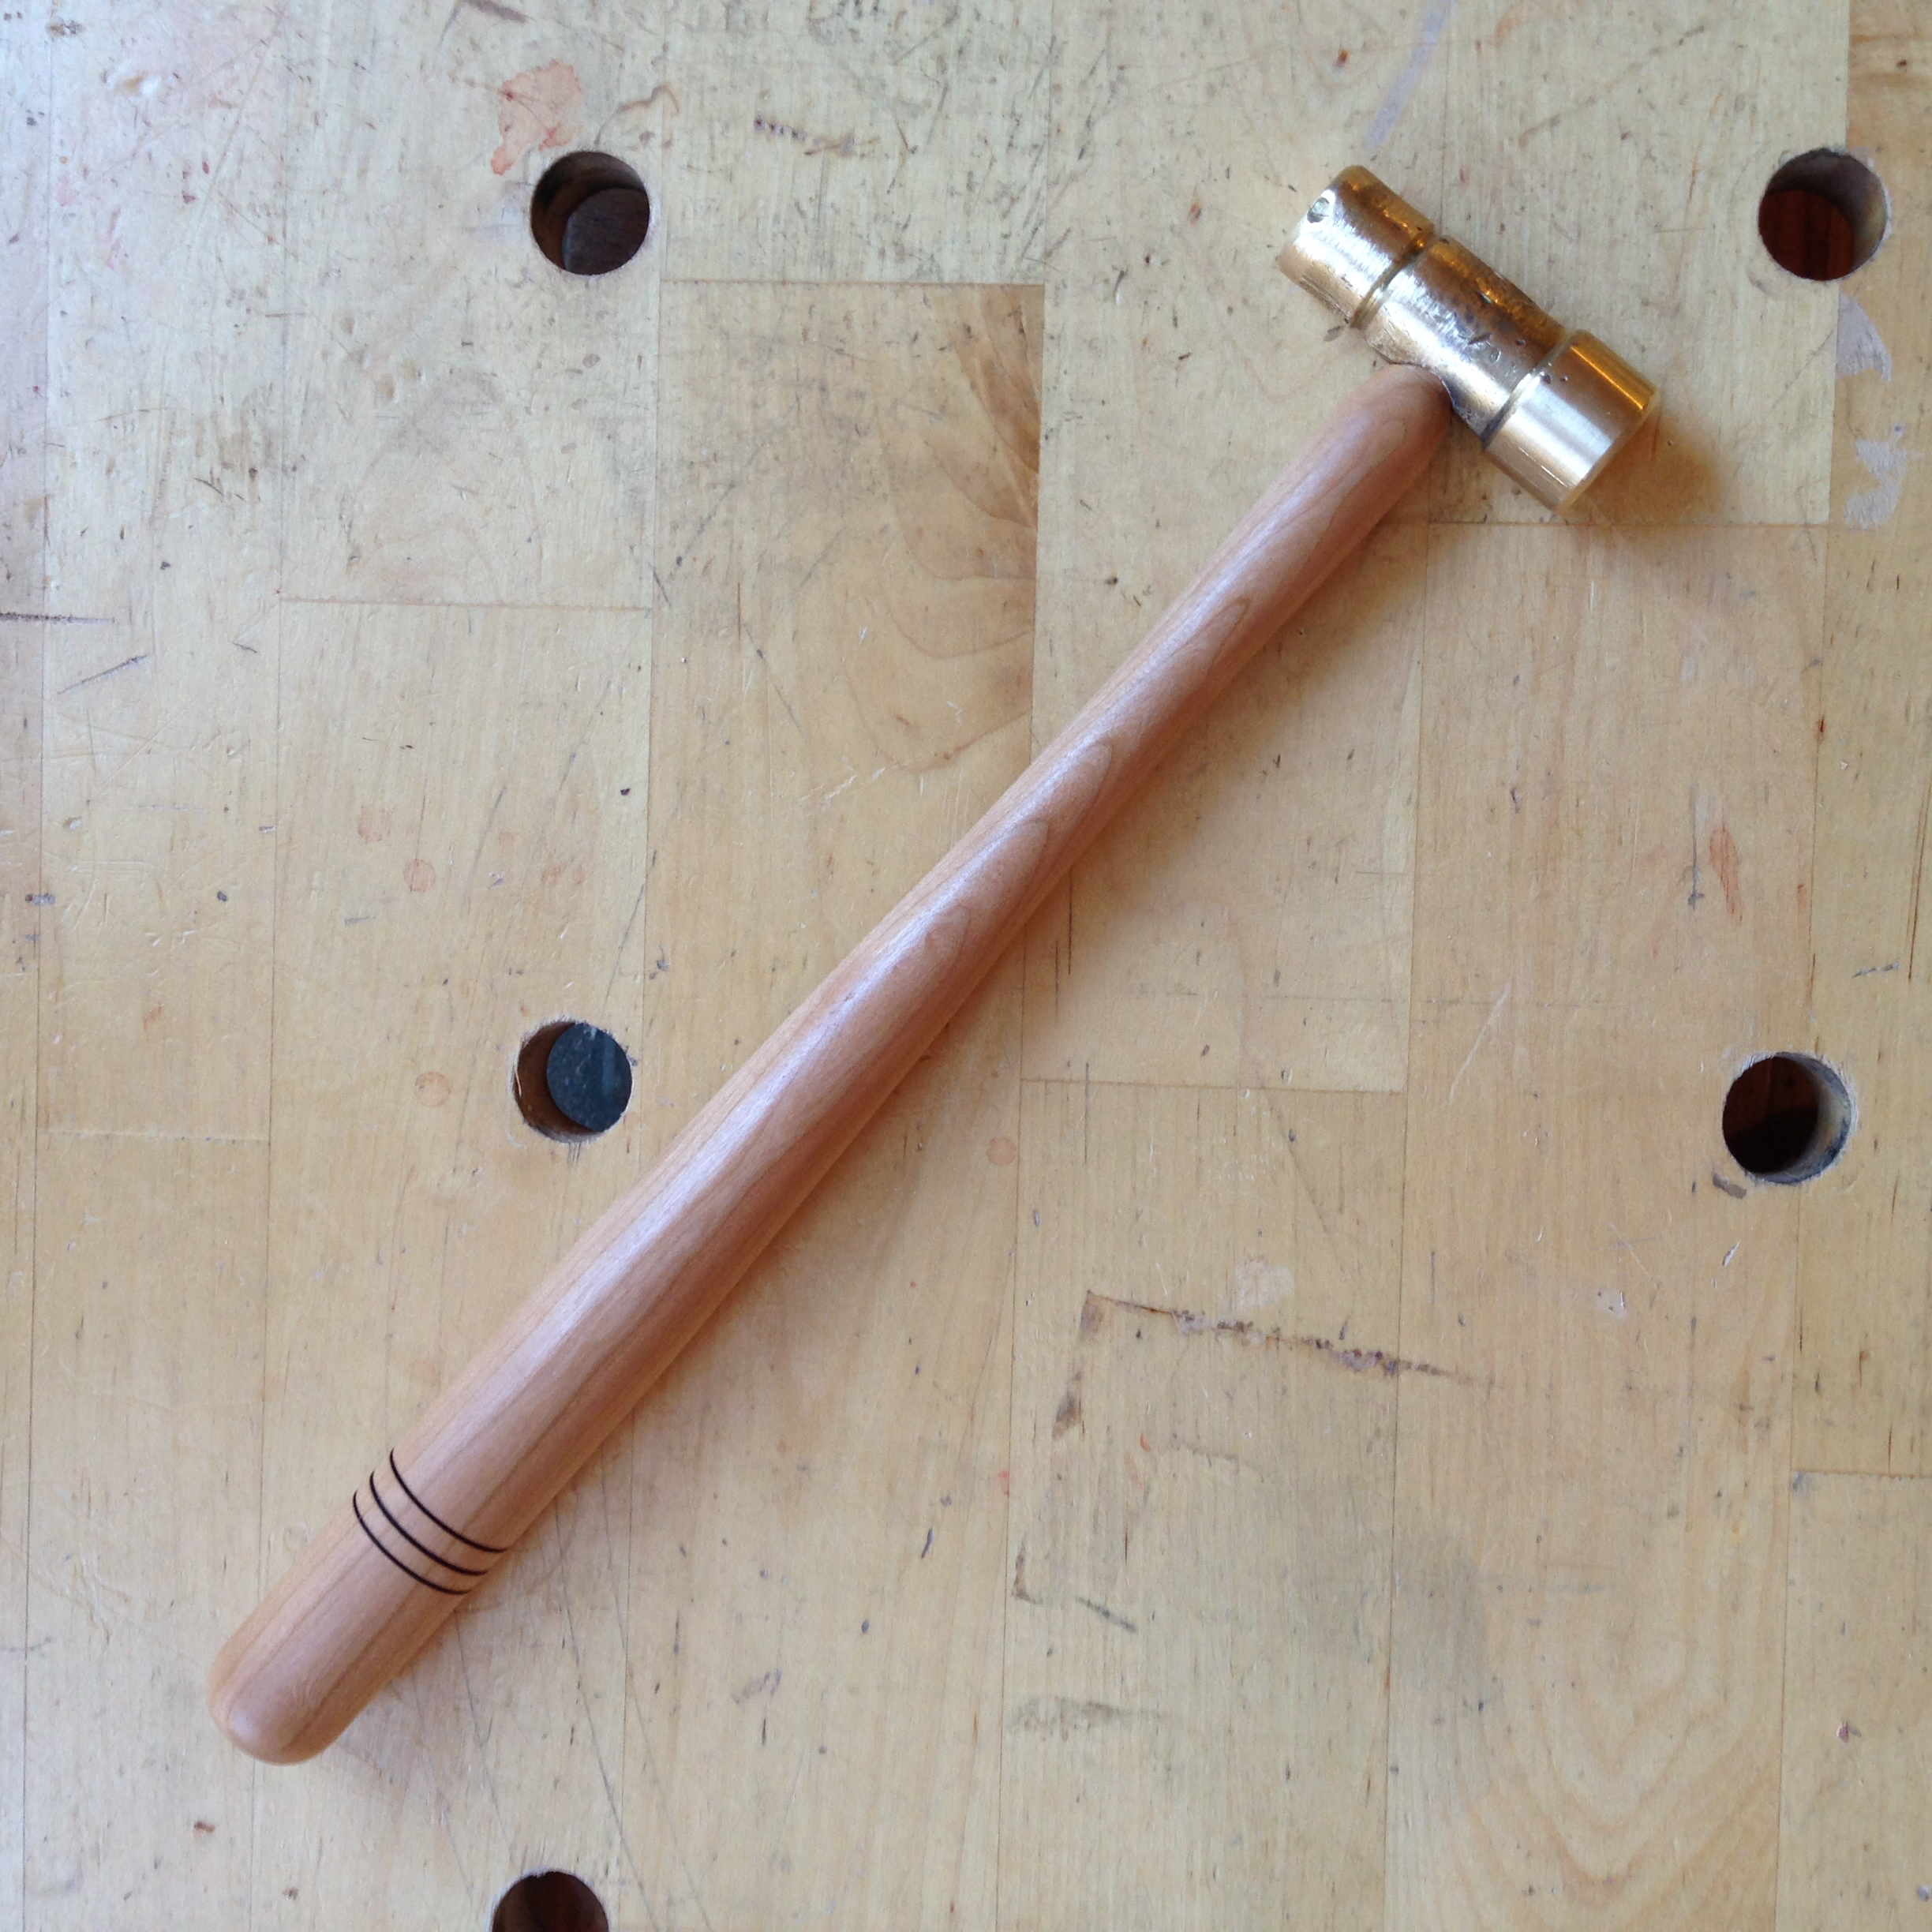
This is what I ended up with. Quite a change from the hammer I brought home yesterday! I am really happy with this and I hope it gives me many years of good service.
-Aaron