
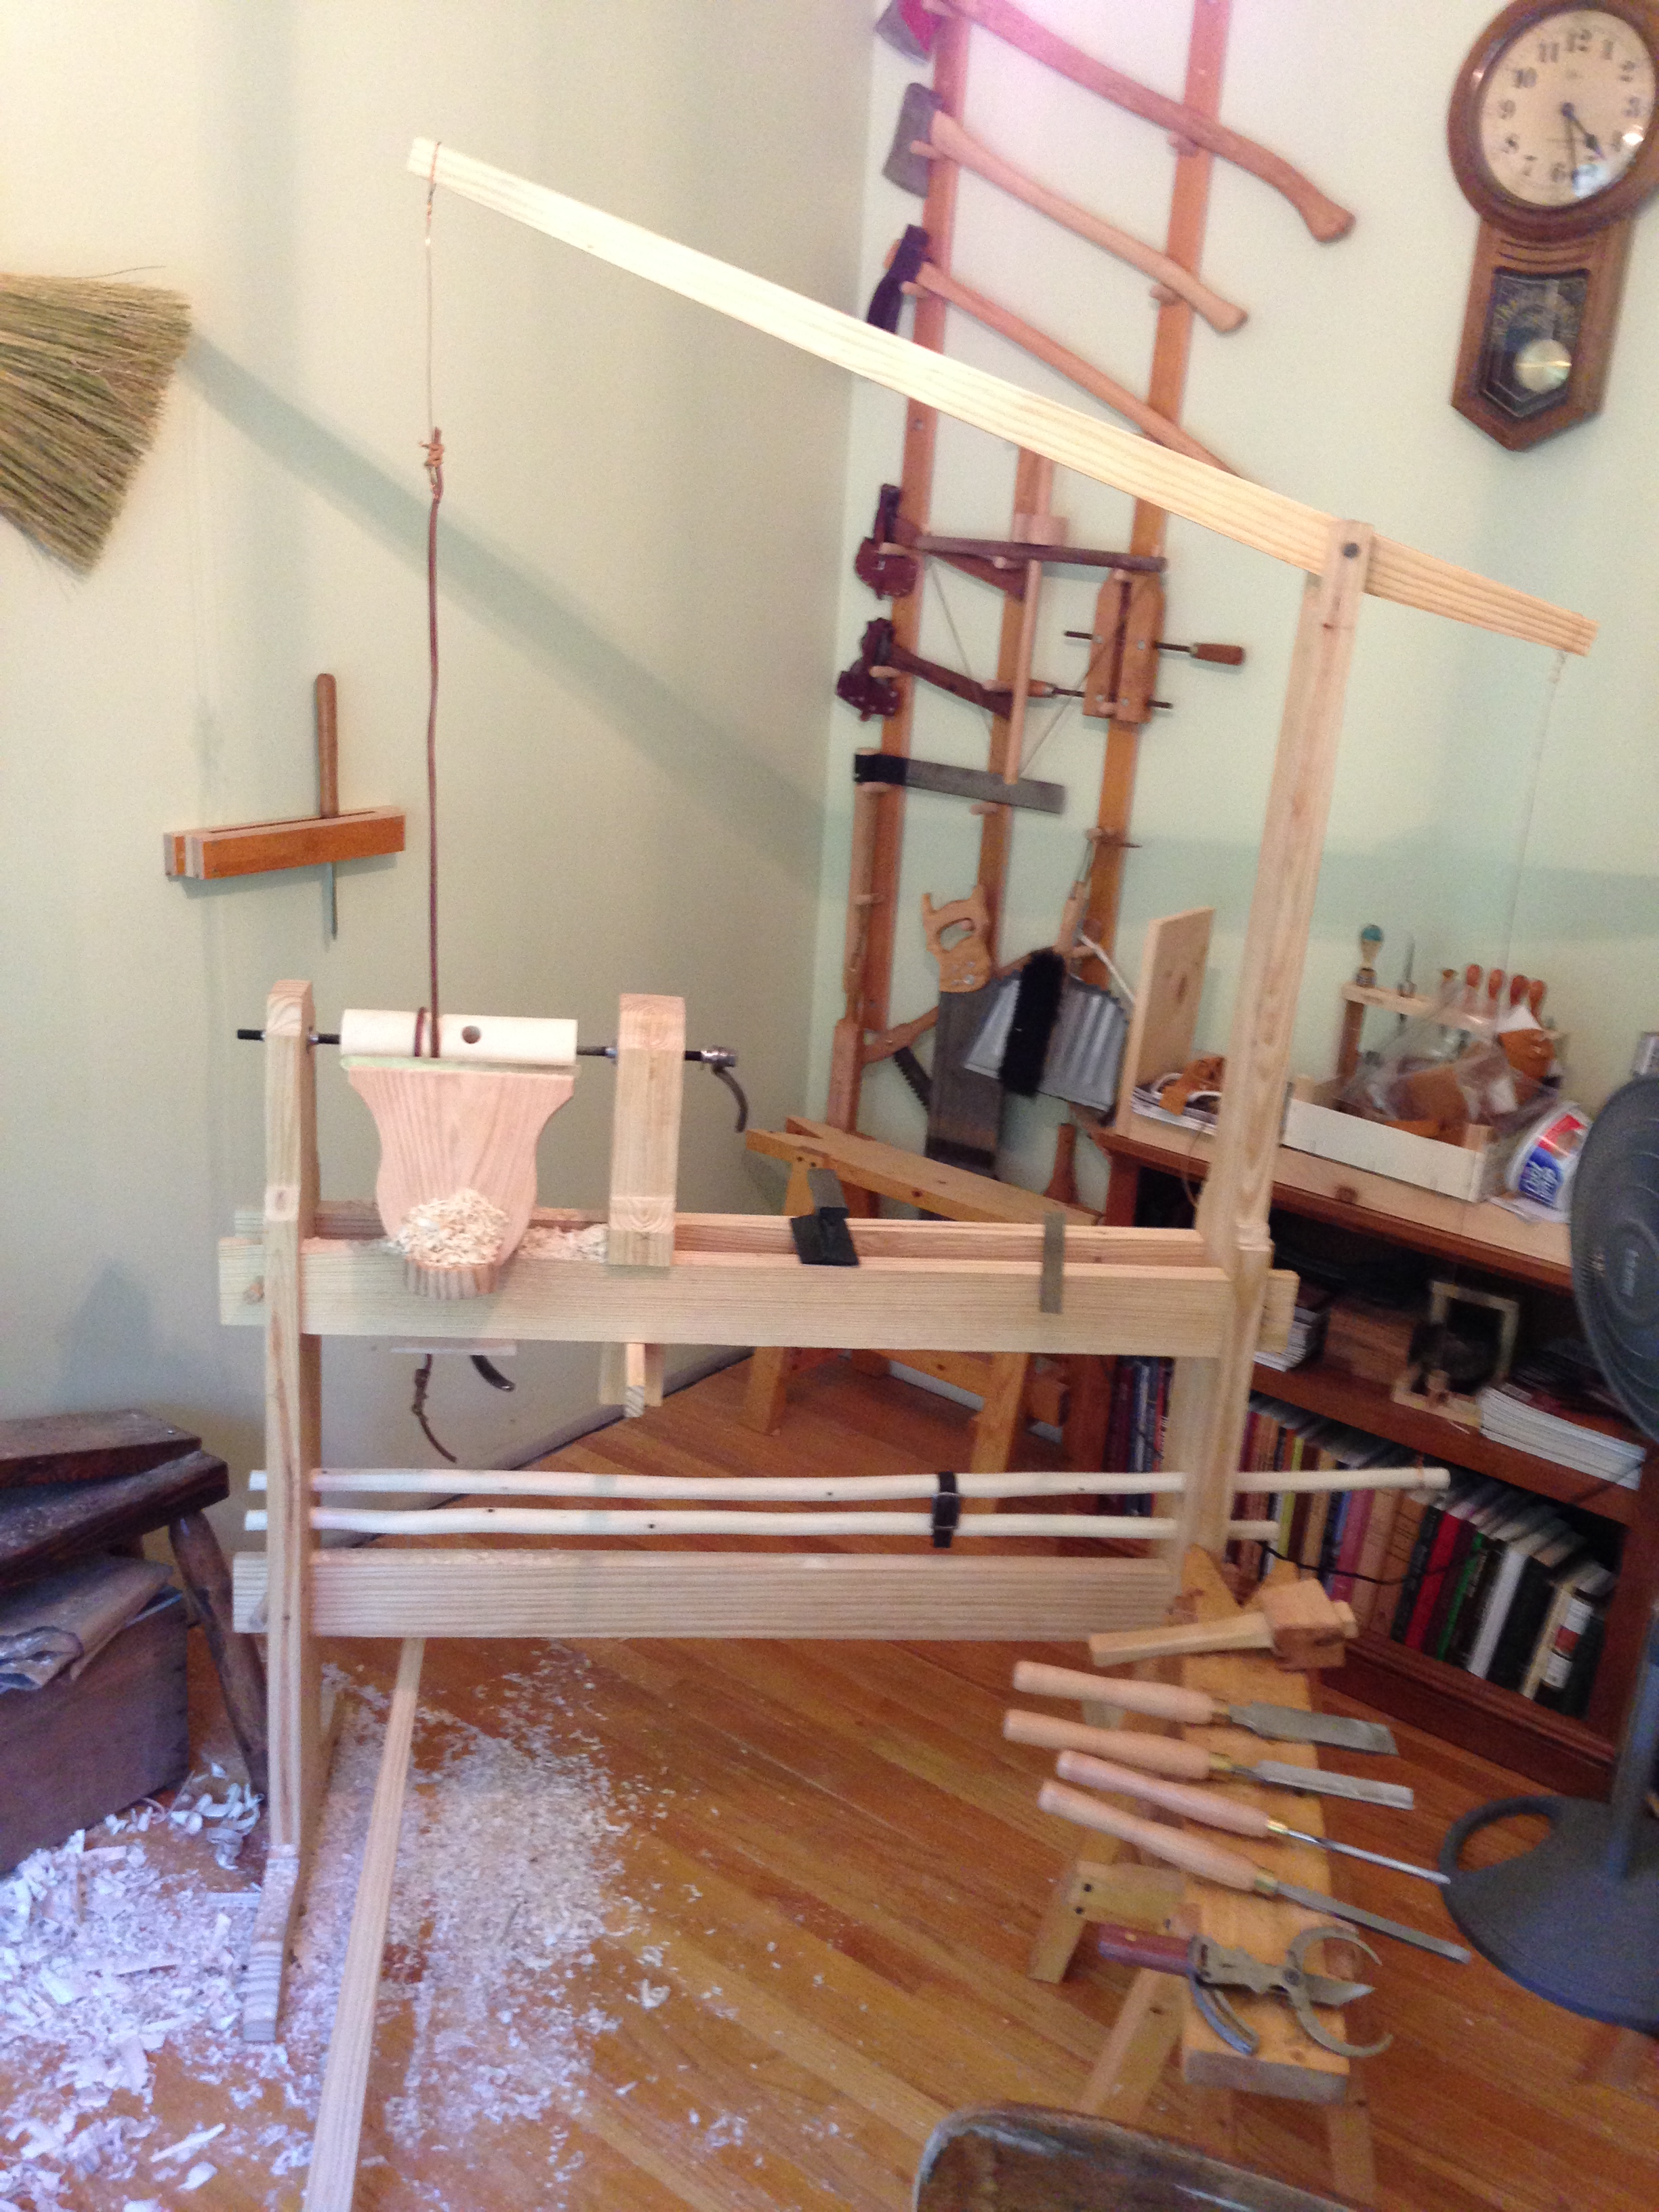
The completed machine – what a beauty!
You may recall from my previous post, that my half-finished spring pole lathe had become a temporary “bookshelf” due to an injury. Now, oh happy day, it has been repurposed into a functioning lathe! This project, by far, was one of the most difficult I have undertaken. I don’t mean technically difficult, but physically difficult. But let me say up front that it did not have to be this way. Sometimes, we work against ourselves and are our own worst enemy.
I believe improper bench height was to blame for my injury which snowballed into the delay of my lathe project, my absence from a week-long, much-anticipated class at Roy Underhill’s Woodwright’s School, and the ill temperament of my wife. When I purchased my bench, I was not aware of the proper bench height. I have since read and learned more about benches and I determined that by cutting off 4″ it would be the perfect height for most of the work I do.
For me, it was a hard lesson learned. I say to you: Make sure the surface you’re working on is at the approbate height for the activity you are engaging in. You do not have to have two or three benches to do all your work, just build appliances to add to your bench or to use on the floor to keep the work at the correct height. Use a knee-height saw bench to do ripping and crosscut sawing. Use a “Moxon Vise” (this is my next appliance) attached to your bench to do dovetail work higher up. Do chopping and planing work at normal bench height.
Even with the injury, I have loved making this lathe! It is a joy to use and is a wonder of engineering. This design was created by Roy Underhill, adapting a centuries-old spring pole tradition and modifying it to his need to have a portable lathe to take to shows and demonstrations to create interest.
I made several modifications to the design for my own use. For one, I used copper wire to connect the pole to the short side of the rocker arm; I used what I had on hand – just 12-gauge electrical wire. I also used it to fasten the 3/8″ leather strap to the long end of the rocker and the foot board. I used a leather belt to connect the two spring poles. The original design used a flattened piece of copper pipe, I was hoping the leather would give me some “lively” action and it does. Plus, if it breaks while I’m away from home, I have an awl and can punch a new hole in the belt I am wearing at the time and be back in business in two minutes!
I was going to use weaving loom shuttle points for my centers, but I did not have an easy way to fasten them in a way that gives me room to work between the piece being turned and the tail or head stock. So I opted for a 1/2″ 13 x 1′ steel rod which I ground into two pieces (one 7″, the other 4 1/2″), then ground and polished the ends to a point. I also ordered some weld nuts, 1/2″-13. These allowed me to fasten the threaded rod to the head and tail stock.
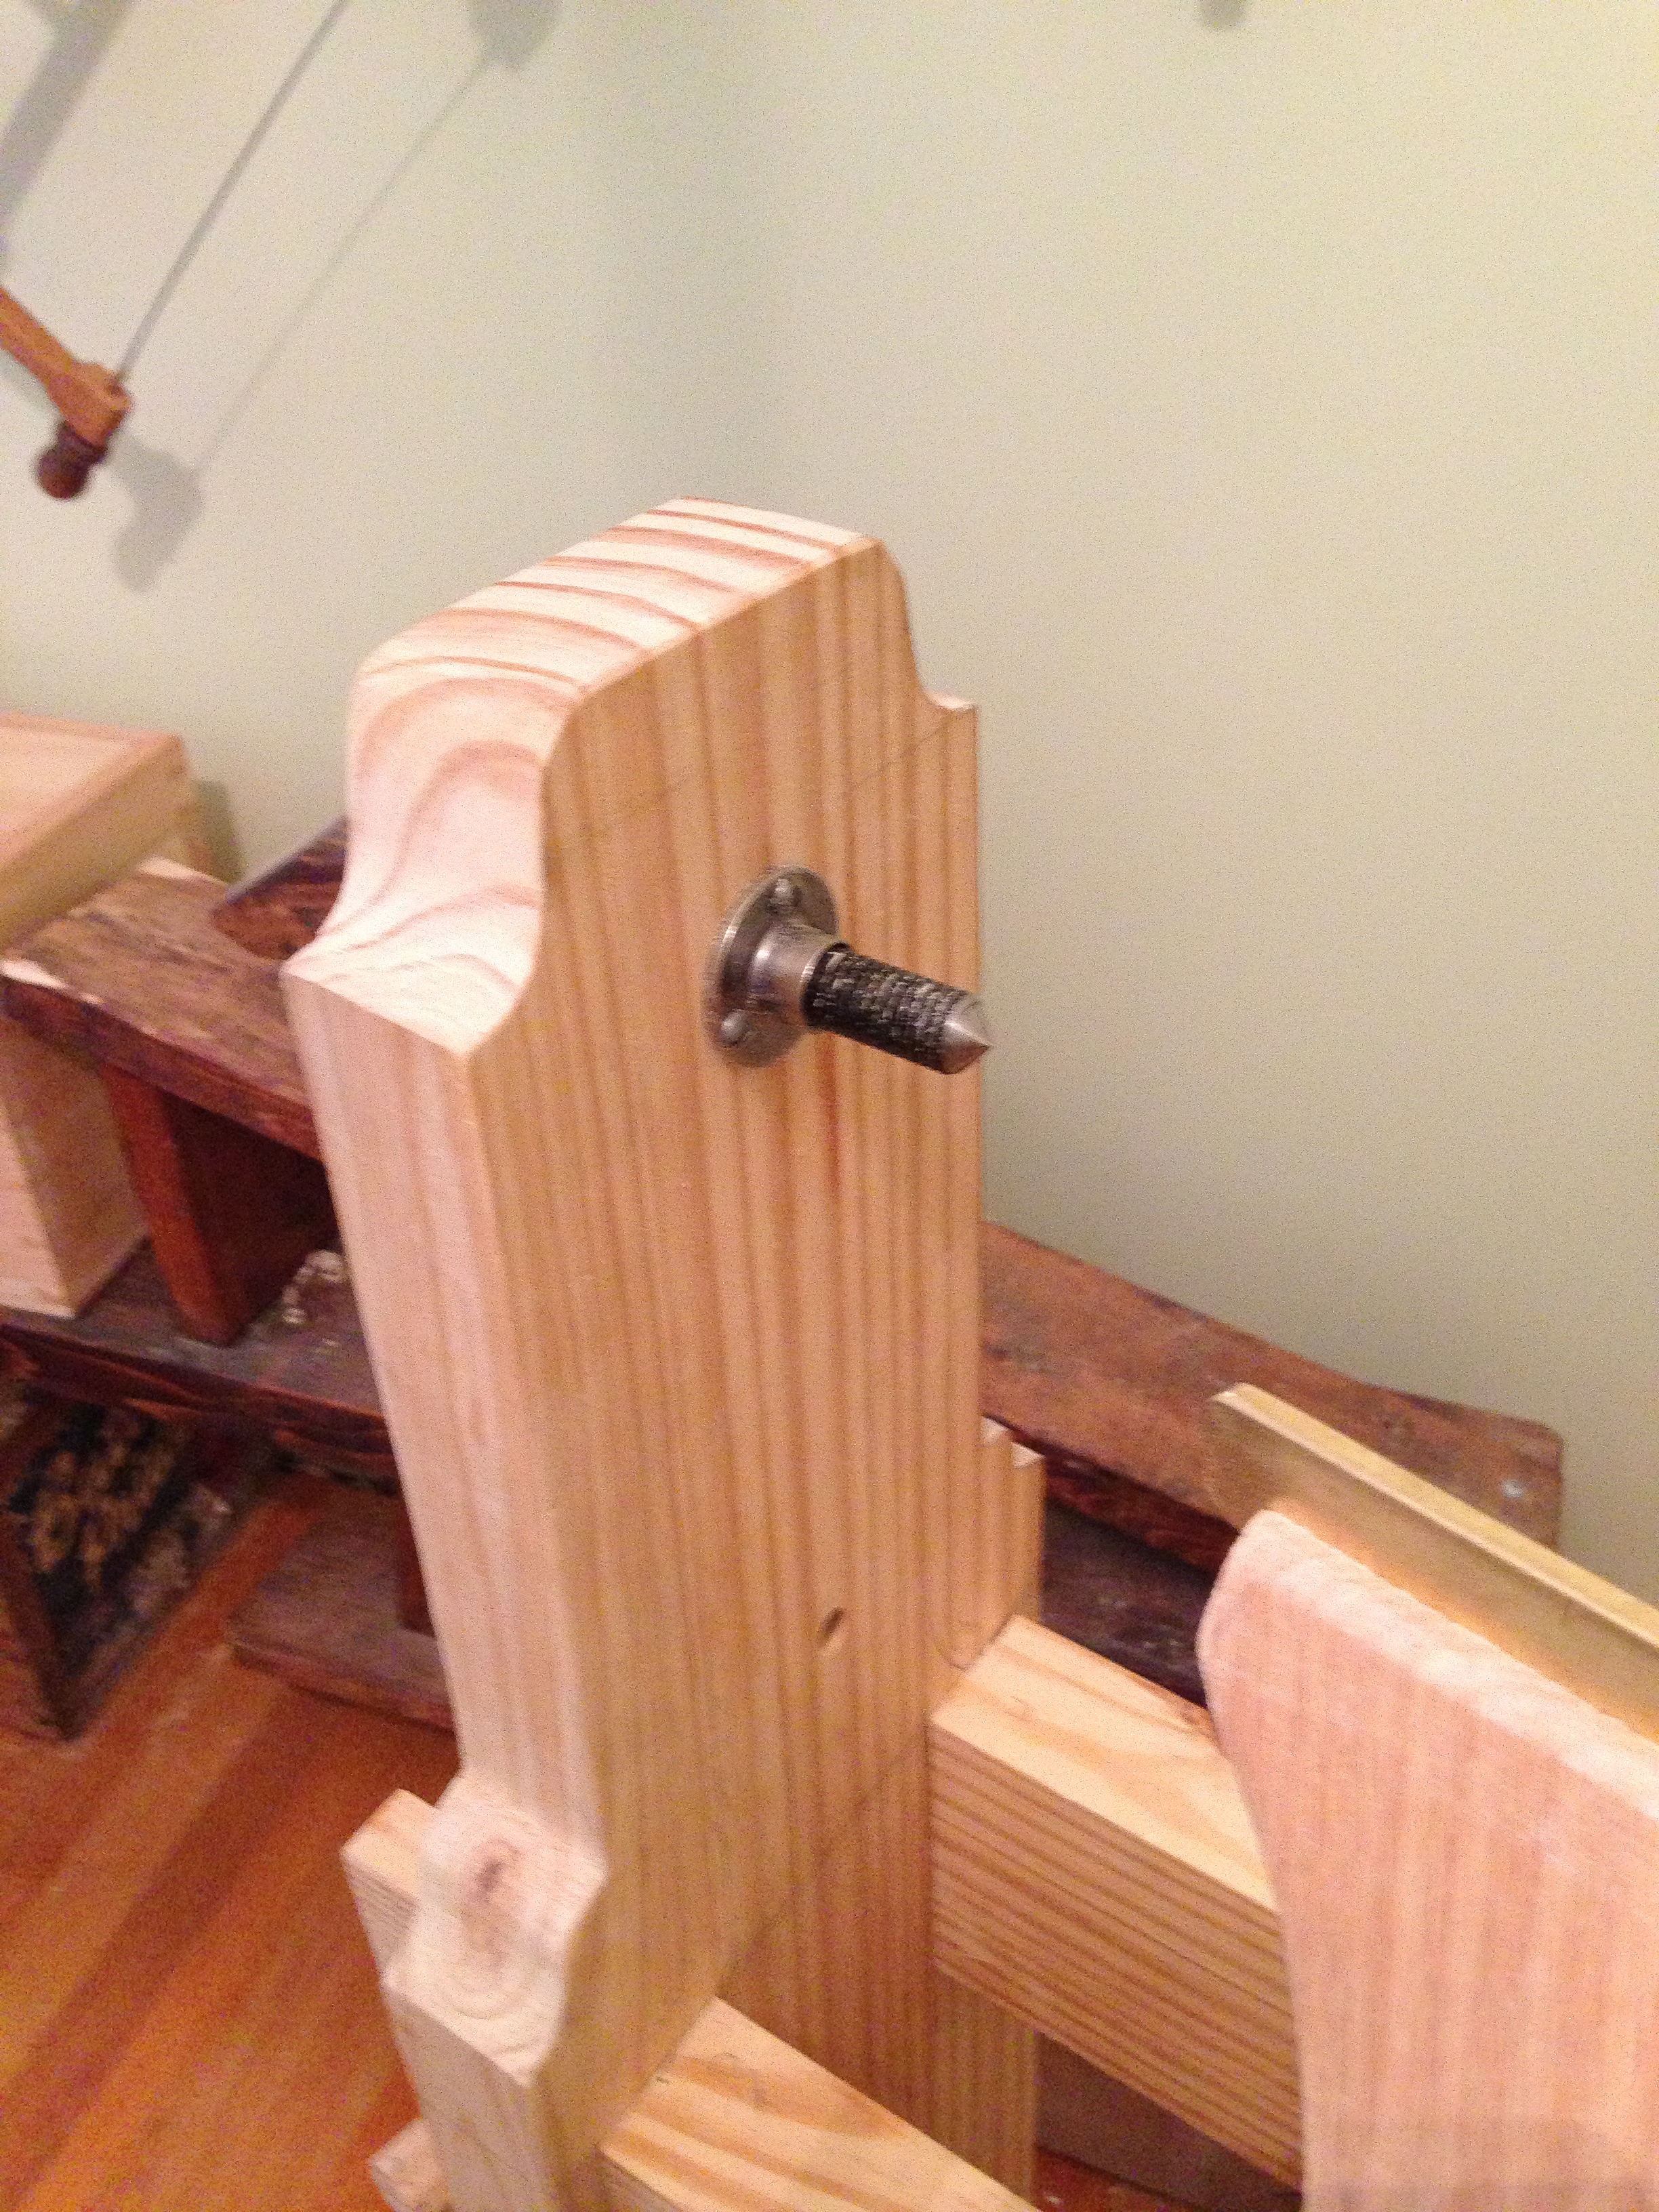
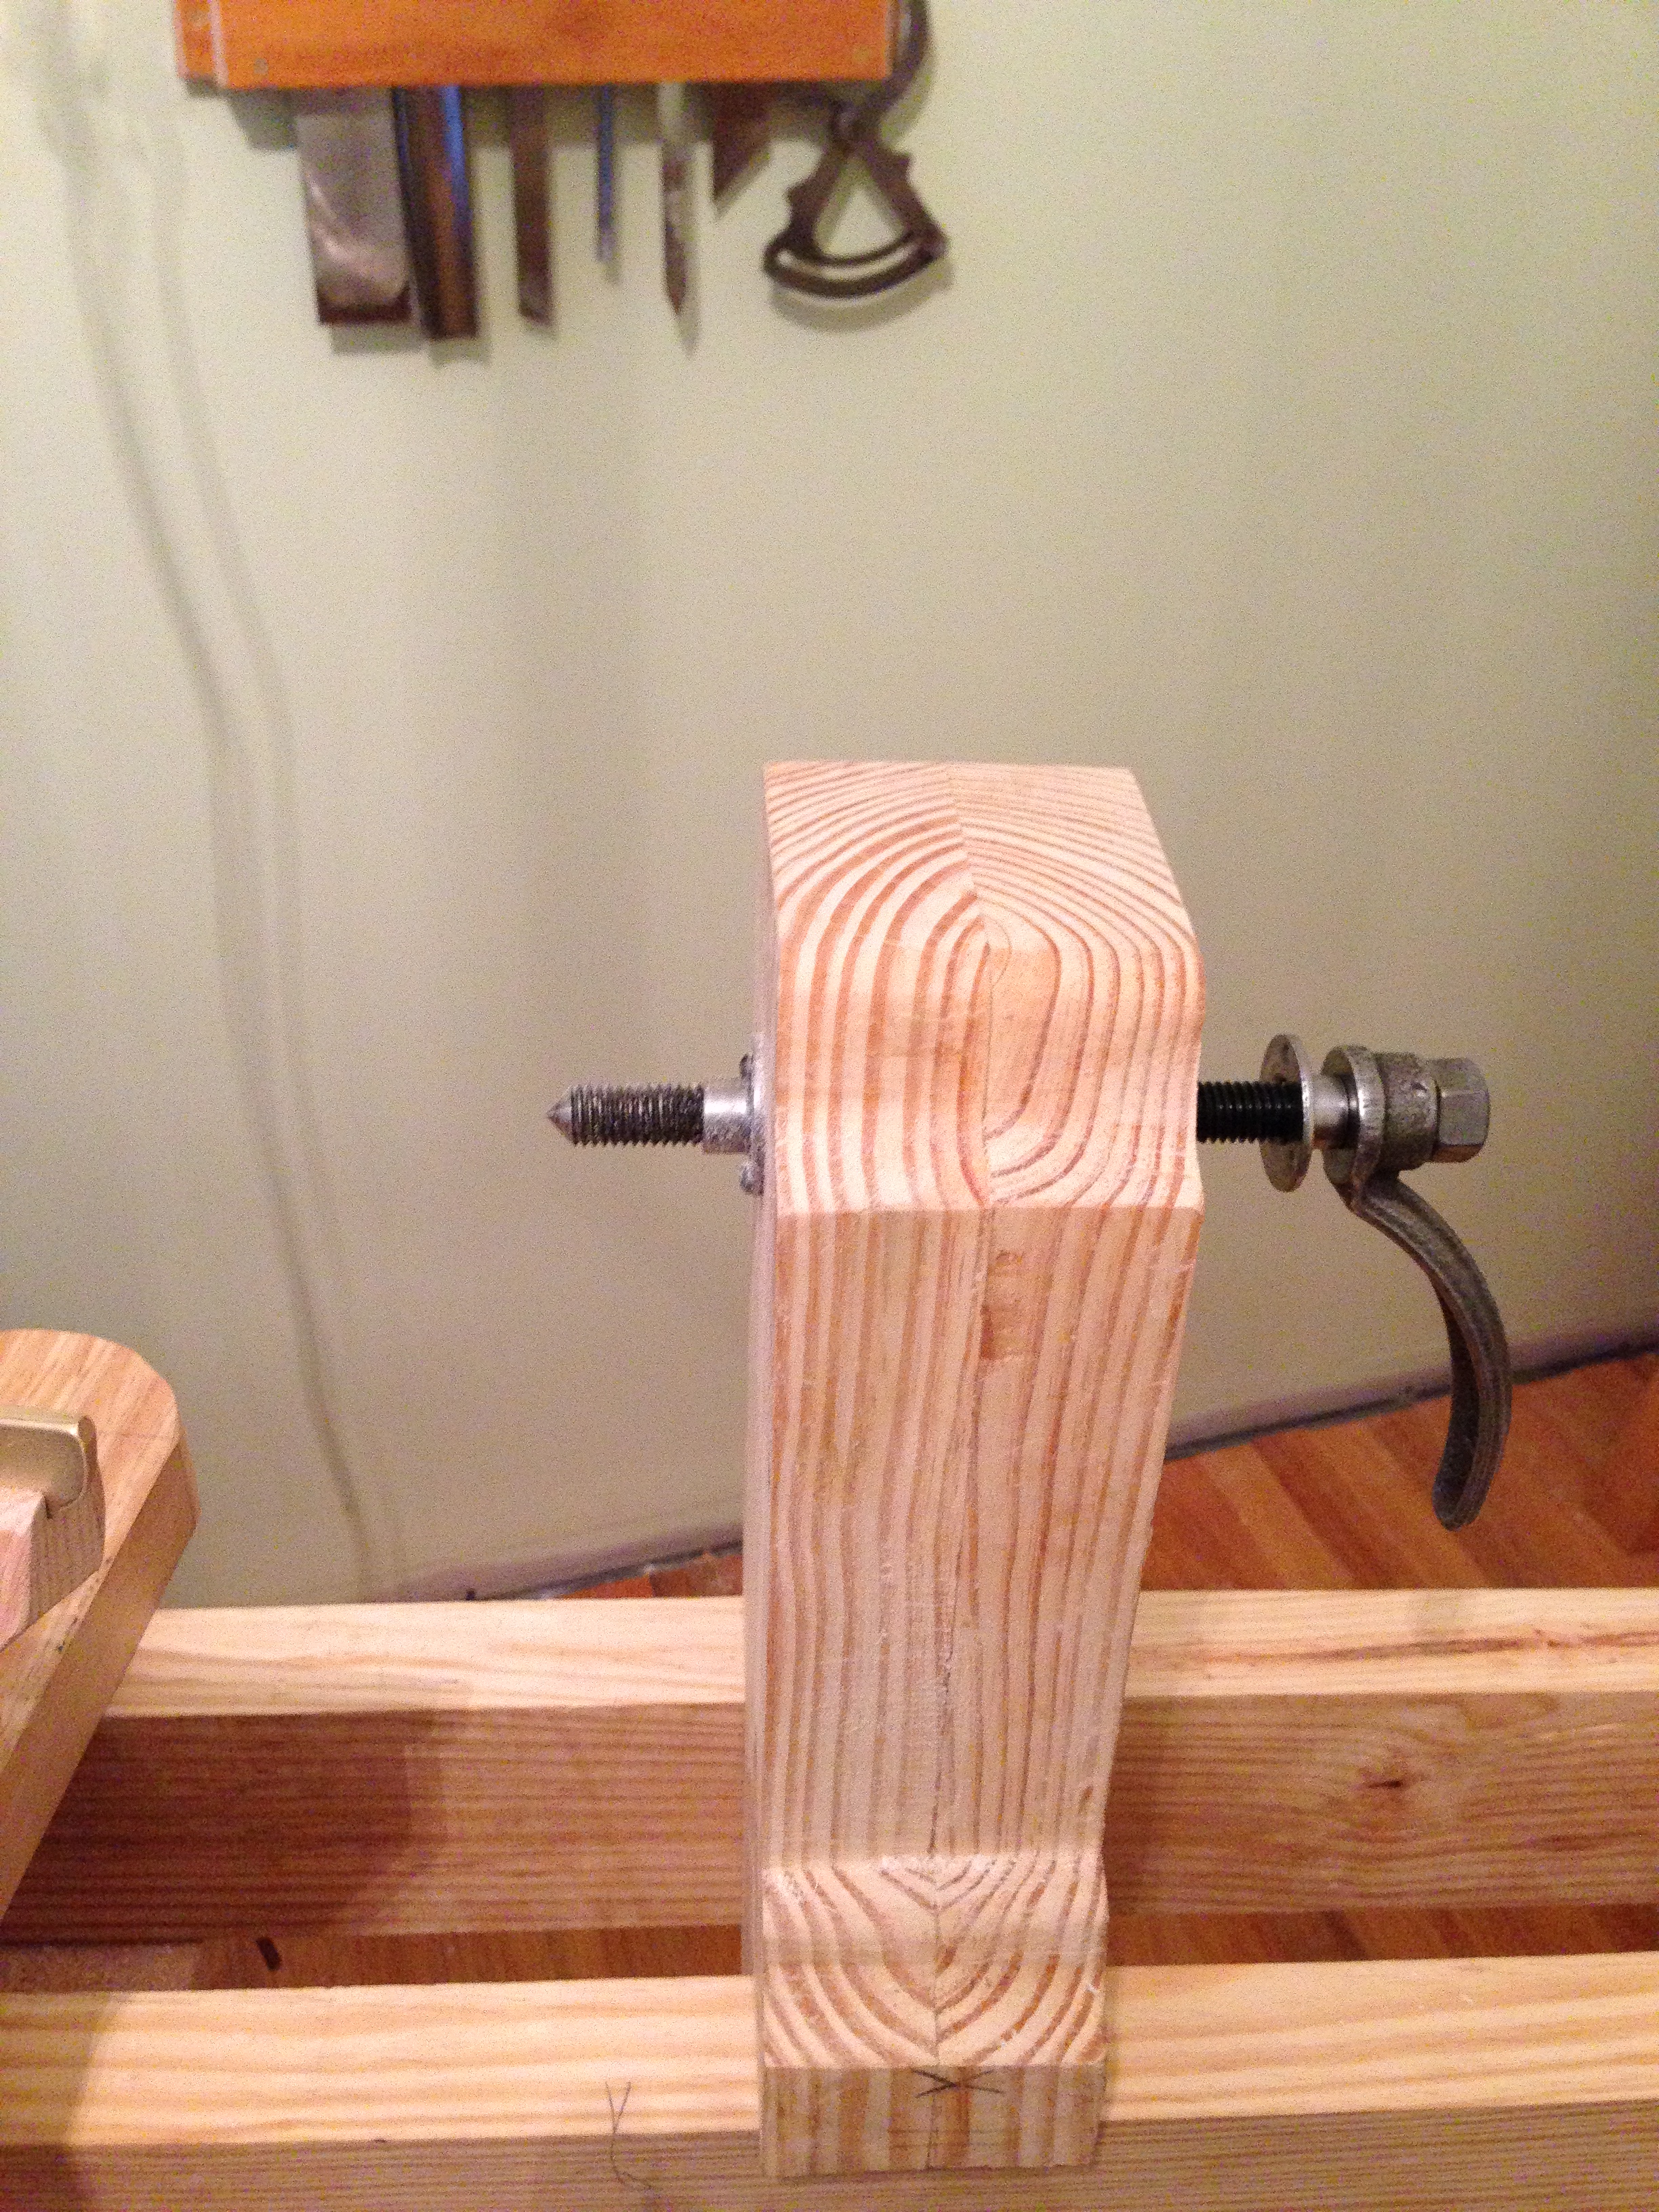
Notice the “Plain Finish Malleable Iron Handles, 1/2″-13 Threaded with Through Hole.” These were installed to operate the screw in and out on the tail stock and also to tighten the poppet on the tool rest. I also bought a bar of brass (3/16″ thick, 3/4″ width, 1′) to use on top of the tool rest. I was thinking the brass would not mar my tools but would protect the wood from tool damage and is replaceable if it wears out. After using this for a little while, it has become evident that brass is not going to work the way I had intended. Brass is so soft that my tools are catching and digging into it and keeps the tools from “skating” along the tool rest. I will be replacing the brass with steel soon.
Here are but a few of the many things I want to make with the lathe: Spinning top, a three legged camp stool, handles for my long suffering chisels and files, blanks for wooden screws, a new pump drill, and new handles for my turning saw.
The finish on the lathe will be just 3 coats of boiled linseed oil (boiled means it has additives so that the oil dries and hardens). I believe this lathe will be around for a long time. One great advantage of building a machines like this is that if it ever breaks you know how to fix it. Using a tool you make yourself gives you great satisfaction and really energizes you for the next project.
This type of lathe lends itself to green woodworking. A lot of chair legs and spindles are made with green wood. Some turners turn the parts most of the way and then either kiln-dry the parts or wait for nature to do it for them and the turn them one last time to the finished size to remove the oval shape that comes when wood dries.
Roy said in his book, “The Woodwright’s Guide: Working Wood with Wedge and Edge,” – “I want you to make this lathe.” Well, I did and I glad I did. This tool is a real pleasure to use and does good work. It is not loud and and allows me to enjoy yet another dimension of my favorite hobby/obsession/therapy.
– Aaron
P.S. All steel and brass hardware was purchased from McMaster-Carr and the 3/8″ leather belting can be obtained from Universal Sewing Supply.
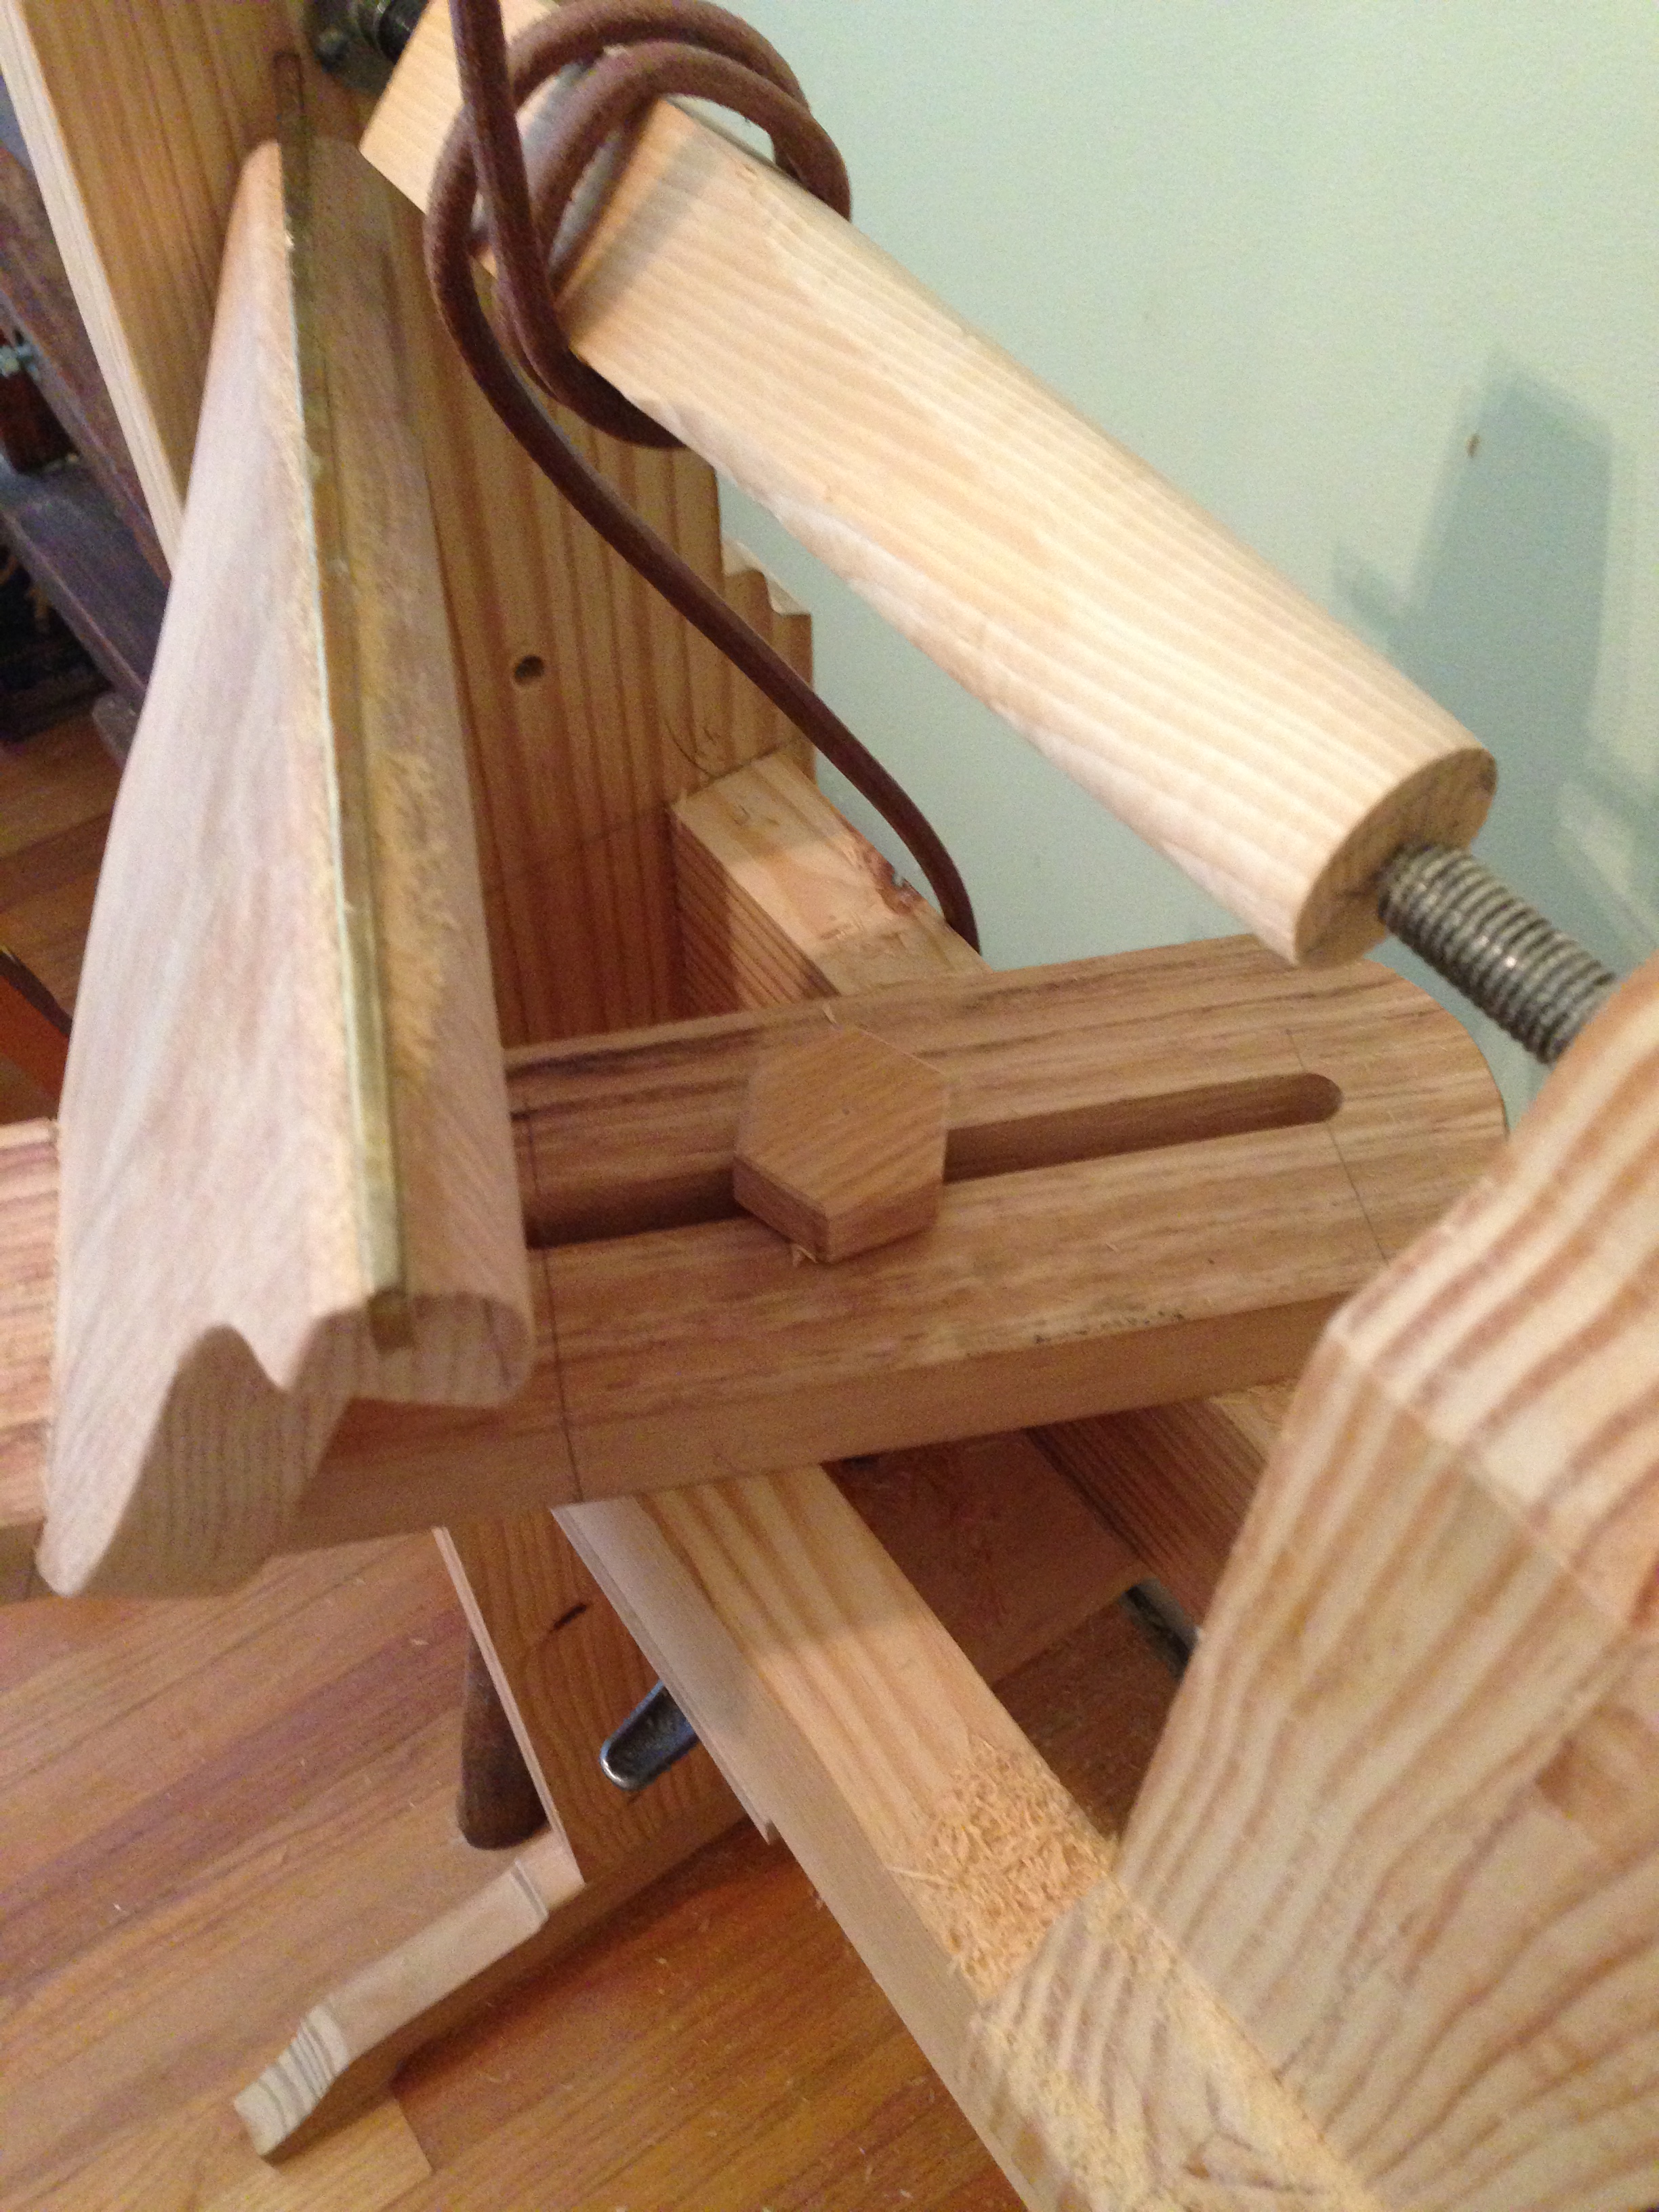
The wooden tightening nut
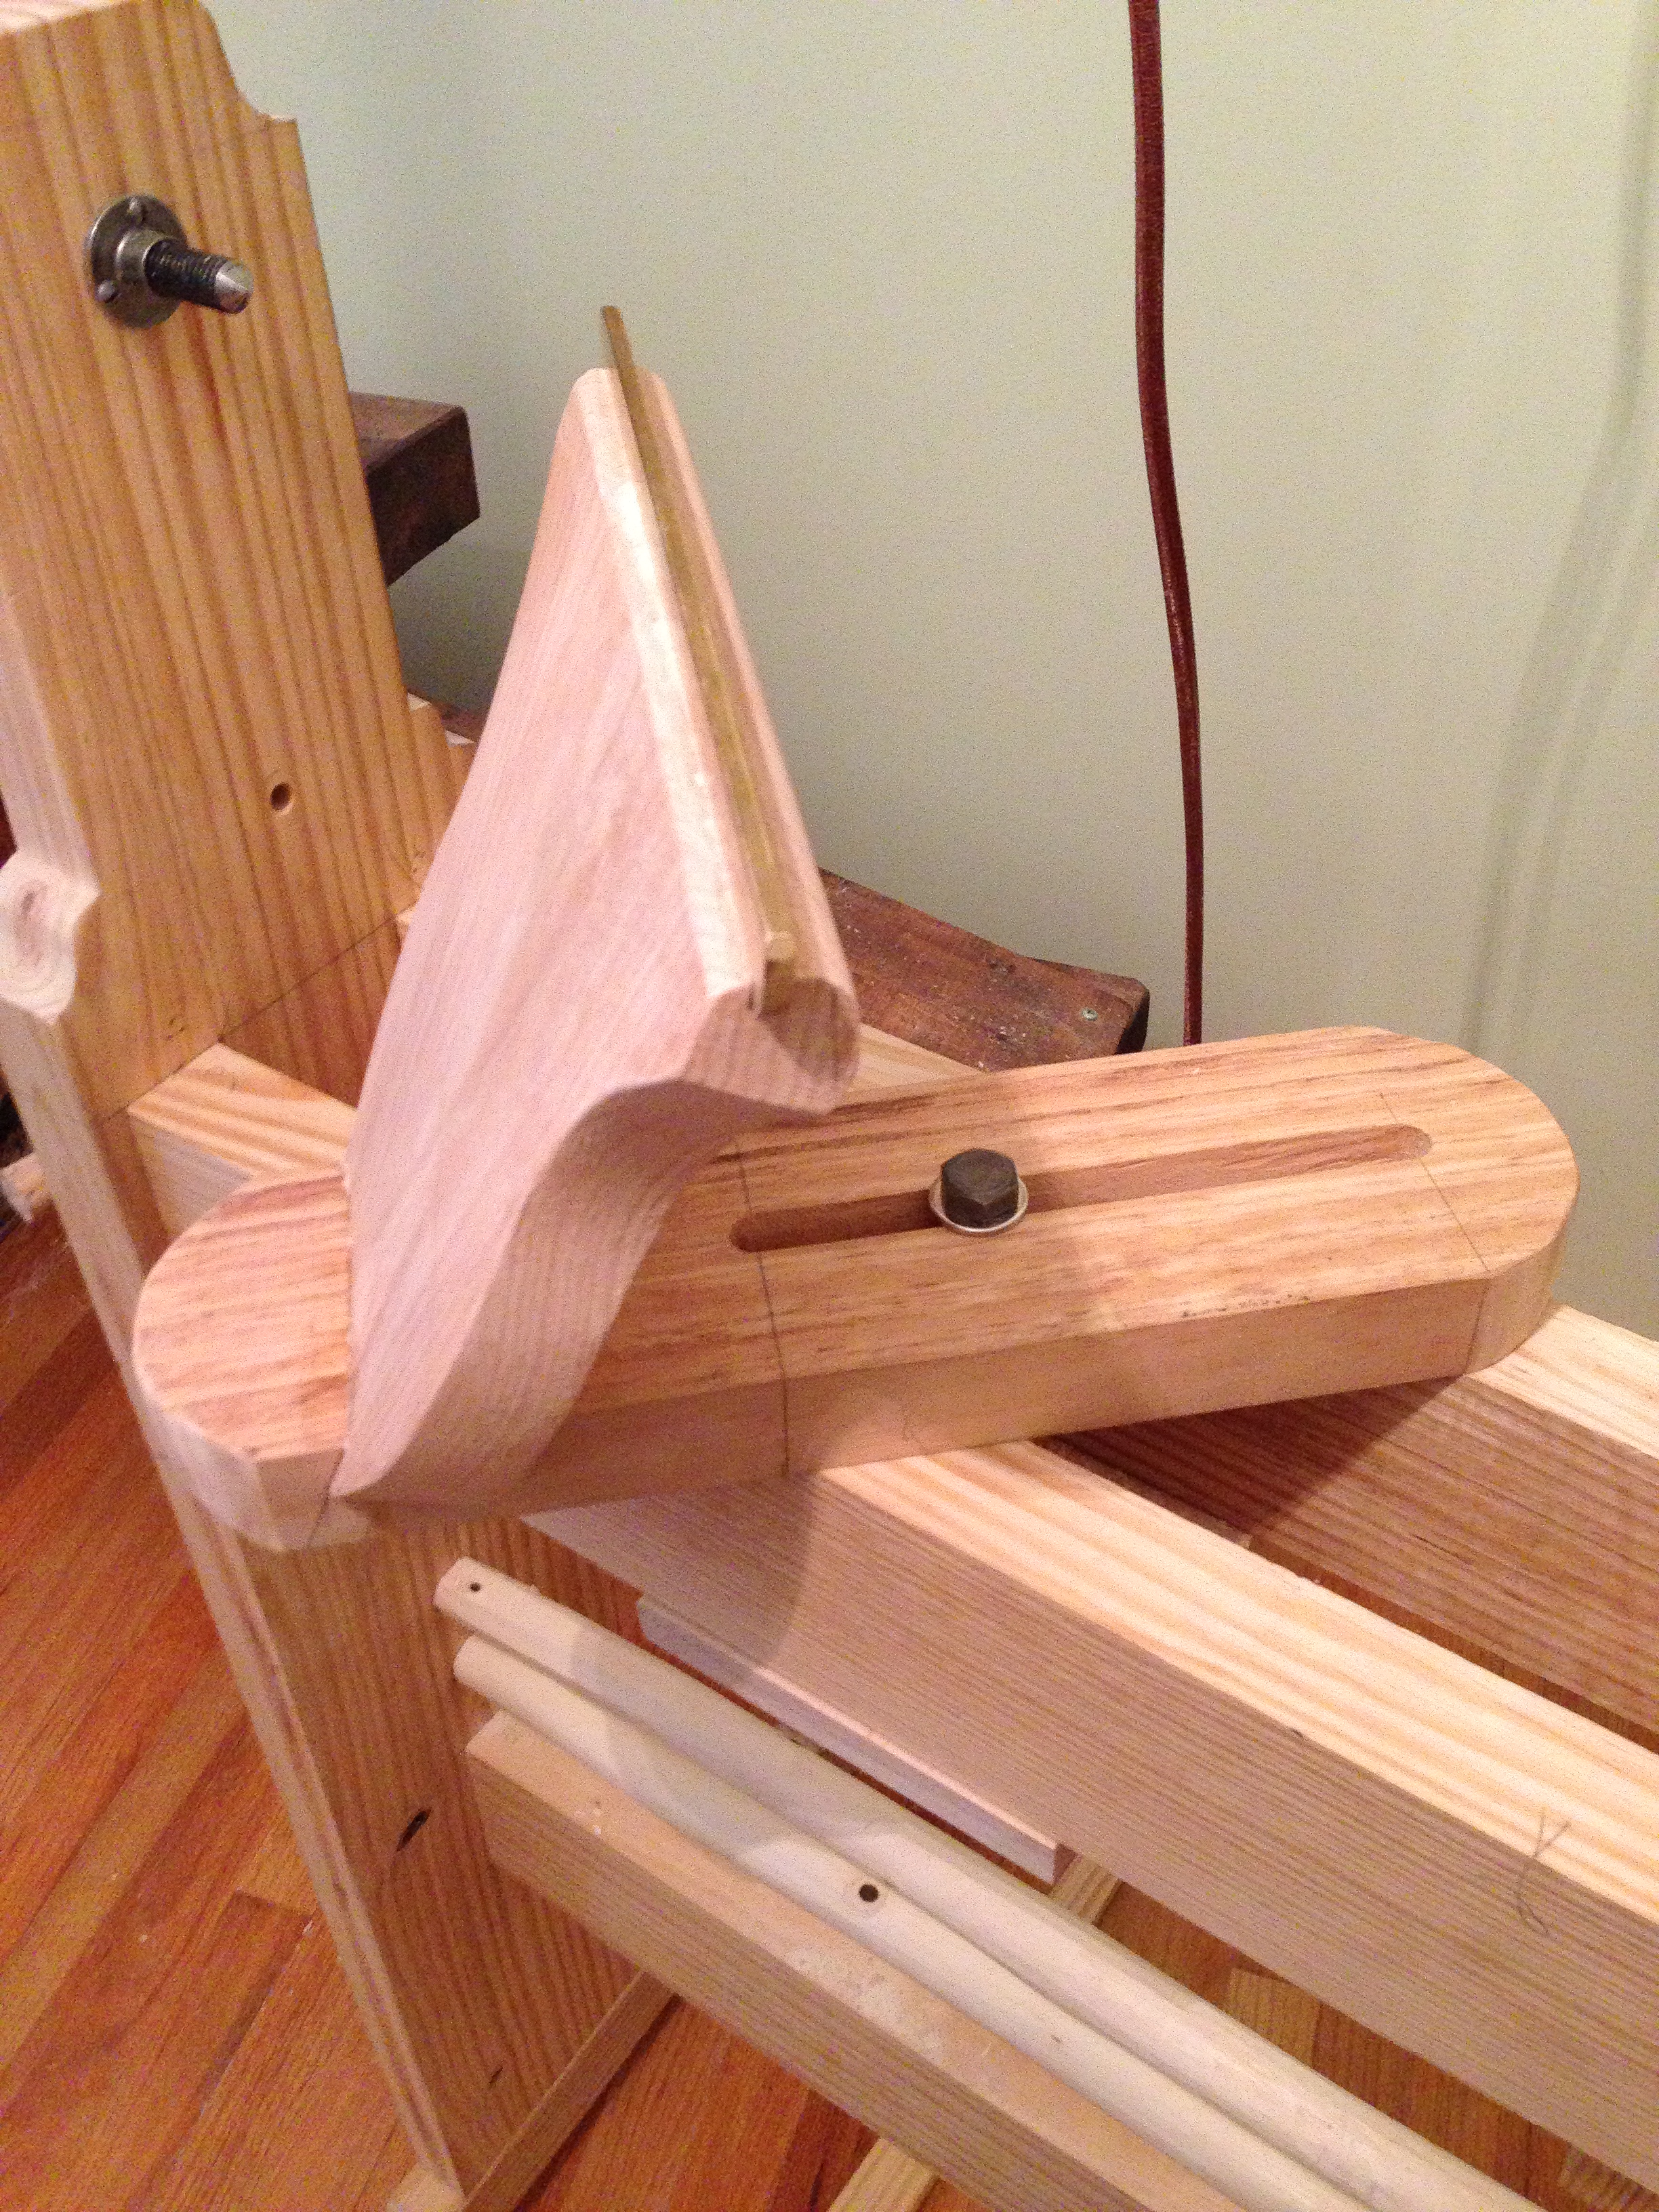
Toolrest sans the wooden nut
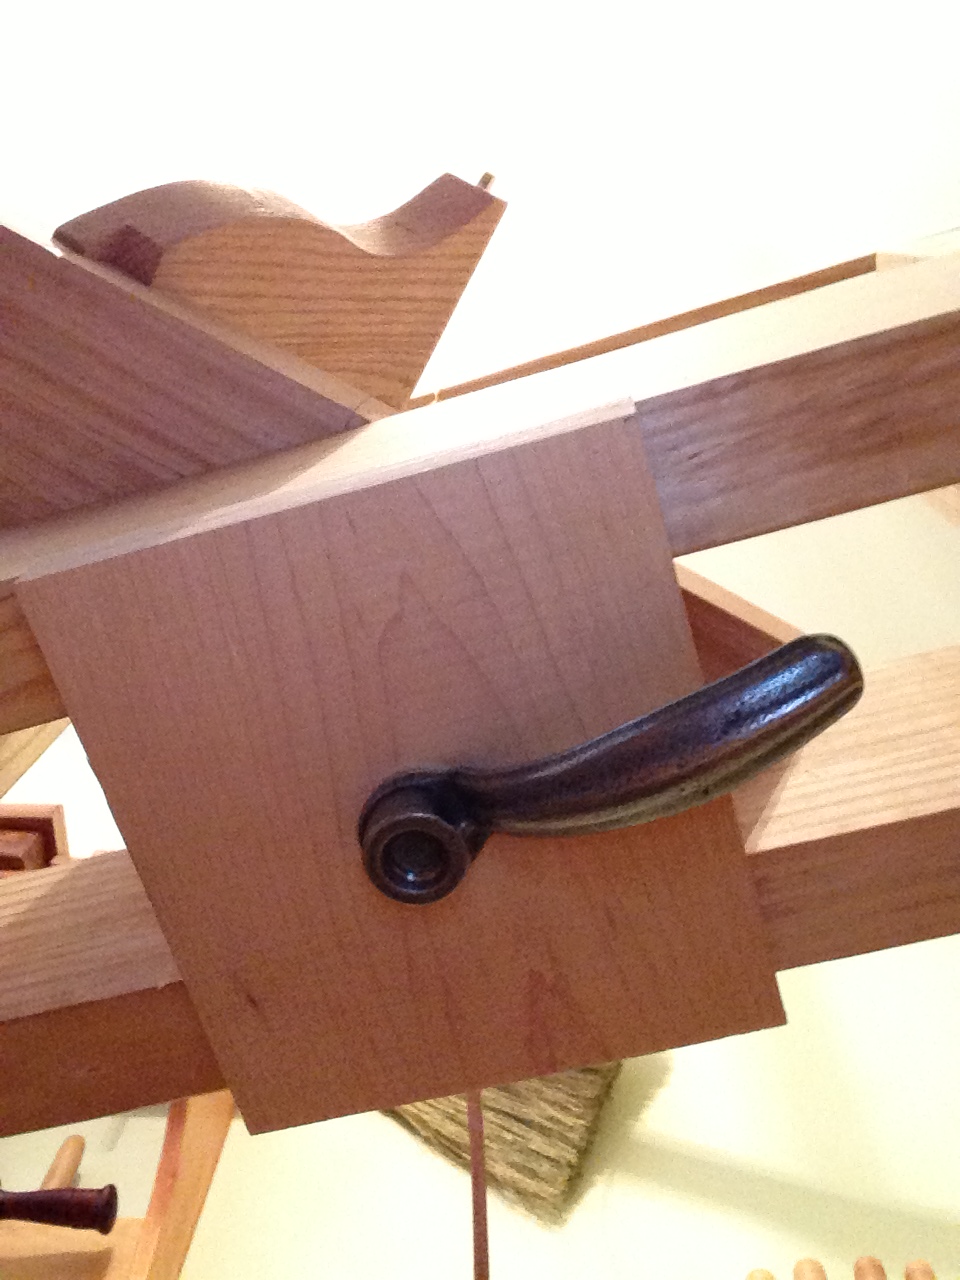
Toolrest adjustment lever