Up until now, this blog has almost exclusively focused on tools either made in the golden era of woodworking or new tools based on tools from that period. Well, today’s blog will be covering something a bit more modern—something new from the 21st century: 3D printing (I know there was 3D printing in the 20th century, but it was only in this century that it became available to home enthusiasts).
The story begins like a lot of my tool stories: a trip to the local tool monger’s shop owned by Ed Lebetkin. He offered me a deal on a very nice Stanley No. 3 type 5 that I could not pass up. He said I might have to put some effort into getting it into working order. I did not hesitate and I said to Ed, “Take my money.”
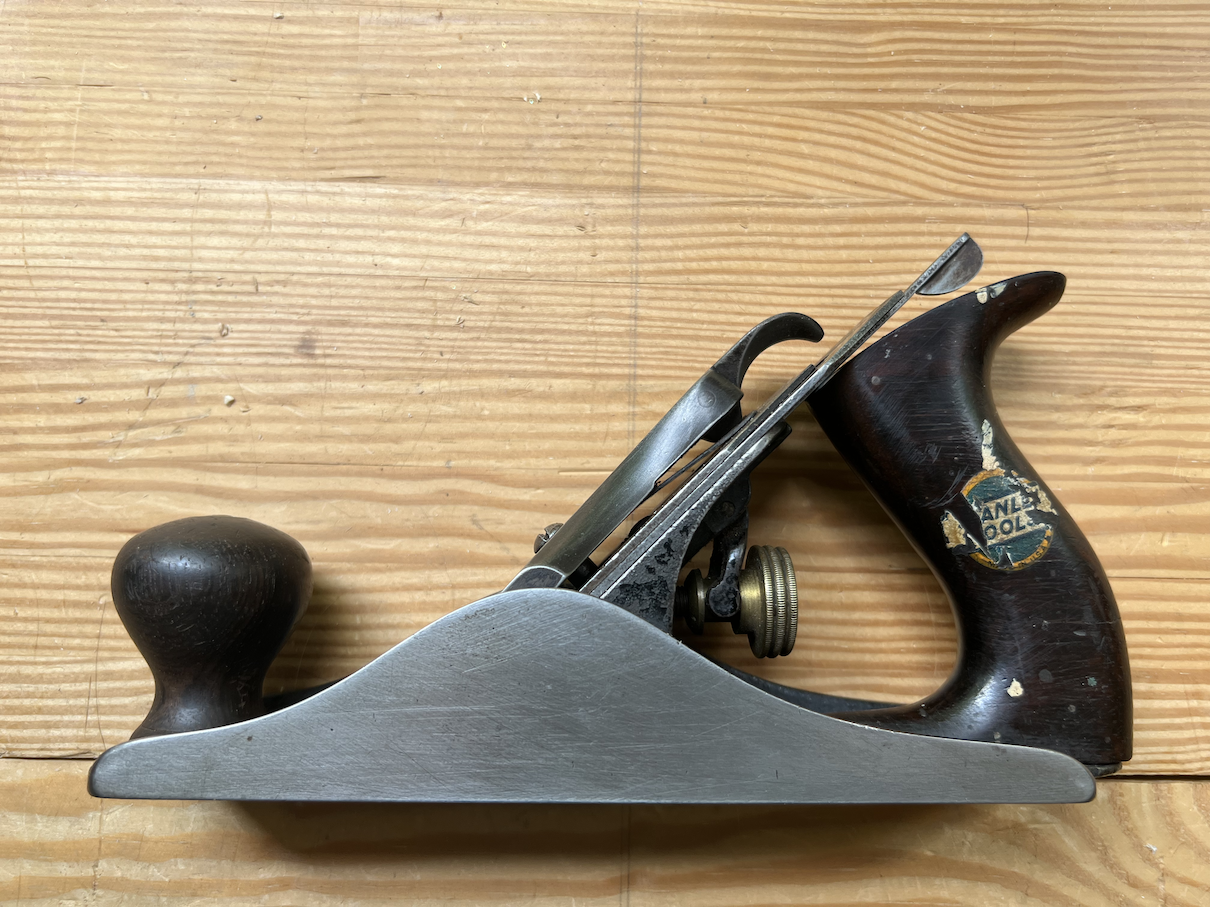
After getting it home and having a chance to look it over, I did find the issue Ed was talking about. The lateral adjuster scraped on the tote even when the frog was moved as far forward as it could go. Also, in this position, it was not possible to let the blade out without moving the edge too far past the chip breaker, making the plane unusable.
I thought about the issue for a while and the possible fixes that I could do. The actual problem was that the original tote had probably been broken and replaced with a newer No. 3 or No. 4 tote from the sweetheart era. I could tell it was from that era as it still had remnants of the Stanley decal, and it had an hourglass brass nut. The solutions were to 1) buy an old tote and hardware from eBay or another supplier, 2) shape the current handle to fit the plane (not really an option, as I dislike disfiguring any part of an old tool), or 3) buy just the hardware and make my own tote.
As I call myself a woodworker, I chose option 3. The next choice was where to get my hardware. As I have been watching a lot of videos about Stanley planes and hardware, I found the “Just Plane Fun” YouTube channel. Michael Jenks runs that channel and also sells plane parts. I contacted Michael through the Facebook group, and we worked out a fair price, and the part was in my hands two days later.
Next, what wood species should I use? Early Stanleys used Rosewood and Cocobolo. Those woods are exotic and expensive if you can get them at all. What about domestic hardwoods, like Cherry, Apple, or even Maple? Readers of this blog know how much I love Lie-Nielsen tools, and they use Cherry on their totes and knobs. Well, stay tuned. As I write this, the wood for this project will be here today, and I will let you know in the next blog post what I chose and why.
So now, with the hardware and wood species sorted, how was I going to make the tote? I have repaired totes before, and I have made some pretty nice saw handles as well. But I did not even know what shape to make the tote in. I do have a Stanley No. 3, but it has the newer larger handle, so I couldn’t use it as a pattern. So I did what I always do: I went online and found some plans from Lee Valley for number 3/4 totes, but I was no closer to an actual pattern.
As a bit of backstory, I have learned how to use 3D modeling software (Onshape) over the last year and have gotten pretty good at fabricating parts I need for my electronics shop and around the house. So I decided to load the pattern I downloaded and make a 3D model of the larger handle. I then modified it to fit the smaller size on my actual plane. This is where the the Marriage of Convenience of comes in. By marrying 3D printing with old school woodworking, I can do a better job fixing up my new old plane.
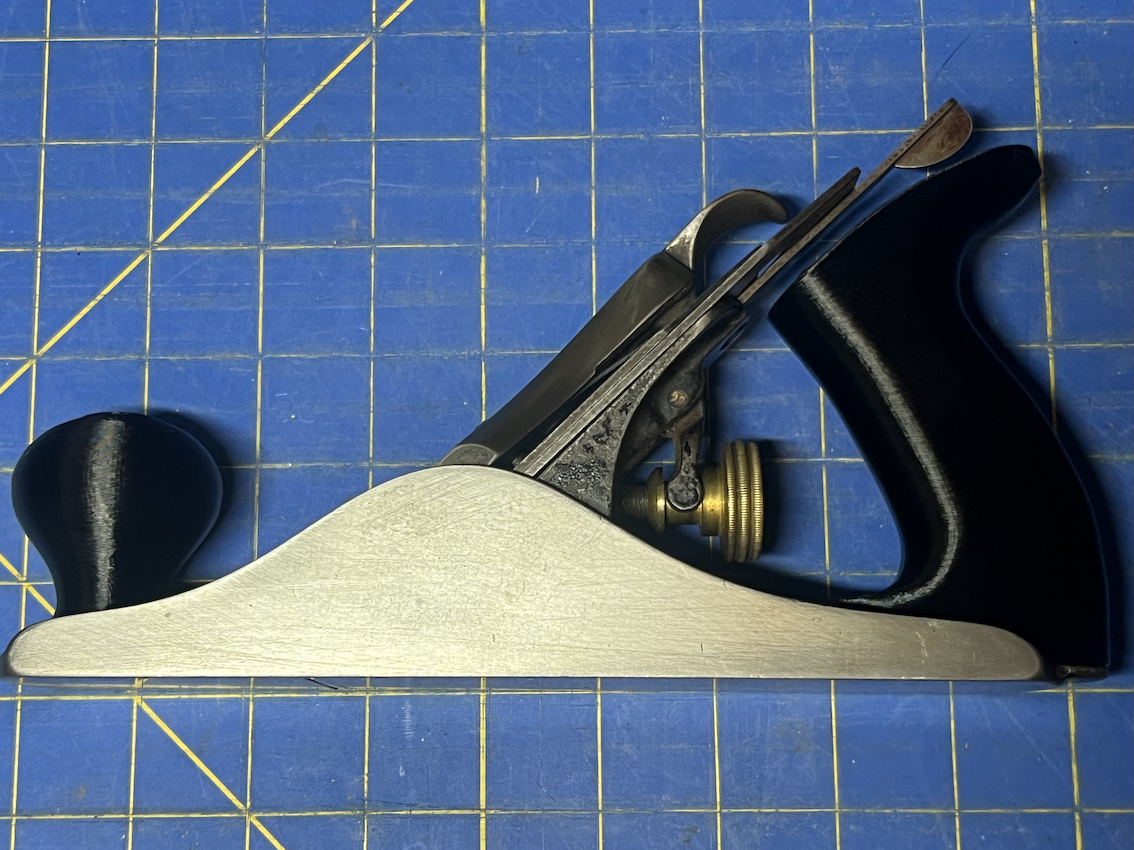
After 3 prototype 3D prints, I had my model close enough to be able to cut out and drill my test tote. That is where I am currently. My next step is to cut out my test tote and do a test fit. Then I will make a complete test tote of some wood I have on hand to make sure I can do the final tote. Also, while I was at it, I made a model of the knob as well. So here is a picture of the plane with the 3D printed prototype tote and knob. As I do not like plastic handles on my woodworking tools, these are of course only plastic (PLA) prototypes and not what will end up on the plane.

Be sure to tune in for part two of this story as I make the test tote.
