Monthly Archives: December 2012

English Layout Square

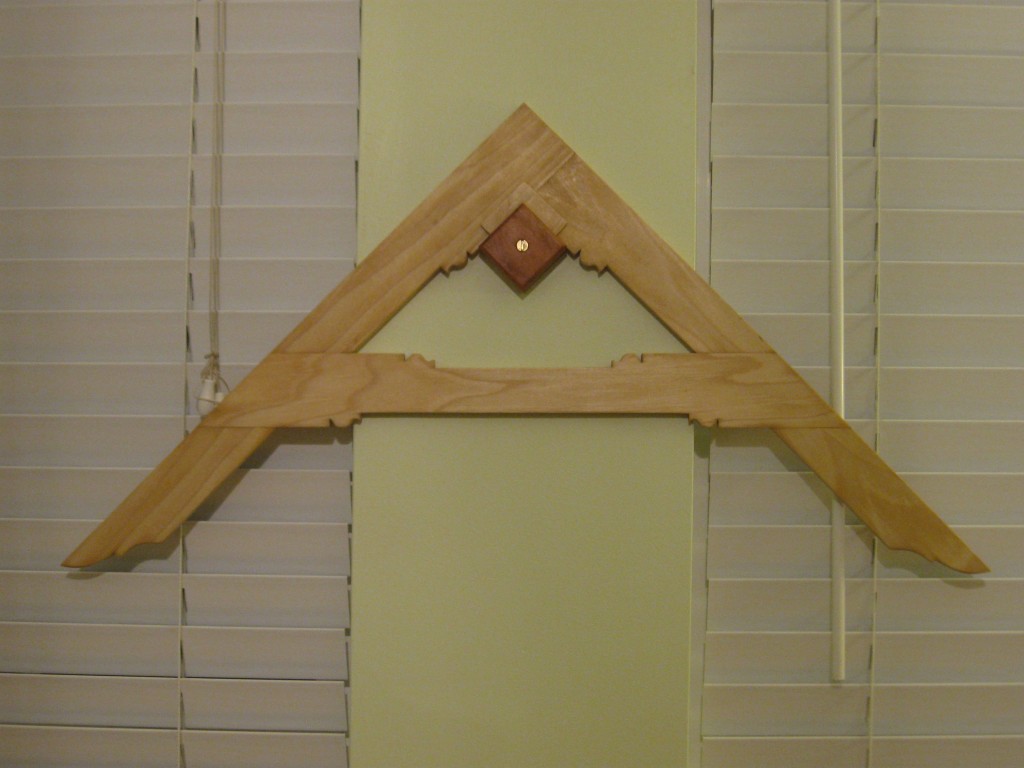
I hope you had a nice Holiday!  I sure did.  I got a chance to spend some quality time in the shop the last few days.  This English Layout Square is a project I have been meaning to take on for some time, but just never got around to it.  After seeing the re-run of the Woodwright’s Shop online where Roy and Chris built this, I had to make one too; it looked like too much fun to pass up.

I stopped by Home Depot for some errands and decided to get a 1/2″ piece of poplar to do this English Layout Square.  I knew it would not take long to build and would be a fun project.

This project was also published in the December 2010 issue of Popular Woodworking, and there is a free Sketchup drawing available as well.  That is what I used as a reference and I was able print out the nice curves, and transferred them to templates which I made out of some scrap maple.

It took me two days to complete the square and another day to tune and apply the finish (boiled linseed oil and paste wax topcoat).  I also took the time, while the linseed oil was drying, to make the holder out of some cherry and scrap poplar; it really accents the square and keeps it secure on the wall.

This may look like an easy project, but it did challenge my budding skills.  First, I had to make some pretty accurate cuts on the half lap joints.  Then, clean them up with the router plane…I love the router plane; it makes flattening cheeks on a half lap possible.  I also got to use my shoulder plane to true the shoulders and really make a clean joint.  I also had to cut out the areas between the horizontal stretcher with a saw and chisel – this is harder than it seems.  The final challenge was the half laps on the legs.  You cannot just saw these out.   I used a saw to cut 3/4 of the way and used a chisel to remove the bulk of the waste and then switched to the router plane once again to flatten it out.

After all that cutting and fitting, my joints were flat and tight.  I am really pleased with this square and hope to get many years of use out of it.

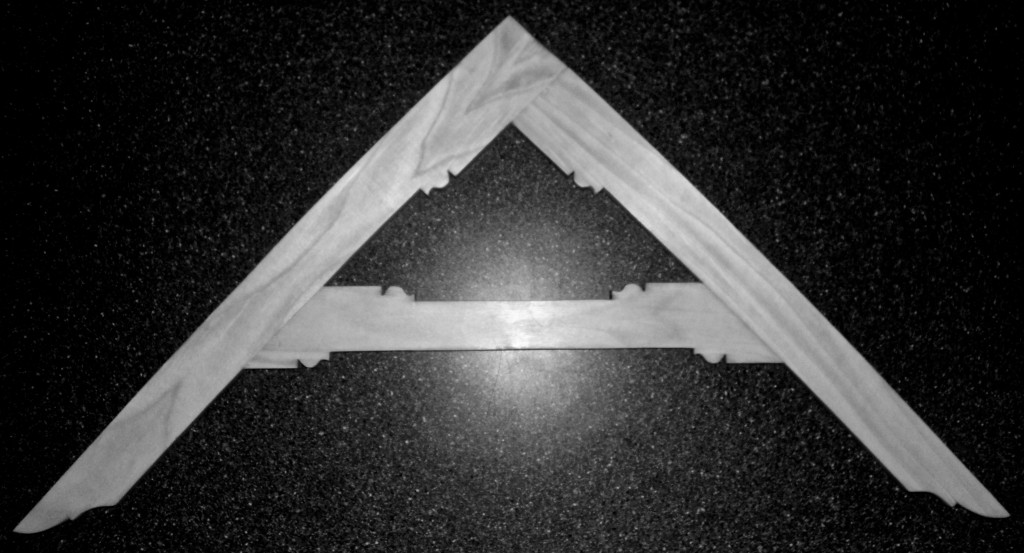
Here is a picture of the square out of the holder.

I spent s little more of my Holiday thinking about future projects.  For a Christmas present to myself, I bought John Alexander’s “Make a chair from a Tree” DVD video how-to, and I also bought a used copy of the book which is out of print  (real pricey) second edition book by the same title, originally published in 1994.  I am inspired to make some chairs from newly dead trees and start a whole new aspect of my woodworking journey.

Here is another book I own that was also authored by Alexander, as well as Peter Follansbee, titled “Make a Joint Stool from a Tree.”  For the project in this book,  I will need to complete my lathe first in order to make the legs…but it is on my to-do list.

-Aaron

A Good Day

Mystery Mallet, Popular Woodworking, Saw Box

You know, woodworking is so much fun.   I just love the chance to carve up some wood with sharp tools and a little skill; after which, you have something new that you made, and can be proud of.  After my previous weekend escapade (see A Bad Day post), I was in the need of some serious fun.  The chance came in the form of a class at Roy Underhill’s Woodwright’s School.  I was scheduled for the Mystery Mallet class on Saturday.  This is a whole day class where you make an intriguing and beautiful woodworking puzzle.  The class fit the bill perfectly to balance the experiences of the previous weekend.

Whenever I take classes at the Woodwright’s School, the time passes so quickly.  I guess that is a good indication that I am having a good time.  My neighbor, Bob, and I signed up together for this class.  I always enjoy taking classes with Bob as he provides both humor and frankness to any situation.

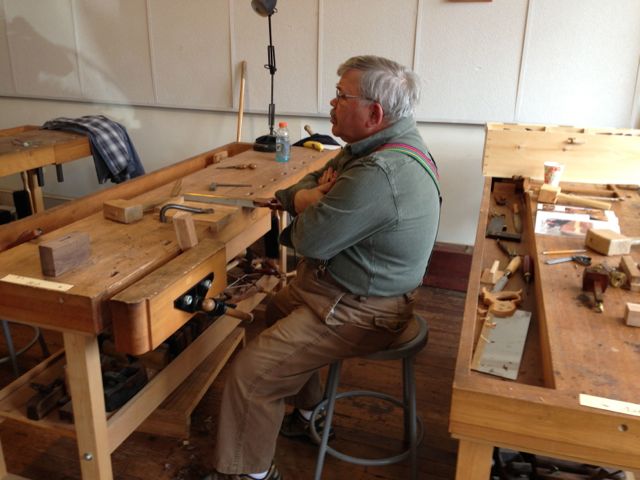
My neighbor Bob listening intently

Roy really does a great job of teaching and making you feel at ease.  He is very supportive, and I always learn some new technique or tip to help me improve my skills.  I was a little nervous about taking this class as it does require some precision cuts, and as I mentioned in my last blog,  sawing is one of the areas where I need more experience.  It turned out that my nervousness was unfounded, as Roy showed us some techniques that help keep your cuts clean and straight.

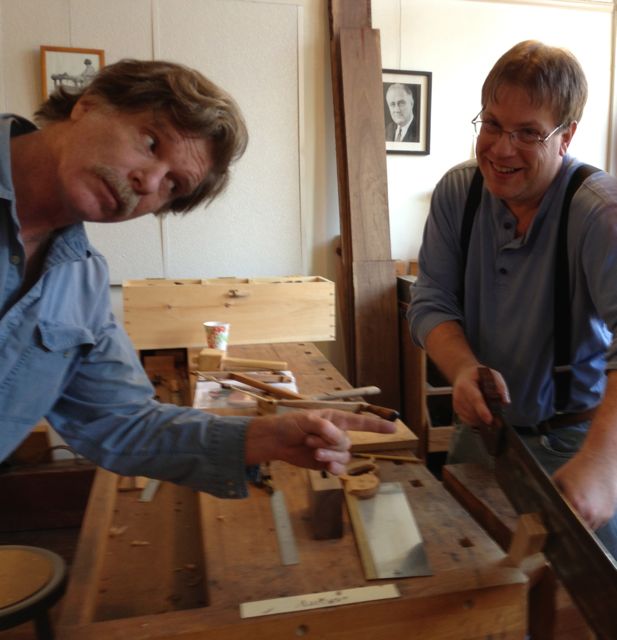
Roy attempting to teach me how to saw

For the most part, the day went very smooth.  I was pleased to see that I was able to do all the cuts very accurately, and I did one the best mortices I have ever carved.  This really gave me a lot of confidence for what was to come.  I was also pleased with the pace of my progress; I was keeping up with the class.  You see, I like to take my time in woodworking, so sometimes I lag the class.

At lunchtime, we ate at the S&T Soda Shoppe (they make the best milkshakes in the world).  This is always a great way to slow down and discuss the class and other topics with Roy and to get to know your classmates.   I also saw Will Myers there; he is the instructor for the Moravian Workbench class that I am scheduled to take in June.  I had met Will in a previous saw sharpening class taught by Bill Anderson.

After lunch, I went to Ed Lebetkin’s tool store.  Boy, this place is wonderful, but care must be taken to not empty my bank account.  My wife, Beth, is pretty understanding, and knows when I go there I usually buy a tool….or five.  This time, I only bought a 24″ folding rule and a #12 hollow moulding plane.  This was money well spent as I needed both of these items.  The #12 plane was a match to my #12 round moulding plane that I already own.  Fortunately, I was through with my purchases when I heard Roy hitting the ceiling with a board, announcing class was commencing.  I hurried downstairs to the classroom, not wanting to miss one minute of class time.

I saw the way

I did not mention it before, but there is some risk involved with this project; it can just “explode” during final assembly.  I know it sounds a bit dramatic, but that is exactly what happens sometimes when assembling these mallets.

Back in the classroom, the class proceed as scheduled until Roy stopped the class to assemble a student’s mallet.  The whole class held its breath as Roy and the student drove the handle into the mallet head.  They finished, and the handle bottomed out; now the moment of truth:  Time to release the vice holding the mallet head.  If everything is good, there will be silence; if not, there will be a “CRACK!”  Fortunately for the student it did not crack and it looked good.

I finished mine next.  I followed Roy’s advice and made all the necessary adjustments to the handle.  I fit it in the top as a test and everything looked good and not a bit tight.  Roy asked me if I wanted to proceed and I said “Yes…” and then he said “You know it could go very wrong,” and I said “Let’s do this” and he said “OK….”

We started hammering away at this thing and it was slowly proceeding, moving very little with each mallet blow.  Roy stopped for a second since we had stopped progressing and decided to get out the Big Mall.  We proceeded to hammer away at it until it bottomed out.  Then we removed it from the vice and found that there was a section that had caught and split off.  Roy knocked it back in place and pronounced it done.  Not planning to actually use this mallet for wood working, it looked pretty good with only a small crack where it had split.  Roy said with some block planing and a little wax (a lot as it turned out), it would look great.

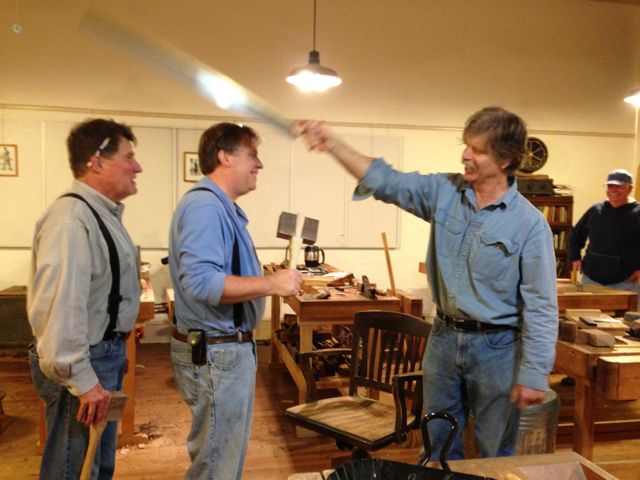
Roy be-knighting me

The rest of the class finished up in short order; all did a good job on their respective mallets.  I had Roy sign the Popular Woodworking article featuring the “Mystery Mallet” and we said our goodbyes.  All in all “A Good Day.”  As I previously mentioned, my next class is in June and it is a five-day class, after which I will have a great workbench.

That week cannot get here soon enough!

-Aaron

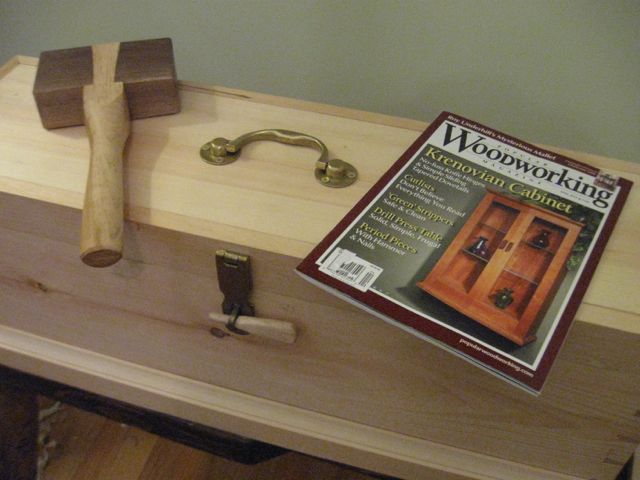
p.s. Roy wrote a great article about how to build a “Mystery Mallet” for Popular Woodworking (April 2012 issue # 196) pictured in the beginning of this blog post.

A Bad Day

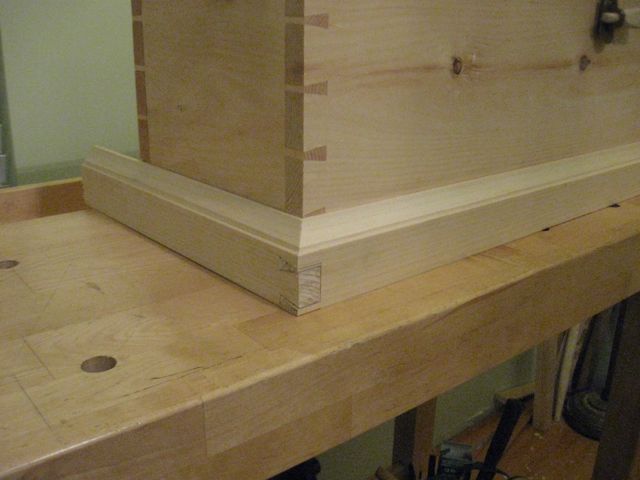
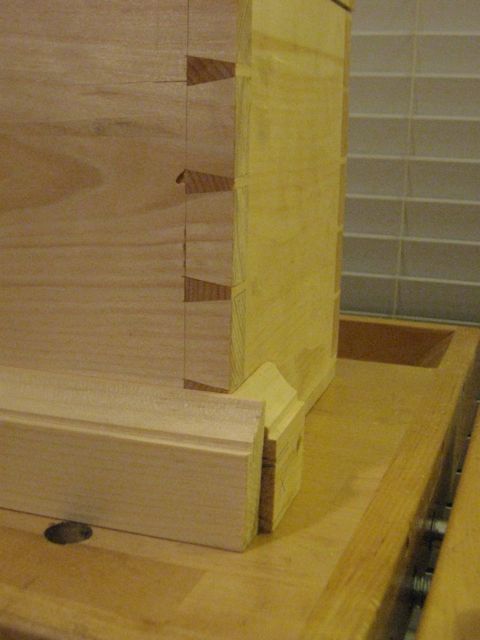
A Perfect Mitered Dovetail?

Is there such a thing as a bad day in the workshop?  I guess if you gouge yourself with a “pig sticker” or slice yourself with a knife, these could be considered bad days.  This is not what I am talking about here.

Some days, the good and the bad are not balanced, and you end up with more of one than the other.  Yesterday was definitely one of those days.   It all started out innocently enough.  I’ve not had the opportunity to work in the shop for a few weeks…seemed like forever…but I wanted to continue with the moulding for my Saw Box.  I had completed the shaping of two mouldings with my desired profile, and all I had to do was the mitered dovetails and wrap the bottom of the box – then I would be golden.  As I had done this for the lid sans the molding profile, I felt pretty confident that I could do the same for the bottom skirt.

I proceeded to cut the two pieces of one on my moulded boards, and, because it had a knot in it, I could only use specific lengths.  I had plenty of room for mistakes (or so I thought).  I was going to put the pins on the opposite side of the main carcass (on the skirt this would be the short-end side), so I started laying out the joint of the short piece.  Everything was going well up to the point where I started cutting the pins in the long piece….then I made a rookie mistake.  I did not mark an X on my waste piece and I cut into the pin side of the pin and not the waste side.

I say “rookie mistake” because I did this exact same thing on my first dovetail at Roy Underhill’s Woodwright’s School in May of 2011.  I even kept the miscut corner joint from the class as a “reminder.”  Clearly I needed a refresher.

Ok, lesson learned,  here is a new mantra:  “Always mark your waste … ALWAYS.”  After this mishap I thought:  Well, this is my one “gotcha” today and everything should be ok, right?  Wrong!

I had to cut a little more off than the width of the dovetail joint on the long piece of molding.  I roughly measured the length on the Saw Box to make sure I had enough material and proceeded with my second attempt at the joint.  I was set now as I had just cut the most beautiful, best fitting and square dovetailed miter joint known to man!  I took it over to my Saw Box, put it up against the side, and said to my friend, Bob, jokingly:  “I sure hope it’s long enough.”  It was short by about 3/16 of an inch.  How my heart sank.   This meant that I not only had to redo the dovetail, but I also had to create a whole new moulding piece.

Oh the Sorrow!

Second newbie mistake of the day:  “Measure twice and cut once.”  Wow, I was batting a thousand.  You would think given the way this day was going I would quit there, but no; I had to forge on.  I haven’t had much time to get in the workshop lately, and I had to make the best use of my time.  I decided to at least cut out the material and form my new moulding before quitting for the day.

I had a 2×12 board that had a knot-free edge wide enough for the ~2 inch board I needed for the moulding.  I marked it with my marking gauge and proceeded to cut it out with my trusty old Disston rip saw.  I normally like to cut my pieces a little wide and plane them down to size because my hand ripping is not the most accurate…but it was getting late and I decided to rip close to the line.  At first glance, it looked like I finally did something right, but upon closer inspection I noticed I had angled my saw such that I was within the line on the top but shy on the bottom.

Third and final lesson of the day:  “Do not take shortcuts on clear materials.”  It’s ok to experiment on crappy material to try to improve your technique, but if you are unsure of an operation, do not try it on a nice piece of wood just to save time.

Given all the above,  I think I should have stopped after the second problem and walked away for a while to reflect on what I was doing.   I was also lucky I did not injure myself.  It is hard to walk away, as I really enjoy my woodworking time, and I like to take full advantage when I can.  But the price paid could have been more than just wasted time and material.

This makes me think about the adage:  “A bad day in the workshop is better than a good day in the office,” well maybe not always.

-Aaron