It all started when I followed Chris Schwarz’s advice and bought the Glen-Drake Tite-Mark marking gauge.
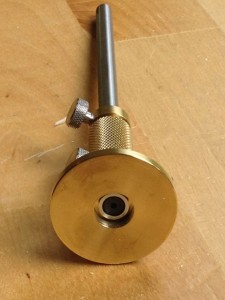
The Tite-Mark gauge has been as useful as Chris described it, and I love this gauge! It is not the problem. I also have a 90’s version of the Veritas marking gauge from Lee Valley tools[1]. This is a nice gauge also, and I have used it for years without a problem; however, after seeing how useful it was to fully retract the blade into the body of the Tite-Mark gauge, I came up with what seemed to be, a brilliant idea: I would drill out the body of the Veritas so I could fully retract the cutter in it. It is brass and easy to work … right?
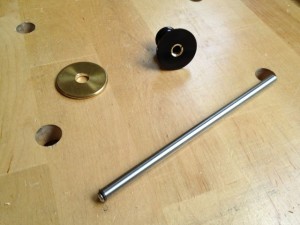
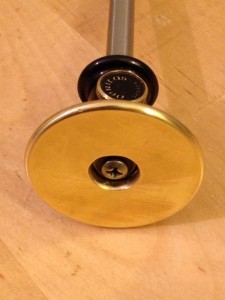
I proceeded to secure this gauge in my wood clamp and started drilling away. So far so good. I was making good headway, and then disaster. The body fell away, leaving only the face of the tool in the clamp. Apparently, this was NOT one solid piece of brass. It is made of a solid brass faceplate, with a cylinder turned on it that is inserted into the mystery metal body. Now I only have one functional gauge again. Oh the sadness, I now have a base comprised of two pieces where there was once one.
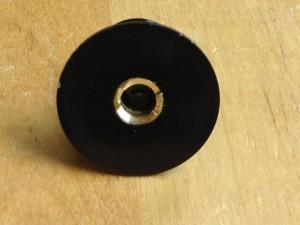
Determined to fix this, I planned to finish drilling into the black base about 2mm further, drill and tap 2 screws through the faceplate and into the base, and secure with two brass metal screws. This should be sufficient to rejoin the two parts and I will have achieved my initial goal, albeit with a little extra work.
My plan was to drill screw holes and tap them to fix the faceplate to the base. After careful examination, I noticed the base was not very thick and the screws would not be very deep, and therefore weaker. What I decided to do, was finish drilling down to the needed depth in the base, and then glue the faceplate to the base after I finished.
Things never go as planned. As I started drilling, the remainder of the brass tube came out and got stuck on the drill bit. After extricating the small brass ring from the drill bit, I noticed a small rubber grommet coming out of the hole. This grommet provides friction for the rod and helps set the depth more accurately, so I had to make sure to get this grommet fixed back into place.
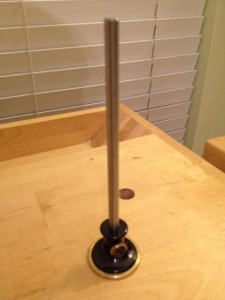
I decided to file this small ring flat on the drilled side and slide it back into place to hold the rubber grommet in place. After mixing up some epoxy, I glued the faceplate back on the base and now it is a fully functioning gauge with a retractable cutter. Yea!
[1] The current Veritas gauges now have the retractable cutter.
-Aaron

