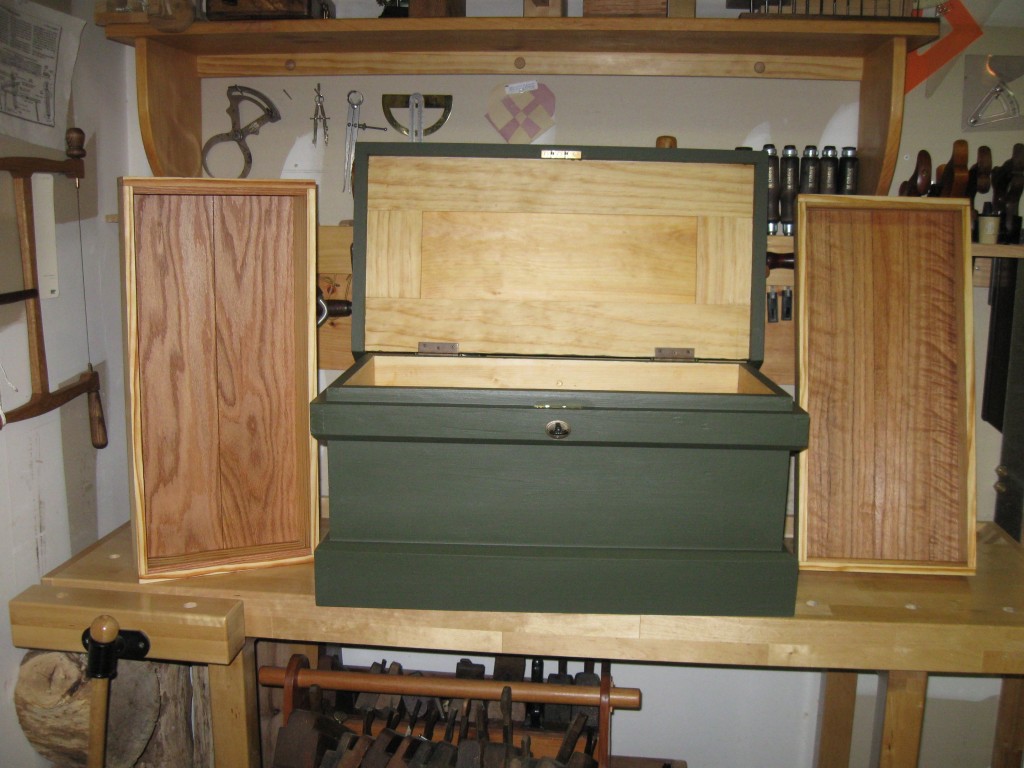
Well I’ve done it; I’ve gone and finished another project! This has been a pretty long project but I am really pleased with the results.
Background:
Over the winter holiday break I decided to get off my very-rested posterior to make an Anarchist Tool Chest or ATC (see Chris Schwarz ) of my very own. This would mean making a LOT of dovetail joints. My dovetail experience up to that point had been confined to Roy’s one-day dovetail class at the Woodwright’s School (which was great) and a couple of practice pieces that I had done on my own. My trial attempts were pretty pathetic, but at the dovetail class I had a hand-tool epiphany: Sharp tools make all the difference in the world! I know this is a simple concept, but until you have experienced the joy that is using a good, sharp chisel, you have not lived….or at least probably not been successful at dovetail joints.
I decided on a smaller chest to hone my dovetail skills, a travel chest that is roughly 1/2 the size of the larger one. The intended dimensions were 12x12x24, this is not exactly the golden ratio, but I sized the width to accommodate my largest plane, a 22″ Jointer. This smaller footprint was constructed almost exactly to the same design as the full size ATC with a few exceptions:
1) Stock Thickness. If I went with all dimensions reduced to 1/2, the stock thickness would be 1/2″ and I thought that was a little thin so I decided to go to 3/4″
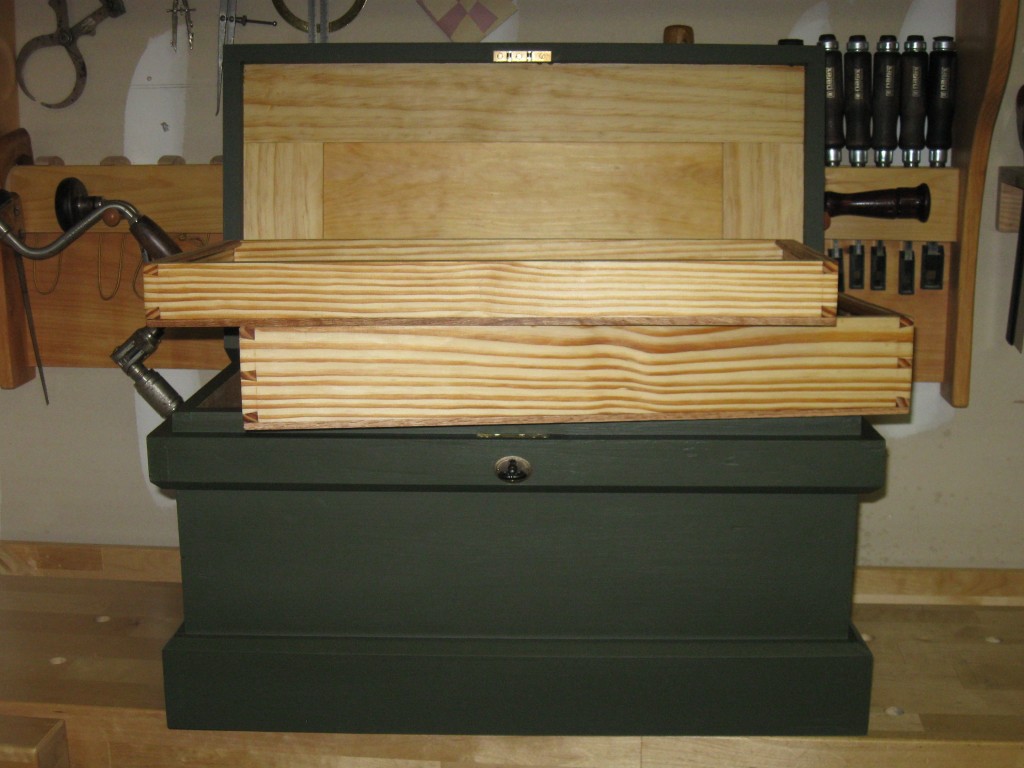
2) Instead of sliding trays, I decided to maximize the storage space and make 2 lift-out full width and depth trays. One is 1 1/2″ high and the other 3″ high. This allows me to get a lot more tools in the small chest. The lift-out trays make convenient tool holders while working and makes cleanup after use very quick.
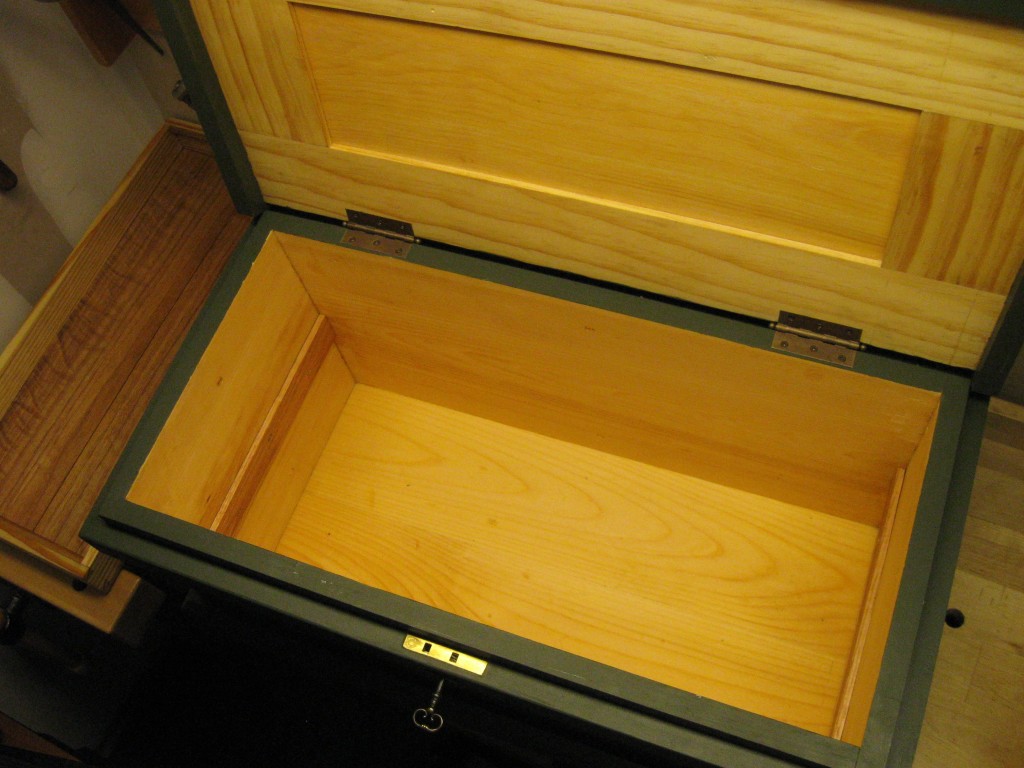
3) The lock is placed on the dust skirt, not on the carcass proper. This was done to accommodate the smaller lock that I used. I choose to only screw the dust skirt to the carcass, though I did let a little squeeze-out remain from the skirts assembly to help with fixing it to the body of the chest. It is not under a lot of strain, so I figured fastening it in this way was OK. What this allows: If the lock ever breaks, I can remove the dust skirt and fix or replace it.
4) No bottom skids. I decided to leave these off because this chest will spend most of its life (with me at least) on a cabinet at a good usable height to access the planes in the bottom and not on a wet or damp floor. I may at some point add thin skids but right now it will stay skidless.
This “prototype” exceeded my wildest expectations. I am very pleased with the end product. This will make a very good temporary home to my tools until the full sized one is built and also, be a great traveling chest, when taking classes and such.


Aaron,
You have created a masterpiece! Keep up the good works and I can’t wait to see the full sized tool chest! You should show phases while building the larger one.
Peace Bro
Berry