Olde Tool Workshop

No Tool Like an Olde Tool

Roubo Workbench Update 5 The Home Stretch

Split-Top Roubo in all it’s glory 
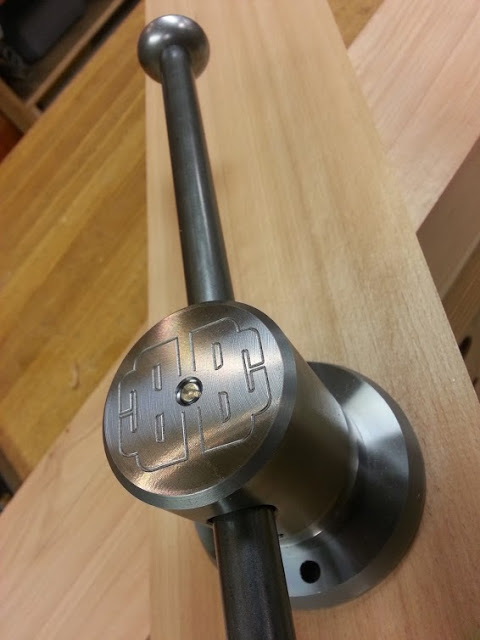
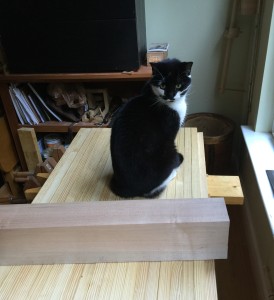
Kiki inspecting Roubo Workbench

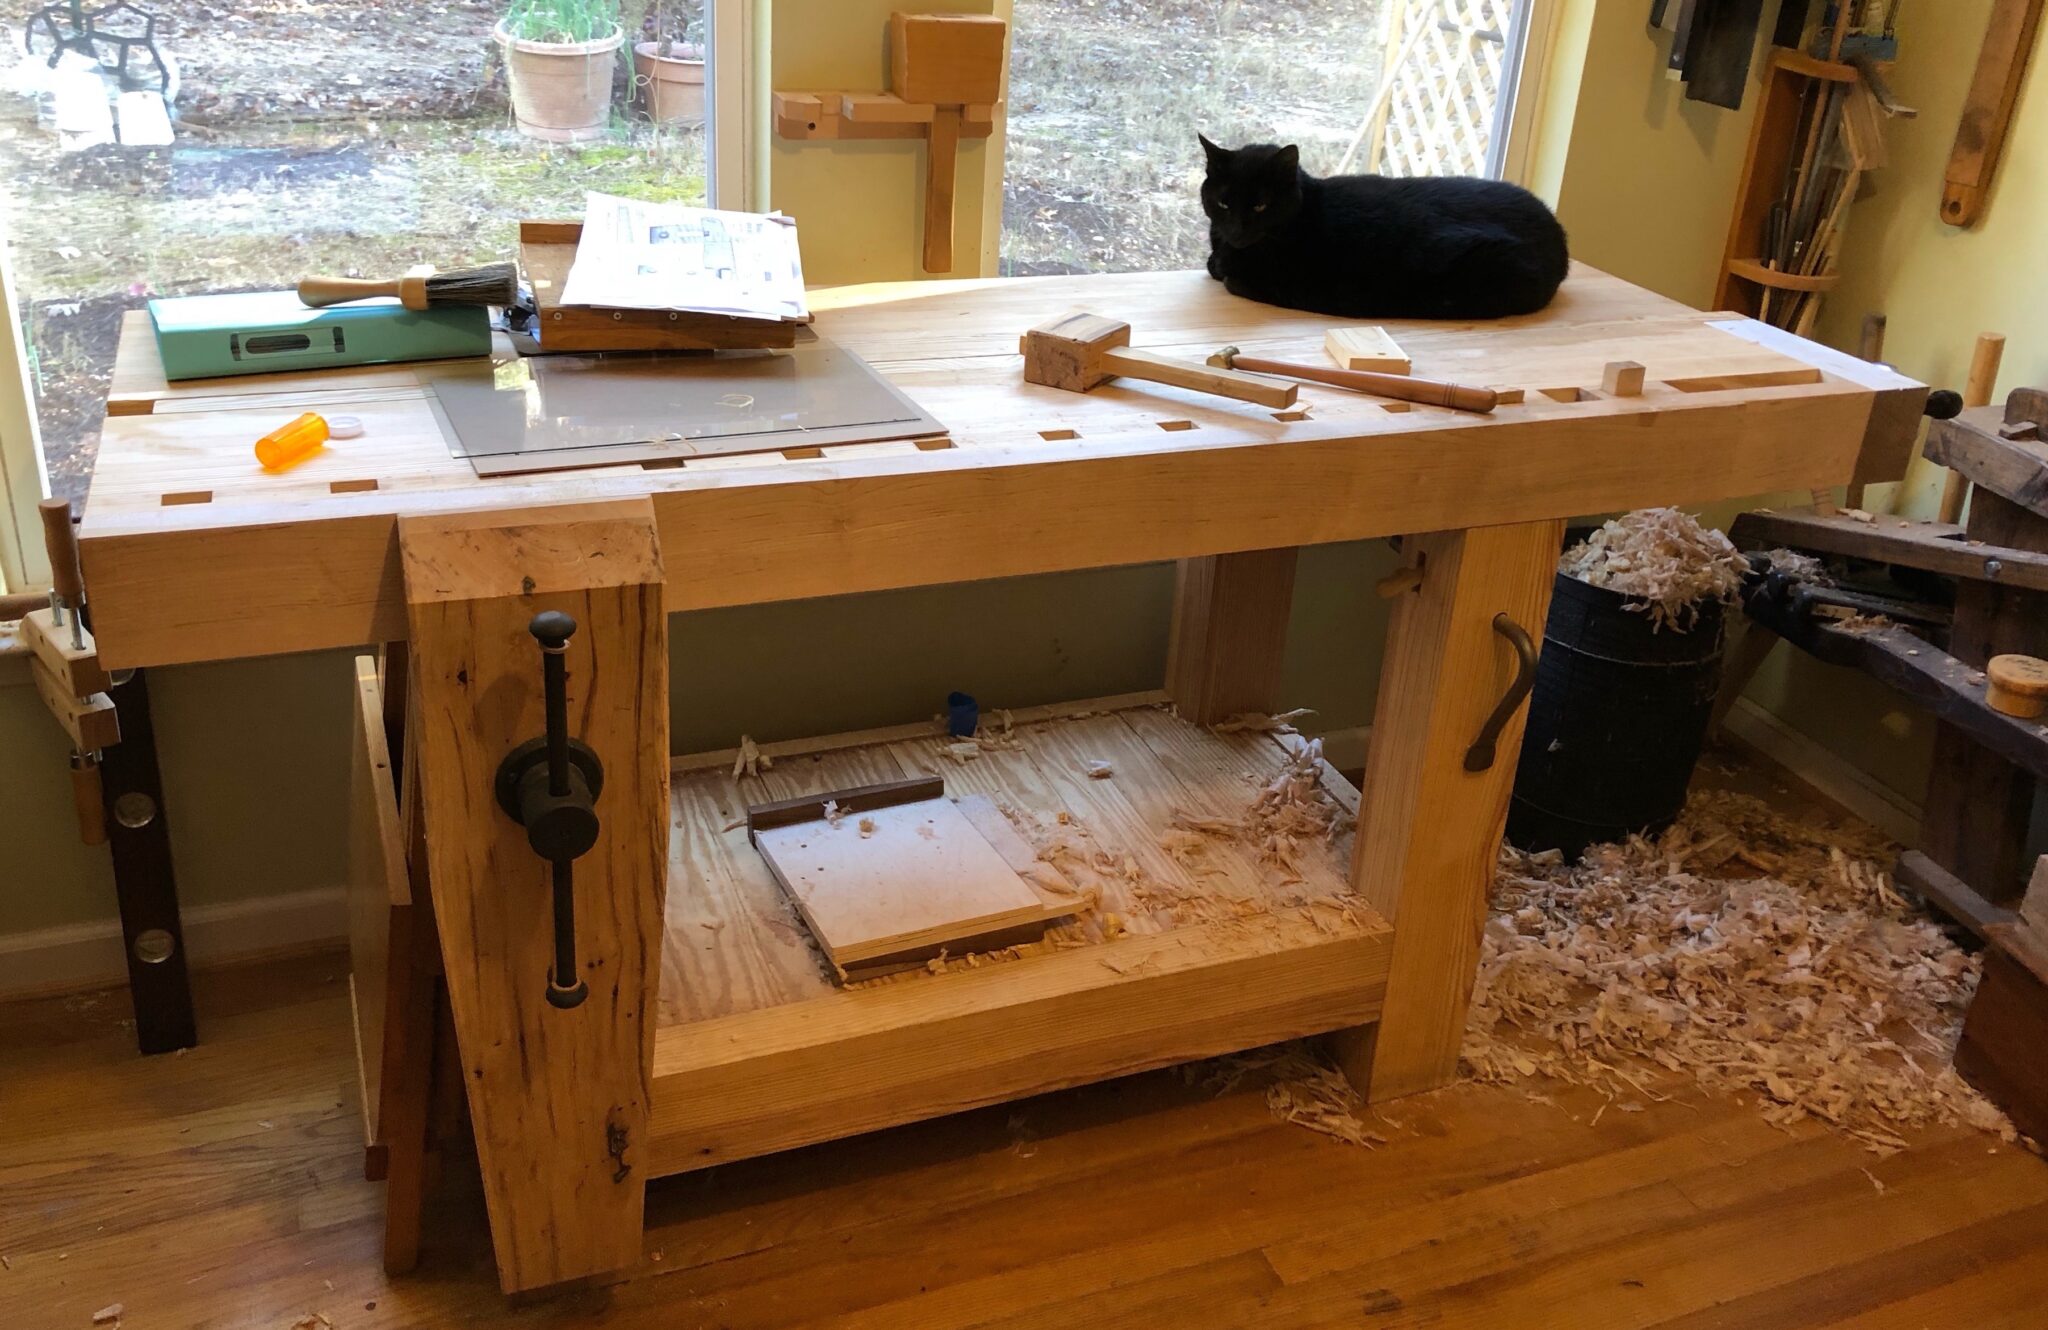
This project has taken way too long to finish (my first post was on Sep. 15, 2015). This bench deserved better from me. I am on the home stretch now and only have a few tasks left. I have made a commitment to myself to finish this project before the New Year (to be exact, New Year’s Day 2021, there are some members on my family that need that specific of a date declaration.) Here is a casual non-exhaustive, non-binding list of things to finish:


Teaching A New Dog Old Tricks

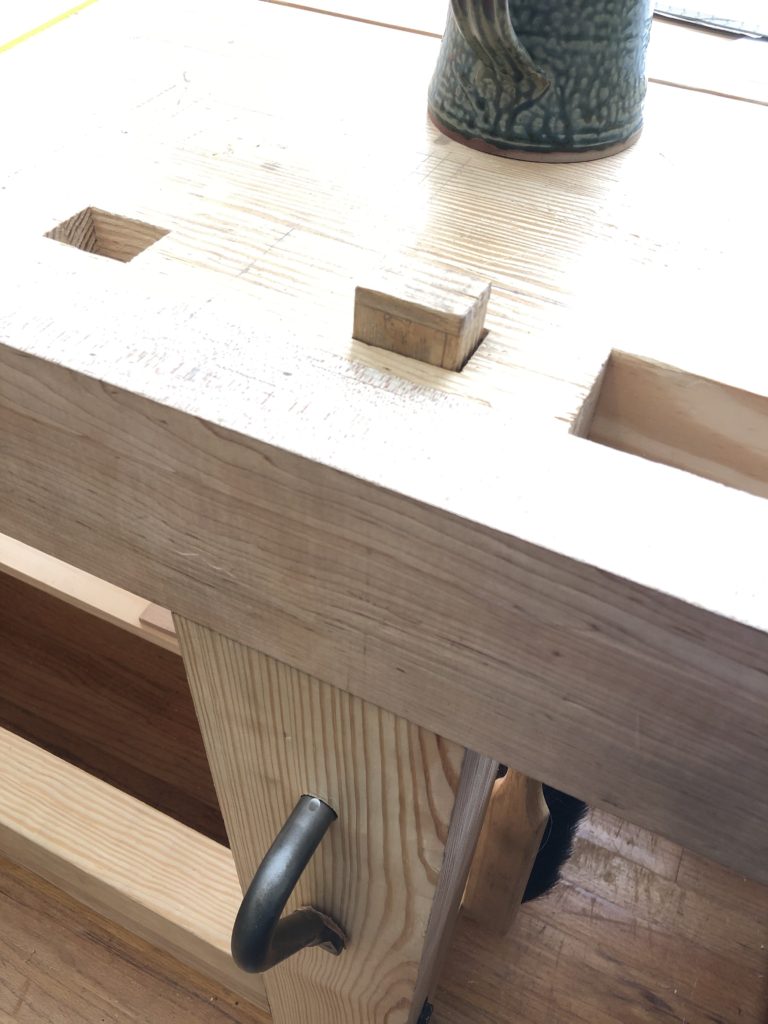
First dog closest to vise

During this stay at home time, I decided to finish my loooong term project, my Split Top Roubo Workbench (more on the actual workbench in a later entry). I was working on the legs and benchtop. With this design the dog hole closest to the end or wagon vise (BenchCrafted) is directly over my right leg. The plans call for a hole drilled vertically down the leg to allow for the dog to seat flush with the top. That’s all well and good but how do you get it out?


Workbench Update 1 - Stock Prep

bc_classic_leg_vise_pic

BenchCrafted Classic Leg Vise - Unfinished

IMG_2818

3x5x22 Maple End Cap - Cat Inspected (Cookie)

I have almost all the materials on hand for my workbench. I am still waiting for my new Benchcrafted Traditional Classic Vise to get here, but I finished surfacing my hard maple end cap that secures the tail vise to the end of the bench. As you can see my shop cat is inspecting my work with aloof approval. It started out as a rough log and now it is surfaced on 4 sides, square and flat 3″x5″x22″ board. As you can also see, the benchtop boards are now acclimating in my shop. I will start laminating them soon.