Olde Tool Workshop

No Tool Like an Olde Tool

Workbench Update 2 - New Leg Vise

IMG_2826
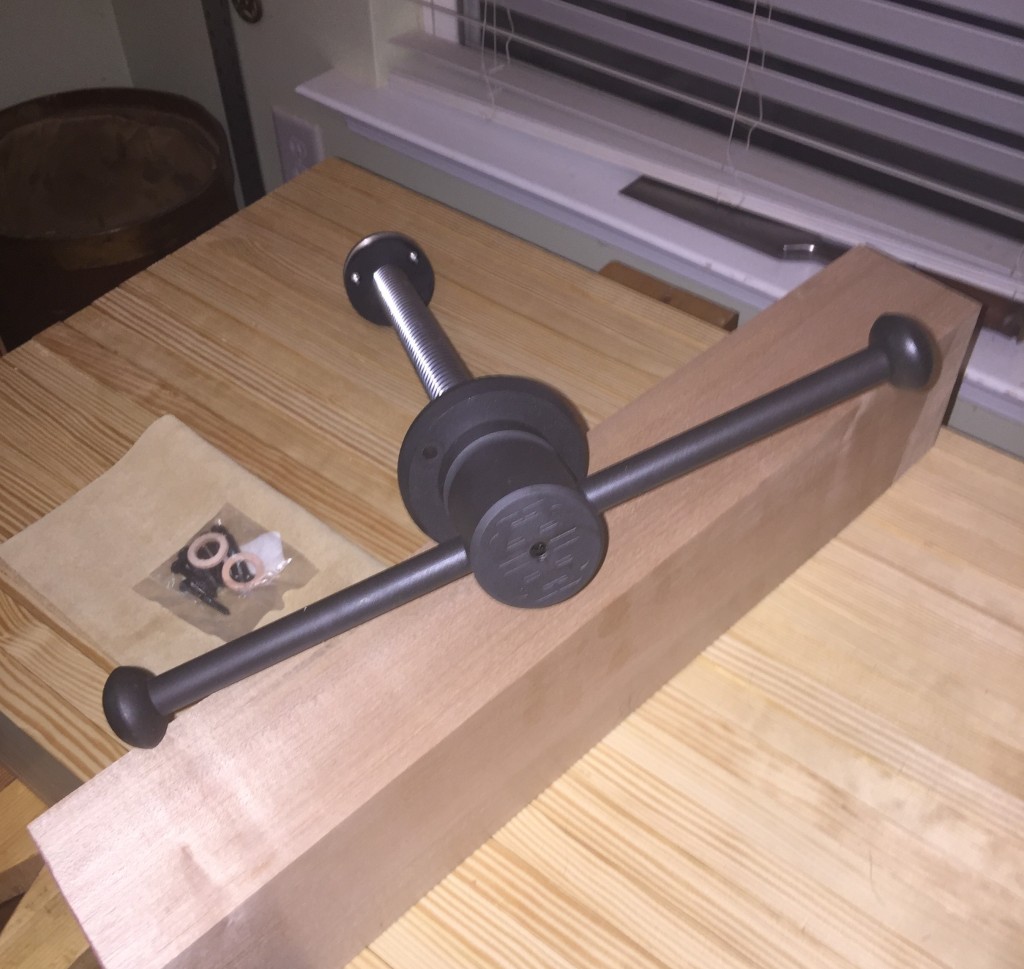
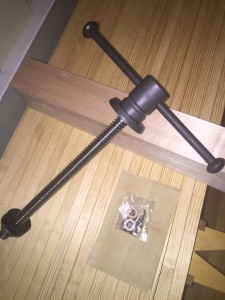
Yea!, My new
Benchcrafted Classic Leg Vise is in. Unfortunately they must have run out of the unfinished vises, I am still very happy with this vise. The machining on their vise hardware is amazing. They are the best you can get…period!

IMG_2829

Now to build a leg to put it in. Should be able to build a couple on Friday.

-Aaron

This entry was posted on October 21, 2015


And so it begins - My Roubo inspired 18th Century Workbench

IMG_2778

This is a project that is way overdue. I’ve been working with my lightweight commercial workbench for way too many years. Last Friday I purchased 10 beautiful 5/4 x 5″ x 12′ boards of southern yellow Pine. I had already purchased my Benchcrafted tail vice about a year and a half ago. This tail vise is quite an expensive piece of machinery to have just laying around not earning it’s keep. So I have decided to go ahead and build my very own Roubo Workbench. In these pictures you’ll see the boards have already been cut in half and resting nicely on my two saw benches. I will be following Chris Schwarz’s plans for a 18th century Roubo workbench, modified as to fit incorporate my Benchcrafted tail vise. The finished Bench top should be 5″ thick, 20″ wide and 72″ long. This is going to be one heavy workbench. The overall workbench dimensions will be H 34″ x W 20″ X L 72″. I am using Chris Schwarz’s book “Workbenches - From Design & Theory to Construction & Use” as my primary source for plans and instructions. I also have Chris’s other workbench book “The Workbench Design Book - The Art and Philosophy of Building Better Benches”. He has republished his “Workbenches” book and it is available on his website at Lost Art Press.


Saw Box Finish

Some of you may remember the Saw Box I started in this post -> Have Saw Will Travel . In preparation for finishing my chair I made in the “Continuous Arm Windsor Chair Class” at Elia Bizzarri’s, I wanted to get some more practice with the finishing techniques that I will use in the chair so I decided to finish my Saw Box.
saw_box_front_sm

The process goes like this:


A Turn For The Better

The competed machine - What a beauty!
The competed machine - What a beauty

The completed machine - what a beauty!

You may recall from my previous post, that my half-finished spring pole lathe had become a temporary “bookshelf” due to an injury. Now, oh happy day, it has been repurposed into a functioning lathe! This project, by far, was one of the most difficult I have undertaken. I don’t mean technically difficult, but physically difficult. But let me say up front that it did not have to be this way. Sometimes, we work against ourselves and are our own worst enemy.


Spring Pole Bookshelf

2013-05-26 20.53.36 A few weeks ago, I posted some pictures of my spring pole lathe and the great progress I was making. Well, as always, life happens, and manages to alter the best laid plans of men. The lathe was to a point where it was looking really good. After chopping out the mortises, I noticed a bit of stiffness in my arm. I stopped working for the day and rested for the night. My arm was very swollen and I could not fully flex it. Where does the “Spring Pole Bookshelf” come in you may ask? Please bear with me and I will explain.