Some of you may remember the Saw Box I started in this post -> Have Saw Will Travel . In preparation for finishing my chair I made in the “Continuous Arm Windsor Chair Class” at Elia Bizzarri’s, I wanted to get some more practice with the finishing techniques that I will use in the chair so I decided to finish my Saw Box.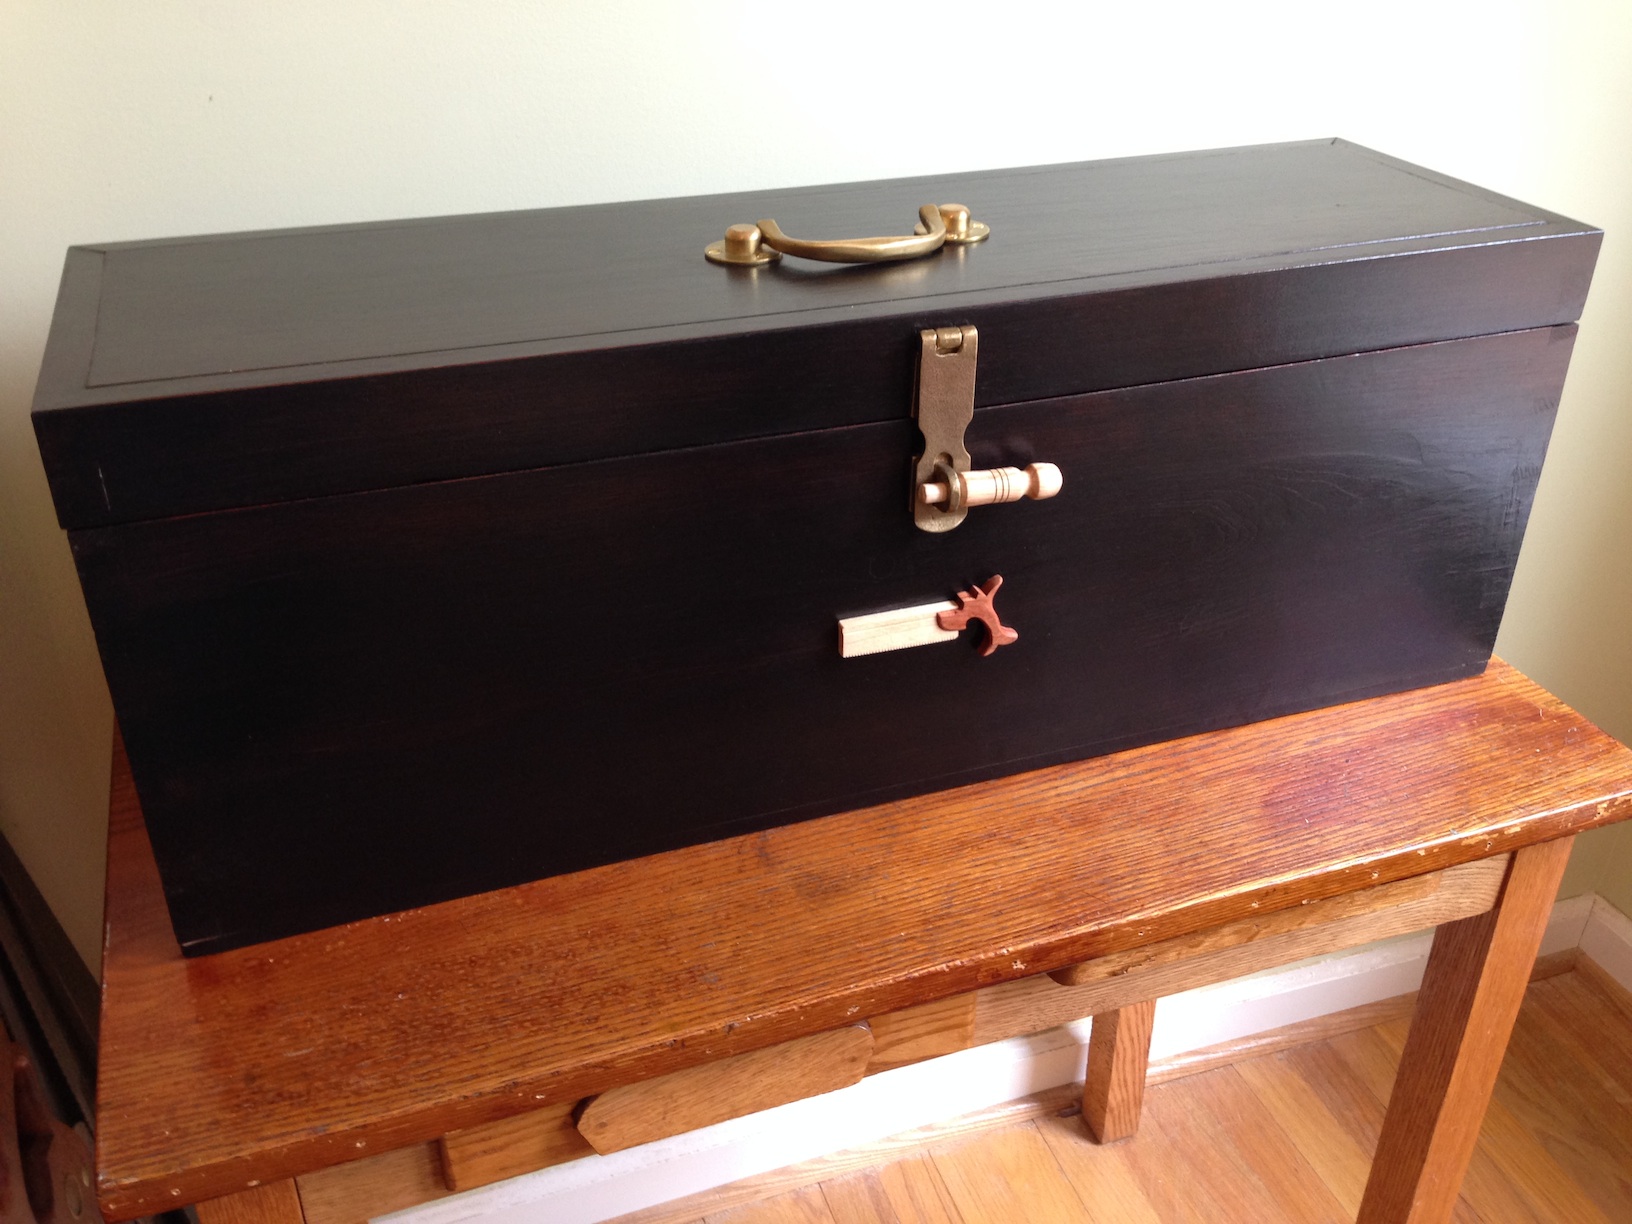
The process goes like this:
- Prepare the surface. Remember that any surface issues will show up in your face if you do not get all the blemishes out prior to applying paint
Plane, scrape fill any voids with putty to get the surface as smooth as possible. Lightly sand if necessary.
Clean the surface with a cotton rag or wipe down with a cotton rag and denatured alcohol to get all the dust.
Apply 3 coats of “Salem Red” milk paint. The first coat uses Extra-Bond as an adherent to pine surfaces to help even application over knots and pitch pockets. Wait a minimum of 4 hours between coats. Also, the first couple of coats may need some light sanding from 220 sandpaper.
This is a very light application for each coat and the first one looks really crappy, but subsequent ones look a lot better.
After the the red paint, comes the “Pitch Black” milk paint. There are 2 coats of this color and it is mixed even thinner than the red.
Rub Down - after all the coats of milk paint have been applied, all the painted surfaces are rubbed down with 000 steel wool. This wears through the black top coats and reveals some the red base coats.
Oil Finish - Clean off all the paint dust and begin oiling the project. This can take 3 - 4 coats of oil (I used Danish Oil on the Saw Box) letting it dry 24 hours between coats.
As you can imagine this is lengthy process and patience is definitely a vulture here. This is one aspect of this job I am really getting better at.
- After all the oil coats (3 for this project) then the easiest part, adding paste wax, then buffing with a cotton cloth after 25 minutes.
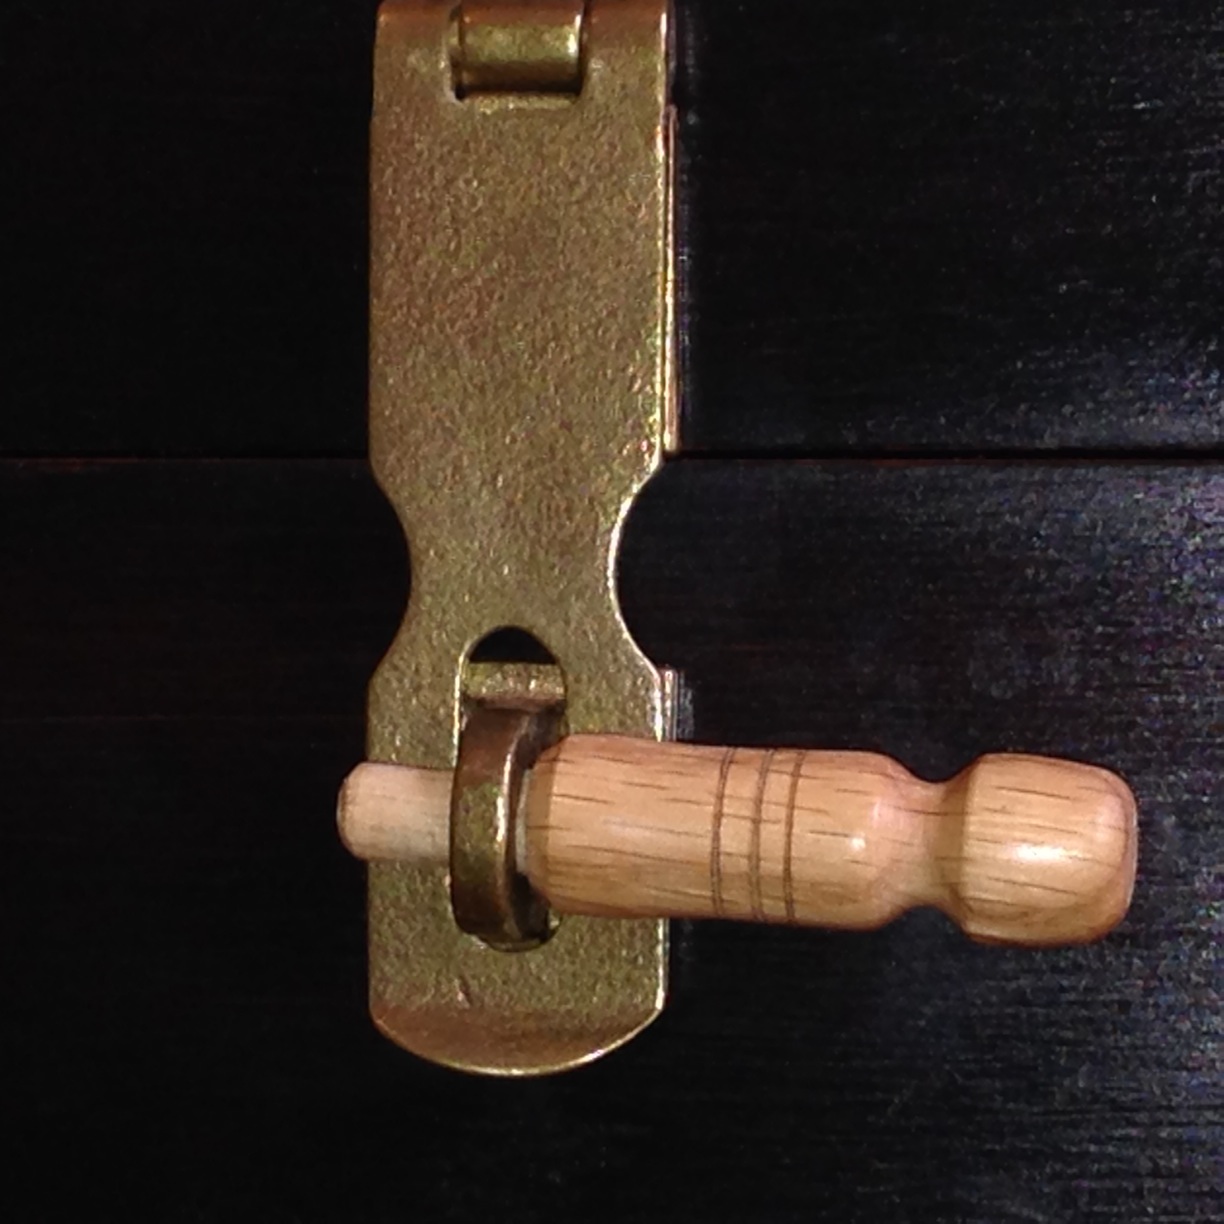
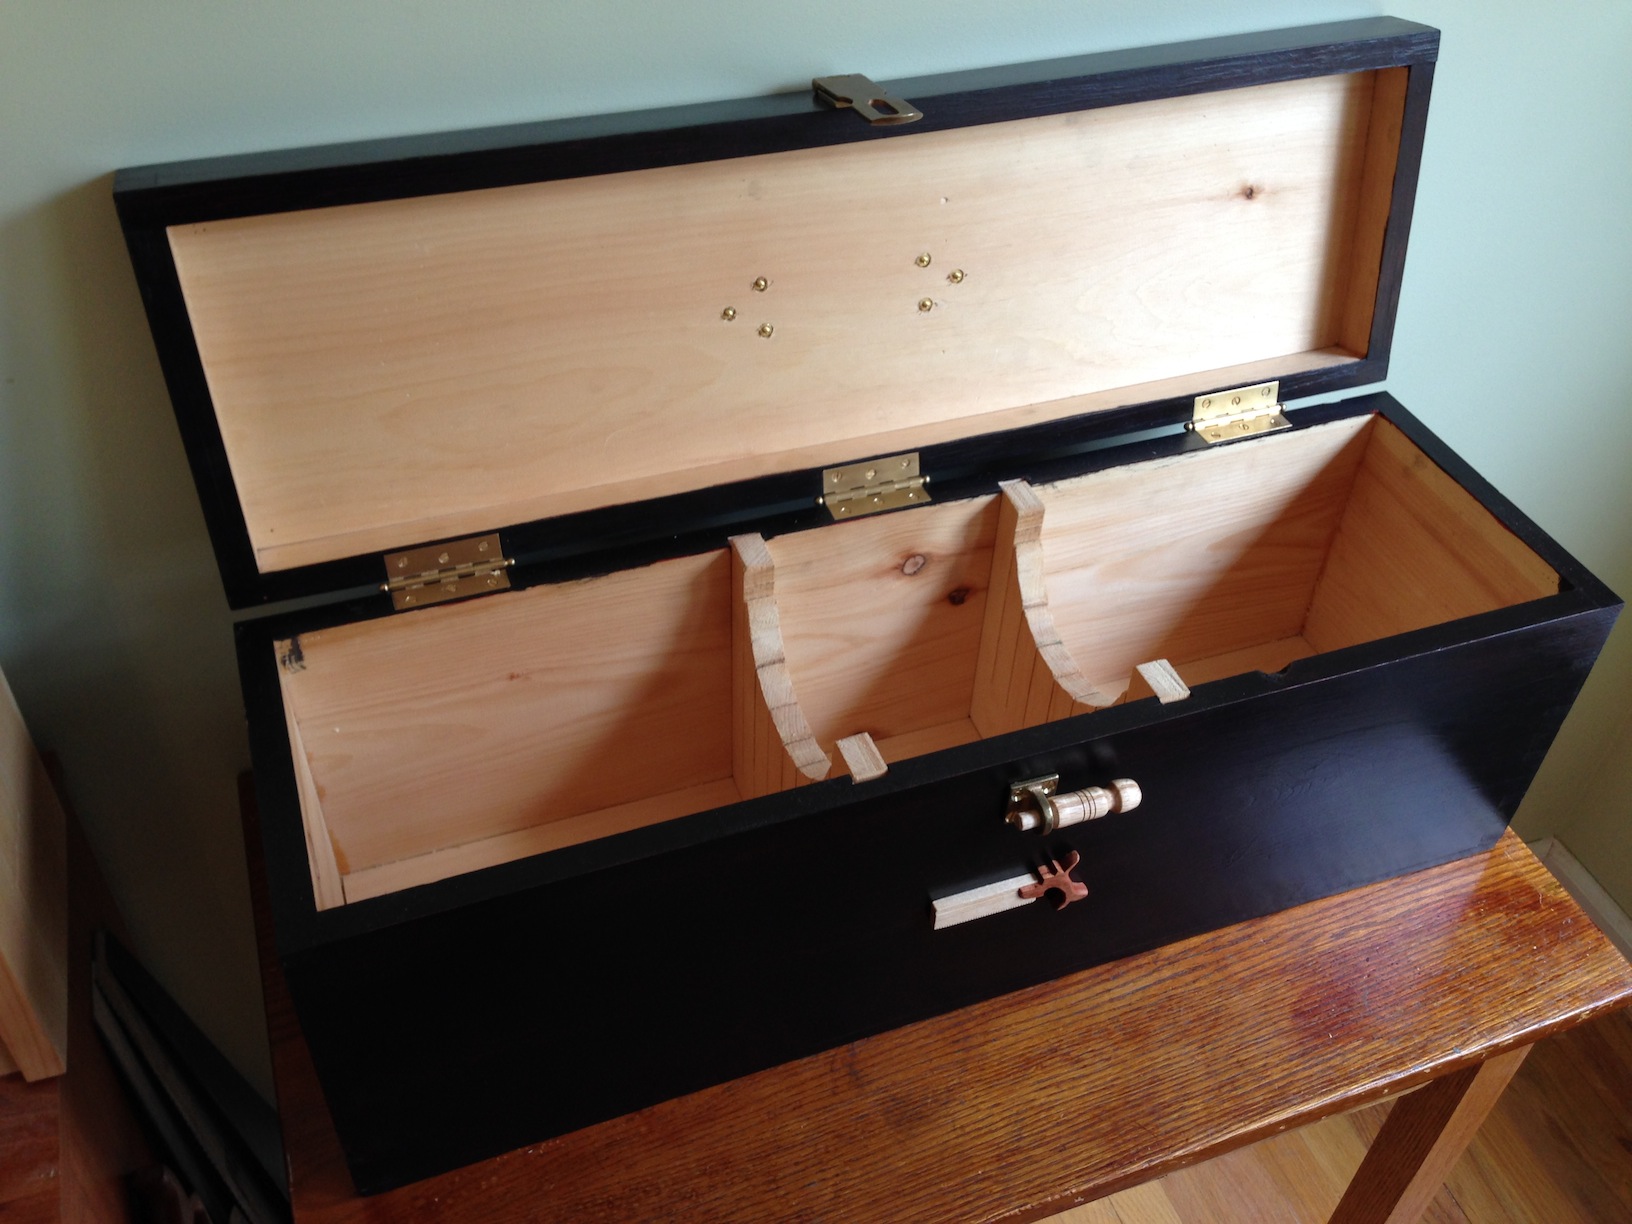
I used to have a dowel to keep the hasp secure. Once I got my lathe, I thought a nice turned hasp-keeper would be more decorative.
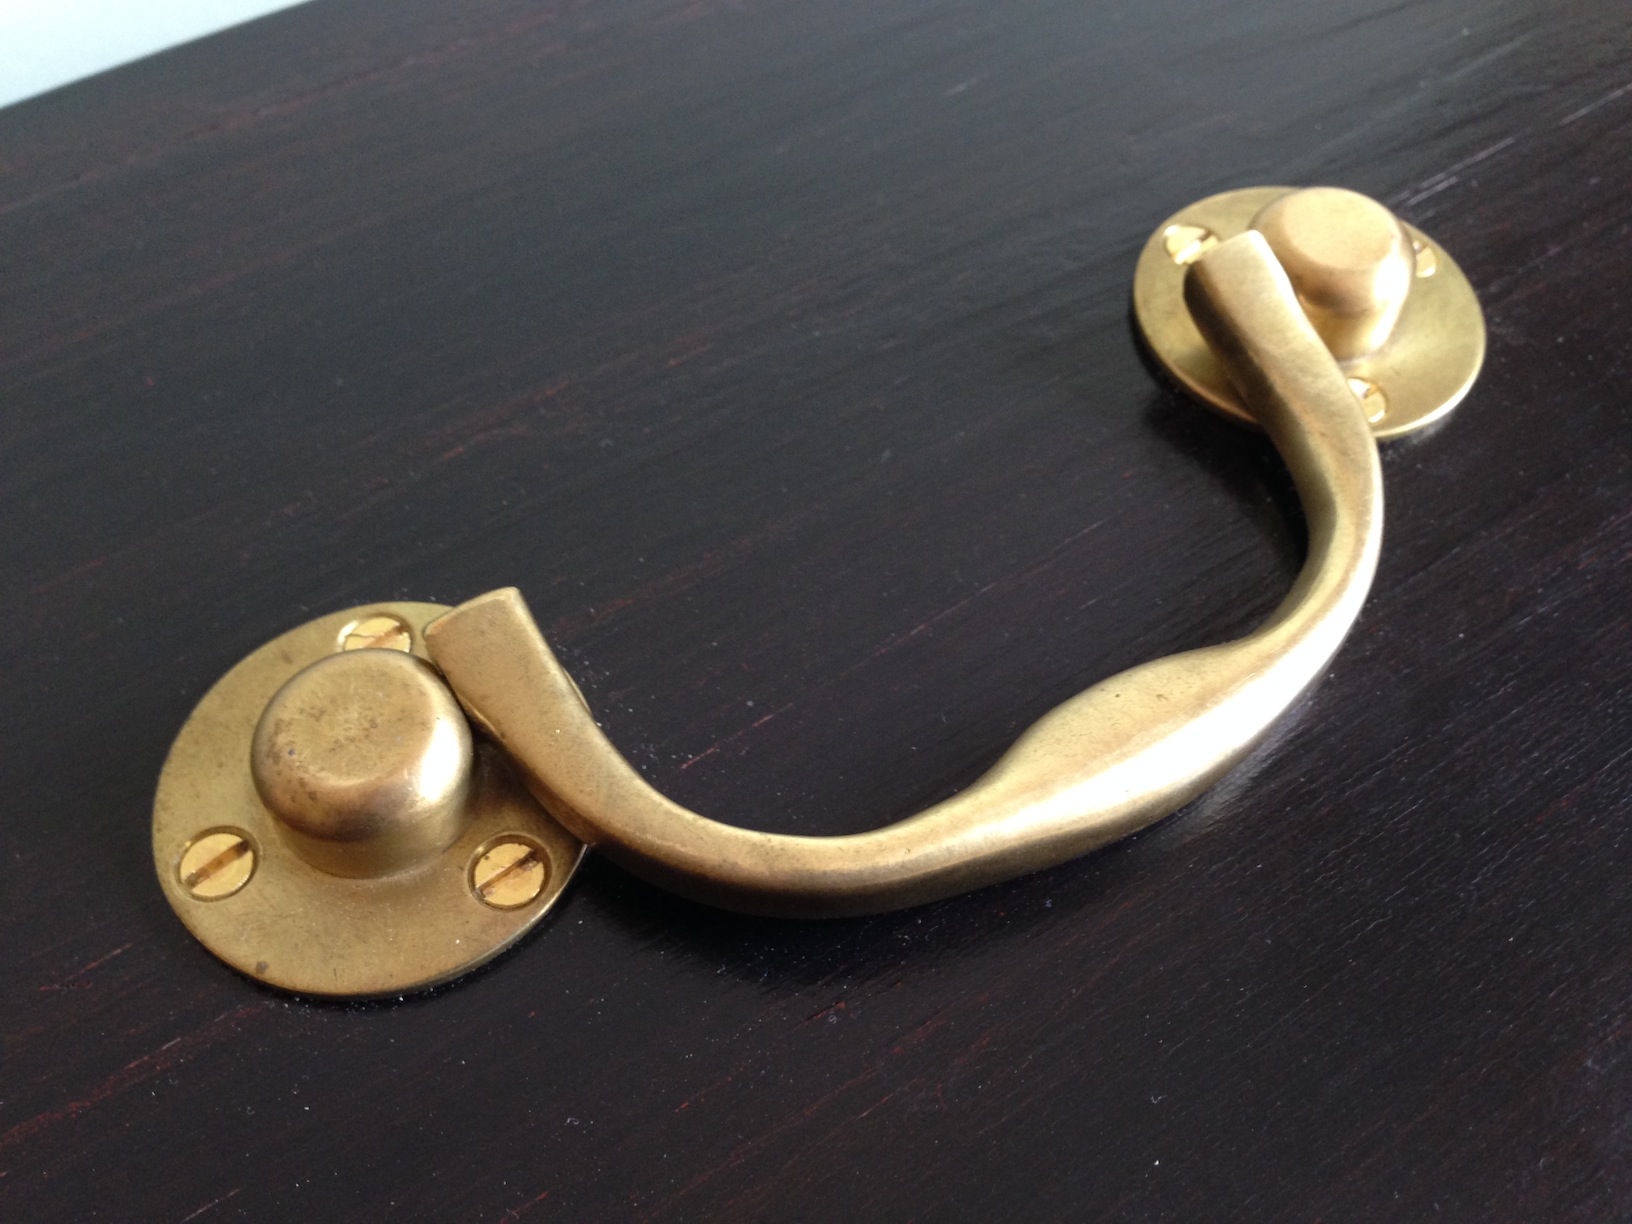
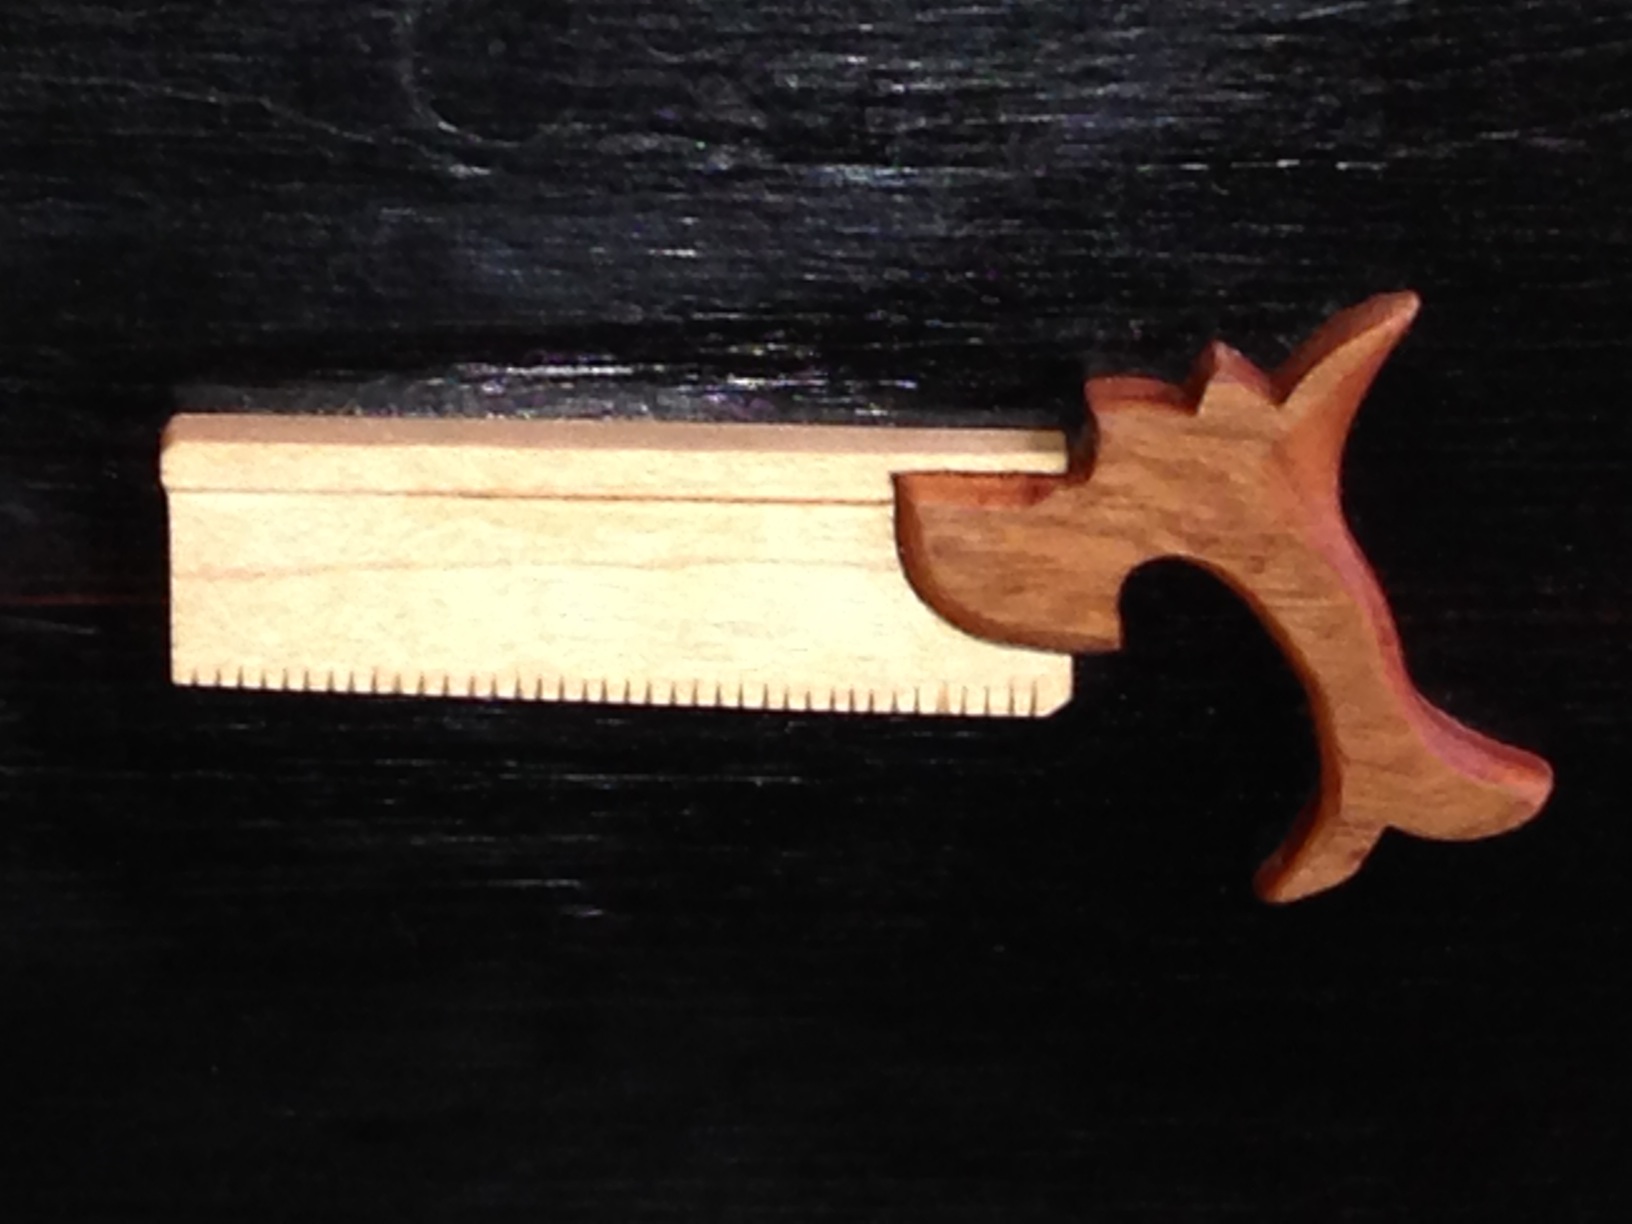
When I assembled the Saw Box and got all the brass hardware installed, I thought it still needed something. I decided to add the small dovetail saw to the front. This identifies the purpose of the box and adds a bit of artistic expression.
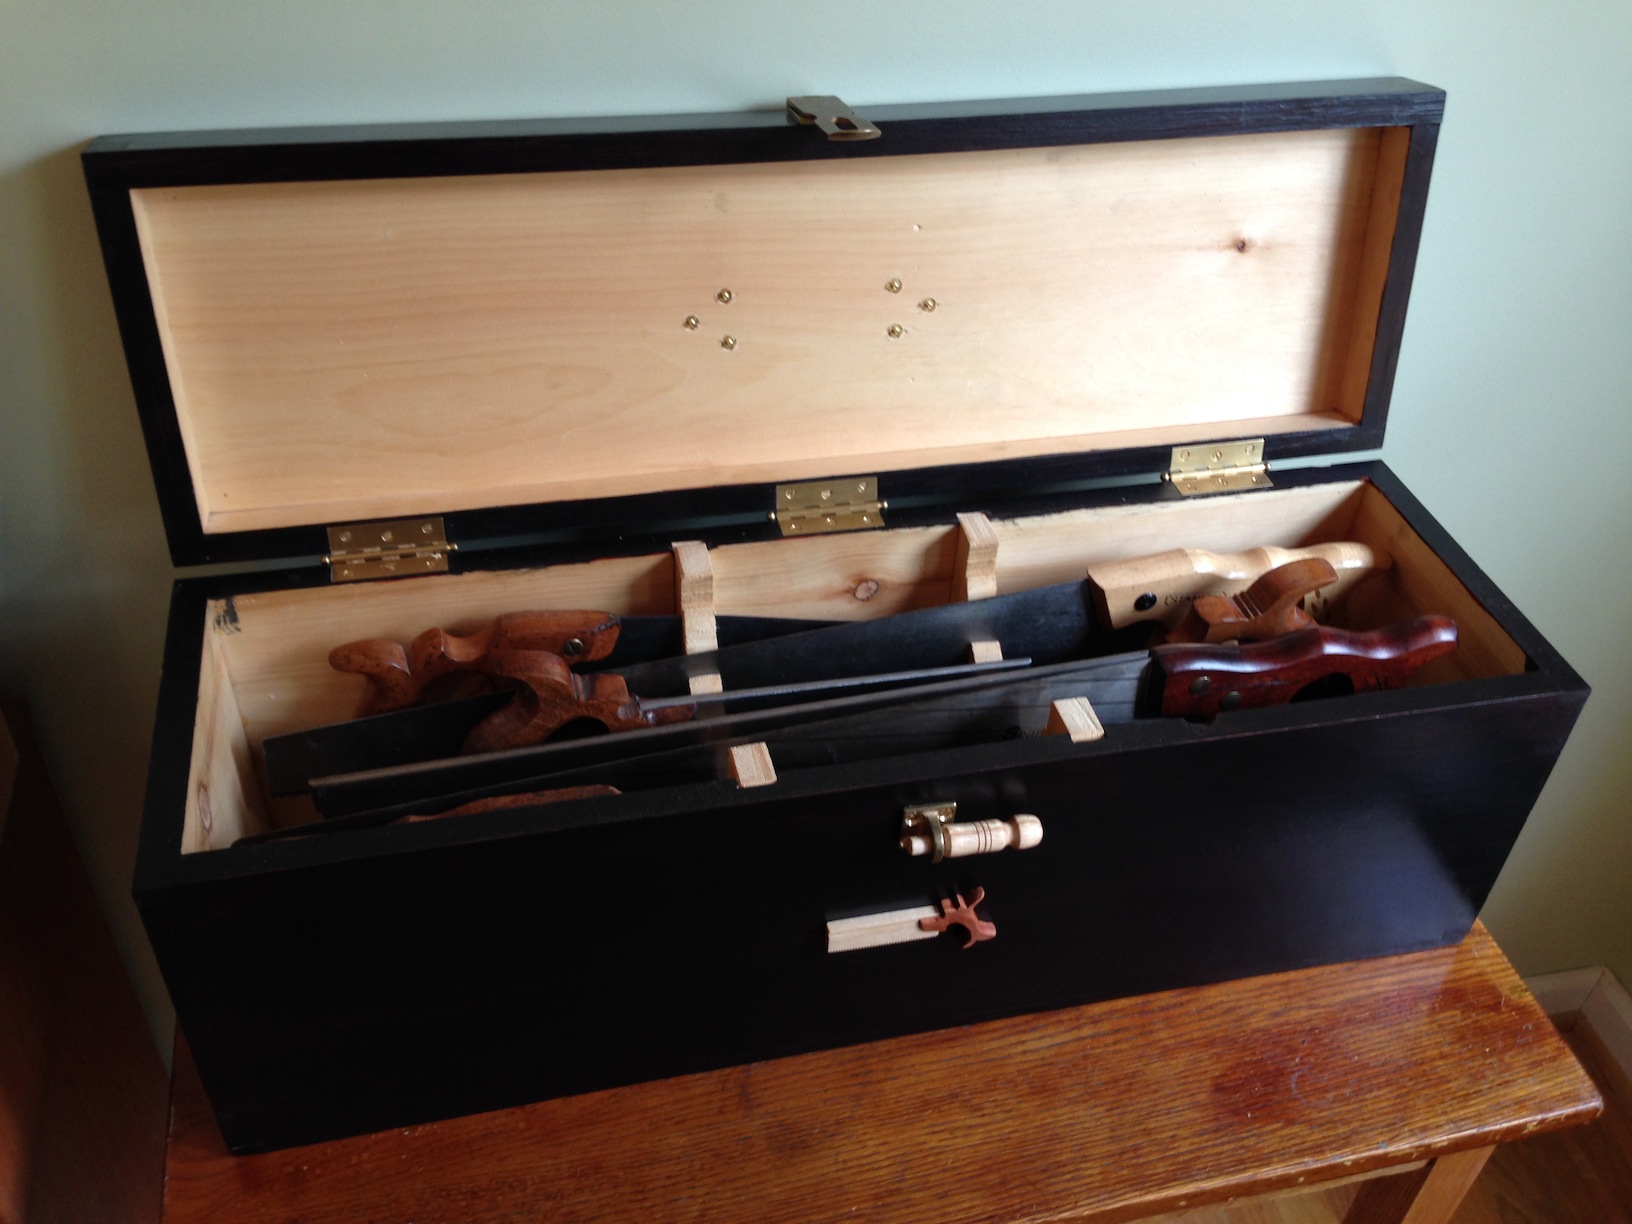
I really like this finish, and it will only look better over time as more of the red wears through. Let me know what you think.
-Aaron
If you would like purchase any of the items I currently make, please visit my store.

There are costs associated with running a website. Your donations go directly to keeping this site active.