With some trepidation I went headlong into the fabrication of my Saw Box lid. The challenge came from the the geometry of the corner joint for the lid. By mounting the top board in a groove in the frame boards, the only way to conceal the groove would be to use a mitre joint.
The big problem with ordinary mitre joints is they are weak and do not offer a lot of glueing area. This is the reason I chose the mitered dovetail joint. The mitre hides the groove and the dovetail gives the joint strength. I have never cut this joint before, I have only seen Roy Underhill cut these on his 2-episode show on the Woodwright’s Shop where he made a Joiner’s Tool Chest and used this type of joint for the same reason as I was going to use it. My effort was a process of trial and error; my first one was ok, but it had a few extra unnecessary cuts. Fortunately I foresaw this difficulty and planned ahead with extra long stock, which gave me a couple of tries for each piece. When it came to cutting the critical second cuts on each board, I was getting pretty good at it.
Here is a drawing of a mitered dovetail joint I found on Mike Ogdon’s now defunct blog on dovetail joints.
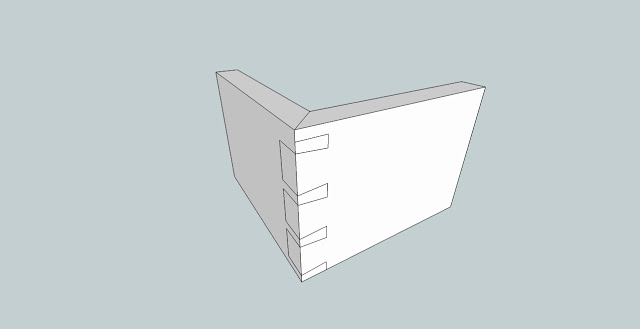
The mitered portion of my corner joint is a bit wider than shown in the drawing, in proportion to the dovetails in the frame boards of my lid.
One other design choice that I made for the lid was to orient the tails to show on the front and the pins on the side. This was done so as the the top board expands it will not “blow out” the dovetails. I have allowed some expansion room in the top, so this is just a little added insurance.
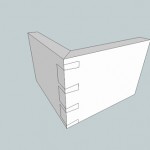
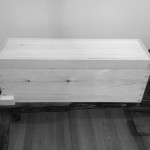
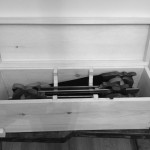
Keep in mind I have not glued this top assembly up yet. I will not be putting glue in the grooves for the top board, I will leave it “floating” and I will be gluing only the frame joints. Here are a couple of pictures of the box with the lid on it and opened like it would look with hinges attached.
I have also ordered my butt hinges and handle from Horton Brasses which should be here in a few days. Next time, I should have a special treat with a video of my first attempts to do molding on mitered dovetails for the skirt.
-Aaron

There are costs associated with running a website. Your donations go directly to keeping this site active.